

- Clone the MCP server repository
- Enable the Google Calendar API and configure OAuth consent
- Create OAuth credentials (Desktop app) and download the JSON
- Point the MCP server at your credentials and run it
- Add the MCP server to your Claude Desktop configuration
- Interact with your Google Calendar from Claude
1. Clone the repository
Open a terminal and clone the repo:2. Enable the Google Calendar API and configure OAuth
- Open the Google Cloud Console — APIs Library: https://console.cloud.google.com/apis/library
- Search for and enable the Google Calendar API: https://developers.google.com/calendar
- After enabling the API, go to APIs & Services → Credentials to configure OAuth: https://console.cloud.google.com/apis/credentials
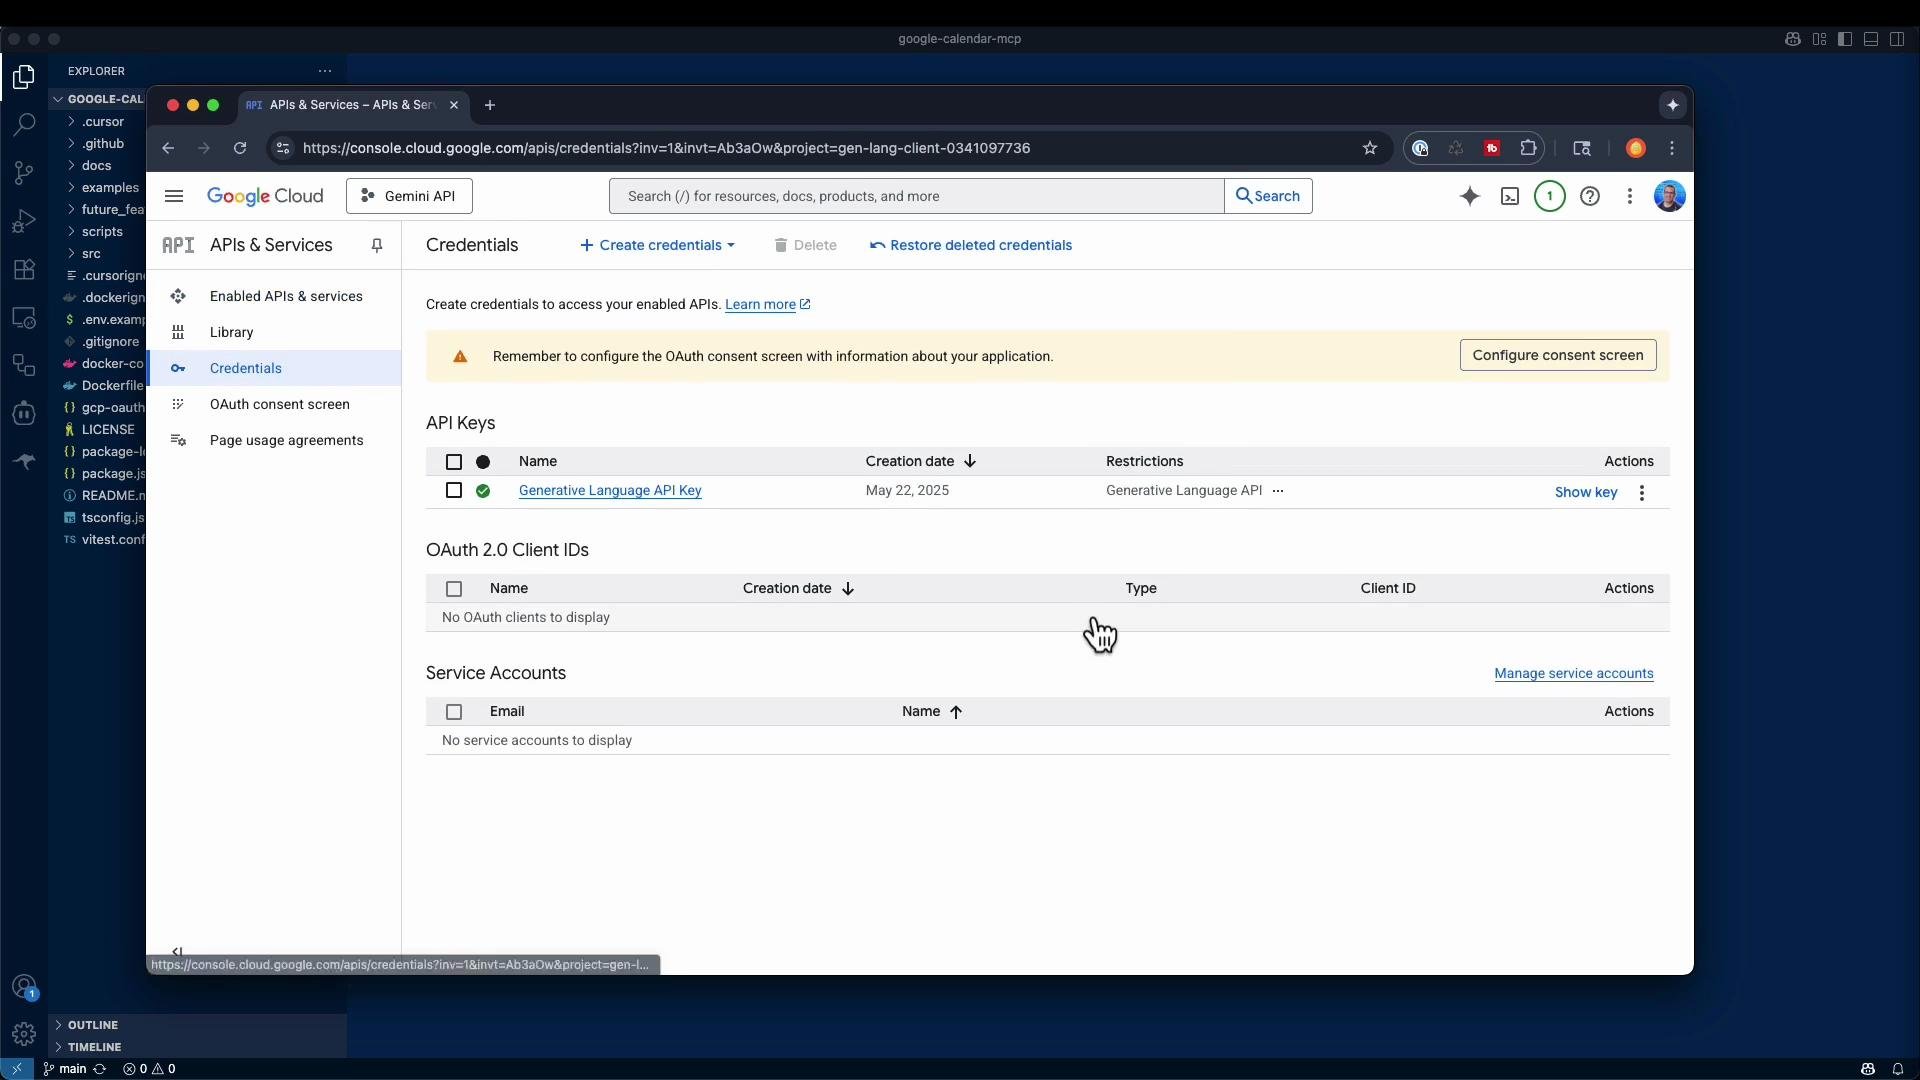
3. Create an OAuth consent screen and client
- Visit the OAuth consent screen: https://console.cloud.google.com/apis/credentials/consent
- Set an app name (for example, “MCP calendar tool”).
- Choose the user type:
- Internal — restricts use to your organization.
- External — allows any Google account to authorize the app (typical for local personal use).
- Provide contact info and save.
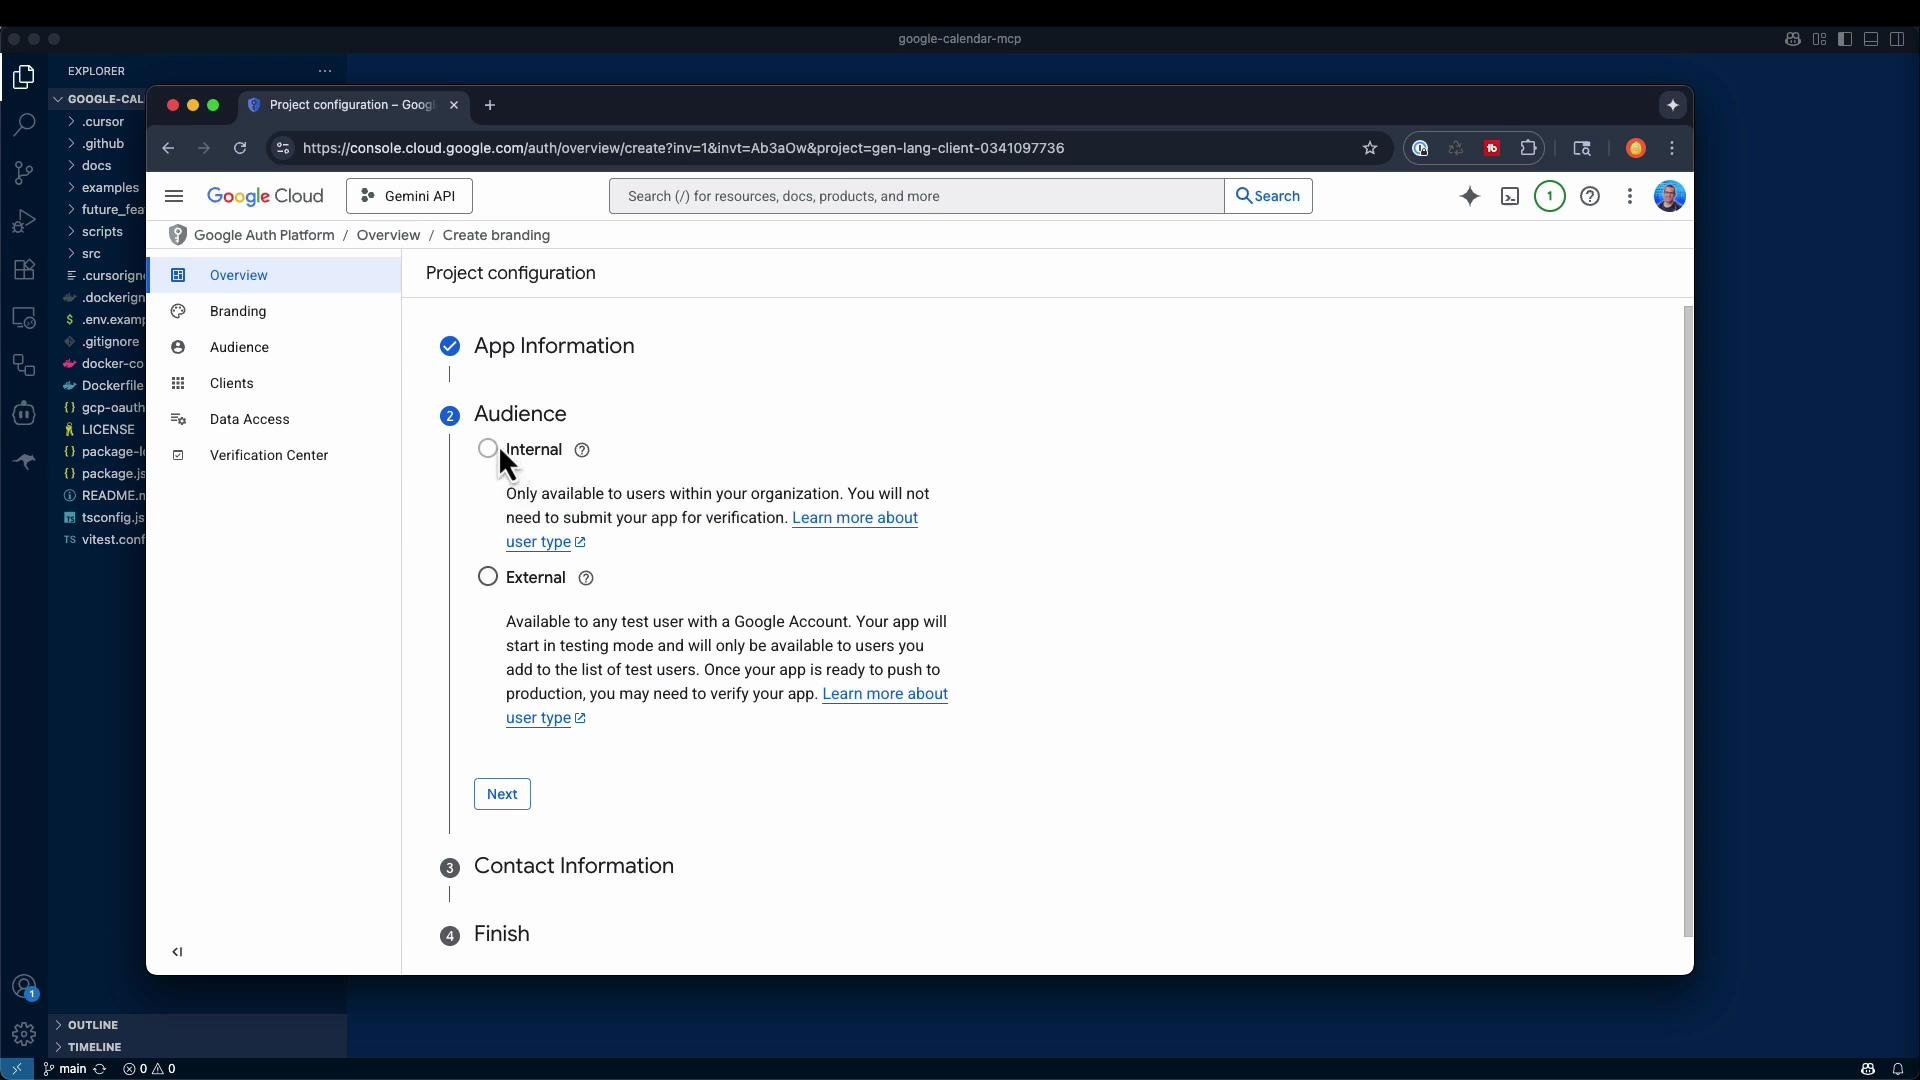
4. Create OAuth client credentials
- Create an OAuth 2.0 Client ID and choose Desktop app as the application type: https://developers.google.com/identity/protocols/oauth2
- Click Download JSON for the client credentials and save the file locally.
- Optionally rename the downloaded file to
credentials.json(or another descriptive filename).
5. Set the GOOGLE_OAUTH_CREDENTIALS environment variable and start the MCP server
Export an environment variable pointing to the absolute path of your credentials file, then start the MCP server. Example:If you see the “Google hasn’t verified this app” page, proceed only if you trust the app and the credentials. Do not authorize unknown or public apps with your primary Google account.
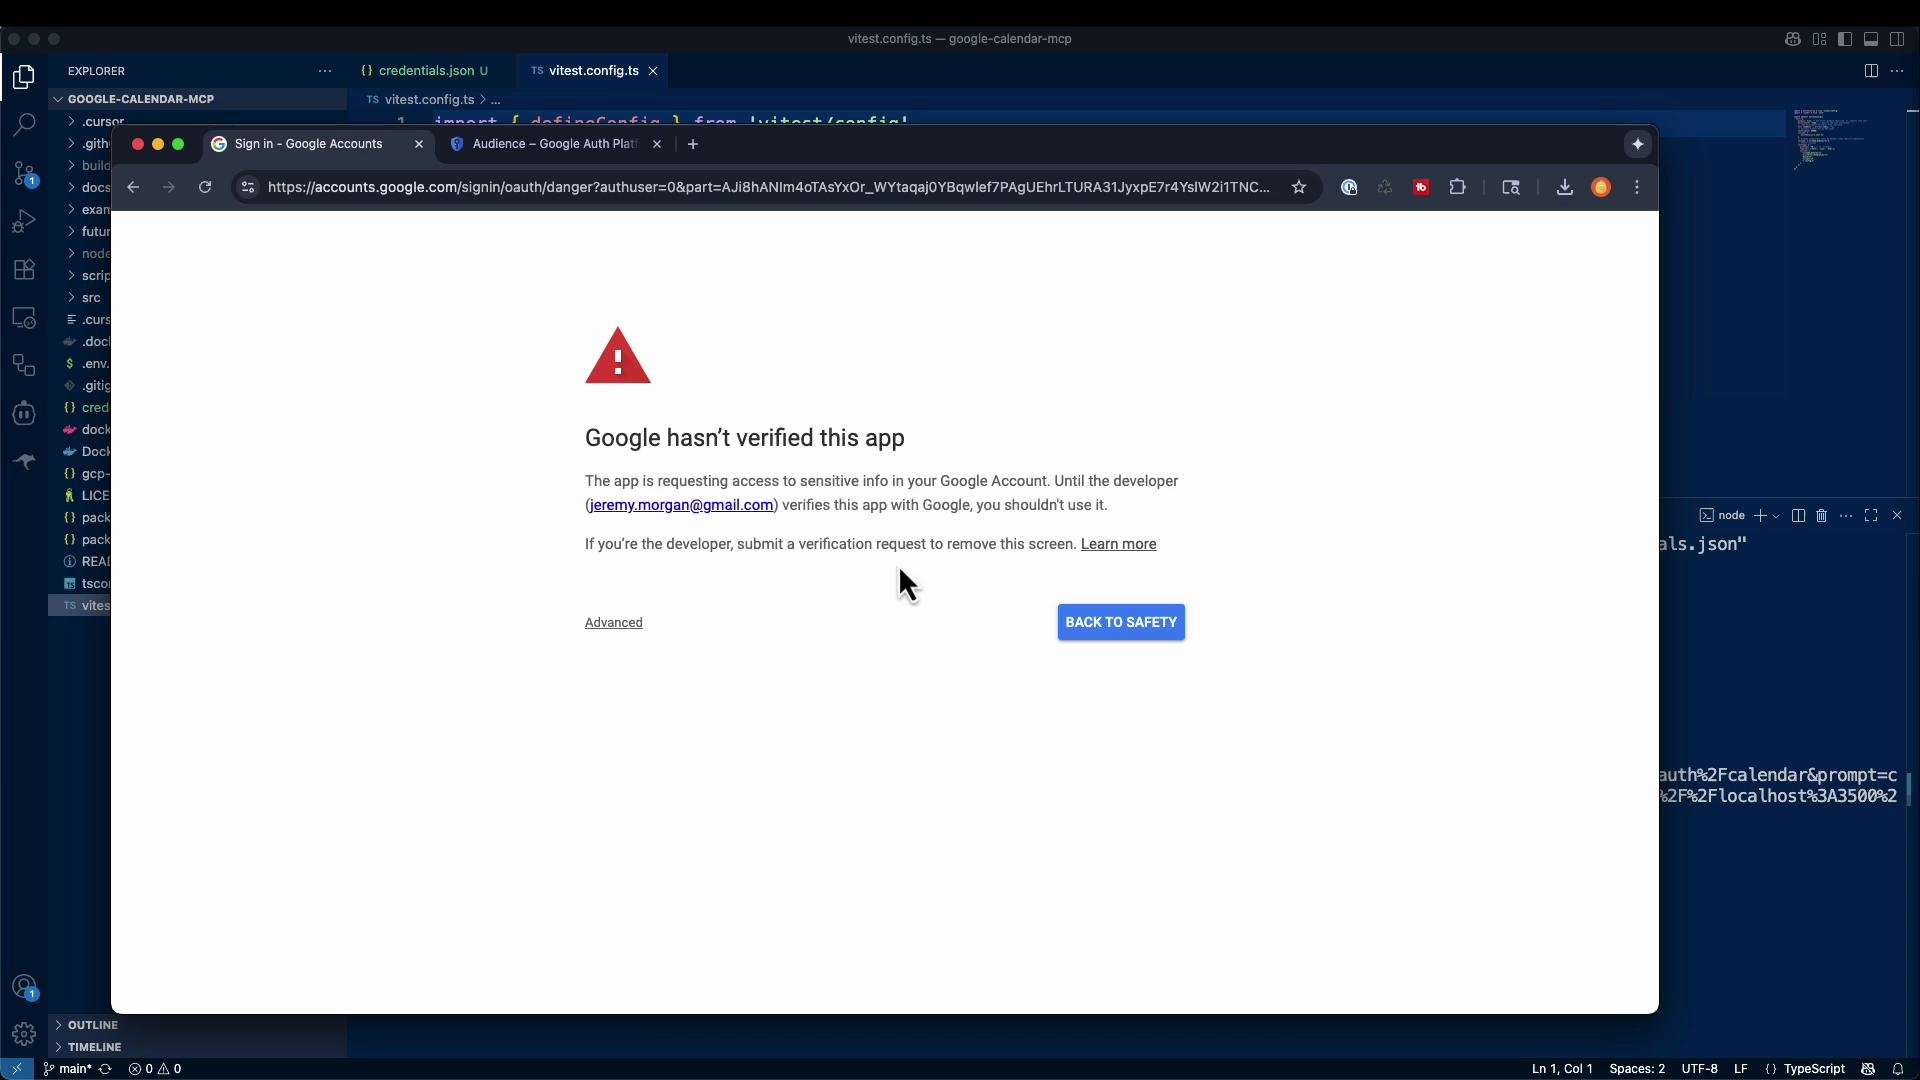
6. Add the MCP server to Claude Desktop
Edit your Claude Desktop configuration file and add a new MCP server entry undermcpServers. The config file location depends on your OS:
Example minimal JSON to add the Google Calendar MCP server:
7. Interacting with the calendar from Claude
Once the MCP server is connected, use natural-language prompts like:- “What do I have on my calendar this week?”
- “Create a new event on Saturday at 3 p.m. titled ‘Take a Walk’.”
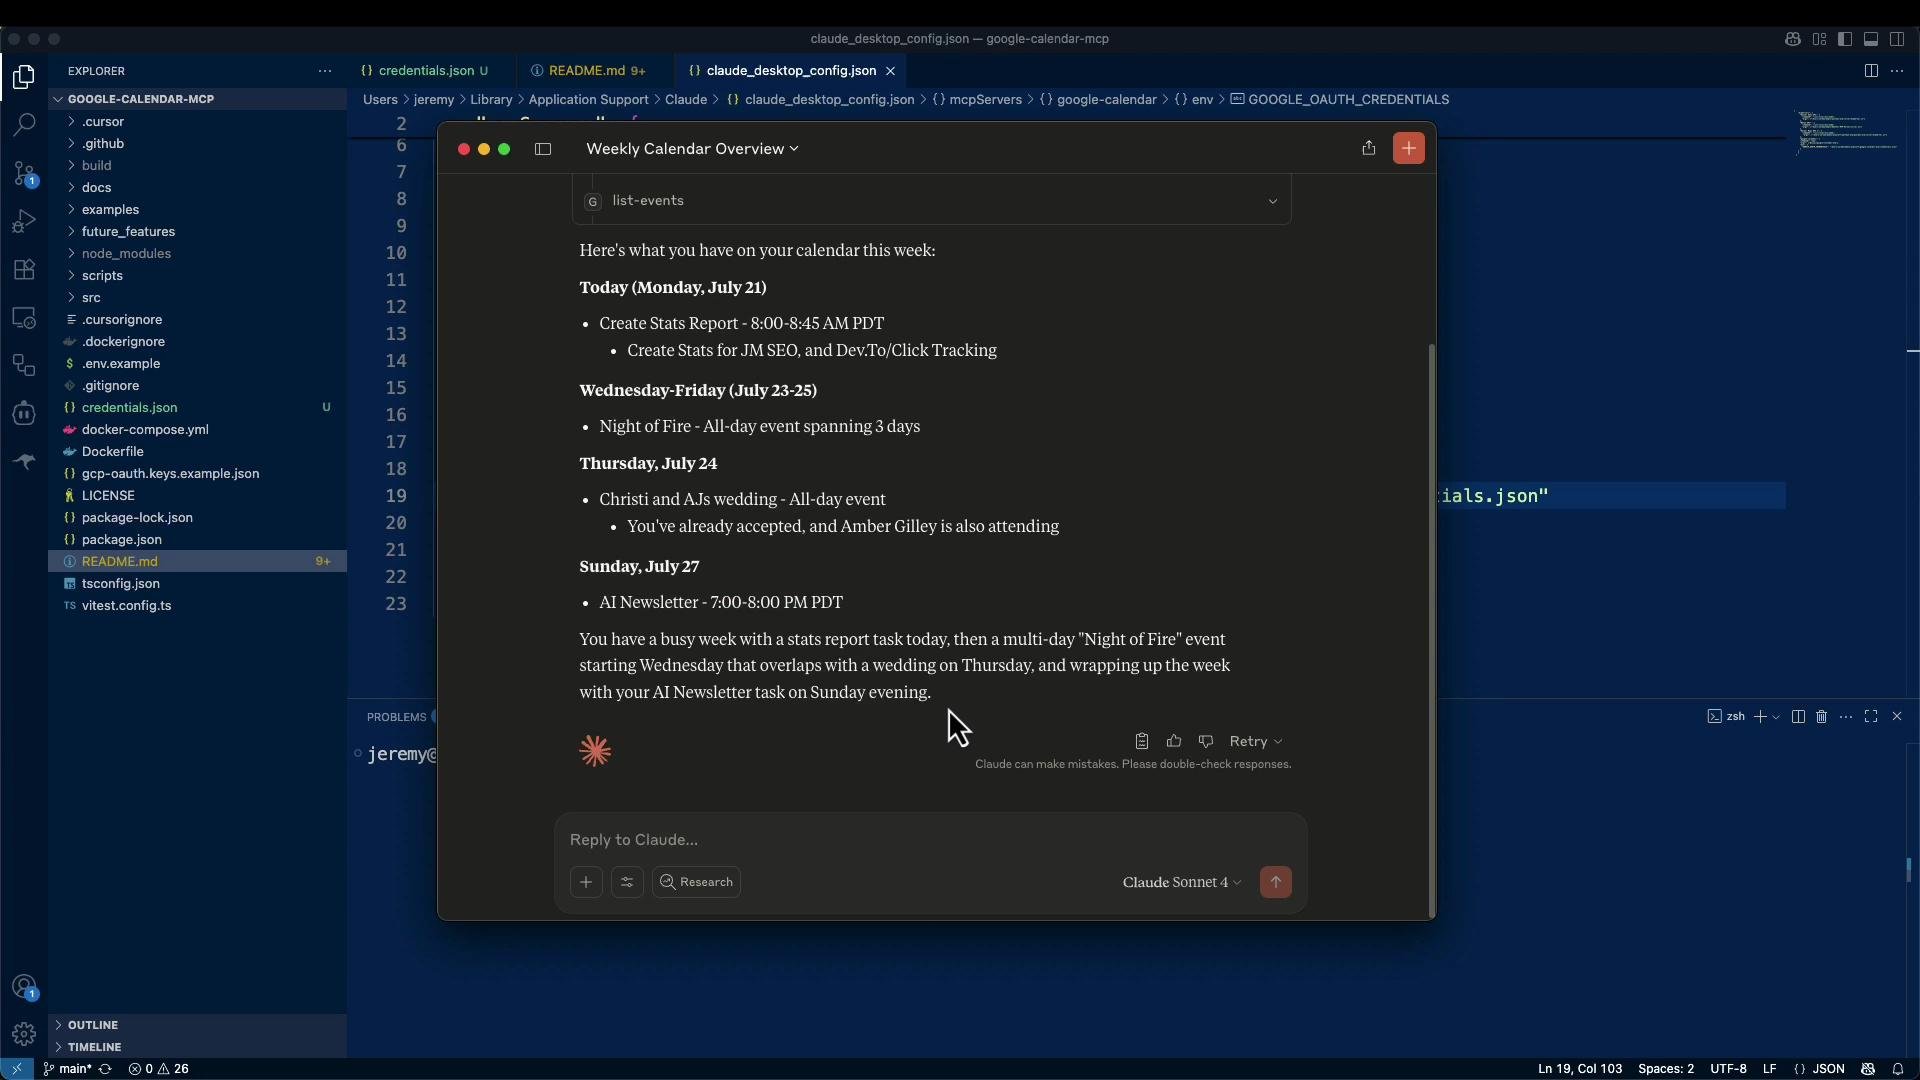
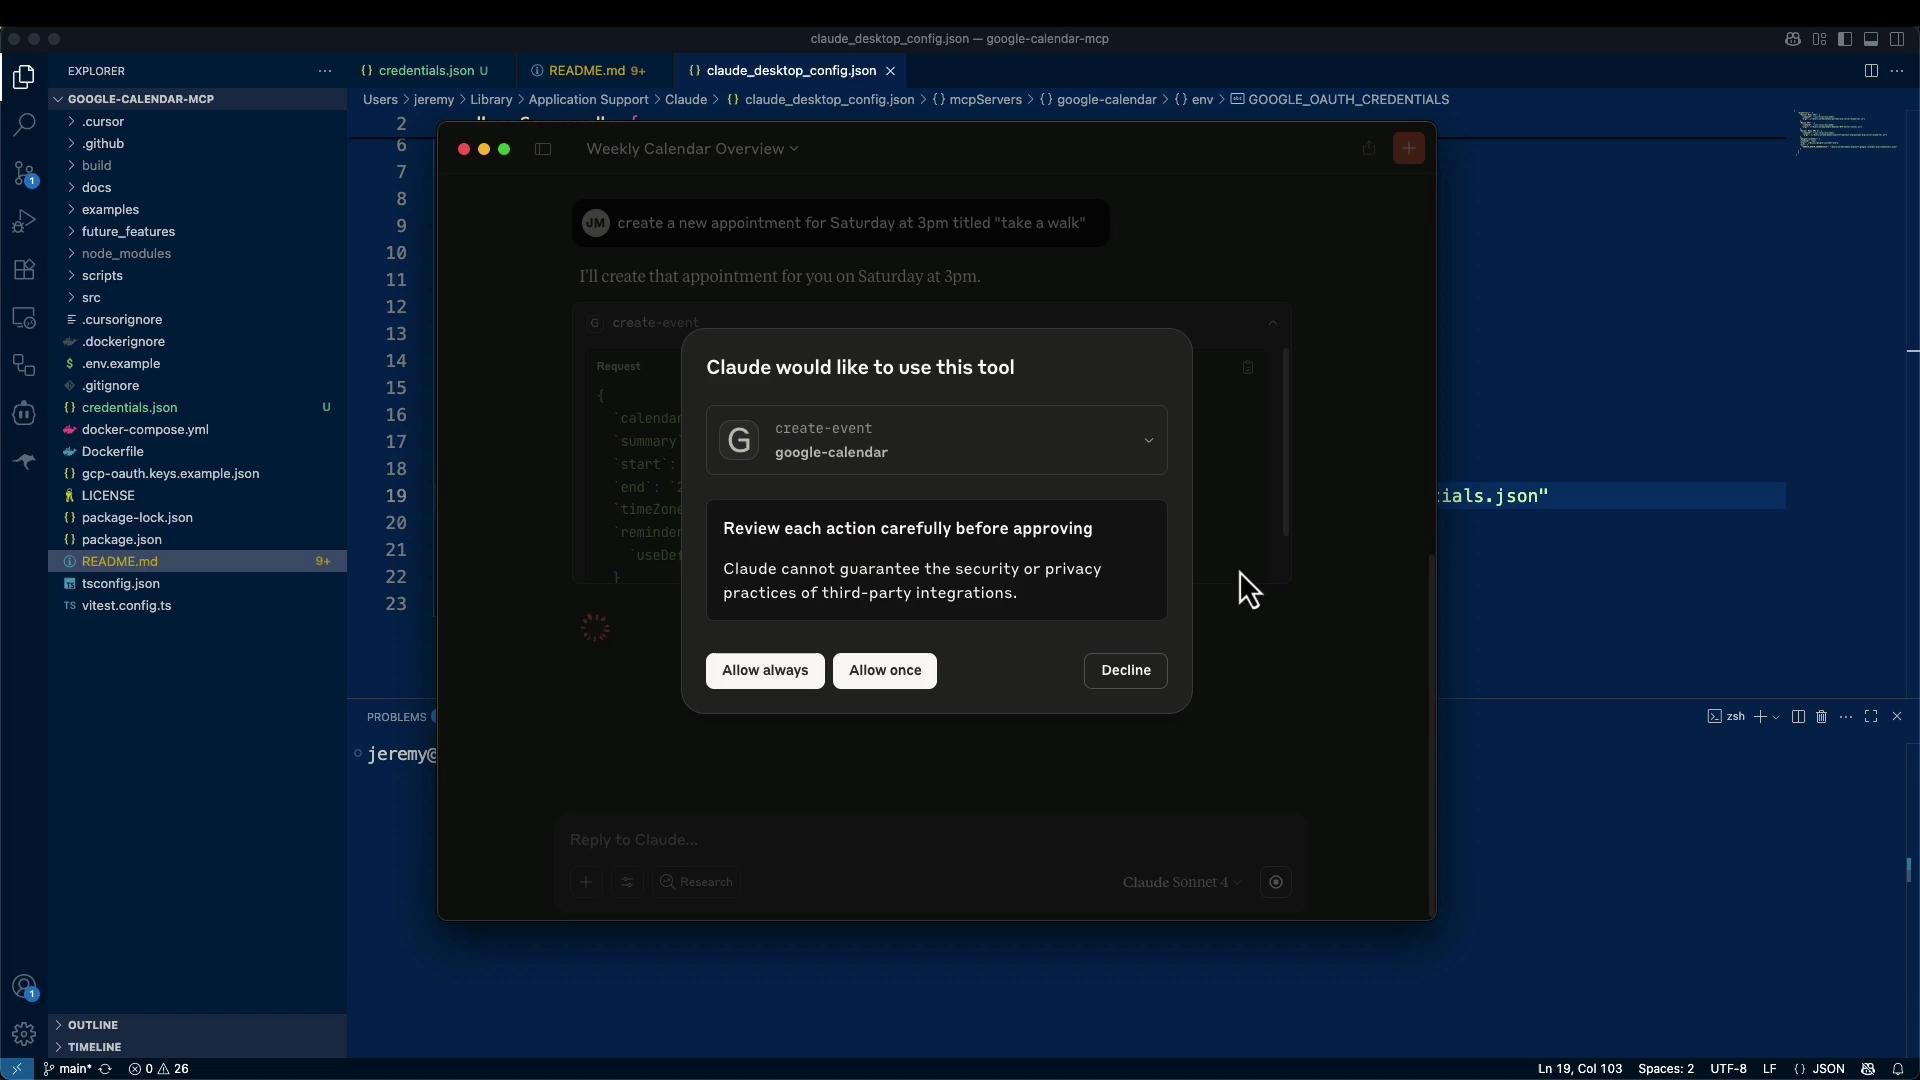
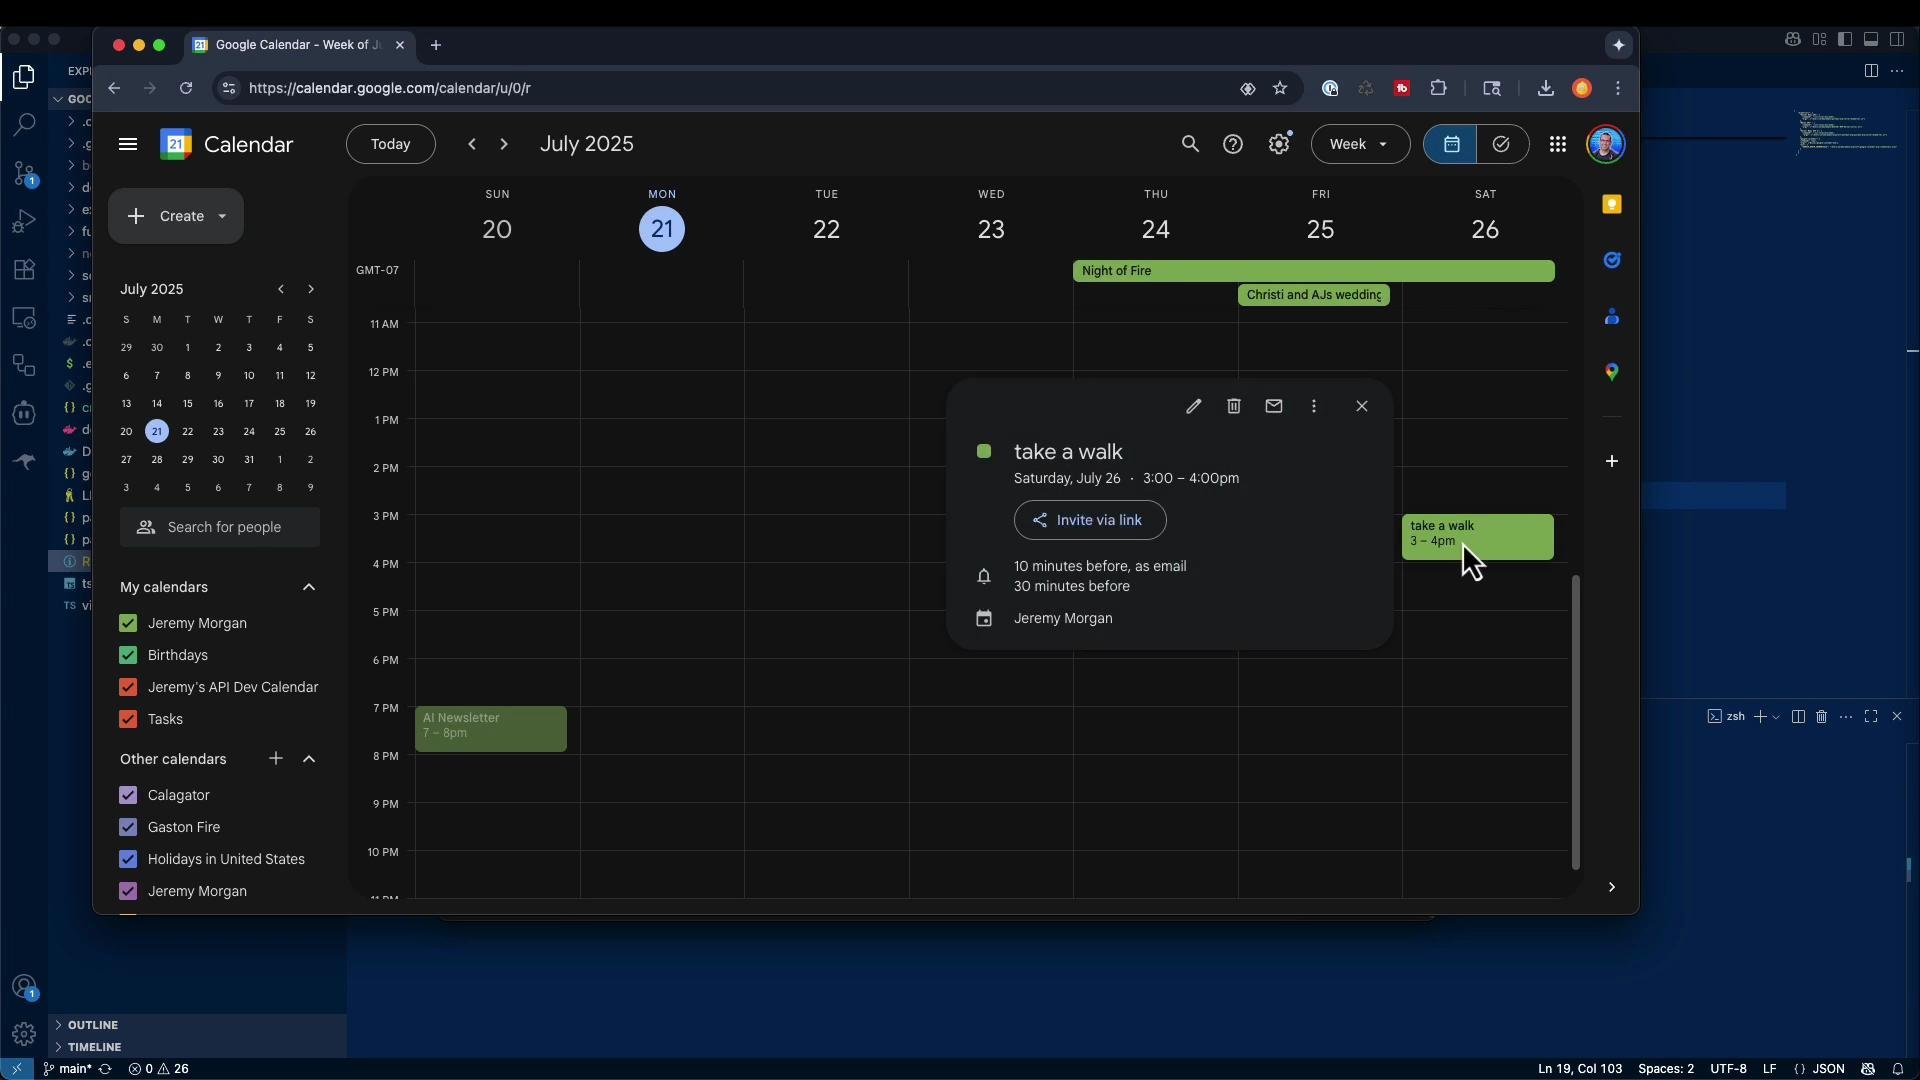
Why use an MCP server?
MCP servers provide a consistent, tool-like interface that LLMs can call to perform API actions on your behalf. Benefits include:- Simplified authorization: OAuth flows and token storage are handled by the MCP server.
- Structured responses: The MCP server returns parsed, predictable results for the assistant to consume.
- Reusability: The same MCP server can be reused across multiple assistant deployments without re-implementing API logic.
Keep your downloaded credential files and token files private. Do not commit
credentials.json or tokens.json to a public repository.Closing
This walkthrough demonstrates how to run a Google Calendar MCP server locally, authorize it with Google OAuth, register it with Claude Desktop, and use natural language to read and create events. MCP servers let you expose APIs to LLM-based assistants cleanly while isolating authorization and API logic from the assistant itself.Links and references
- Google Cloud Console — APIs Library: https://console.cloud.google.com/apis/library
- Google Calendar API docs: https://developers.google.com/calendar
- OAuth 2.0 for Desktop Apps: https://developers.google.com/identity/protocols/oauth2
- Google unverified apps doc: https://support.google.com/cloud/answer/7519473
- google-calendar-mcp README: https://github.com/nspady/google-calendar-mcp#readme