In this guide, we will demonstrate how to publish your API module and establish a continuous integration pipeline using GitHub Actions. We begin by handling an API request, initializing our Git repository, and then creating and configuring a workflow for your CI/CD pipeline.

API Module Implementation

Assuming your API server is ready, let’s publish the module. When a request is received, the JSON payload is decoded into a product structure, the product is updated in the database, and a response is sent. The following Go code illustrates this logic:
This code ran successfully as indicated by the following output from our Go environment:

Initializing the Git Repository

After verifying that your API server is functioning correctly, the next step is to create a new repository on GitHub. In our example, the repository is named “my-inventory”. The screenshot below shows the GitHub interface when creating a new repository:
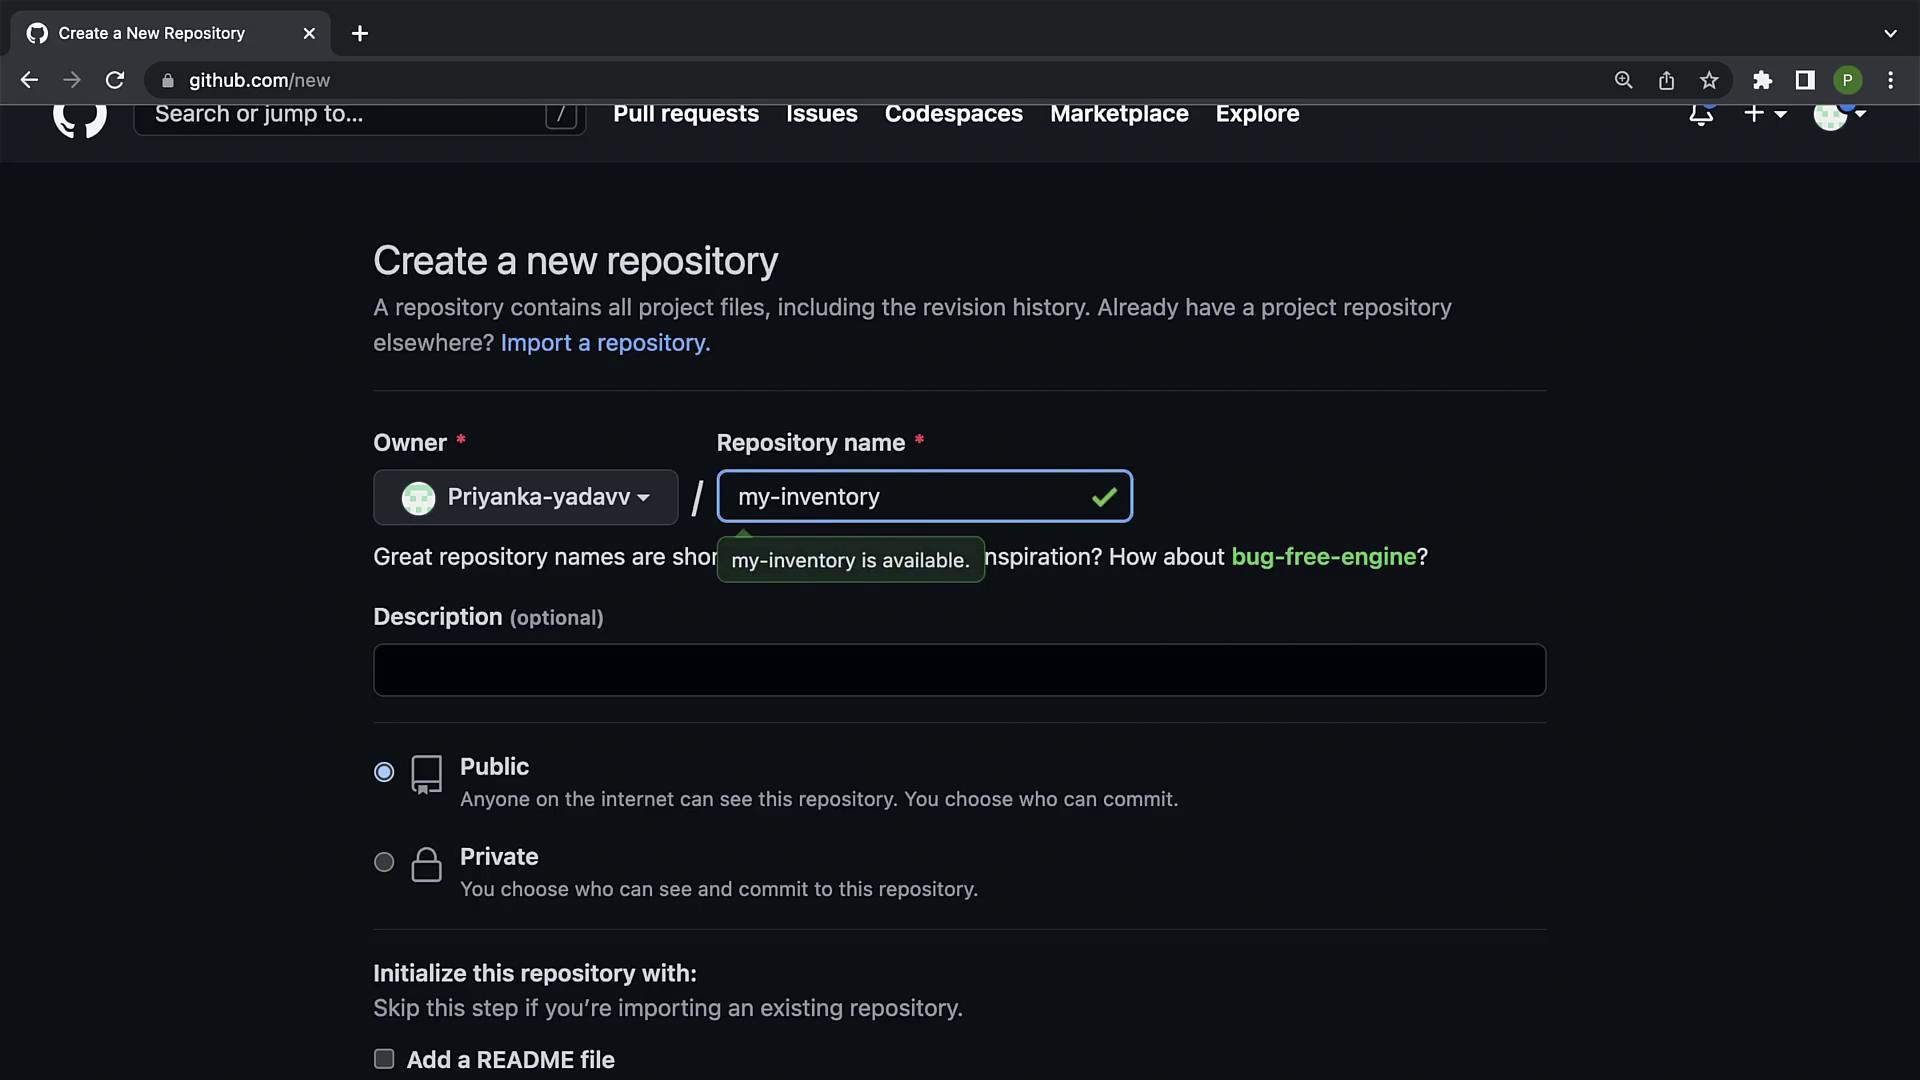
The image shows a GitHub page for creating a new repository, with fields for the repository name, description, and visibility options. The repository name "my-inventory" is available.
For this demonstration, set the repository to public and copy its URL. Then, open the terminal and execute the following commands to initialize the repository locally:
The successful initialization of the repository is confirmed by output similar to:
After adding the remote origin URL, check your repository status with:
You’ll see your untracked Go and test files, such as app.go, app_test.go, constants.go, go.mod, go.sum, main.go, and model.go. Add and commit these files using:
The commit log might appear as follows:
Finally, push your commits to the remote repository with:
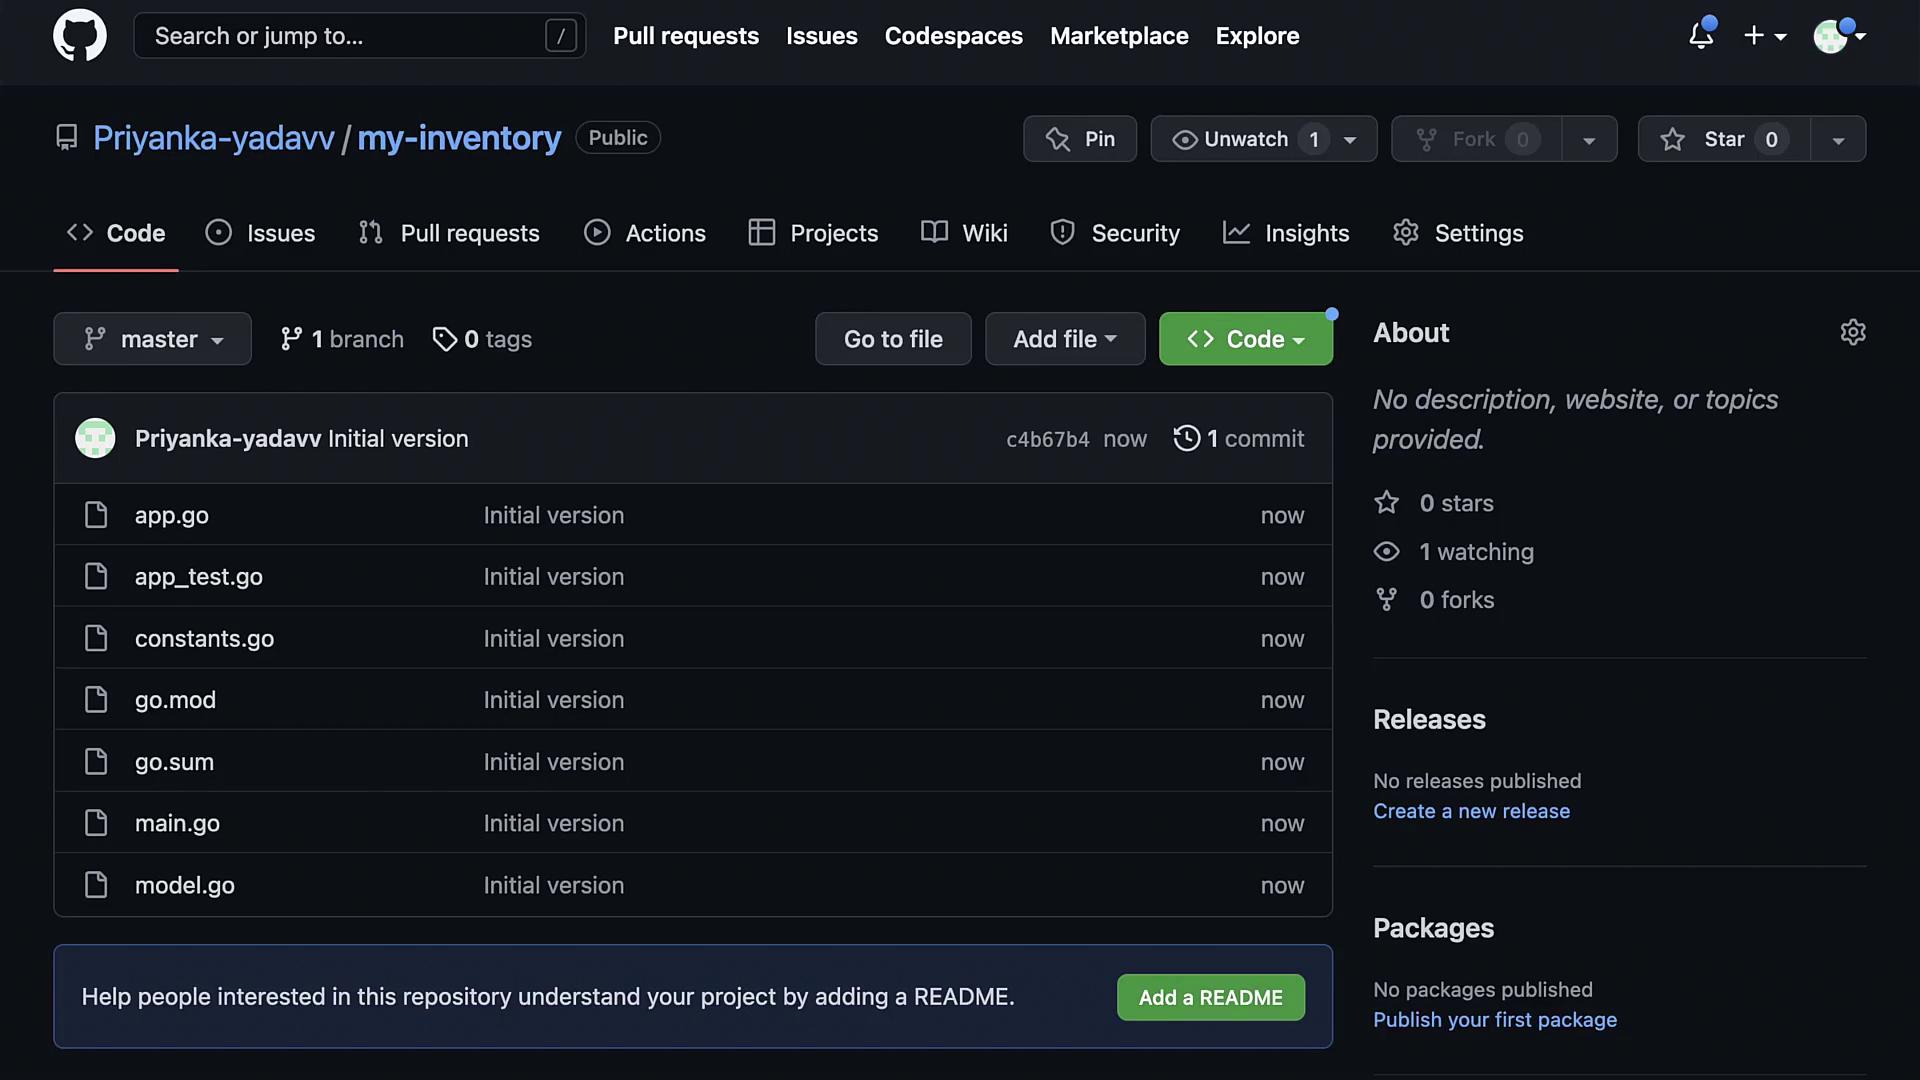
View the repository on GitHub using the following screenshot:
The image shows a GitHub repository named "my-inventory" by a user, displaying several Go language files with an initial version commit. The repository has no stars, forks, or description provided.

Configuring GitHub Actions for CI/CD

Our objective is to automate linting and testing every time new changes are pushed to the repository or when pull requests are created. This section outlines the process of setting up a GitHub Actions workflow for continuous integration.

Setting Up the Workflow File

Create a directory named .github in your project root, and within it, create a workflows directory. Inside the workflows directory, create a file named ci.yaml:
Open ci.yaml using your preferred editor, and begin by defining the workflow name along with the trigger events.
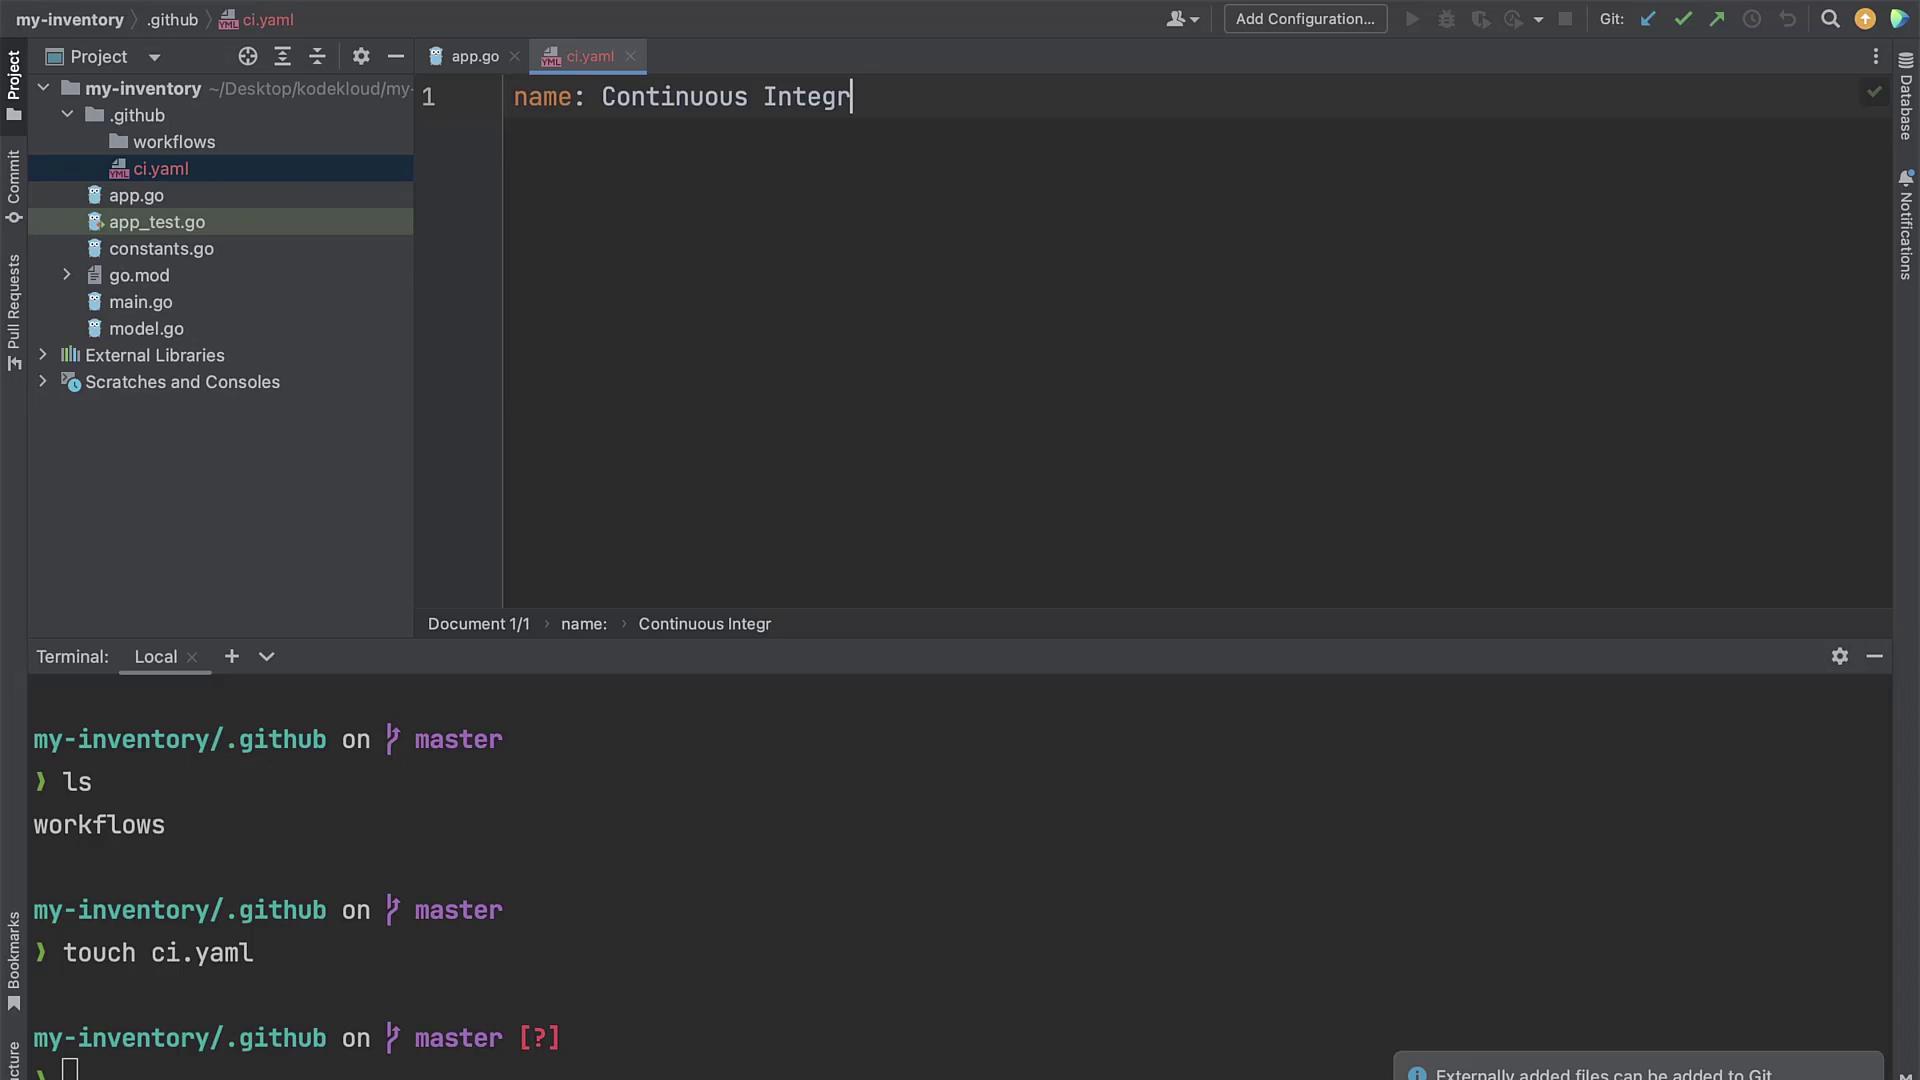
The image shows a code editor with a project directory open, displaying a YAML file being edited. The terminal at the bottom shows Git commands being executed.
Below is an example workflow configuration file that sets up MySQL, checks out your repository code, sets up Go, performs linting, and runs tests:
This workflow is triggered on every push. It initiates by starting MySQL, modifying the root user’s password, and creating a “test” database. It then checks out the repository code, sets up Go (version 1.19), performs linting using go fmt and go vet, and finally runs the tests with go test. After adding the workflow file, stage and commit the changes using:
Next, navigate to your repository’s “Actions” tab on GitHub to see the workflow running. If the workflow is not detected, ensure that the ci.yaml file is placed exactly within the .github/workflows directory. The commit output may appear like this:
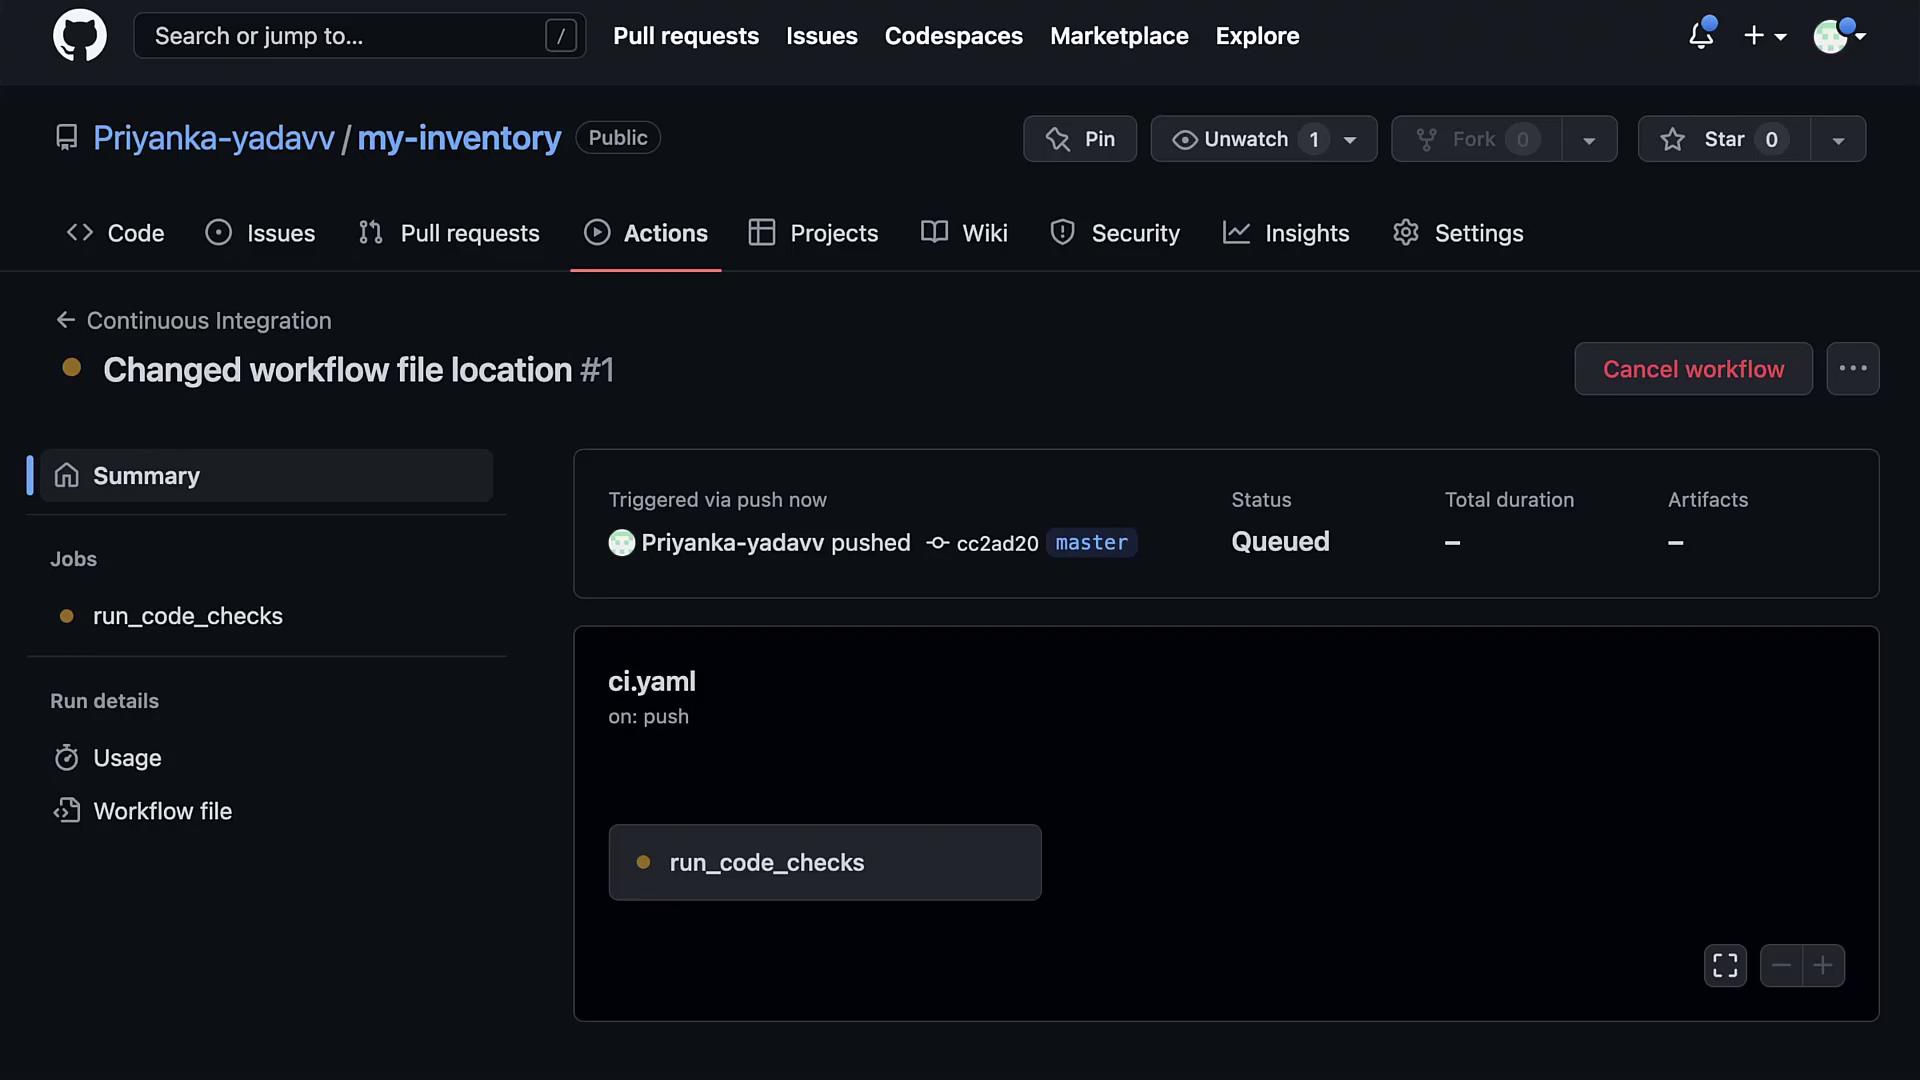
The image shows a GitHub Actions page for a repository named "my-inventory," where a workflow file location change has triggered a continuous integration job that is currently queued.

Troubleshooting the MySQL Setup in the Workflow

If you experience issues with the MySQL setup step in your workflow, it may be due to improper quote usage in the command that alters the user password. Ensure you are using matching quotes.
The corrected commands should look like this:
After making these adjustments and pushing the changes, the workflow steps should execute successfully. A successful run is confirmed by logs indicating:
  • MySQL was properly started and configured.
  • The repository code was checked out.
  • Go was correctly set up.
  • Linting and tests were executed as expected.
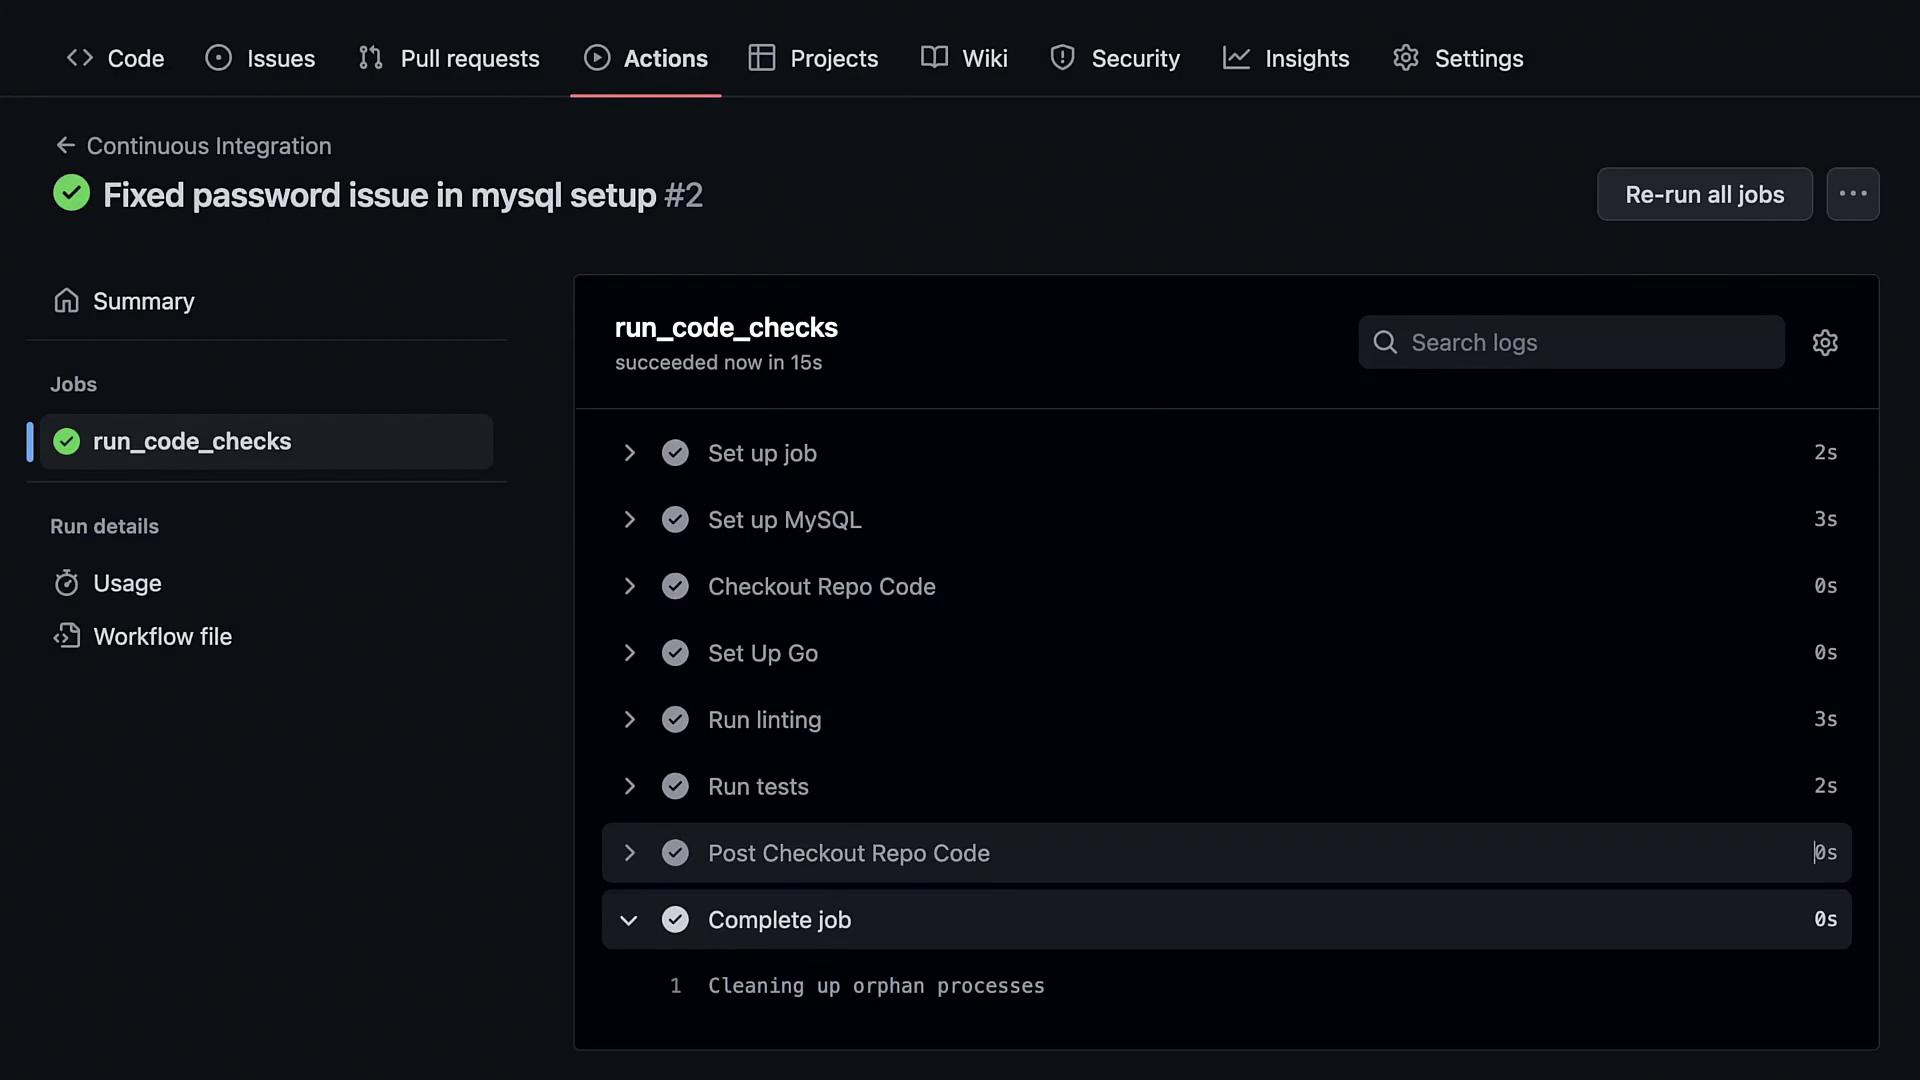
For example, a successful test run might display:
The image shows a GitHub Actions interface with a successful continuous integration workflow run, detailing steps like setting up MySQL, checking out code, and running tests.

Conclusion

In this guide, we established a CI/CD pipeline to automate the linting and testing of a Go application using GitHub Actions. The key steps in this workflow include:
  • Starting and configuring MySQL.
  • Checking out the repository code.
  • Setting up Go on an Ubuntu container.
  • Running linting via go fmt and go vet.
  • Executing tests with go test.
Automating these processes helps maintain code quality and ensures consistent functionality throughout your development cycles. Congratulations on setting up your continuous integration pipeline for your Go application!

Watch Video