

Initialize Your Git Repository
Start by converting your unversioned project directory into a Git repository. Begin in your project’s root directory, as illustrated below: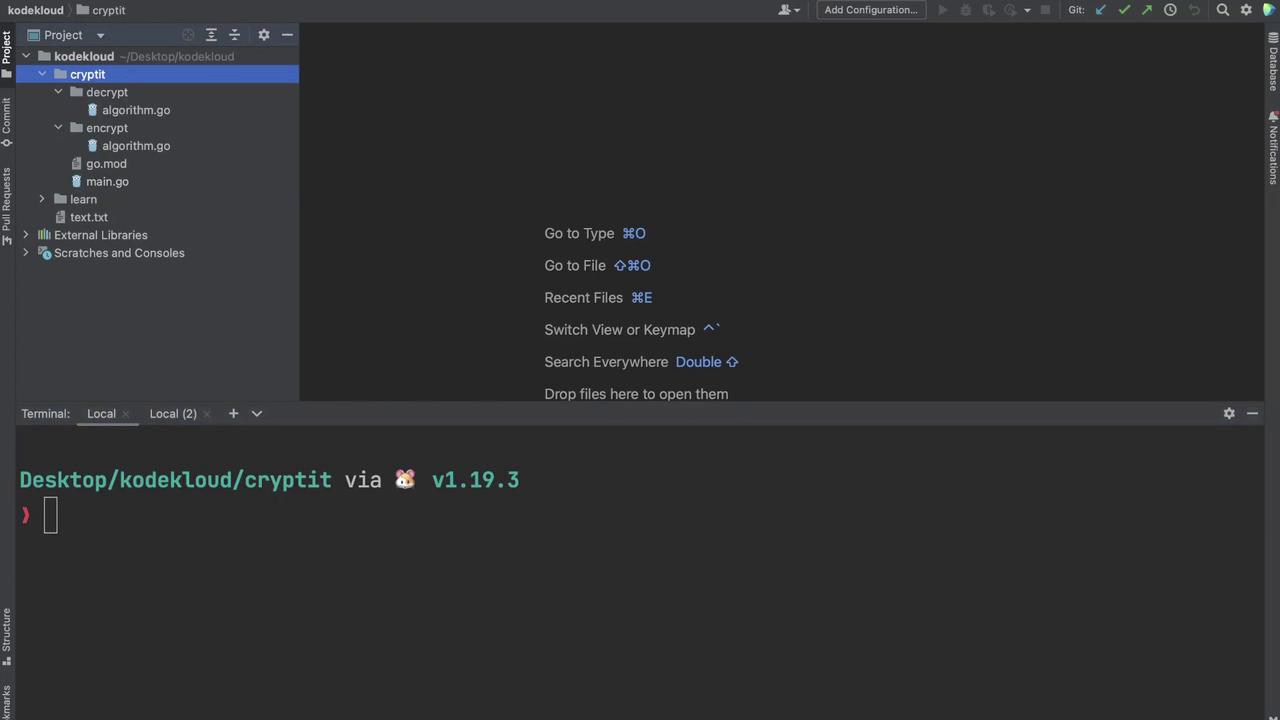
Initializing the repository sets up the necessary metadata, transforming your project directory into a version-controlled environment.
Add Remote and Verify Configuration
Next, add a remote named “origin” that points to your GitHub repository:Check Repository Status
Check the current status of your repository. Here, a custom “go status” command (used to illustrate changes) triggers an error message since it’s not a valid Go command:encrypt and decrypt packages, along with the go.mod and main.go files. Stage and commit these files with an appropriate message:
Tagging Your Commit
For this demonstration, we’re releasing a minor version update. Tag your commit with a version number using the following command:Push the Tag to GitHub
Push the tag to your GitHub repository: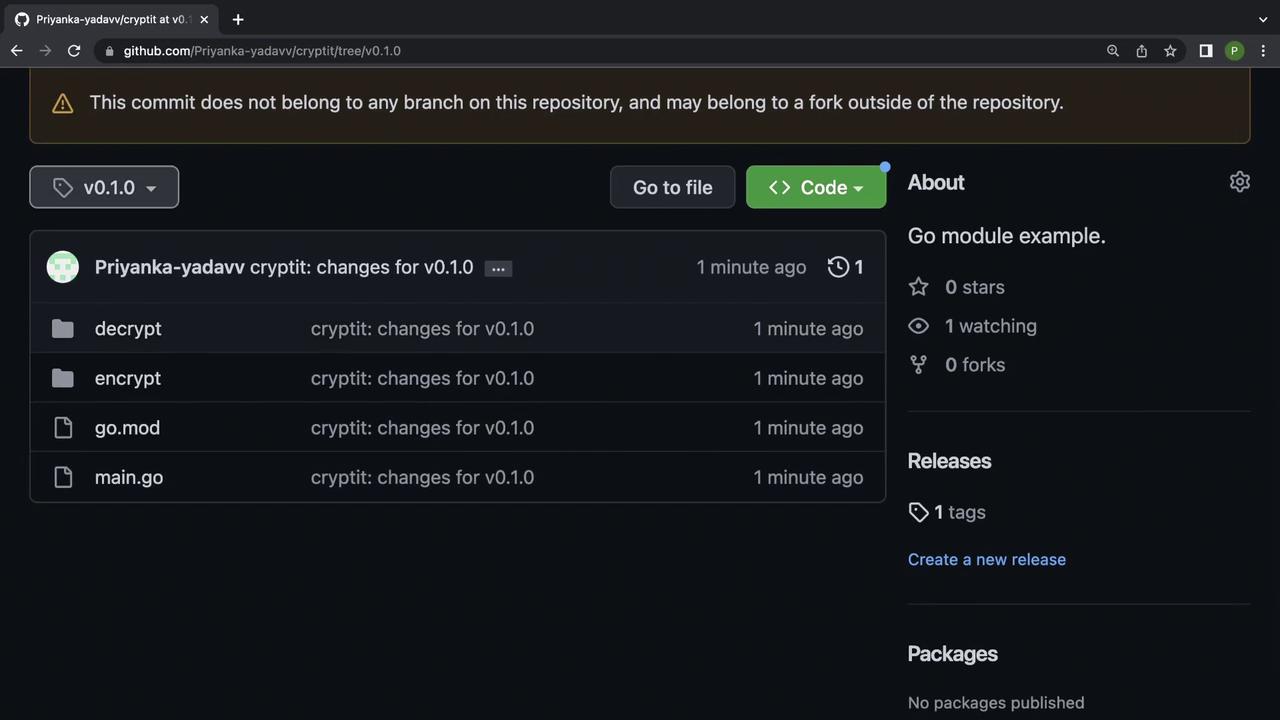
Update the Module Reference
Previously, you used areplace directive in your go.mod file to reference a local copy of the module:
replace directive so that your go.mod file looks like this:
Fetch the Published Module
Use thego get command to retrieve the published module with its tag. Note that the full module path is required:
go.mod file to include the module as an indirect dependency:
Update Your Application
Modify yourmain.go to import and use the now-published module. Below is an example of how your main.go might look:
Final Verification
Ensure thego.mod file correctly reflects the change:
With your module now published on GitHub, you can easily share and reuse your code. This practice simplifies dependency management and supports semantic versioning.