

Step 1: Add the Kubernetes Integration
After logging into your Elastic Cloud console, click on the Add integration option. You will be presented with a list of available integrations: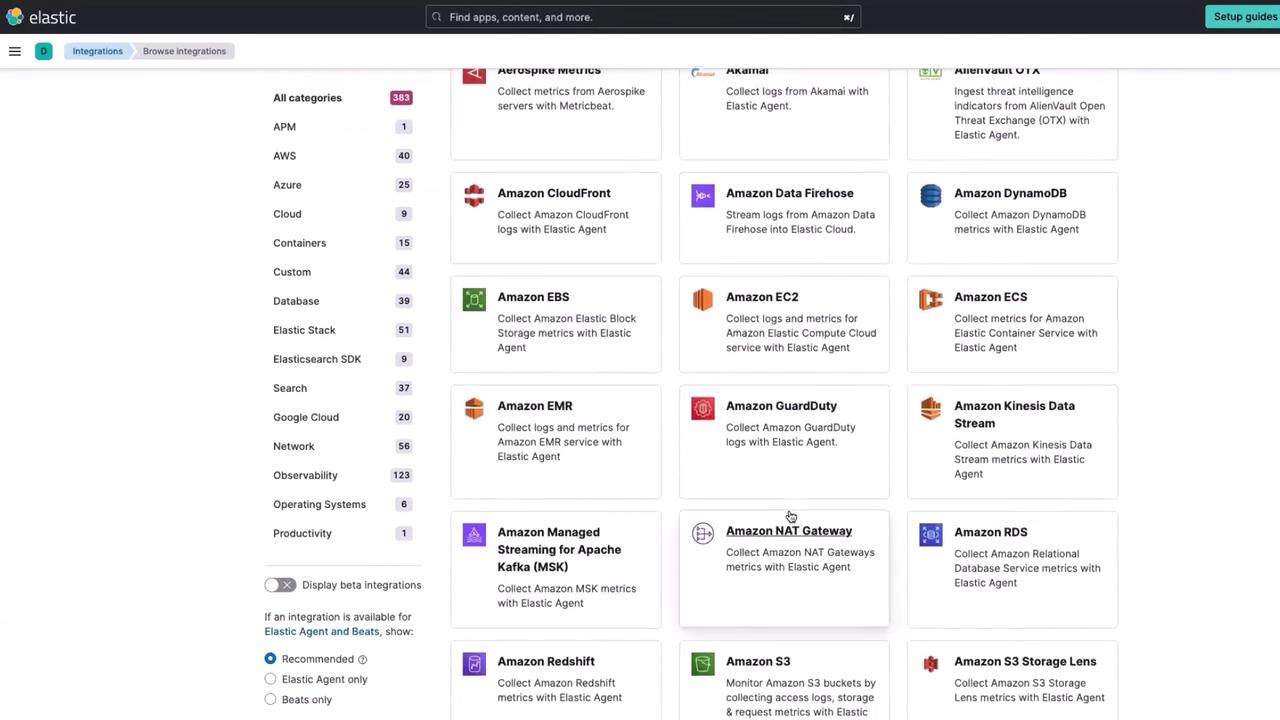
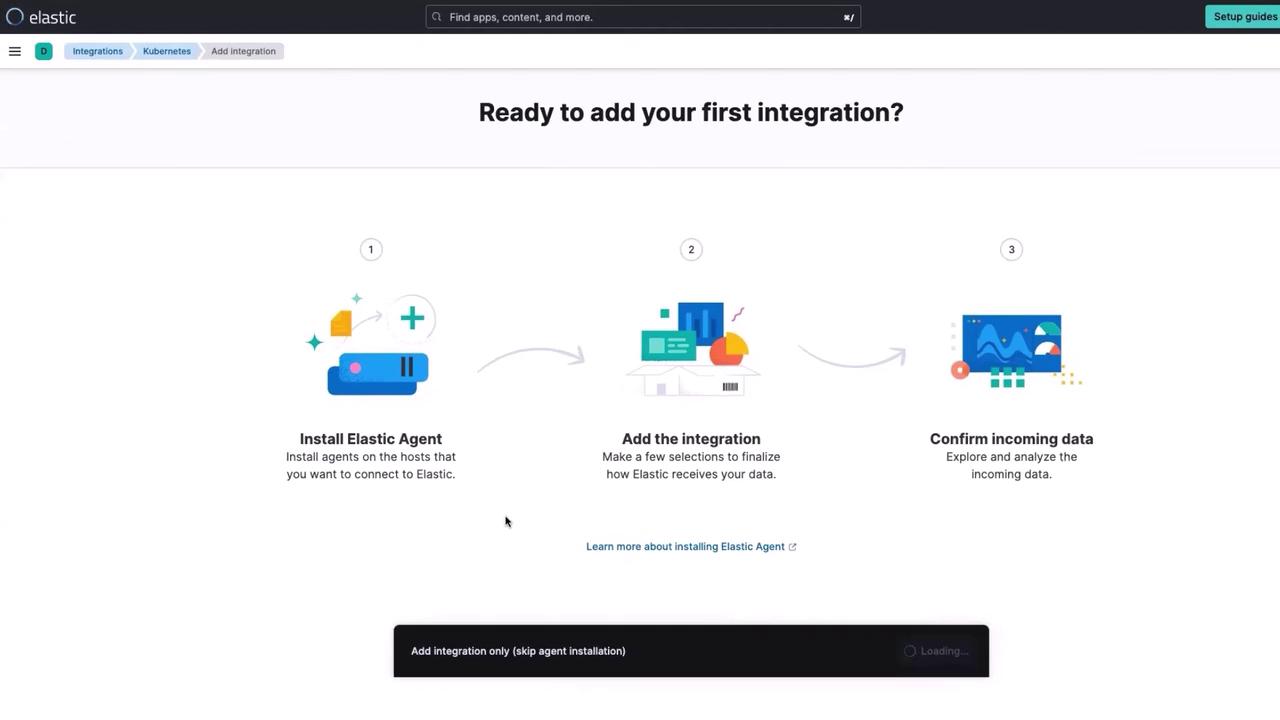
Step 2: Deploy the Elastic Agent on Kubernetes
Click the Install Elastic Agent option to view the Kubernetes deployment YAML along with the command required for deployment. The top portion of the deployment file appears as follows:elastic-agent-managed-kubernetes.yml). Ensure that your YAML file includes the necessary specifications for proper scheduling, such as tolerations for control-plane nodes, to ensure that metrics from Kubernetes control components (scheduler, controller manager) are collected:
Step 3: Verify the Deployment
Once the deployment process is complete, verify that the Elastic Agent pods are running. Execute the following command:Step 4: View Metrics in Elastic Cloud
Once the Elastic Agent is enrolled, Elastic Cloud automatically starts collecting metrics from your Kubernetes cluster. In your Elastic Cloud console:- Click on Confirm data.
- Select View Kubernetes metrics on the dashboard.
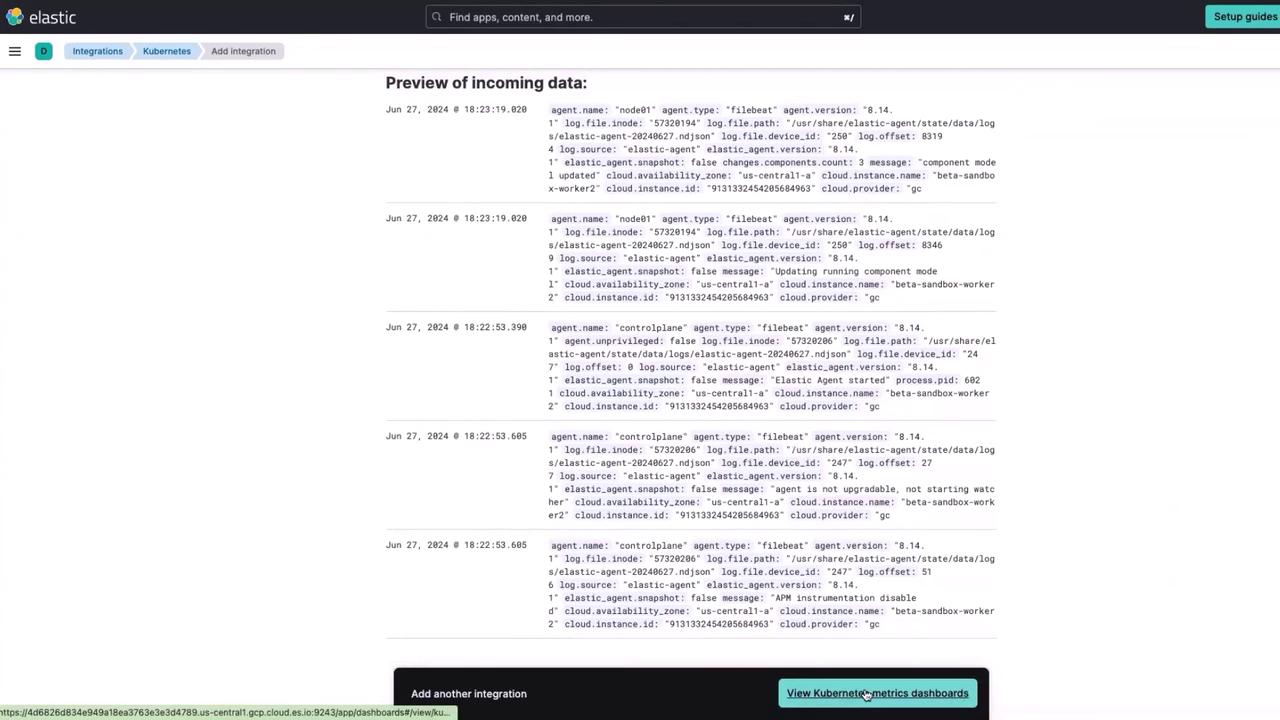
kube-system namespace:
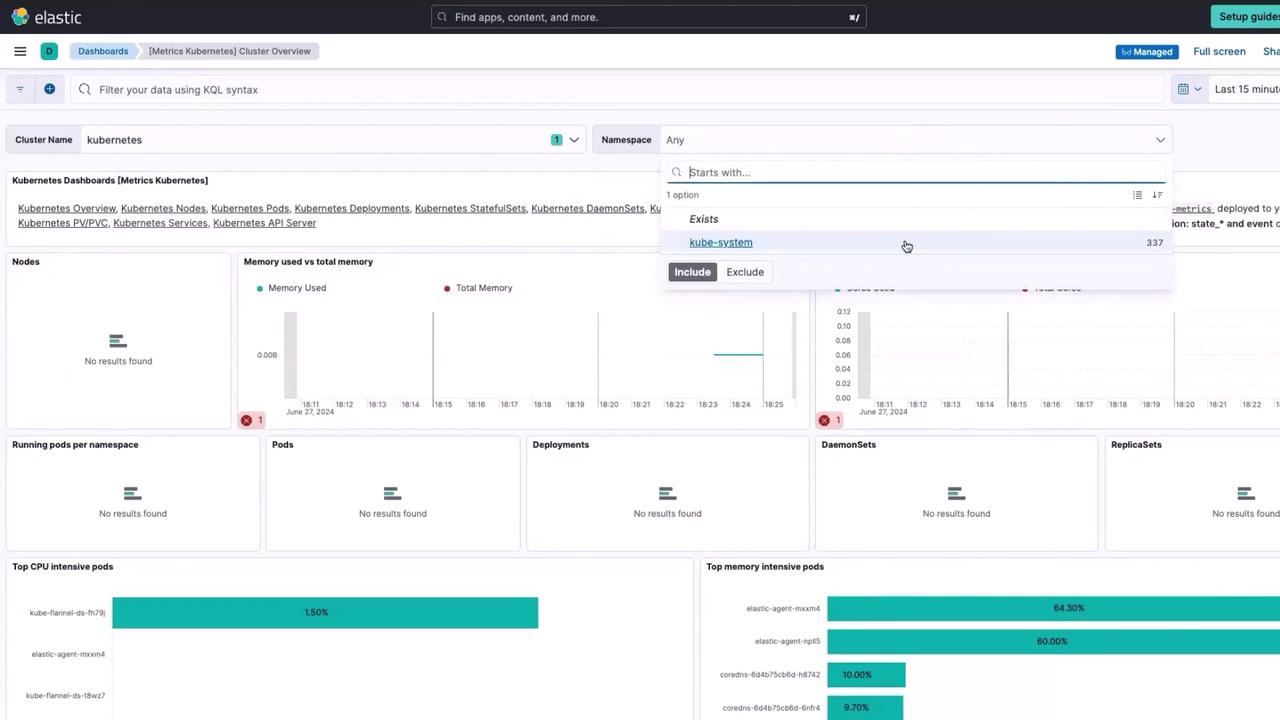
If you require a customized view, you can clone or modify the dashboard. However, note that managed dashboards provided by Elastic Cloud are maintained by the Elastic Agent and are not immediately editable.
Step 5: Clean Up
If you’re using a free trial Elastic Cloud account, be sure to delete the deployment after your trial period ends to prevent ongoing charges.
- Navigate to your profile in Elastic Cloud.
- Click on Organization, then Elastic.
- On the home page, click Manage and choose Delete deployment.
- Confirm deletion by typing the cluster name.