Deploying and Validating the Login App on Kubernetes
This article provides a guide for deploying and validating the Login App on Kubernetes, including setup, configuration, and testing.
Welcome to this step-by-step guide on deploying and validating the Login App on Kubernetes. In this tutorial, you’ll learn how to verify your Elasticsearch and Kibana pods, explore the repository structure, review Kubernetes deployment files, deploy your application, and examine logging and authentication details. Let’s dive into the lab!
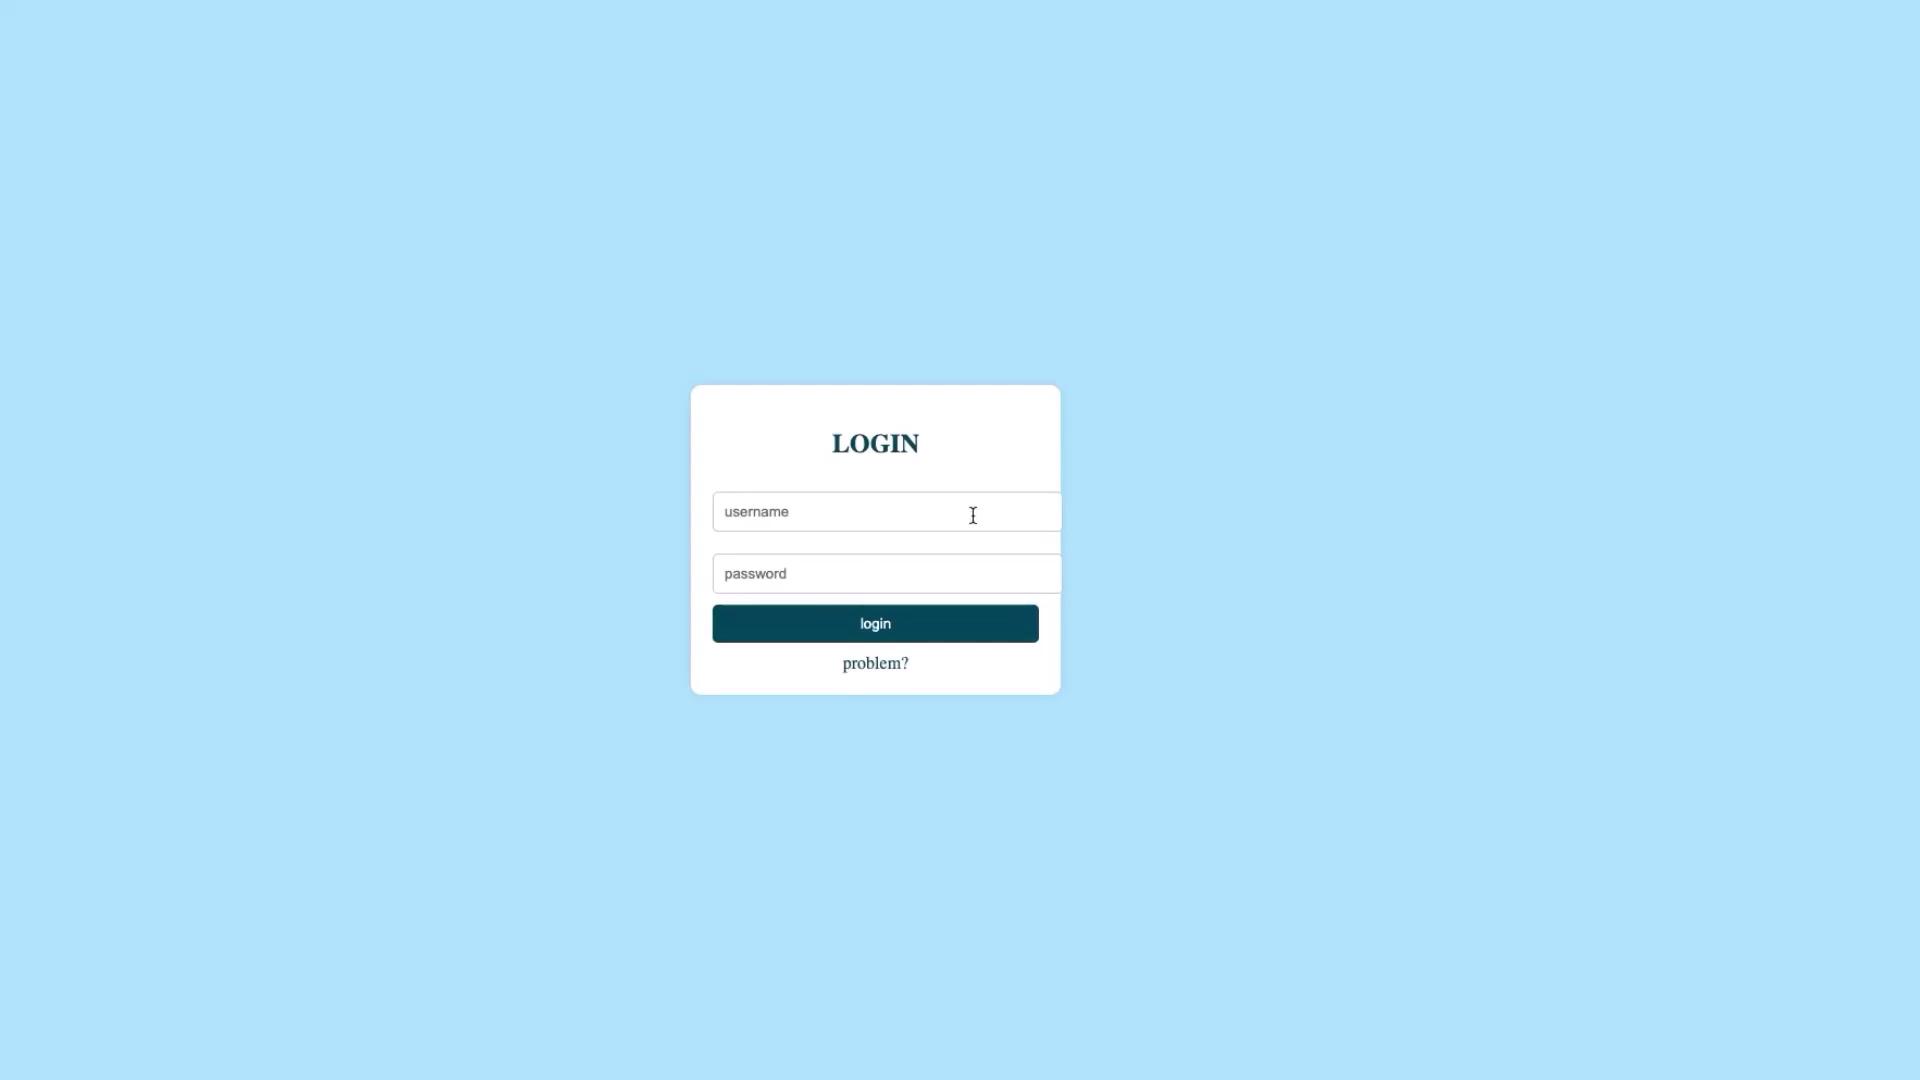
The templates directory contains the CSS and HTML files for the Login App. Configuration files such as service.yaml and deployment.yaml will be applied later, while requirements.txt and app.py contain the necessary dependencies and application code. The Dockerfile is used to build your Docker image, which is available on Docker Hub.
This YAML defines a Deployment that pulls the Docker image from Docker Hub. The container mounts a volume at /var/log/webapp, ensuring that the directory is created if it does not exist already.The associated service is defined as follows:
This service configuration exposes the application on port 5005 with a NodePort set within the allowed range. Adjust the nodePort value as needed while keeping it between 30000 and 32767.
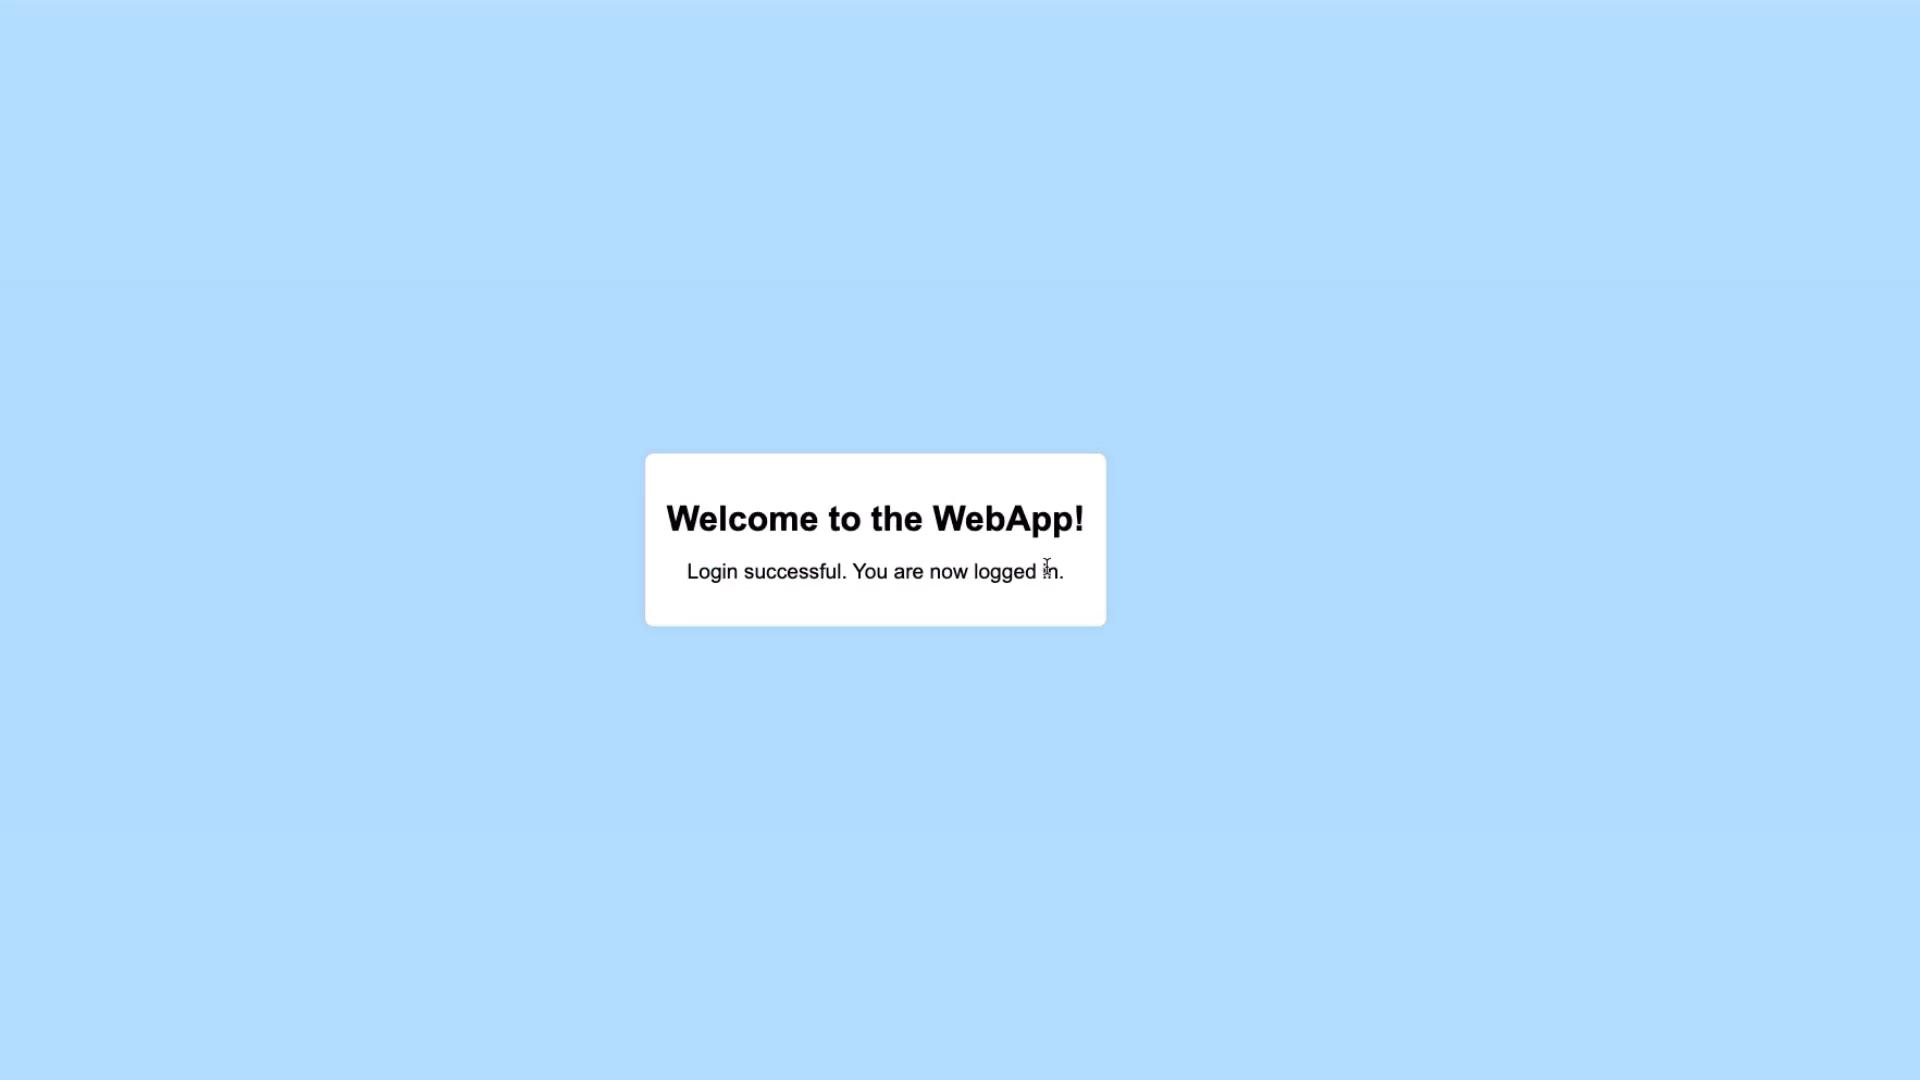
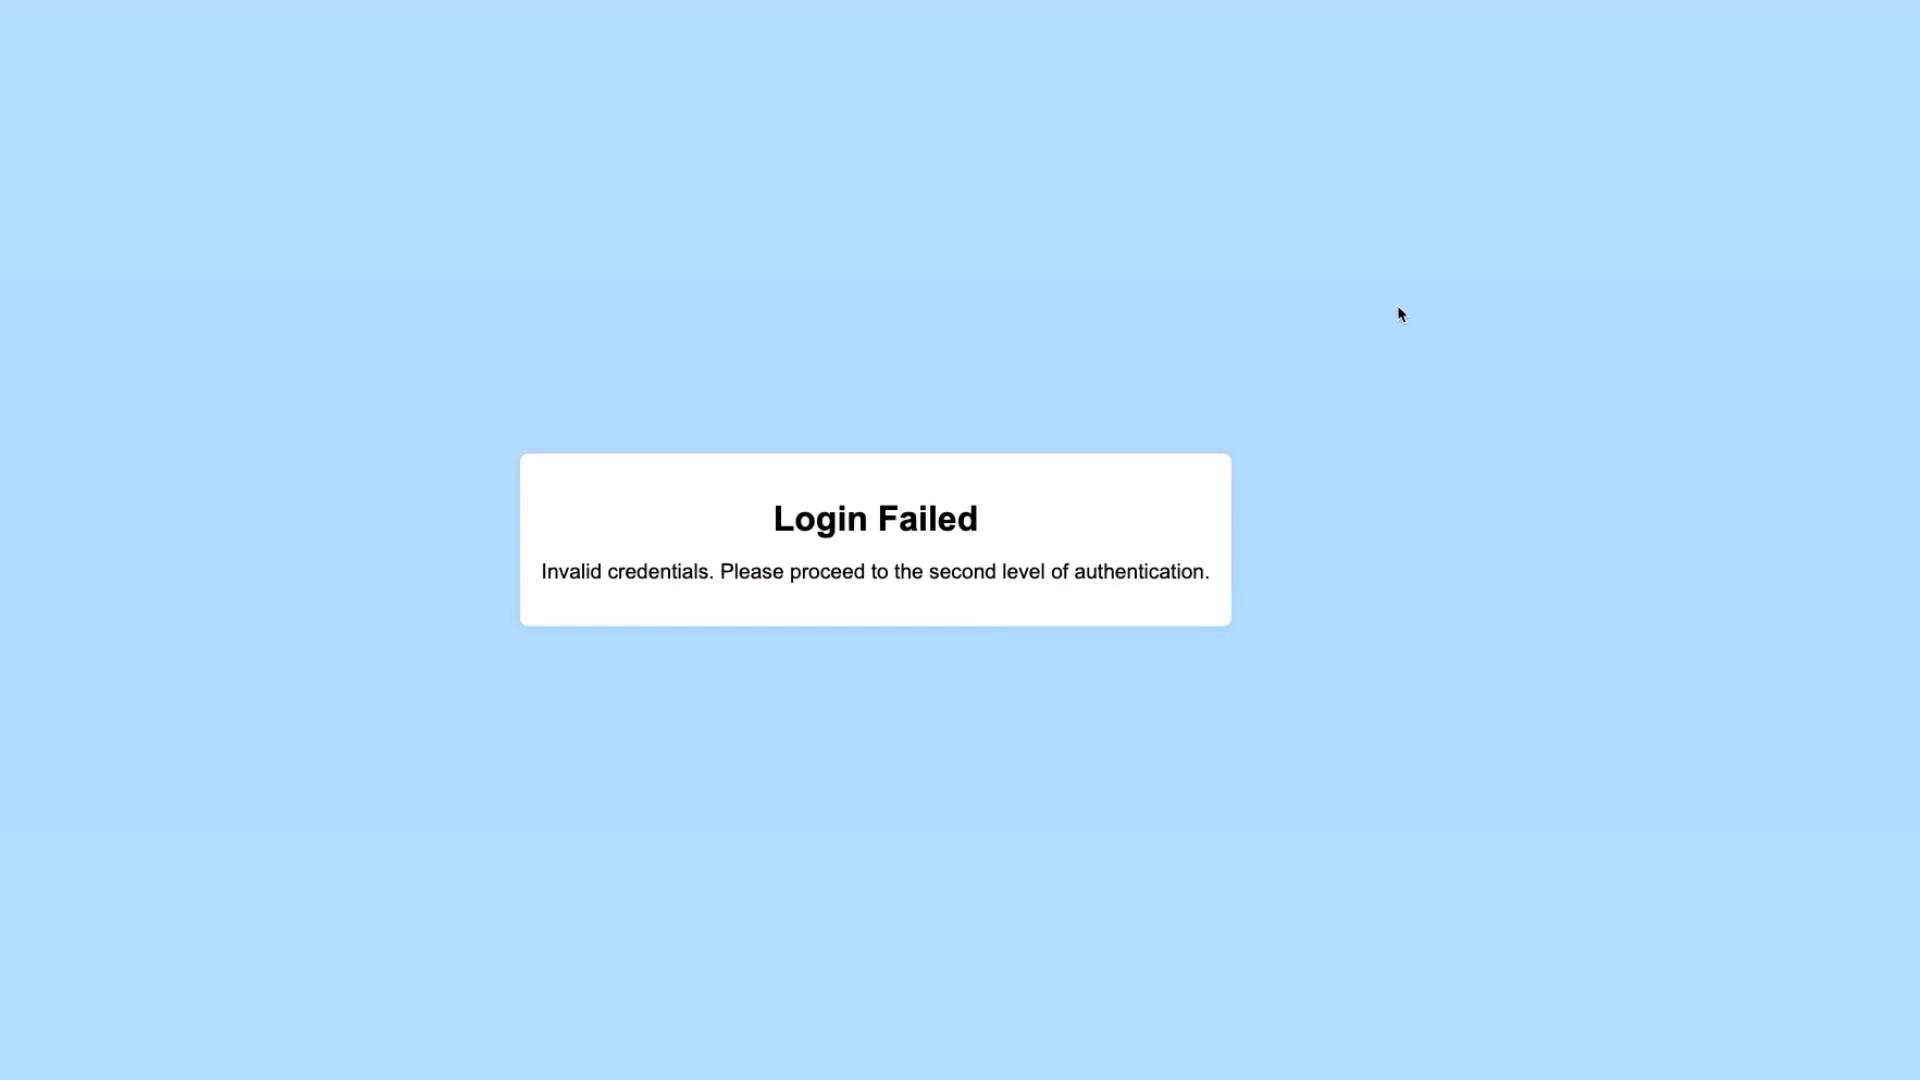
After interacting with the application, check the logs to monitor activities such as successful logins, weak password warnings, and failed attempts. Retrieve the logs with the following command:
kubectl logs -f <pod-name>
The logs might include entries similar to:
INFO:werkzeug:10.244.0.0 - [06/Jul/2024 14:22:21] "GET /static/style.css HTTP/1.1" 200 -INFO:app:Request method: POSTINFO:app:User Agent: Mozilla/5.0 (Macintosh; Intel Mac OS X 10_15_7) ...INFO:app:Client IP: 10.244.0.0INFO:app:Response status: 200 OK...WARNING:app:Login failed for user: admin...
These logs capture request details, including user agent, client IP, and response statuses. They also record warnings when weak passwords are used or if login attempts fail.
A detailed look at the app.py file shows how logging is implemented in the Login App. The logging module is configured to capture comprehensive details about each request and response. Key parts of the code include:
logging.basicConfig(level=logging.INFO)logger = logging.getLogger(__name__)# Default credentialsUSERNAME = 'admin'PASSWORD = 'password'def is_weak_password(password): if len(password) < 8: return True if not re.search("[a-zA-Z]", password) or not re.search("[0-9]", password): return True return False@app.before_requestdef log_request_info(): logger.info(f"Request method: {request.method}") logger.info(f"User Agent: {request.user_agent}") logger.info(f"Client IP: {request.remote_addr}")@app.after_requestdef log_response_info(response): logger.info(f"Response status: {response.status}") return response@app.route('/')def index(): return render_template('login.html')@app.route('/login', methods=['POST'])def login(): username = request.form['username'] password = request.form['password'] if username == USERNAME and password == PASSWORD: flash('Login successful!', 'success') logger.info('Login successful for user: %s', username) if is_weak_password(password): logger.warning('Weak password used by user: %s', username) return redirect(url_for('welcome')) else: # Handle login failure ...
This configuration ensures every request, response, and significant action (like login success or failure) is logged thoroughly, enhancing monitoring and debugging capabilities.
The next phase of this lesson will cover configuring Fluent Bit to forward these logs to Elasticsearch, establishing a centralized logging and monitoring system. This topic will be explored in the subsequent lesson.Thank you for following along. For more detailed Kubernetes documentation and best practices, check out the Kubernetes Documentation and related resources.Happy Deploying!