This guide explores using kubectl debug for troubleshooting Kubernetes applications by attaching new containers to running pods without disrupting production workloads.
In this guide, we explore the power of the kubectl debug command for troubleshooting Kubernetes applications. Unlike kubectl exec, which only lets you run commands in an existing container, kubectl debug enables you to attach a new container to a running pod. This method is particularly useful for debugging without interrupting production workloads.
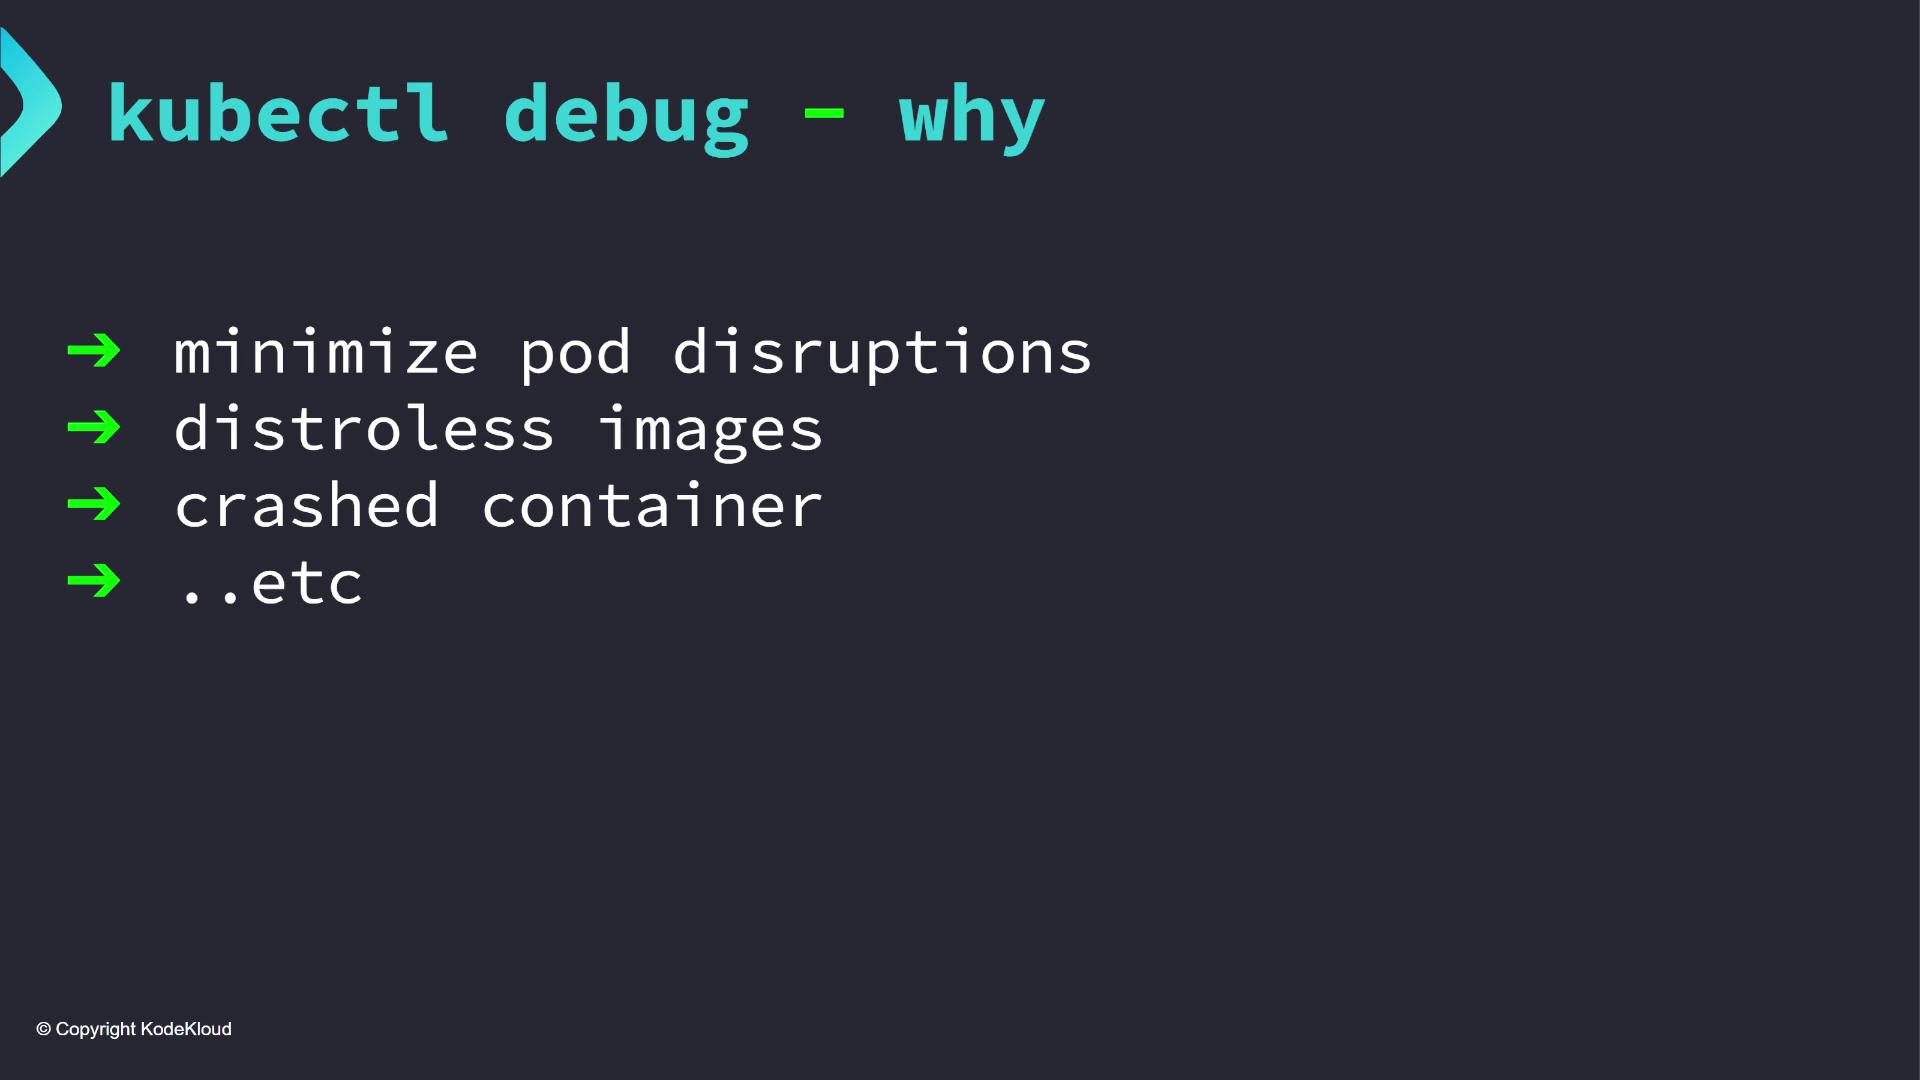
The kubectl debug command offers several advantages over kubectl exec:
It minimizes disruptions to running pods, making it an ideal choice for production environments.
It is especially helpful when working with distroless images that only include application dependencies and omit shells or debugging utilities.
It provides an effective solution for debugging crashing containers where the container might terminate immediately upon exec.
Moreover, kubectl debug extends beyond pods. You can also attach a debug container to a node, granting access to the node’s filesystem and host namespace.
Consider a scenario with a running distroless pod. First, list the pods:
controlplane ~ ➜ k get podsNAME READY STATUS RESTARTS AGEdistroless-debug-pod 1/1 Running 0 90s
Since the container does not have a shell, attempting to exec into it yields an error:
controlplane ~ ➜ k exec -it distroless-debug-pod -- /bin/sherror: Internal error occurred: error executing command in container: failed to exec in container: failed to start exec "a440c2551da537883eb4edeb625e96a14336e895cac4ffbcd5801e21561c7": OCI runtime exec failed: exec failed: unable to start container process: exec "/bin/sh": stat /bin/sh: no such file or directory: unknown
Use kubectl debug instead of exec when shell access is unavailable due to a minimal image footprint.
Instead, run the debug command that attaches a new BusyBox container with an interactive shell:
controlplane ~ ✗ k debug distroless-debug-pod -it --image=busyboxDefaulting debug container name to debugger-h6qr8.If you don't see a command prompt, try pressing enter.####
The BusyBox container provides an interactive shell so you can inspect executables (such as traceroute or telnet) without disturbing the main container. Exiting the shell terminates the debug container, but you can reattach it if needed:
/ #
Session ended, the ephemeral container will not be restarted but may be reattached using 'kubectl attach distroless-debug-pod -c debugger-h6qr8'
Review the pod definition to inspect events and container statuses. For instance, after starting the debug container, you can list pods:
controlplane ~ ➜ k get podsNAME READY STATUS RESTARTS AGEdistroless-debug-pod 1/1 Running 0 90s
And while direct exec for /bin/sh fails due to its absence, using kubectl debug with BusyBox succeeds.
Remember that the resources allocated for ephemeral containers are shared with the main pod. Use lightweight images for debugging purposes.
Once the debug container is attached, you can inspect its activity by reviewing the pod’s event log. The log might include steps such as pulling the BusyBox image, and messages confirming the creation and start of the debug container. A sample output might look like:
Events:
  Type: Normal
  Reason: Scheduled
  Age: 4m45s
  From: default-scheduler
  Message: Successfully assigned default/distroless-debug-pod to node01
  Normal: Pulling image: "registry.k8s.io/pause:3.1"
  Normal: Successfully pulled image "registry.k8s.io/pause:3.1" in 379ms (1.676s including waiting). Image size: 317164 bytes.
  Normal: Created container distroless-container
  Normal: Started container distroless-container
  Normal: Pulling image: "busybox"
  Normal: Successfully pulled image "busybox" in 168ms (168ms including waiting). Image size: 2160406 bytes.
  Normal: Created container debugger-h6qr8
  Normal: Started container debugger-h6qr8
Here, the ephemeral container named “debugger-h6qr8” is added. Note that once you exit the shell, its state will change to “Terminated” and it will not restart automatically.
The —target flag of kubectl debug helps specify which container in a multi-container pod should be targeted. By sharing the process namespace with the chosen container, you can inspect its processes and filesystem.For example, let’s deploy an nginx pod:
k apply -f nginx.yamlpod/nginx-pod created
Debug the pod with BusyBox without the —target flag:
k debug -it nginx-pod --image=busyboxDefaulting debug container name to debugger-28j6k.If you don't see a command prompt, try pressing enter./ # / # ps auxPID USER TIME COMMAND 1 root 0:00 sh 55 root 0:00 ps aux/ #
Without —target, you only see processes running in BusyBox. Now, attach the debug container to the nginx container:
k debug -it nginx-pod --image=busybox --target=nginx
After running ps aux, you will see processes associated with the nginx container. You can navigate the filesystem (e.g., into /proc or /etc/nginx/) to further inspect process activity and configuration:
/ # lsbin dev etc home lib lib64 proc root sys tmp usr var/ # cd proc
And with further exploration, you can validate that you are viewing the actual environment of the target container.
When debugging a deployment, you may prefer not to affect the original pod. The —copy-to flag creates a duplicate pod with an attached debug container. Use this option along with —share-processes to facilitate shared process inspection:
k debug nginx-pod --image=busybox -it --copy-to=debugging-pod --share-processes
This command creates a new pod, “debugging-pod,” that comprises both the primary application container and the BusyBox debug container. Running ps aux in the debugging pod displays processes from both containers:
/ # ps aux
 135  101  0:00 nginx: worker process
 136  101  0:00 nginx: worker process
 ... [other nginx workers] ...
 224  root  0:00 ps aux
Inspect your pods to confirm:
controlplane ~ $ k get podsNAME READY STATUS RESTARTS AGEdebugging-pod 2/2 Running 1 86sdistroless-debug-pod 1/1 Running 0 38mnginx-pod 1/1 Running 0 27m
Note that the debugging pod is a copy and does not inherit labels from the original. This approach avoids unintended service traffic redirection.
The kubectl debug command is an essential troubleshooting tool in Kubernetes. Whether dealing with distroless images, diagnosing crashing containers, or investigating process namespaces with the —target flag, this tool enhances your debugging capabilities without disrupting running services. Additionally, the —copy-to option provides a safe way to work on a duplicate pod, ensuring production traffic remains unaffected.For more advanced debugging techniques and configurations, consult the Kubernetes Documentation.Happy debugging, and happy learning!