• An active AWS account (new users can explore free access via the AWS Free Tier).
• Installation of the kubectl utility.
• Basic AWS knowledge to configure a cluster role for EKS, create an IAM role for the node group, set up a VPC, and generate an EC2 key pair (the key pair is helpful for SSH access if needed).
• The AWS CLI installed and configured with your credentials.
• Installation of the kubectl utility.
• Basic AWS knowledge to configure a cluster role for EKS, create an IAM role for the node group, set up a VPC, and generate an EC2 key pair (the key pair is helpful for SSH access if needed).
• The AWS CLI installed and configured with your credentials.
Installing and Configuring the AWS CLI
First, verify that the AWS CLI is installed by running:Setting Up kubectl
Since kubectl is already installed, you can verify its version and update your PATH if necessary. First, move the binary to a directory in your home and update your PATH:$HOME/bin to your PATH, append the following line to your shell initialization file (e.g., ~/.bash_profile):
Creating the EKS Cluster
Before creating your cluster, confirm you have set up the required IAM role for your EKS cluster and prepared a VPC (or you can choose the default VPC). Follow these steps:- Log in to your AWS account and navigate to Services.
- Search for EKS and select the service.
- Click Create cluster and configure the cluster:
- Cluster Configuration:
Provide a name for your cluster (e.g.,example-voting-app) and keep the default Kubernetes version (e.g., 1.16). Select the appropriate IAM role for your cluster.
- Cluster Configuration:
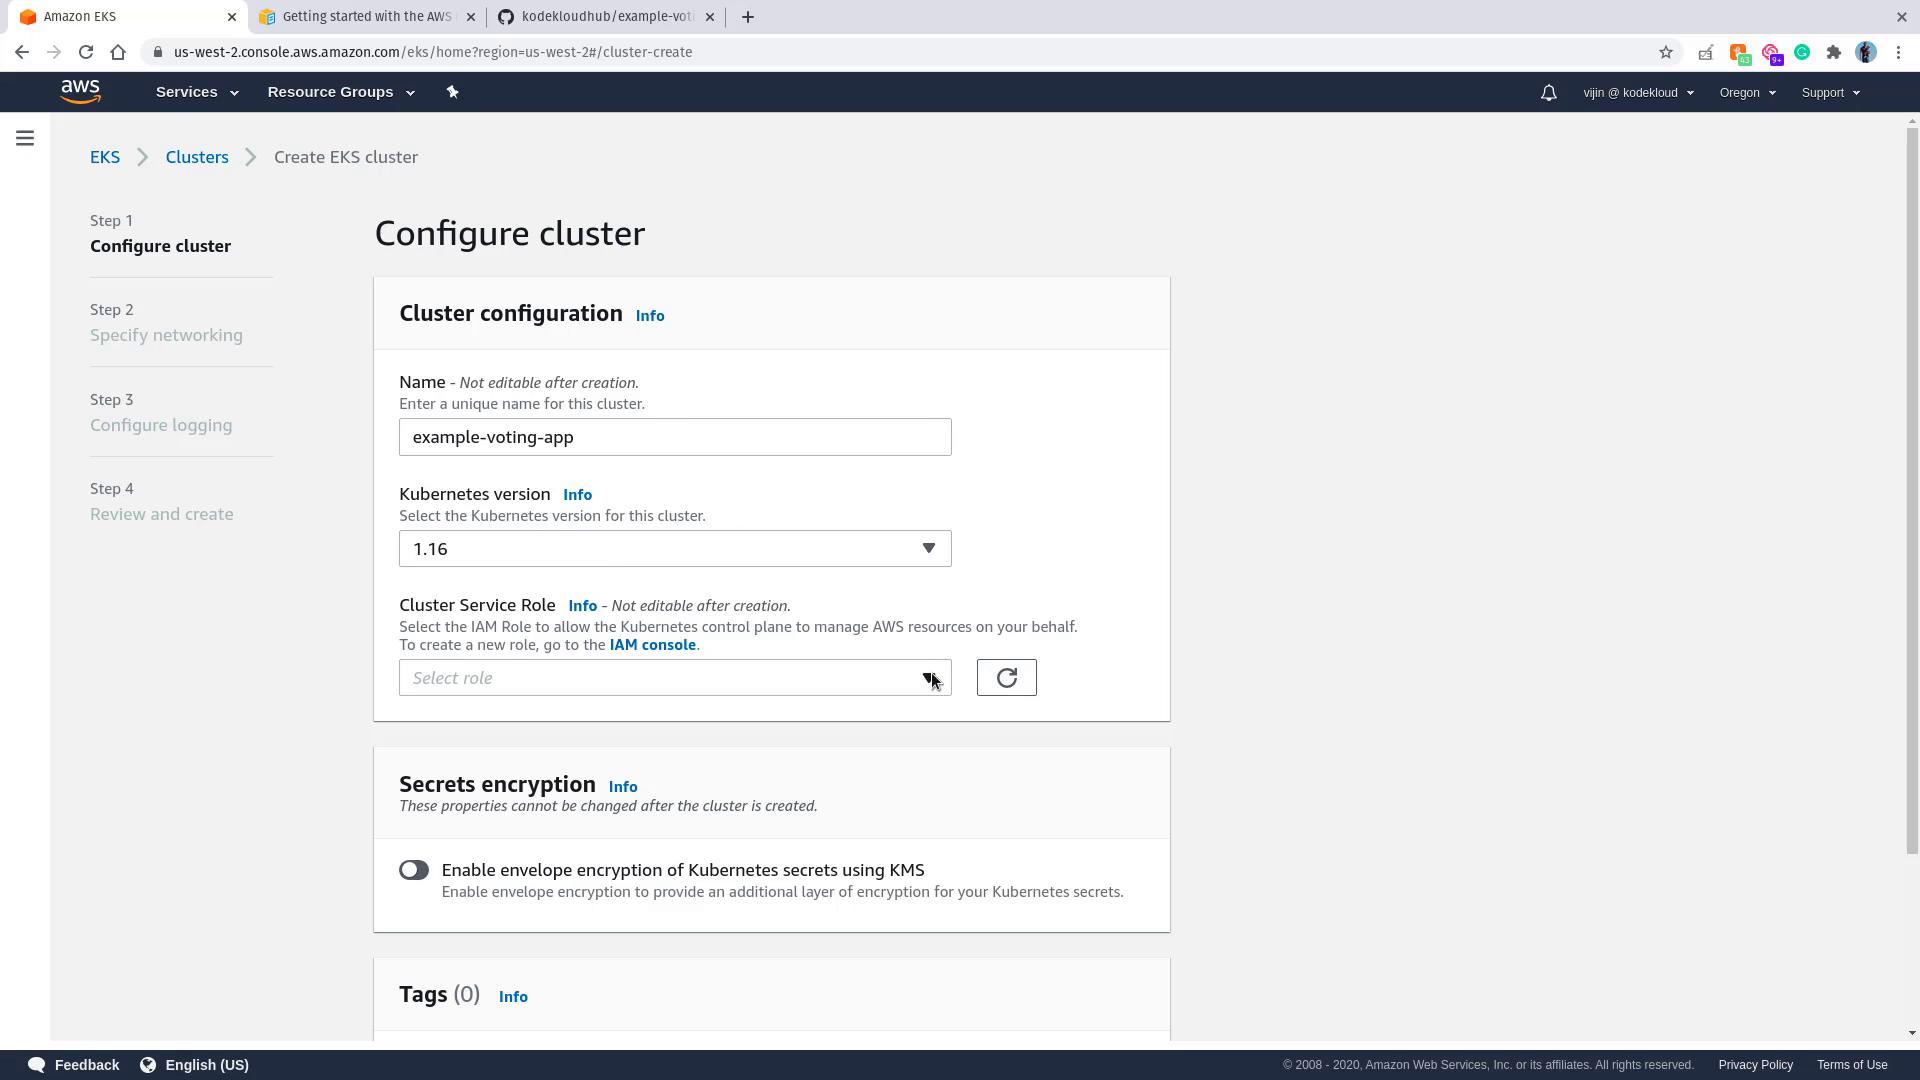
- Click Next.
- Networking Configuration:
Choose the default VPC in your region (e.g., US West 2 (Oregon 2)) and select all available subnets.
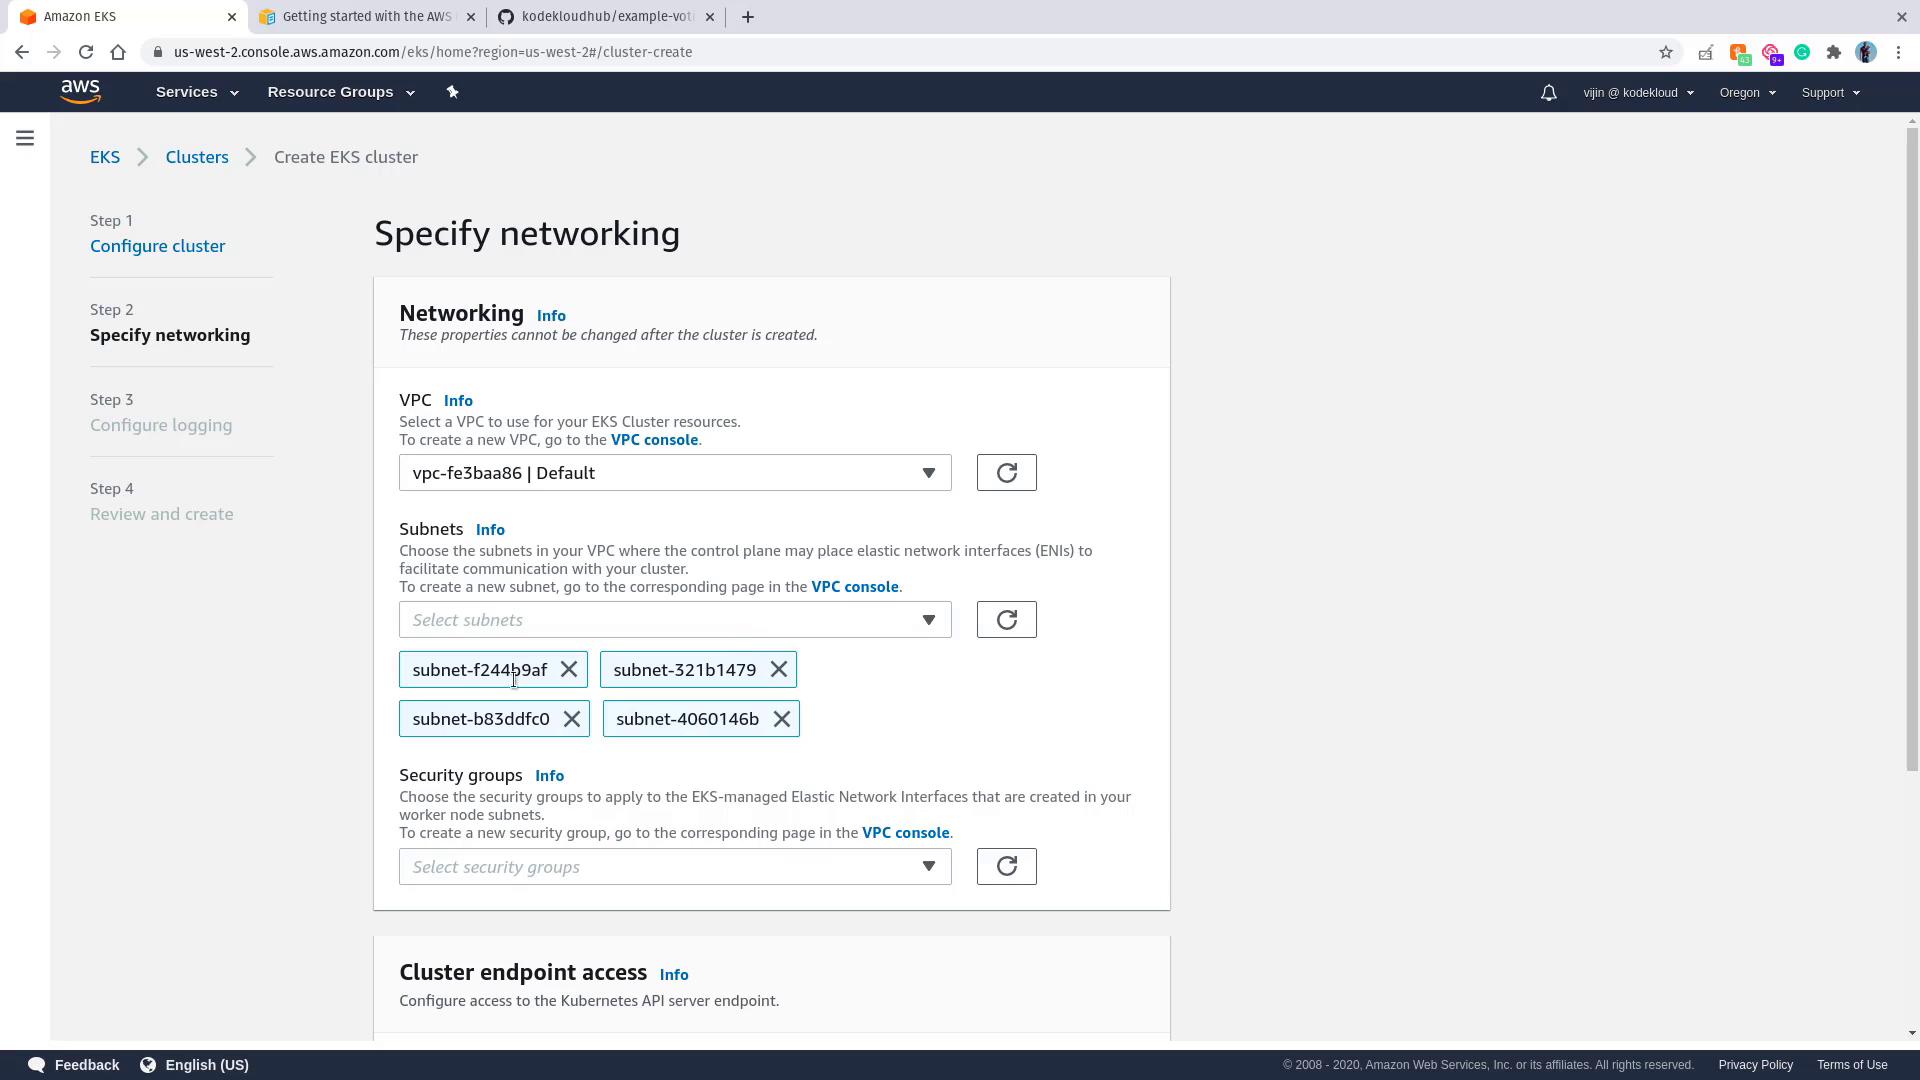
- Continue through the review pages by clicking Next, then click Create. Creation may take up to 10 minutes.
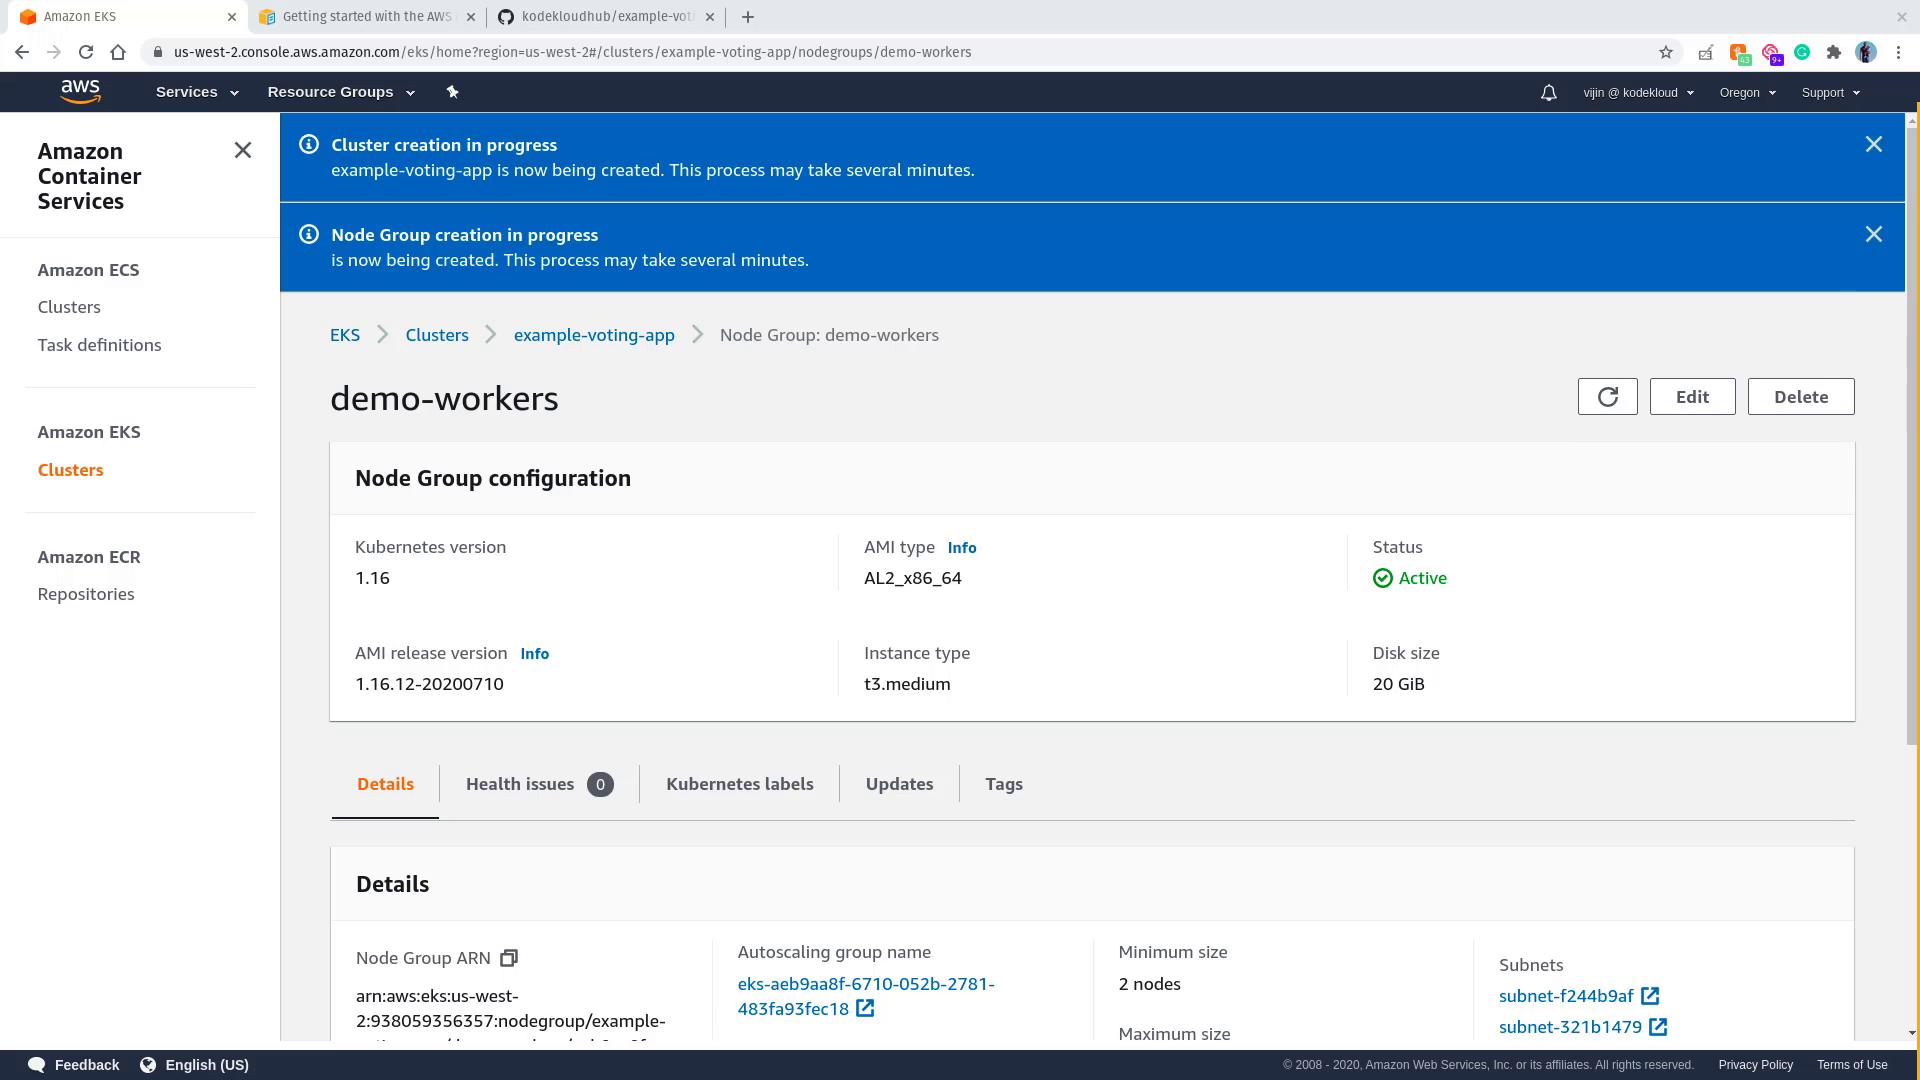
Adding a Node Group
A node group represents a set of worker nodes that run your application workloads. To add a node group, follow these steps:- In your EKS cluster’s Compute section, click Add node group.
- Name the node group (e.g.,
demo-workers) and select the previously created EKS node IAM role. - Choose the default subnets (or select those that correspond with your network setup).

- Optionally, select an EC2 key pair if you wish to enable SSH access to the worker nodes.
- In the Compute Configuration section, review settings like AMI type, instance type, and disk size. Default values are generally acceptable.
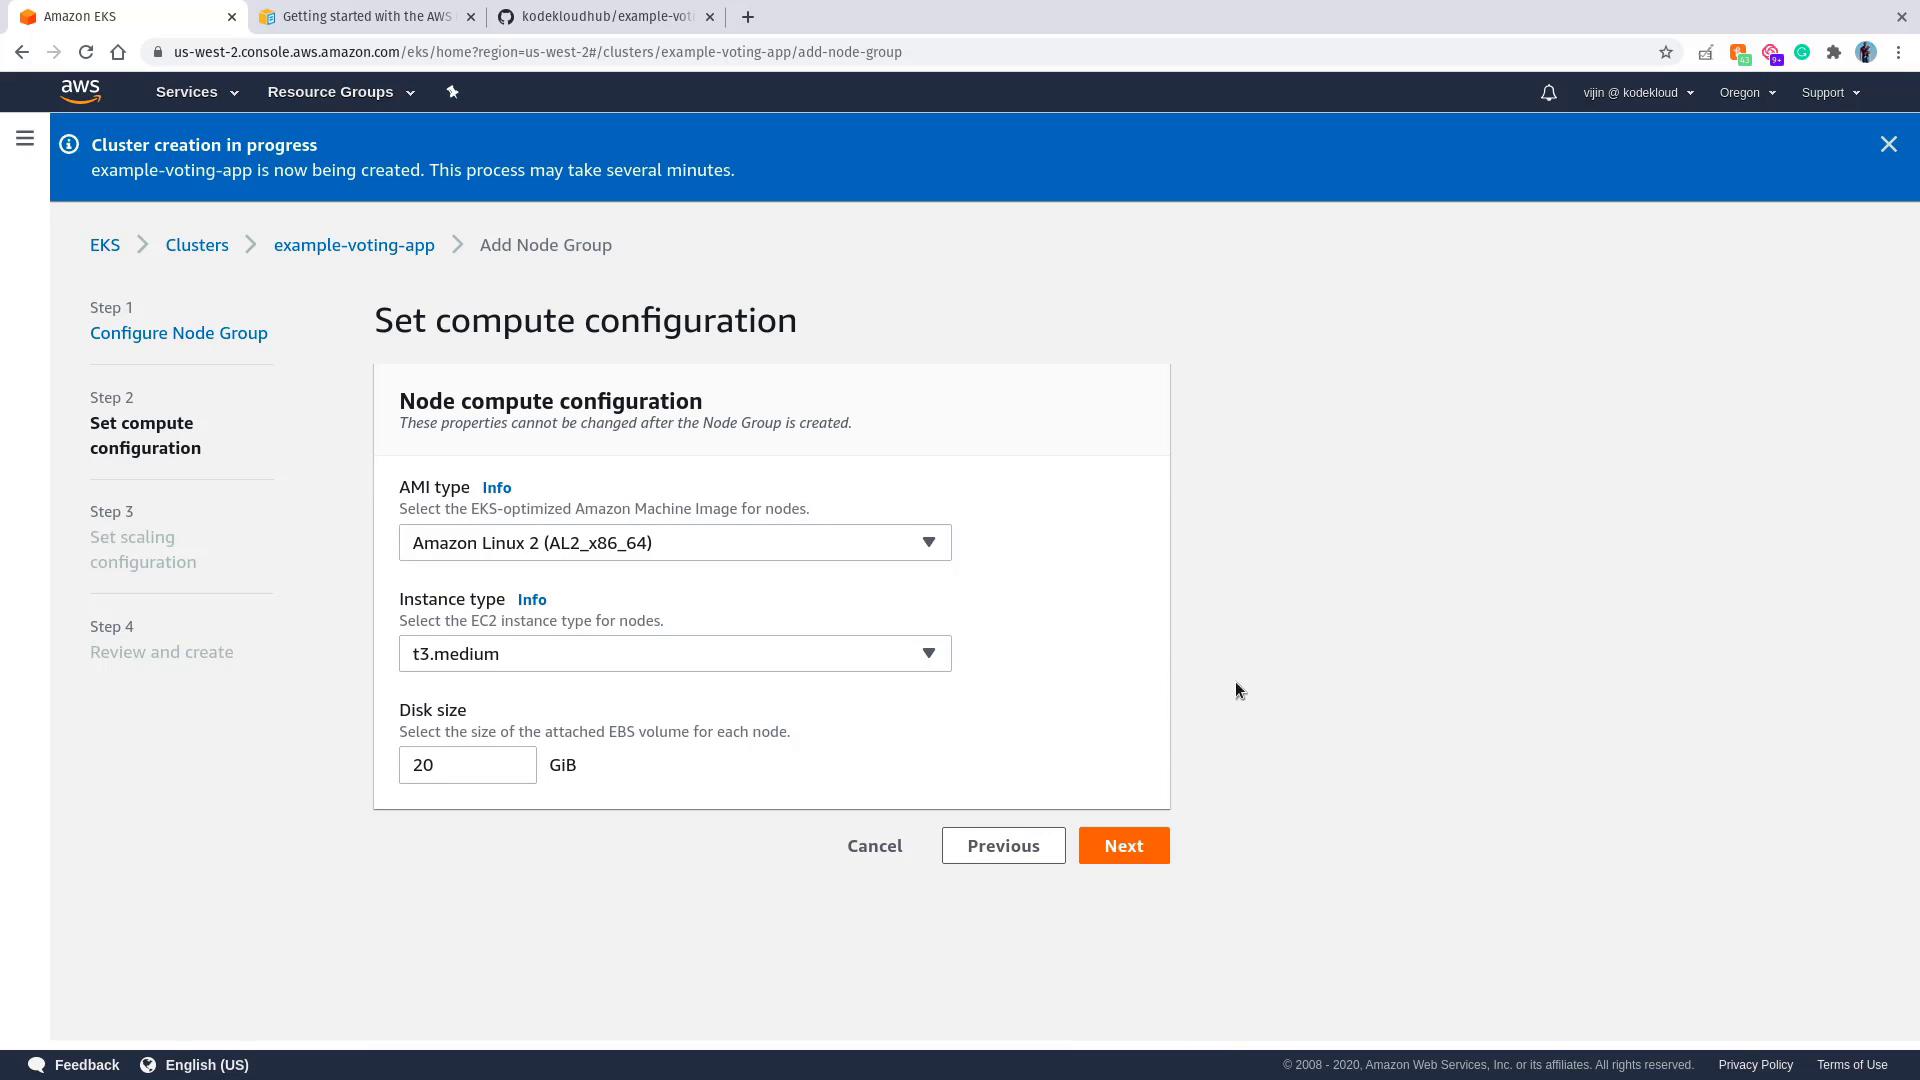
- Set the auto scaling parameters (minimum, maximum, and desired number of nodes), review your configuration, and click Create. Provisioning may take several minutes.
Configuring kubectl for the EKS Cluster
Your local kubectl might be configured for a different cluster (e.g., Minikube). To switch to your new AWS EKS cluster, update your kubeconfig file using the AWS CLI. Replace the region and cluster name as needed:~/.kube/config). Test your configuration by listing the nodes:
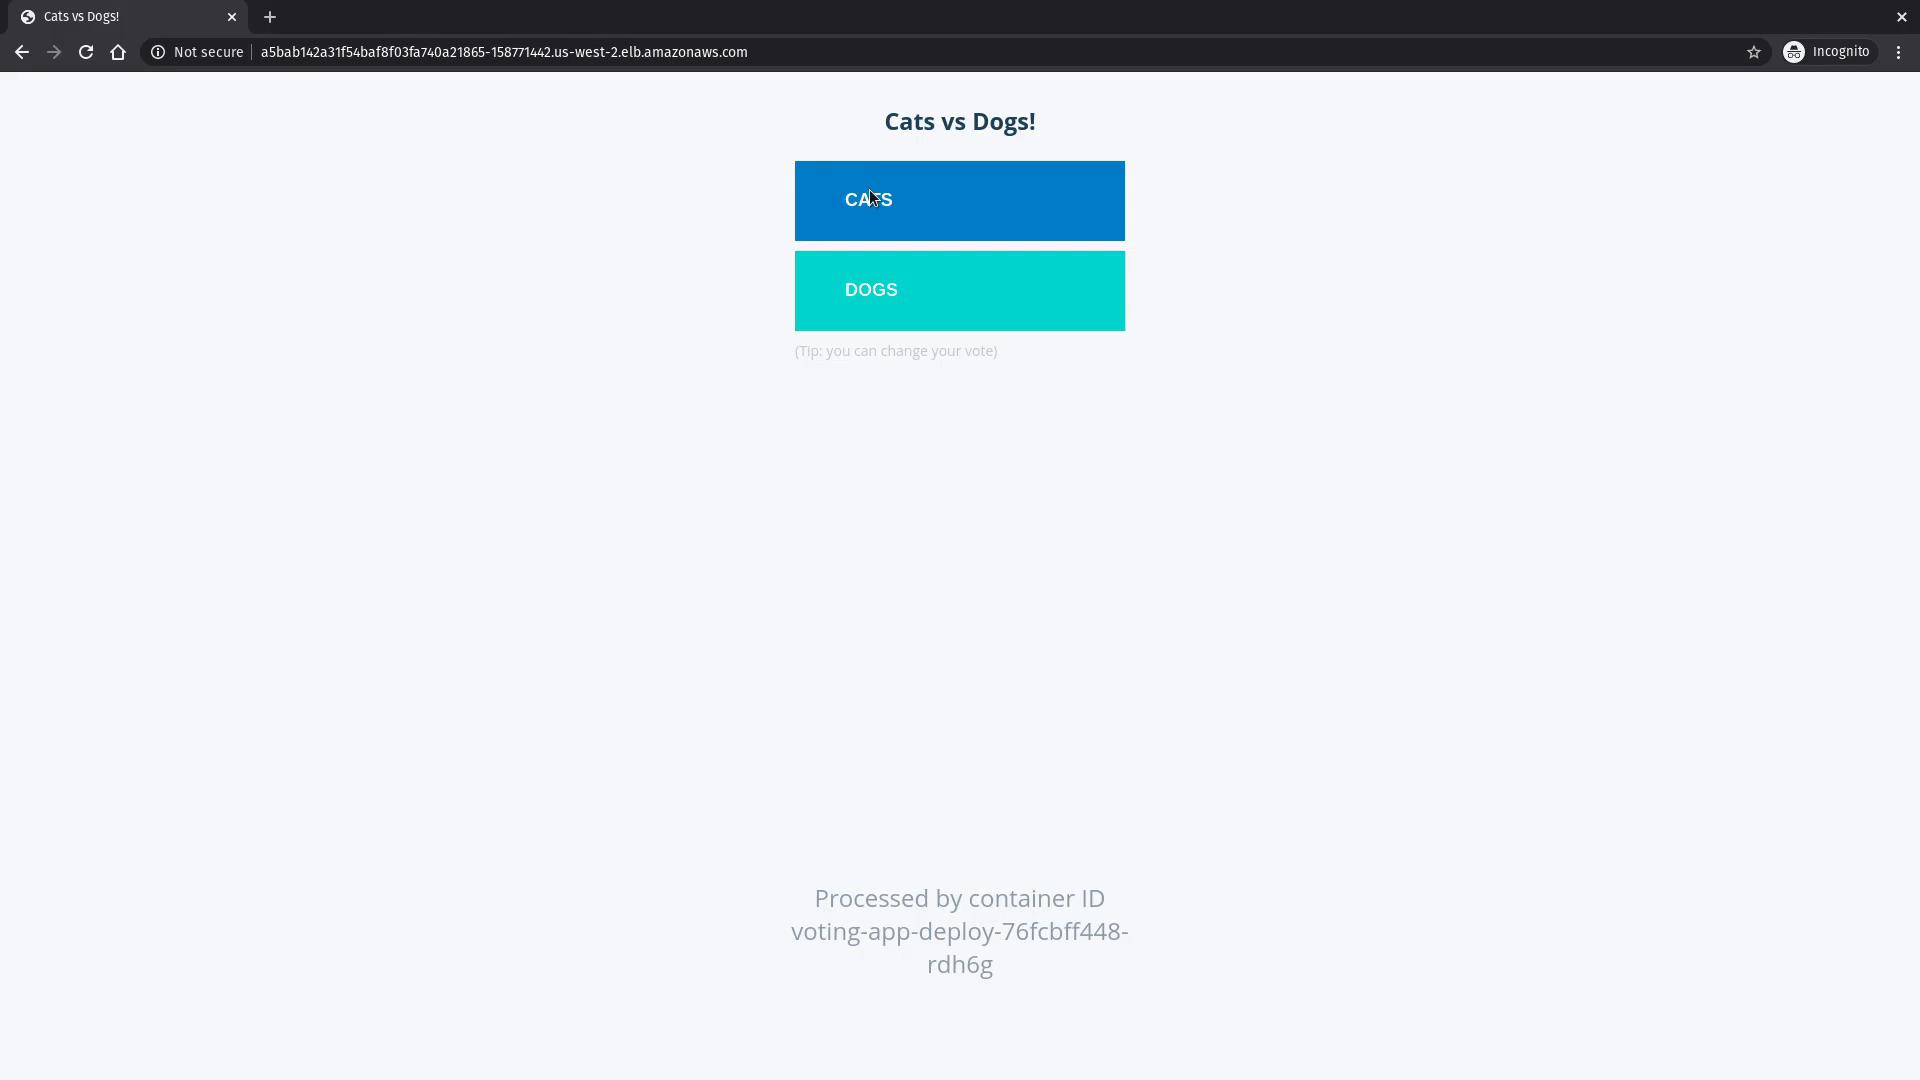
Deploying the Voting Application
With your EKS cluster ready and kubectl configured, it’s time to deploy the sample voting application. Start by cloning the GitHub repository:k8s-specifications directory, you will find several YAML files defining deployments and services:
-
Voting App Deployment and Service:
-
Redis Deployment and Service:
-
PostgreSQL Deployment and Service:
-
Worker and Results App Deployments and Services:
voting-service and result-service. Open the voting service URL in your web browser to view the voting interface.
Cleanup
After reviewing the application, ensure that you delete the EKS cluster and any deployed resources to avoid unnecessary charges.