In this guide, we’ll walk through real-time auto scaling on Amazon EKS using three compute options:
  1. Managed Node Groups
  2. Fargate Profiles
  3. Karpenter Provisioner
By the end, you’ll understand how to deploy workloads that scale automatically based on demand.

1. Cluster Setup: Managed Node Group & Fargate Profiles

We’ve created:
  • A managed Node Group named main (desired capacity: 2)
  • Two Fargate profiles: default and fargate (selects namespace: fargate)
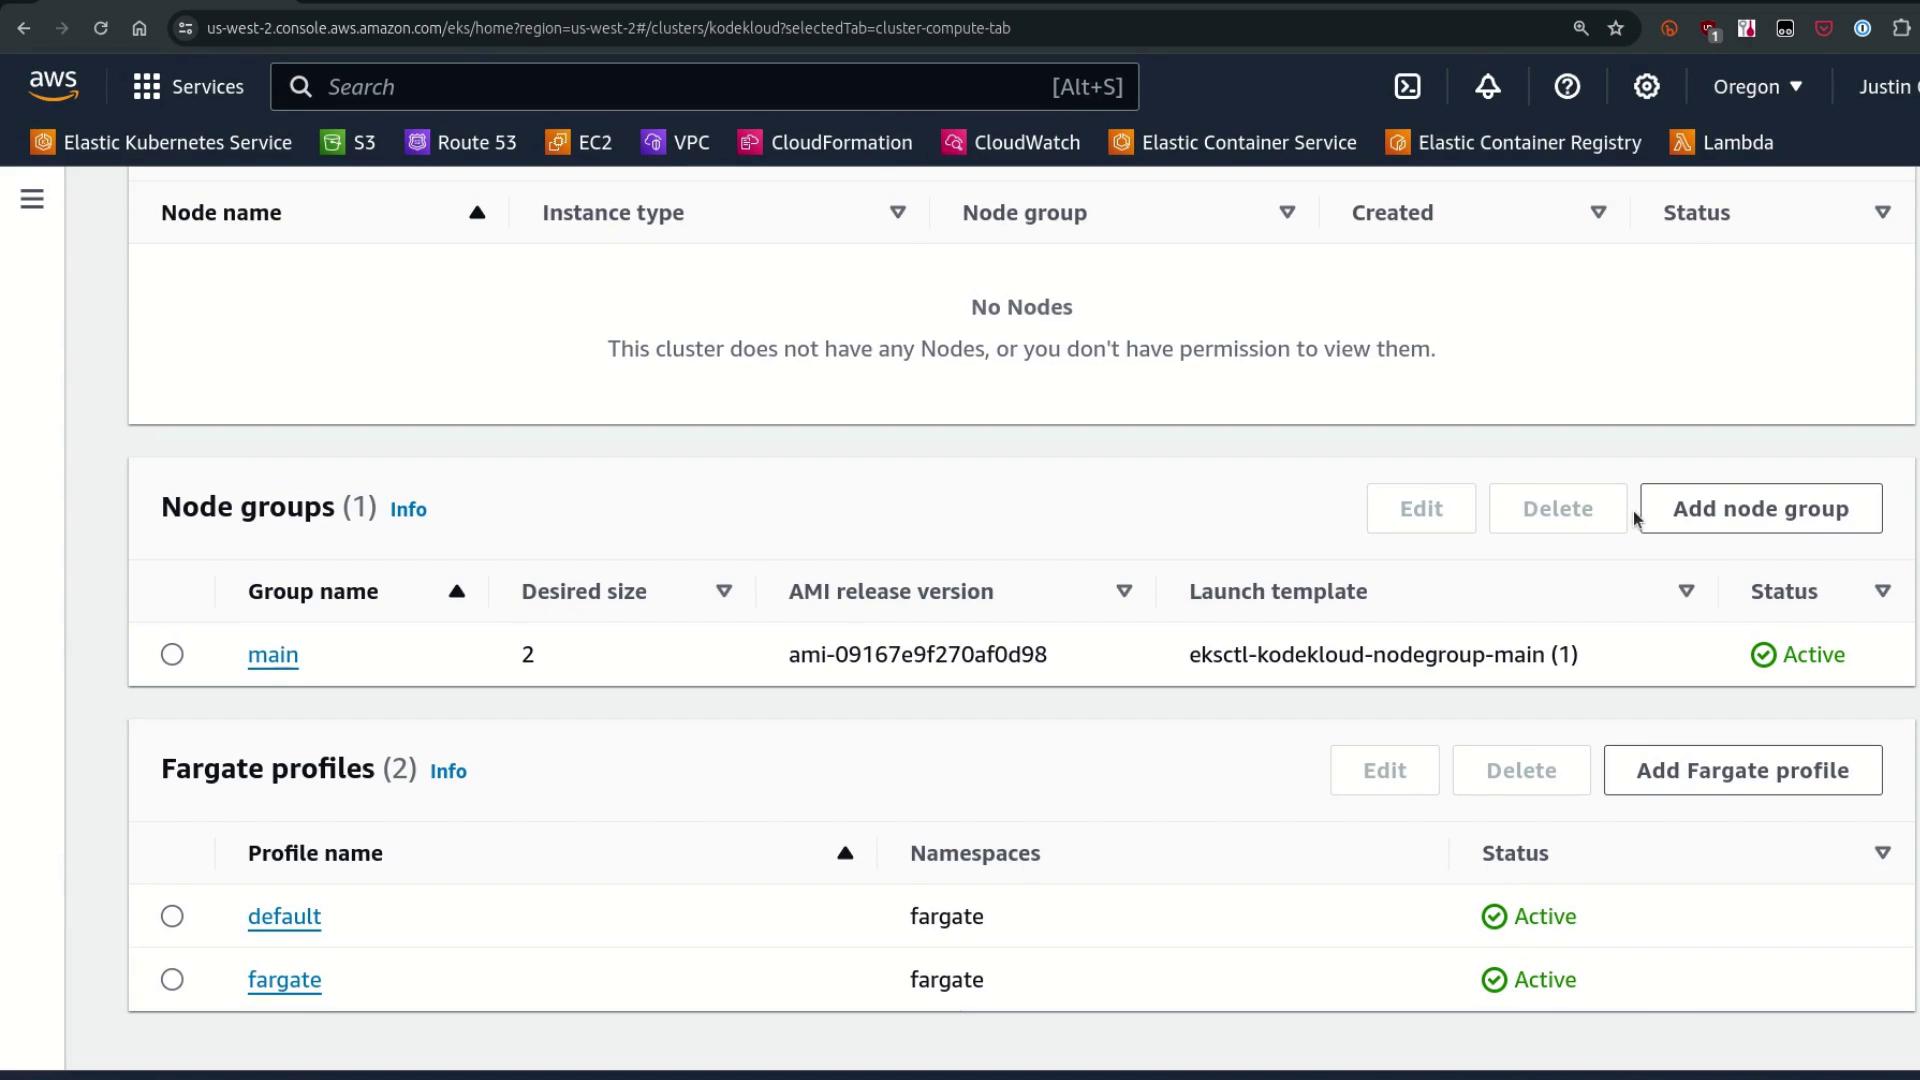
The image shows an AWS Elastic Kubernetes Service (EKS) console with details about node groups and Fargate profiles. It indicates no nodes are present, but there is one active node group and two active Fargate profiles.
When you schedule a Pod in the fargate namespace, the Fargate mutating webhook injects a custom scheduler that routes Pods to serverless Fargate compute.
The image shows an AWS console page for configuring a Fargate profile in an Elastic Kubernetes Service (EKS) cluster, with the status marked as active and a section for pod selectors.

2. Verifying Webhooks & Node Status

First, confirm the Fargate mutation webhook is installed:
Next, list the current nodes in your cluster (you should see only the managed nodes):
View the main Node Group details via eksdemo or your preferred CLI:
We currently have no Cluster Autoscaler installed, so we’ll adjust the Node Group sizes manually below.

3. Manual Scaling of the Managed Node Group

To force-scale the main Node Group down to 1 node:
Within a minute, one managed node will terminate.

4. Deploying Workloads to Fargate

Let’s create a namespace and a Deployment that matches the fargate profile:
Apply the manifest:
Watch the Pod in Pending state until Fargate provisions a node:
Describe the pending Pod to verify the custom scheduler:
Once Fargate provisioning completes, you’ll see a new node:
Scale the Fargate deployment to 5 replicas:
Fargate creates one node per Pod, which can add provisioning latency for rapid scaling.

5. Standard Nginx Deployment on Managed Nodes

Deploy a typical Nginx workload in the default namespace:
These Pods schedule immediately on existing on-demand nodes.

6. Dynamic Scaling with Karpenter

Karpenter automatically provisions compute when Pods remain unscheduled due to resource constraints.
Make sure you’ve installed Karpenter and configured the required IAM roles. See the Karpenter documentation for setup instructions.
  1. Verify Karpenter pods:
  2. Scale the Nginx deployment to 25 replicas:
  3. Add CPU requests to force new node provisioning:
  4. Watch Pods and Nodes:
    Example of new C5 nodes:
  5. Inspect a Karpenter-provisioned node:

7. Karpenter Default Provisioner Configuration

View and describe the default Provisioner to see its constraints:
This provisioner restricts instances to Linux/AMD64 of category C, M, or R (generation > 2) and allows up to 1,000 CPUs.

8. Summary: EKS Compute Options Comparison


Watch Video