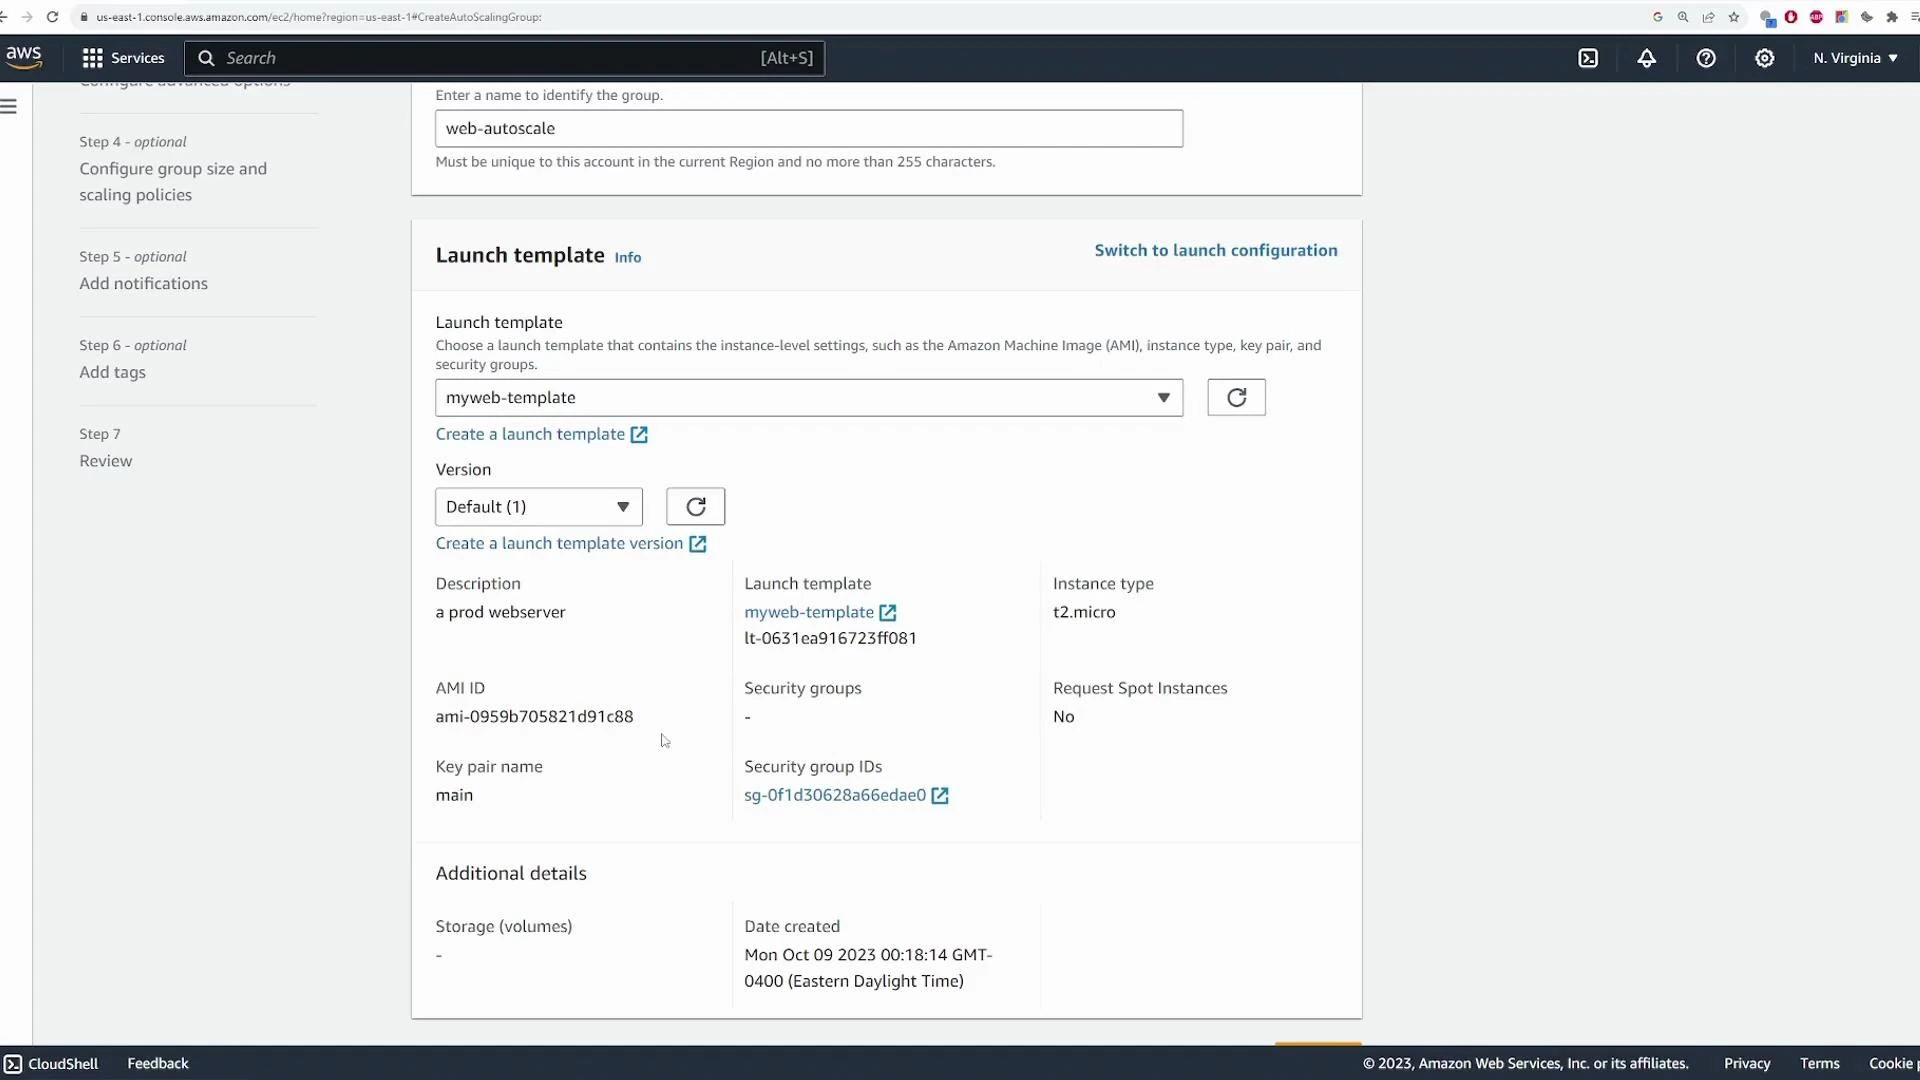
1) Create a launch template
Open the EC2 console and go to Auto Scaling Groups to start the ASG wizard. An ASG requires either a launch configuration or a launch template — launch templates are recommended because they support versions and additional options. Create a launch template with the following example settings used in this demo:- Template name:
myweb-template - Description:
prod web server - AMI: choose the AMI for your web server (demo used a custom Linux AMI running Nginx)
- Instance type:
t2.micro(free-tier eligible) - Key pair: an existing key (e.g.,
main) - Networking: leave subnet blank (so template can be reused across ASGs); attach a security group that allows HTTP (port 80) — (demo uses
web-sg) - Storage / tags / advanced settings: defaults used for the demo
2) Choose VPC / subnets and instance overrides
Configure the VPC and subnets where ASG instances will run. Common patterns:- Place ALB in public subnets (internet-facing) and EC2 instances in private subnets (ALB will route traffic to them).
- You can override launch template values per ASG (for example, change instance type or additional network configuration).
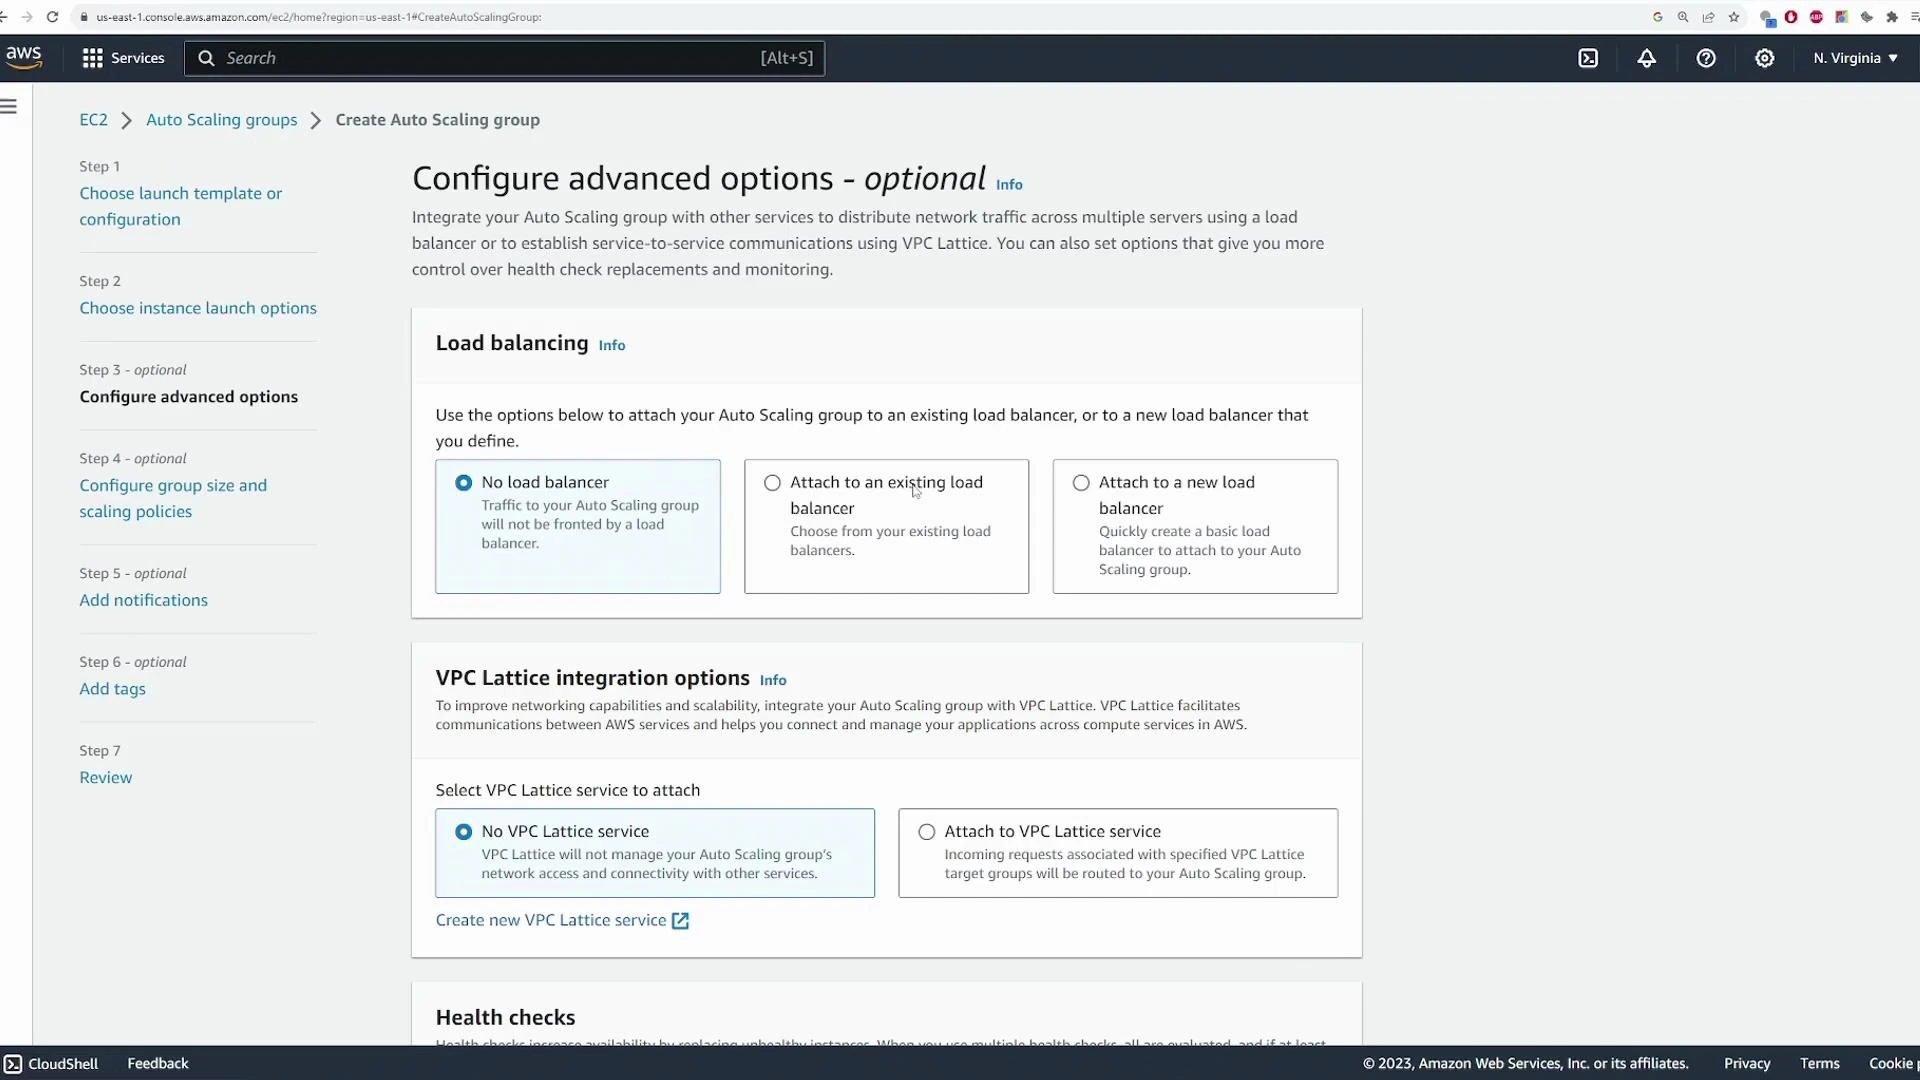
3) Configure the Load Balancer and Target Group
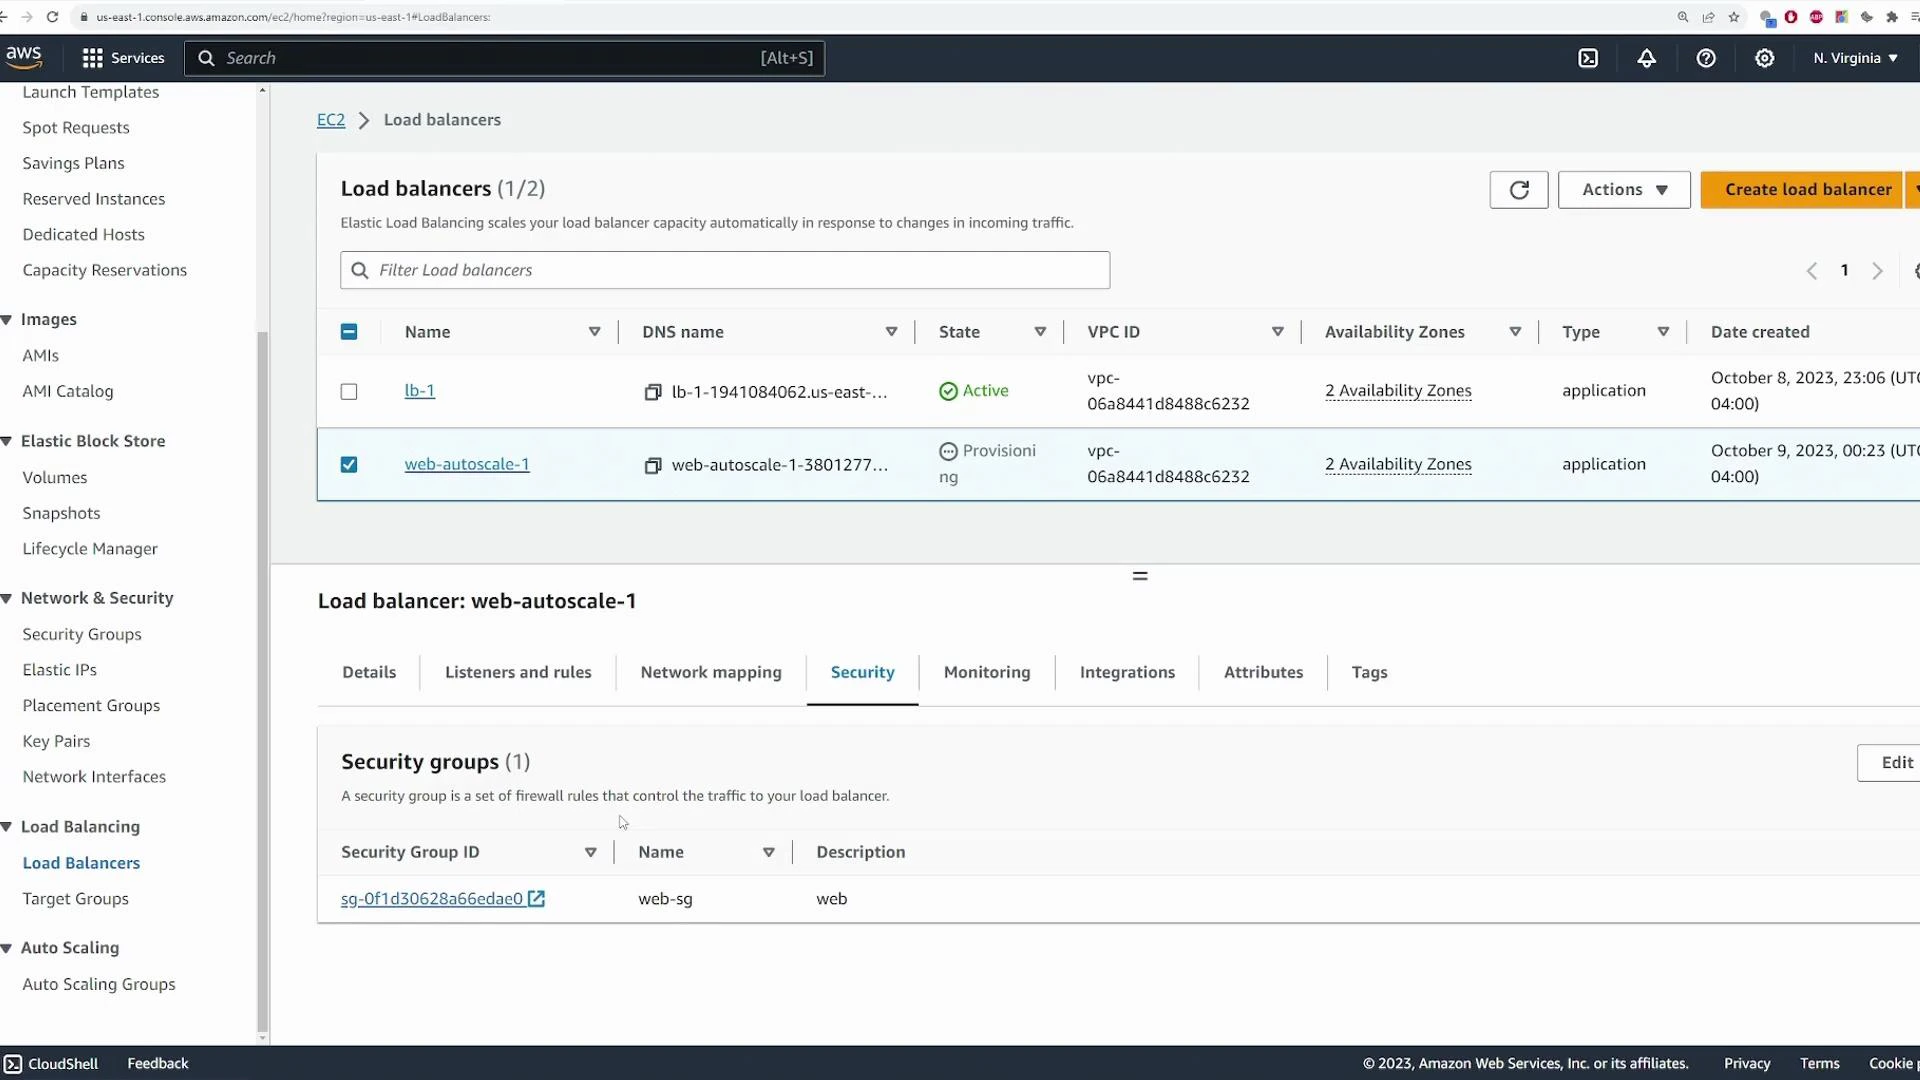
For a web workload choose an Application Load Balancer (ALB). During ASG creation pick “Create a new load balancer” or attach an existing one. Important ALB / Target Group settings:- Load balancer type: Application Load Balancer
- Scheme: Internet-facing (if you want public access)
- Subnets: public subnets for ALB so it receives internet traffic
- Listener: HTTP on port 80
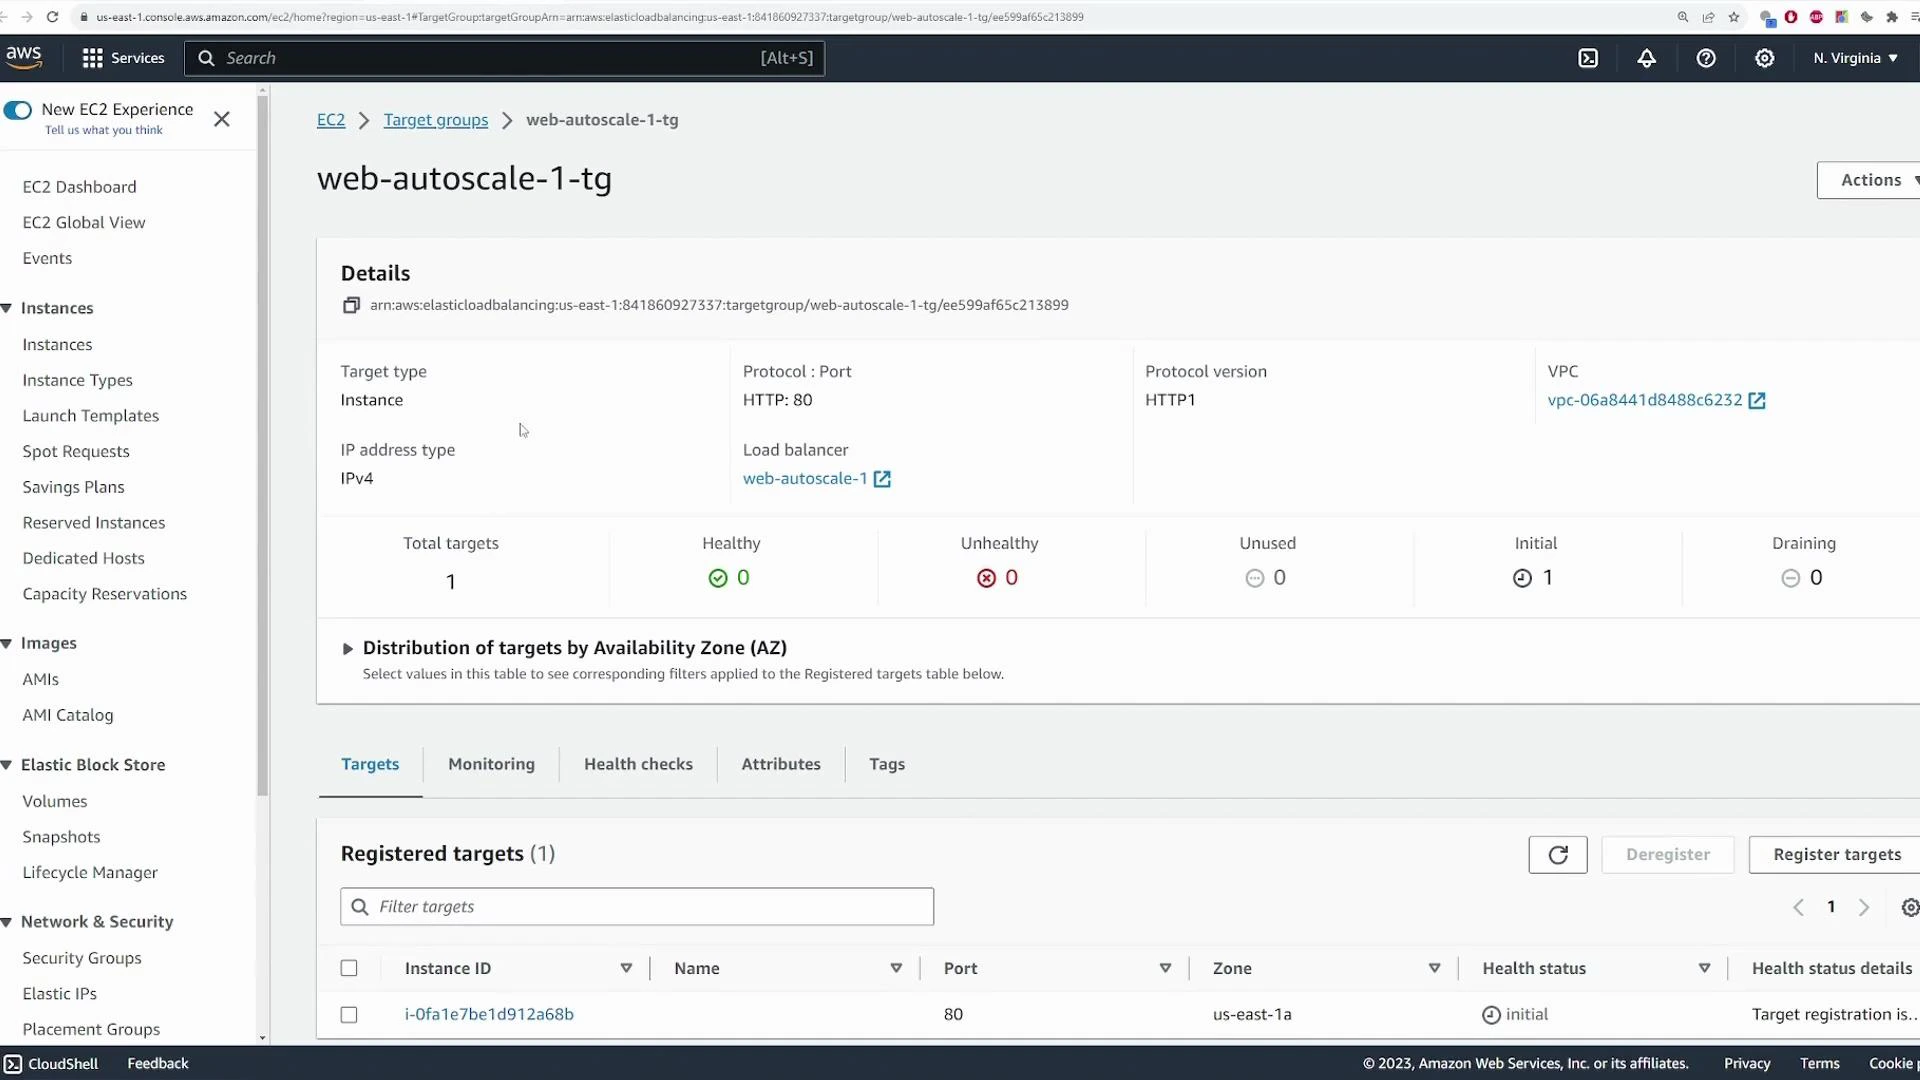
- Target Group: create (e.g.,
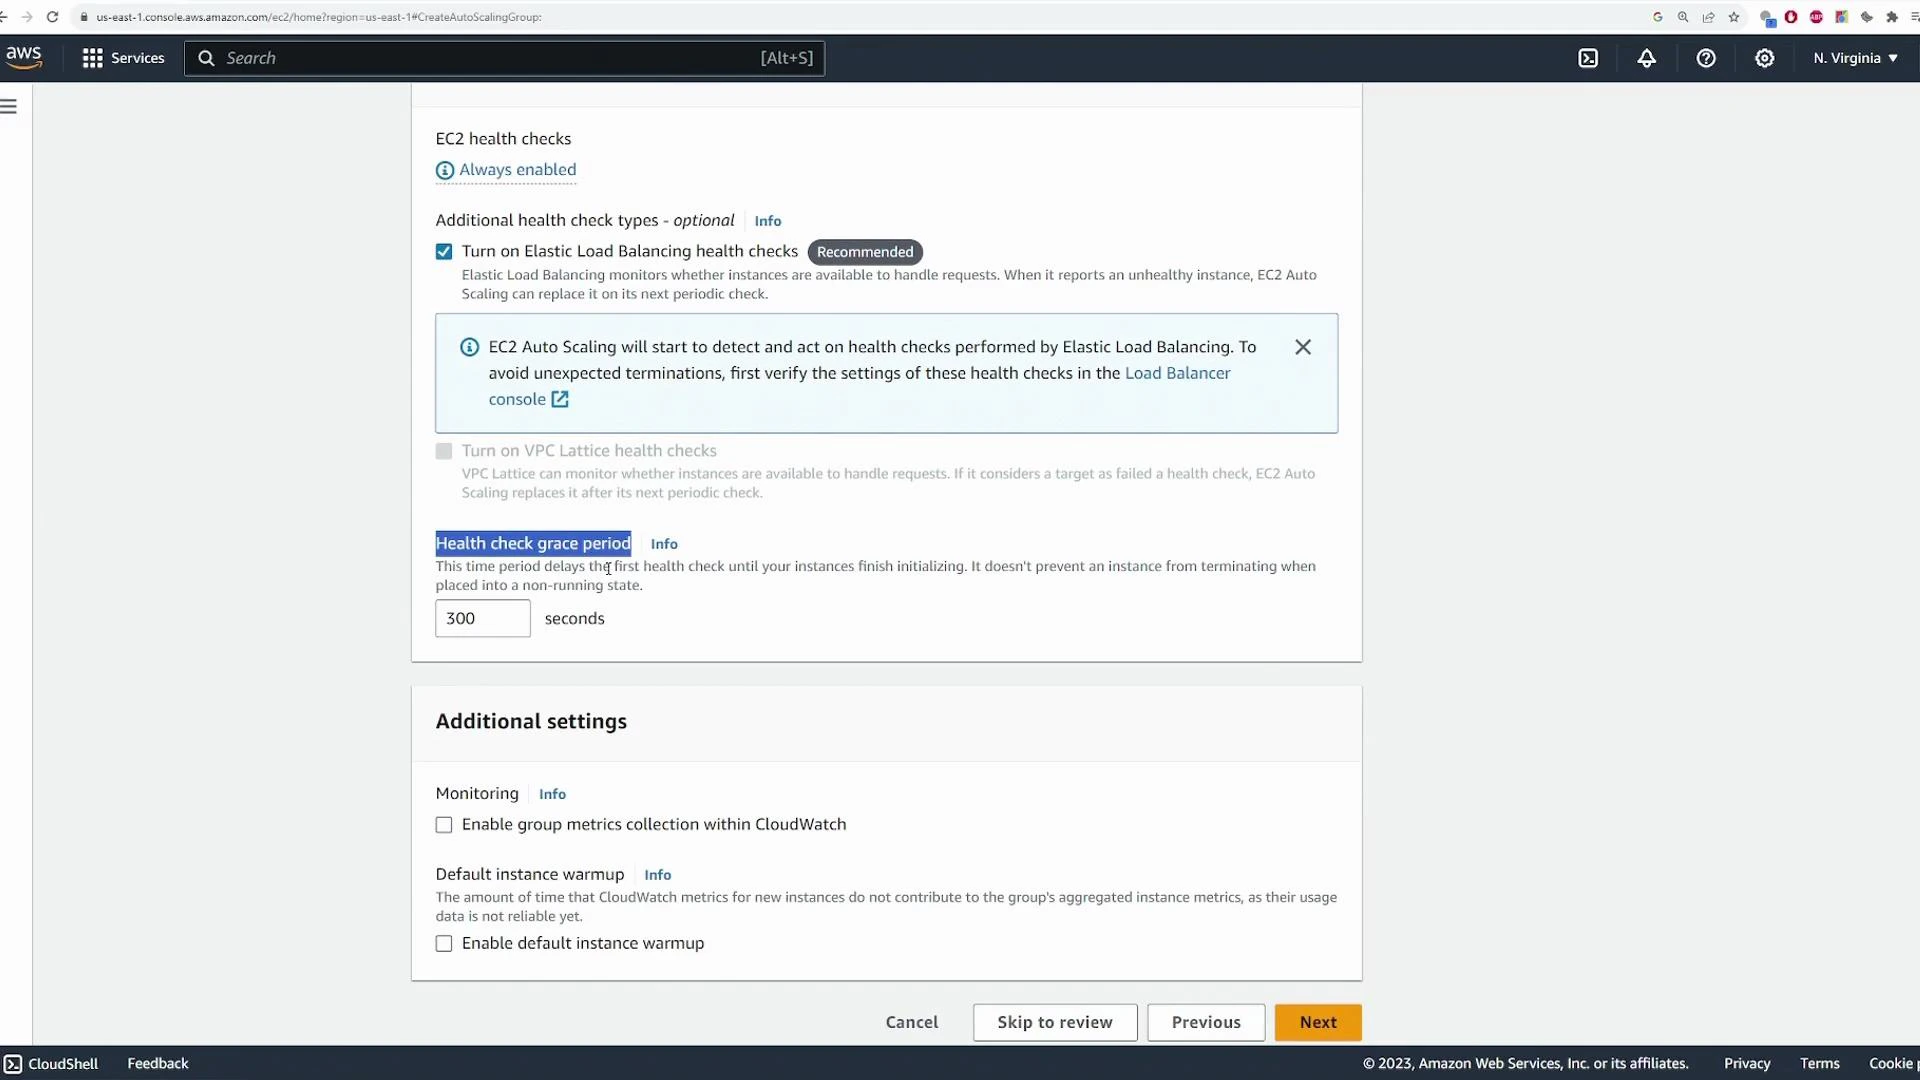
web-autoscale-1-tg) — Target type: Instance, Protocol: HTTP:80 - Health checks: enable ELB health checks; set a health check grace period (demo used default 300 seconds)
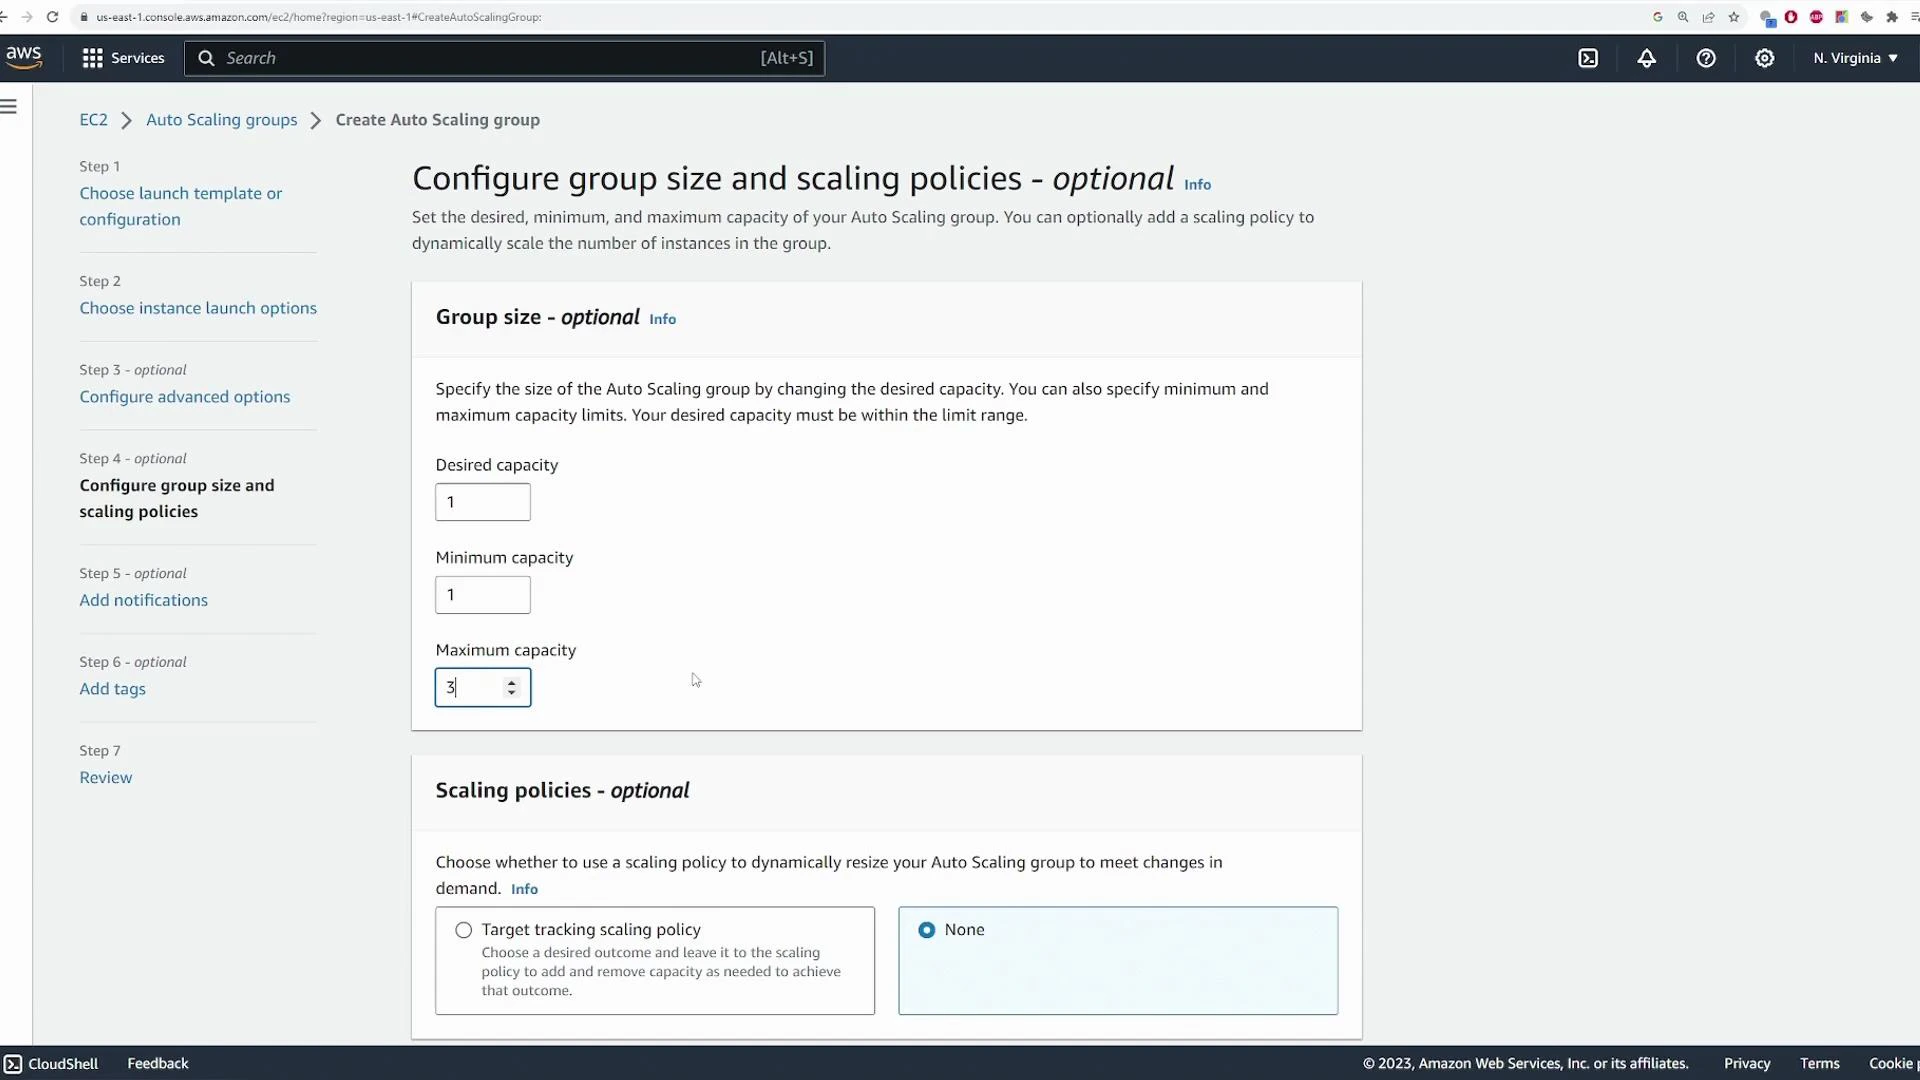
4) Configure group size and scaling policy
Set capacity values:- Desired capacity: initial number of instances (e.g., 1)
- Minimum capacity: minimum instances (e.g., 1)
- Maximum capacity: max instances allowed (e.g., 3)
| Field | Purpose | Example |
|---|---|---|
| Desired capacity | Number of instances the ASG attempts to maintain | 1 |
| Minimum capacity | Lowest allowed instance count | 1 |
| Maximum capacity | Upper bound for scaling | 3 |
- Create the ASG resource
- Launch the desired number of EC2 instances
- Create/configure the ALB and target group (if requested)
- Register instances with the target group
5) Inspect the deployed resources
After creation, inspect the ASG and related resources to confirm settings:- Verify Desired / Min / Max capacity and launch template version
- Check networking configuration and attached ALB / target group
- Verify the Target Group shows registered instances and their health
6) Test the ALB endpoint
Obtain the ALB DNS name from the Load Balancer details and open it in your browser. You should see the web server content served through the ALB. In the demo the site returned: Welcome to KodeKloud This confirms the ALB is forwarding traffic to instances in the ASG.7) Test Auto Scaling replacement behavior (terminate an instance)
To verify the ASG maintains the desired count, terminate one of the ASG’s EC2 instances. The Auto Scaling service detects the termination (via EC2 or health checks), and it launches a replacement to return to the desired capacity. Monitor the ASG Activity tab to see events like “Instance terminated” and “Launching a new instance.”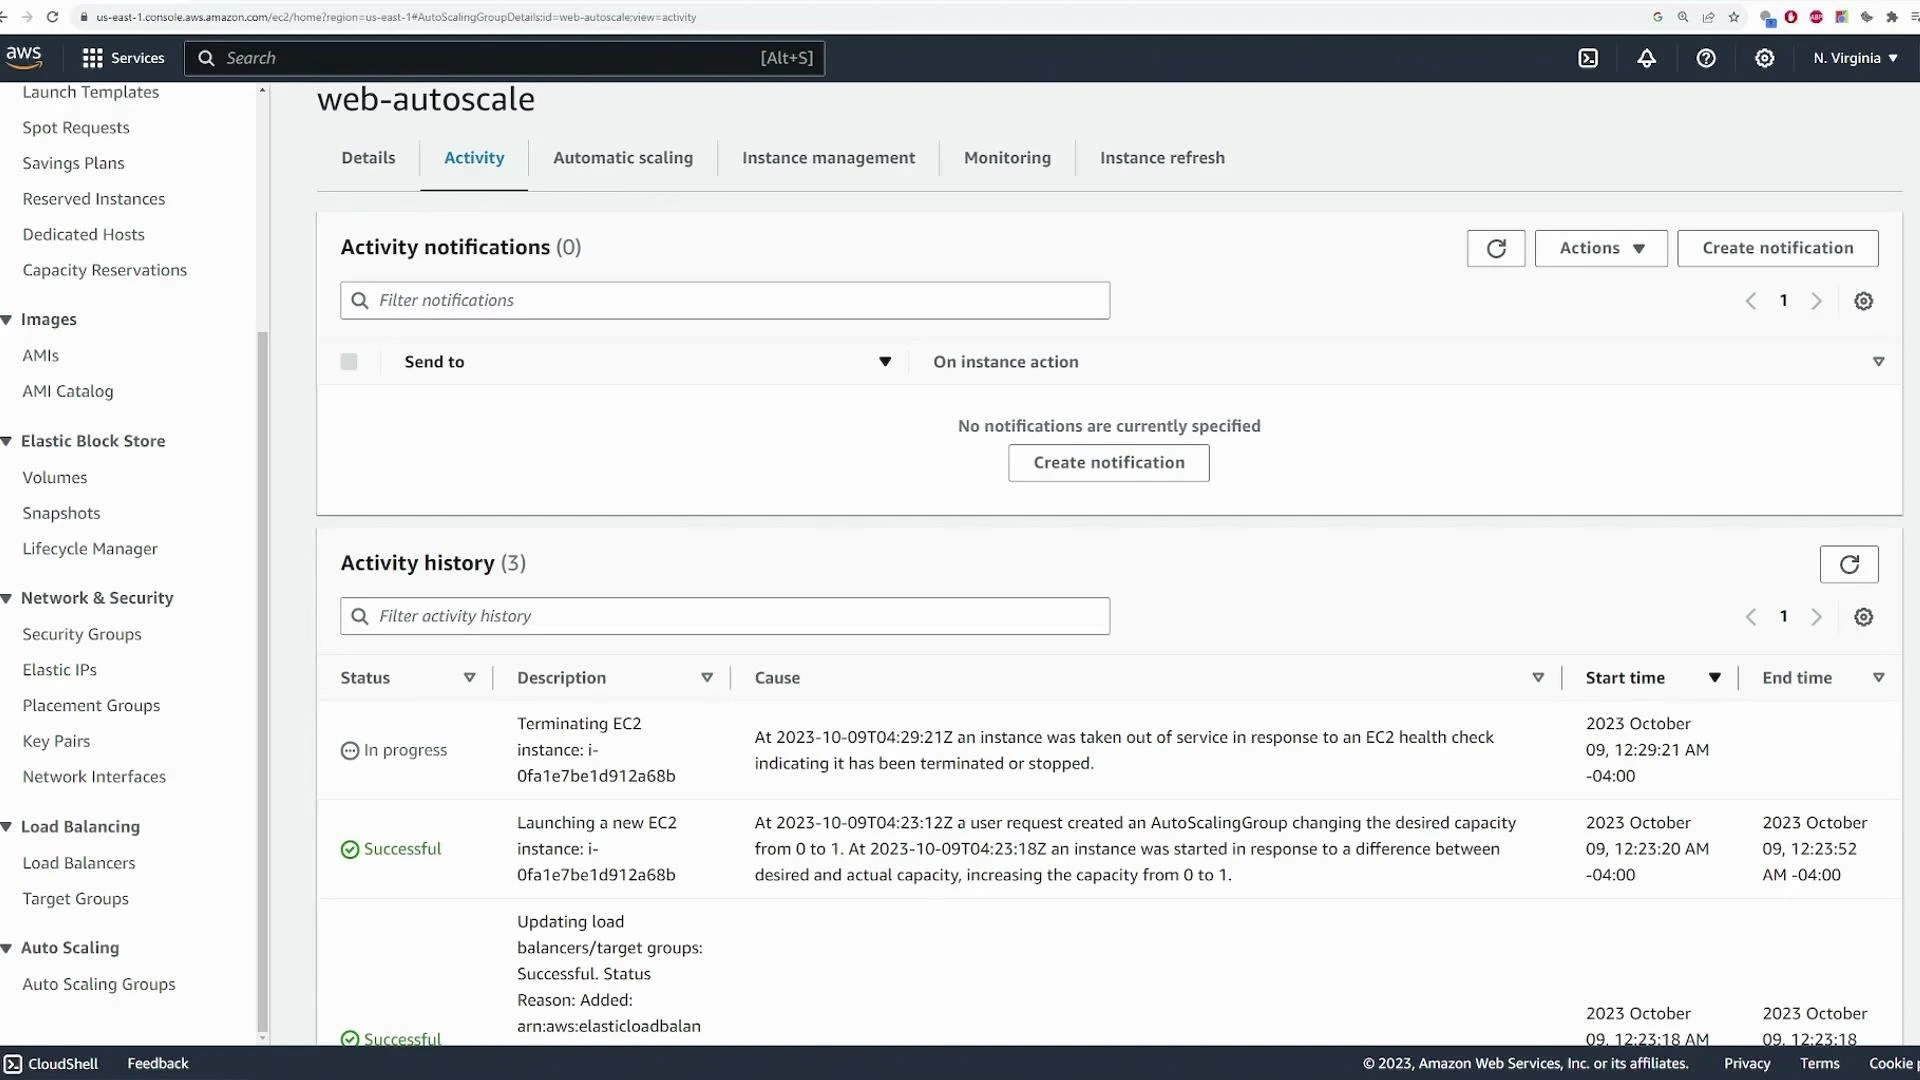
8) Test target-tracking scaling by generating CPU load
A target-tracking scaling policy uses the average metric across all instances. To trigger scale-out, increase CPU load so the average goes above the configured target (40% in this demo). SSH into an instance and use a stress tool to simulate CPU load. Example SSH + stress session:top output before stressing:
stress -c 1 you should see CPU usage increase toward 100% on one core:
Target tracking maintains the average metric (CPU in this case) across all instances in the group. Setting a lower target causes scale-out sooner; set targets conservatively for production.
9) Observe scaling events and capacity limits
When the average CPU breaches the target, the ASG Activity tab shows alarms and capacity adjustments (for example: Desired capacity increases from 1 to 3). The ASG will never exceed the configured maximum capacity (3 in this demo), even if CPU remains high. Confirm new instances in the EC2 Instances list and watch the Target Group for additional registered targets.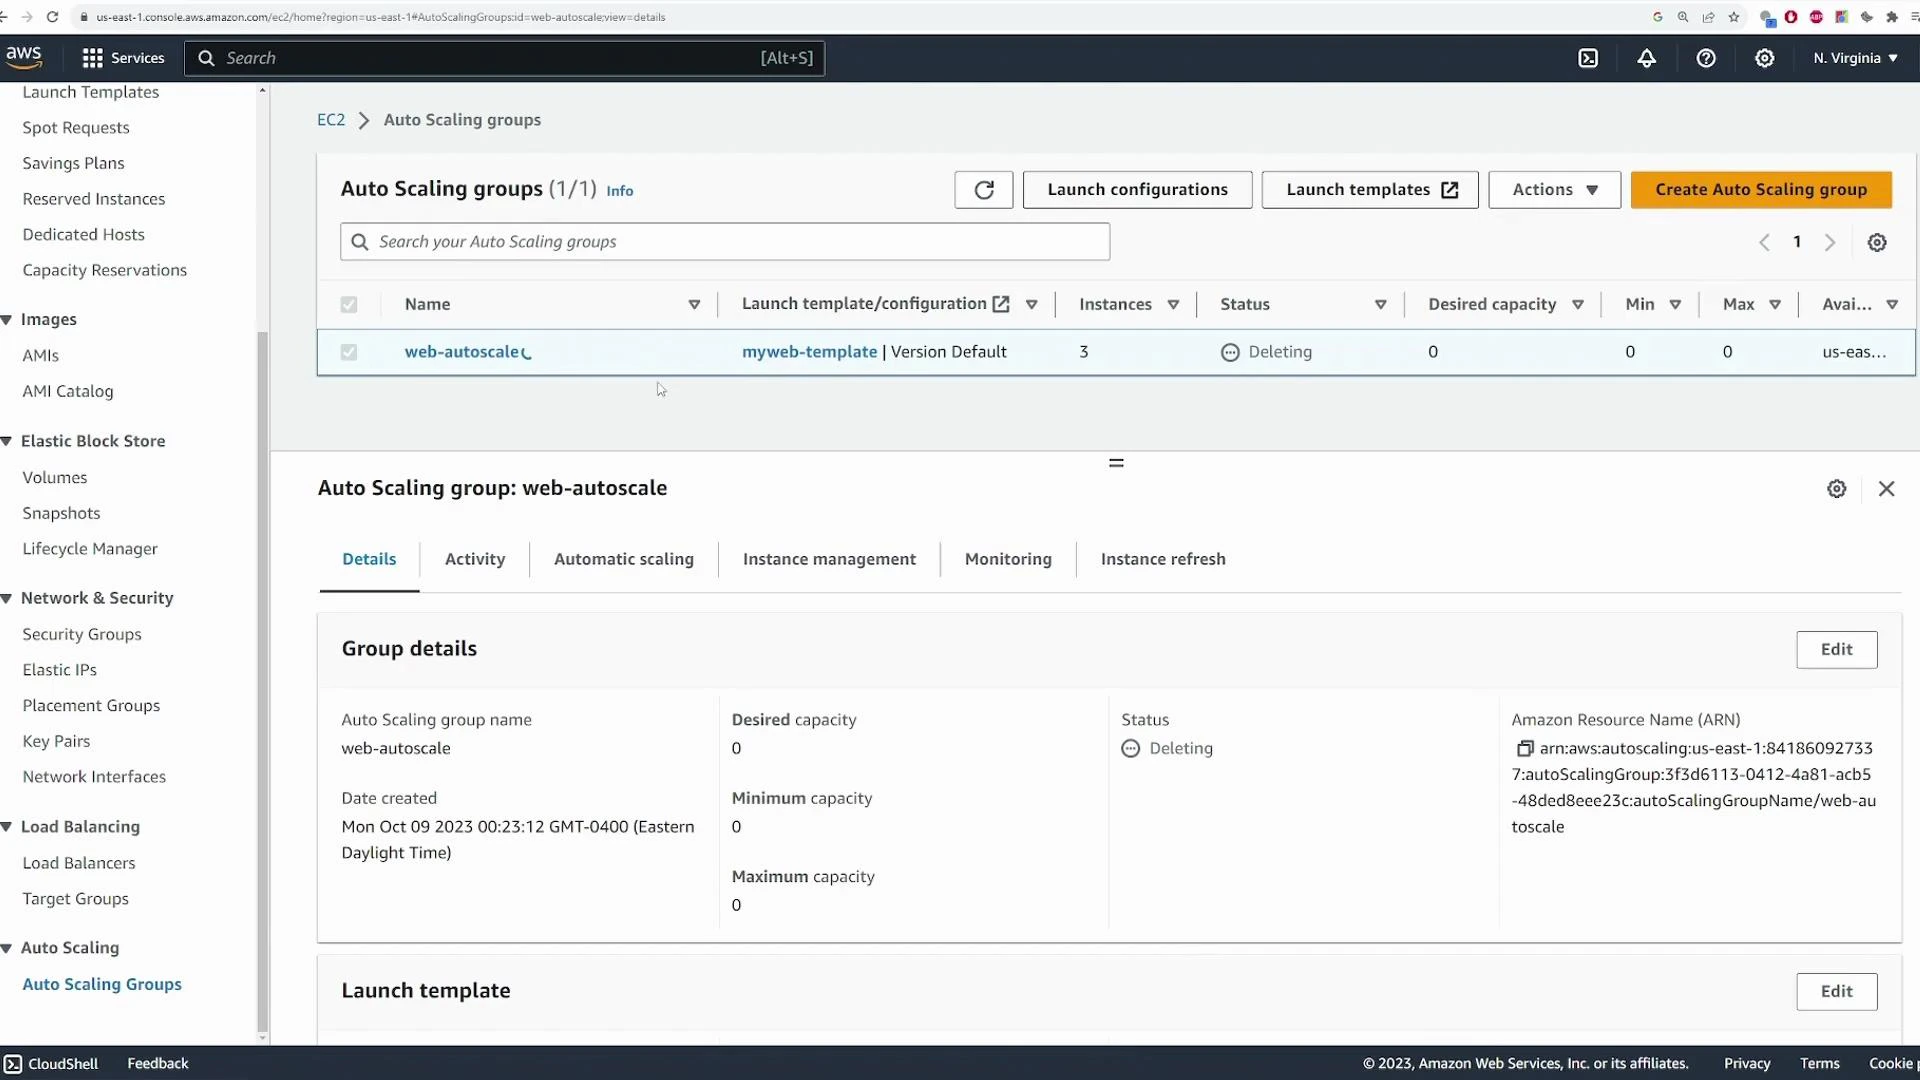
10) Cleanup
When you finish the demo, delete the Auto Scaling Group. If you created an ALB and target group specifically for this demo, delete those too to avoid ongoing charges. Also remove any EC2 instances, security groups, and unused key pairs you no longer need.Remember to clean up ALBs, target groups, EC2 instances, and ASGs after testing to avoid unexpected costs.
- Creating an Auto Scaling Group from a launch template
- Attaching an Application Load Balancer and a target group
- Verifying instance replacement behavior
- Using a CPU-based target tracking scaling policy
Links and references
- Auto Scaling Groups - AWS Documentation
- Application Load Balancer - AWS Documentation
- Launch templates - AWS Documentation
- Target tracking scaling policies - AWS Documentation