- Create a table named
orders. - Choose partition and sort keys to support query patterns.
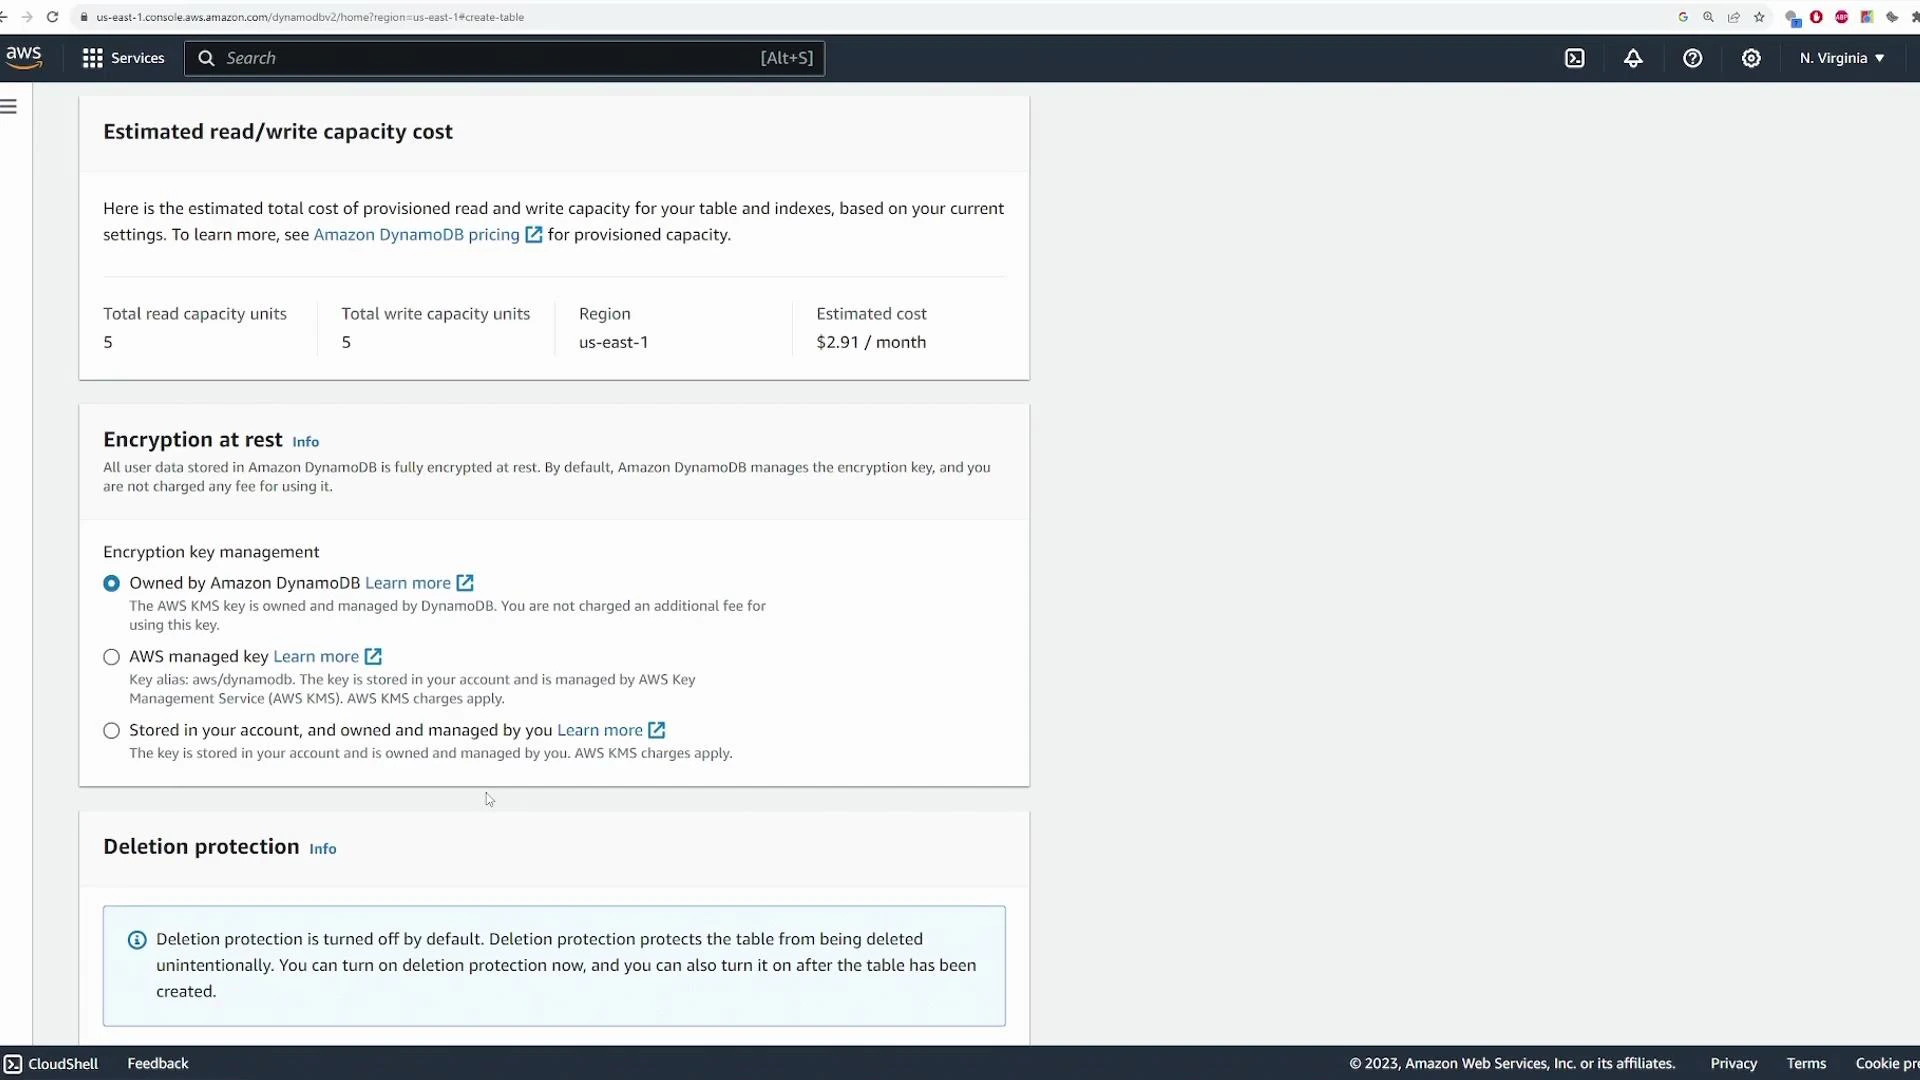
- Configure capacity and encryption.
- Add, query, filter, edit, and delete items.
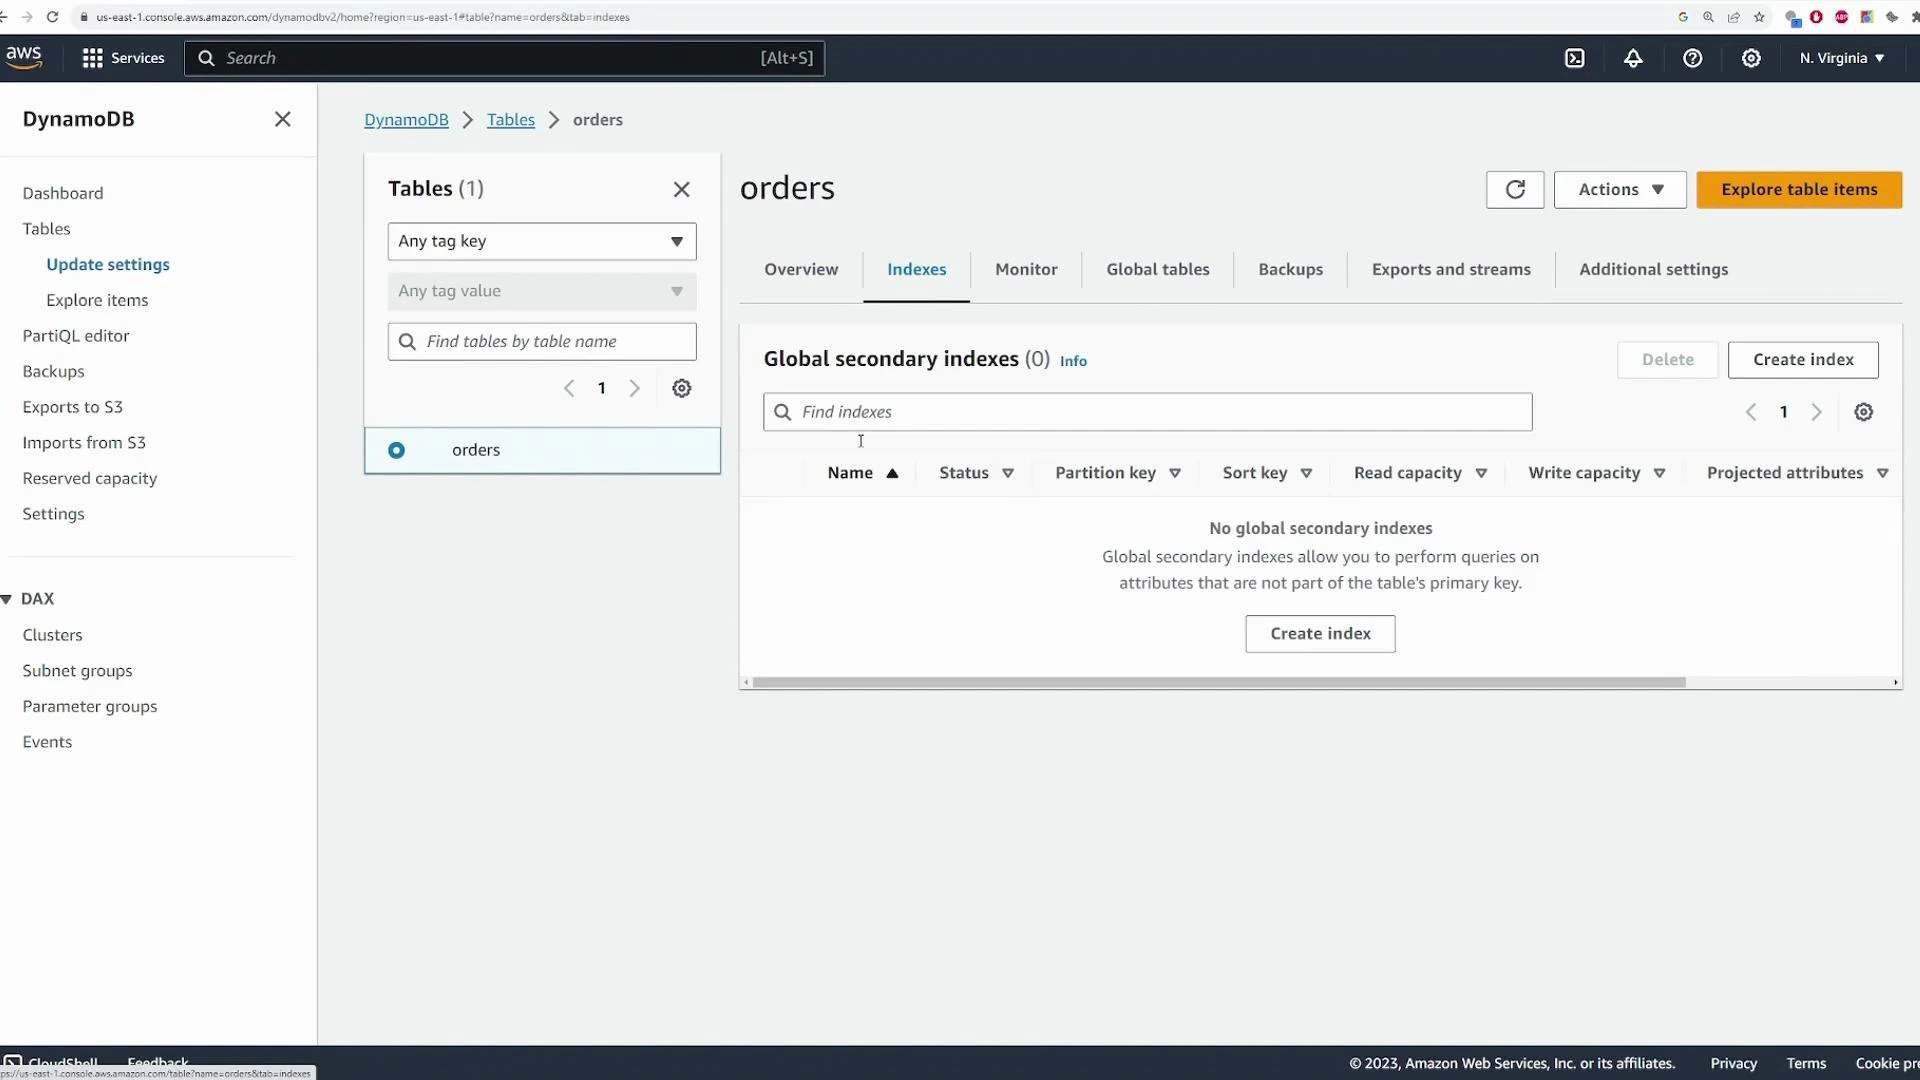
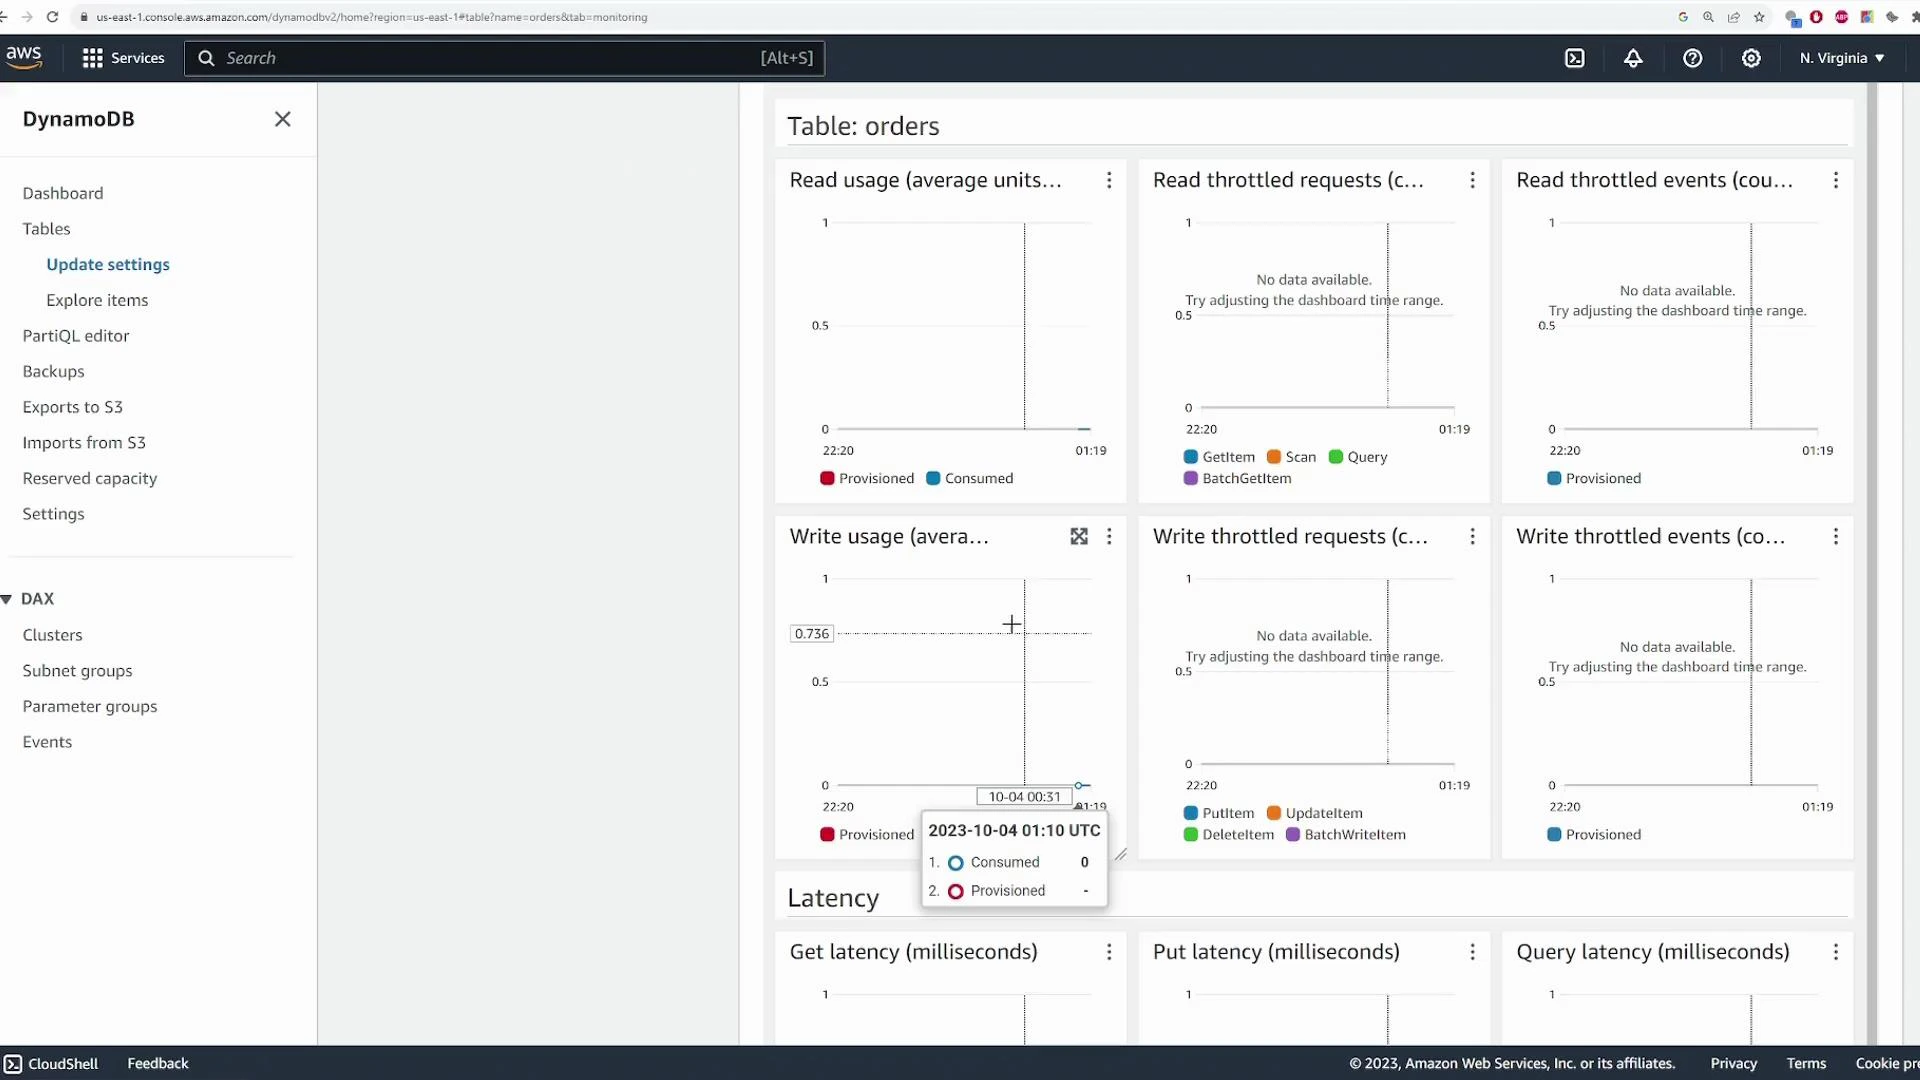
- Review monitoring, indexes and other table options.
1. Create the table and choose keys
Open the AWS Console and search for the DynamoDB service. Create a new table namedorders. The partition key and optional sort key determine how you access and organize items. Choosing the right keys is critical because Query operations require an equality on the partition key and are far more efficient than Scan.
Recommended keys for this demo:
- Partition key:
customerId(String) — so you can efficiently fetch all orders for a customer. - Sort key:
orderId(String) — to uniquely identify each order for a given customer and enable range queries on order attributes.
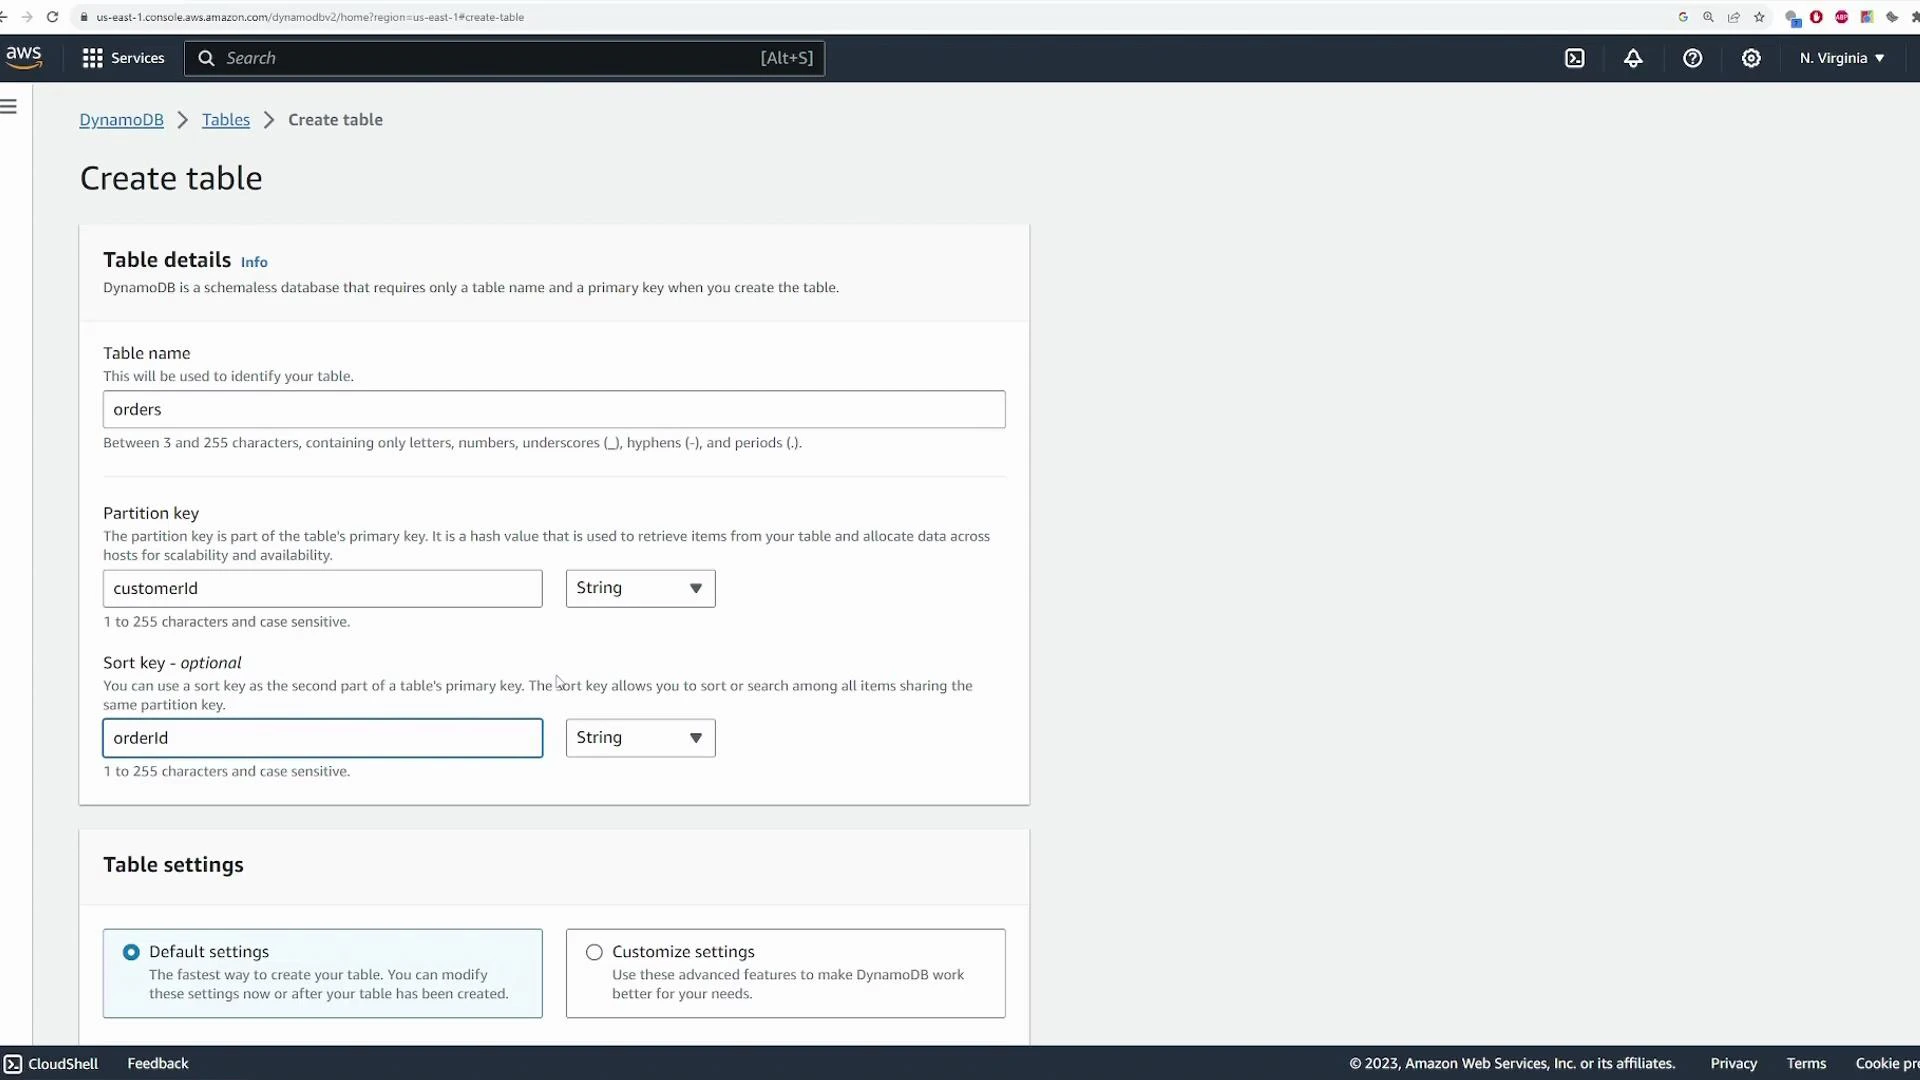
Table design in DynamoDB is an advanced topic—consider access patterns, single-table design, and secondary indexes for real applications. For exams and practical tasks, focus on understanding partition keys, sort keys, and when to use Query vs Scan.
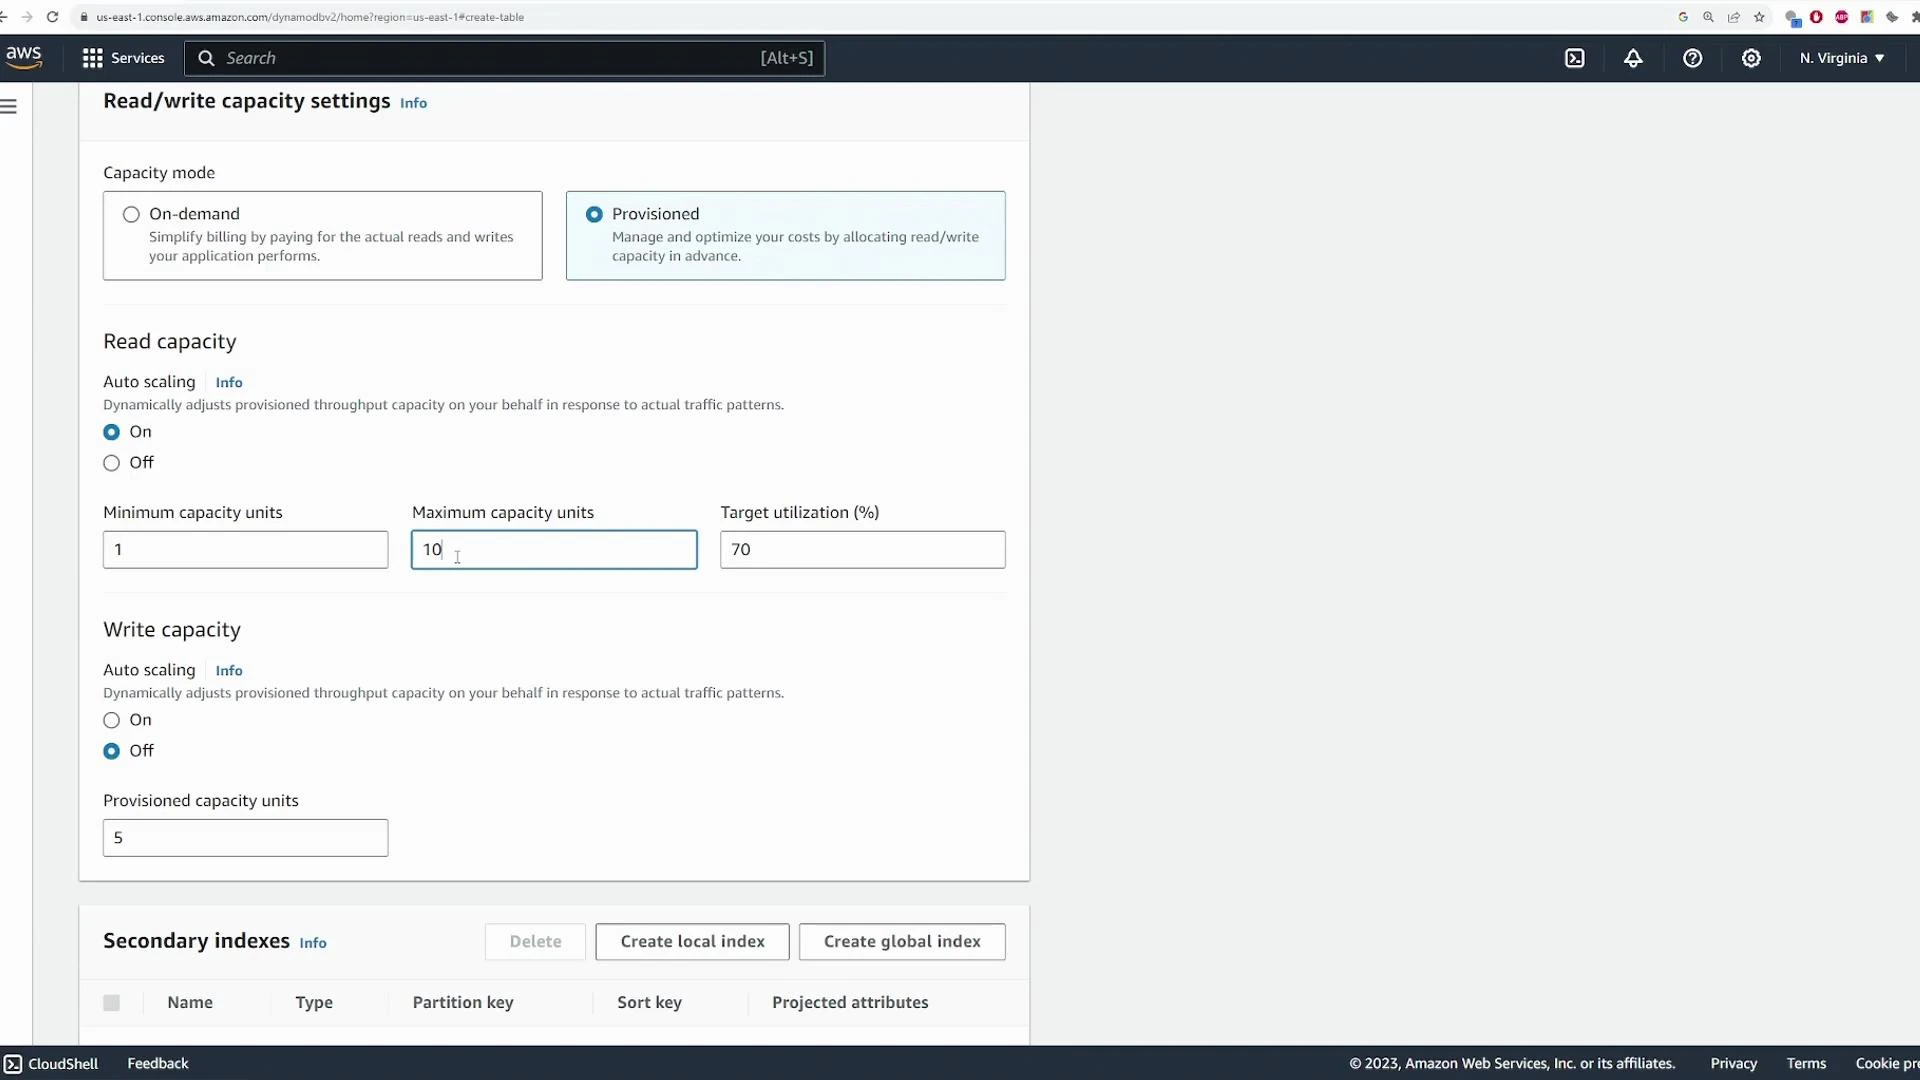
2. Table class and capacity mode
Choose a table class and capacity mode that match your workload:- Table class: Standard (general purpose) or Standard‑IA (infrequent access).
- Capacity mode: On‑Demand (pay-per-request) or Provisioned (set read/write capacity units).
| Setting | Purpose | When to use |
|---|---|---|
| On‑Demand | Pay-per-request pricing | Unpredictable or spiky traffic |
| Provisioned w/ Auto Scaling | Set min/max, target utilization | Predictable traffic with cost control |
| Standard‑IA | Lower-cost storage for infrequent access | Archival or rarely read data |
- Auto Scaling adjusts provisioned throughput between the minimum and maximum you set.
- Target utilization (commonly ~70%) is the utilization level Auto Scaling tries to maintain.
- GSIs and LSIs may introduce additional capacity considerations.
3. Table overview and status
After creating the table, wait for its status to become Active. The table overview displays keys, capacity mode, item count, and size.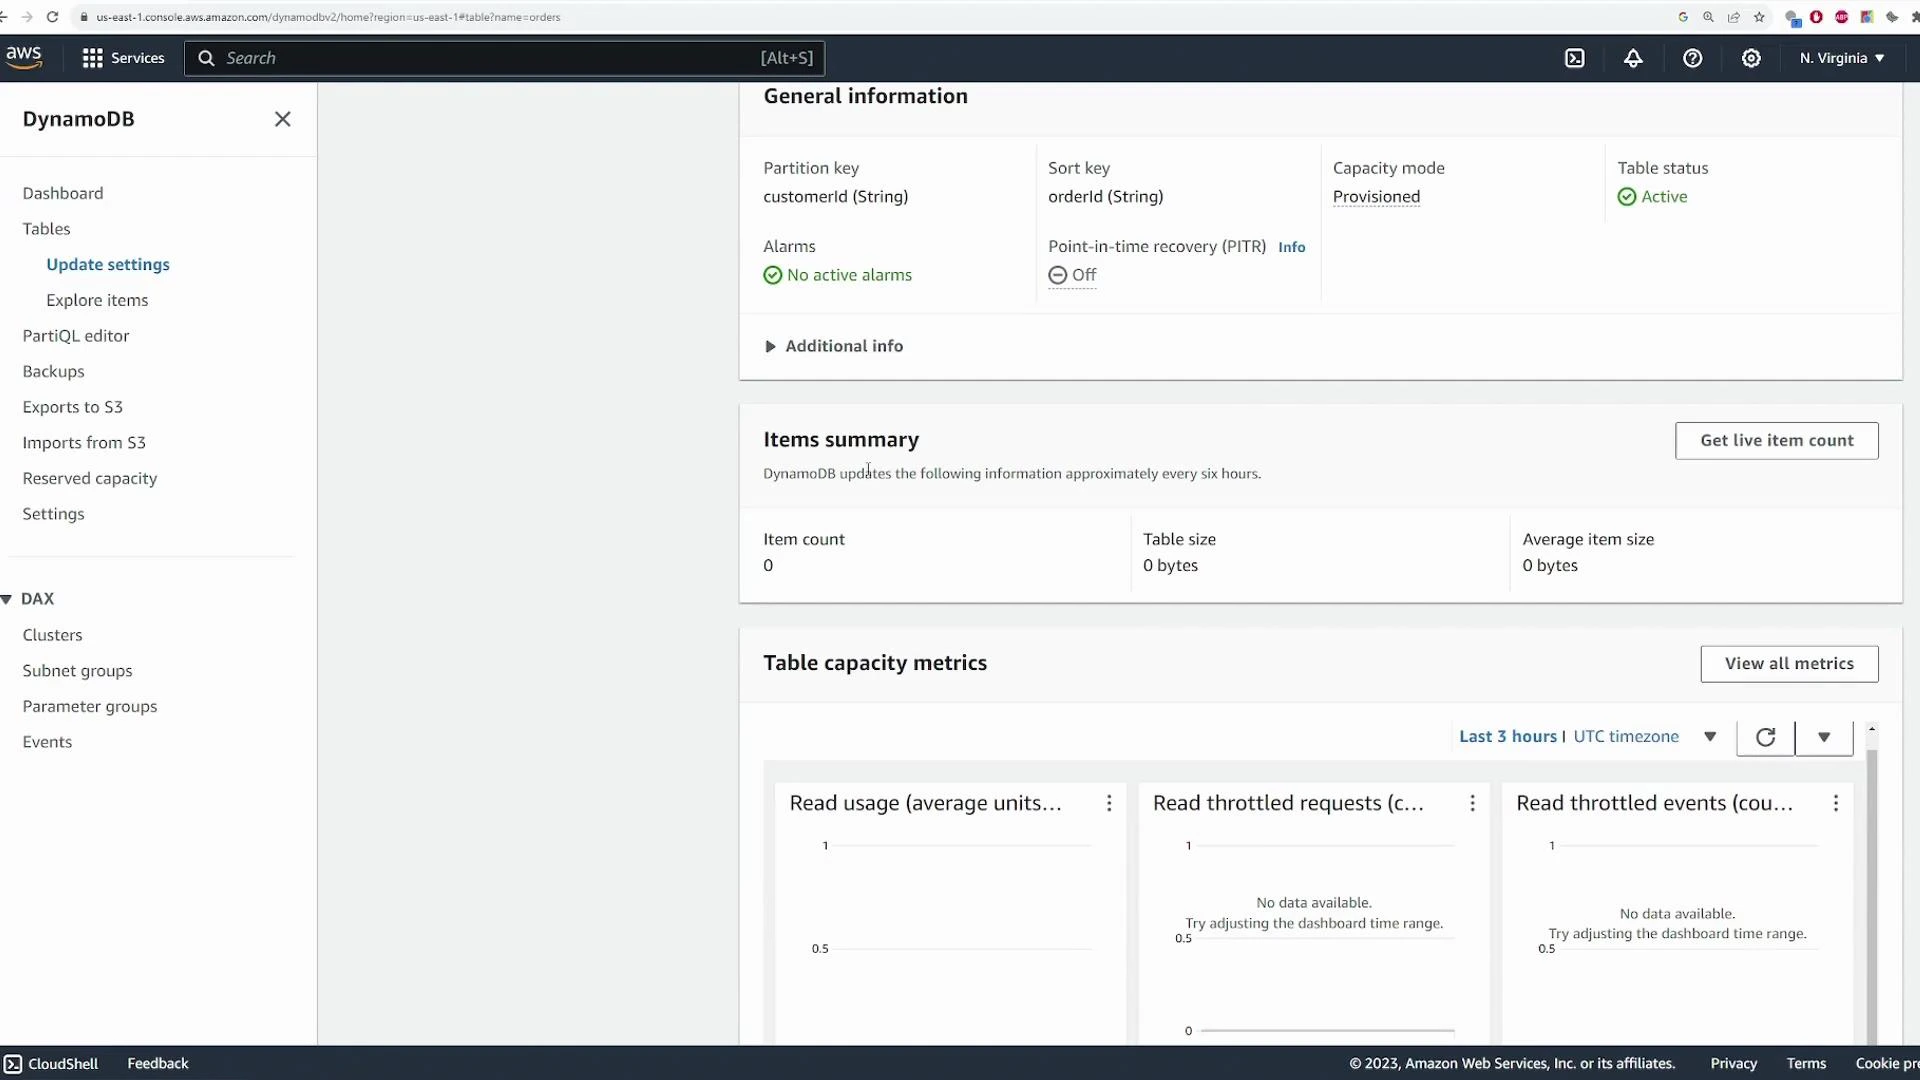
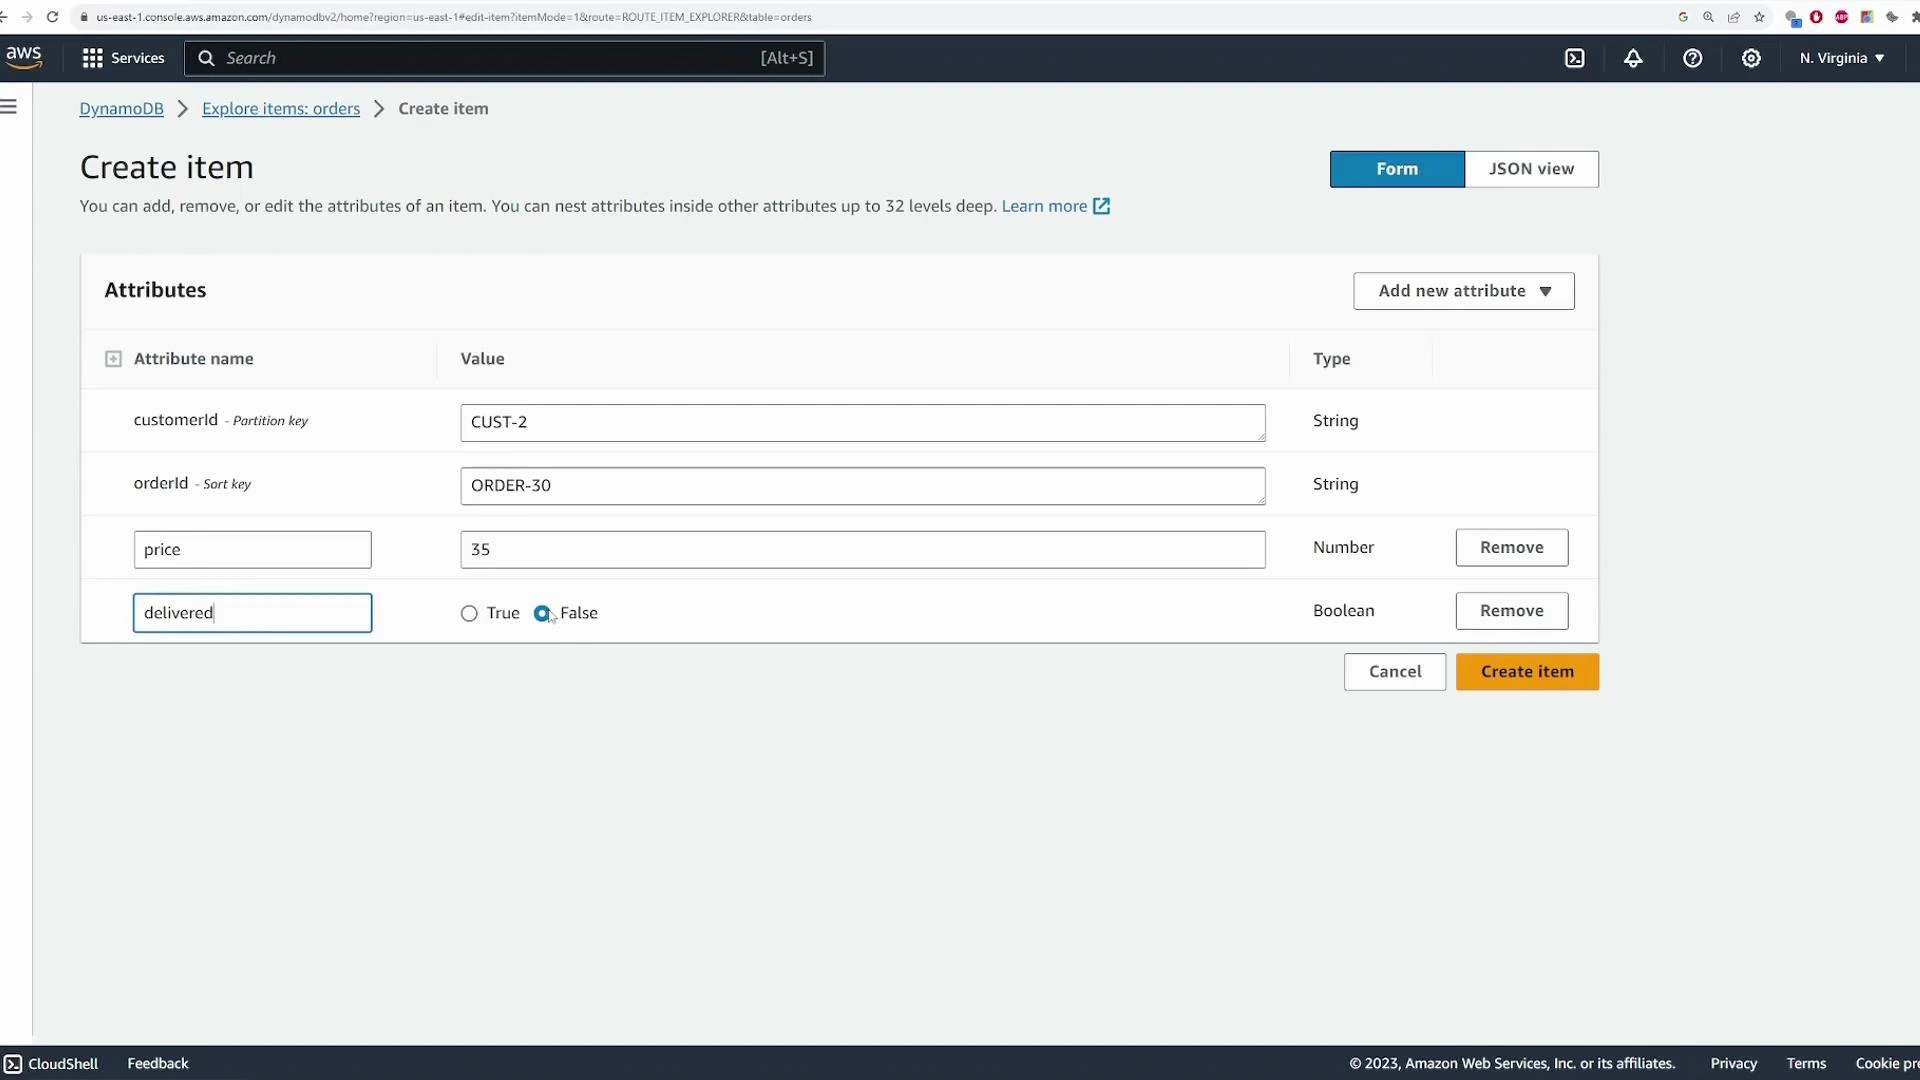
4. Add items (console)
Open Explore items in the console to view or add items. A freshly created table starts empty.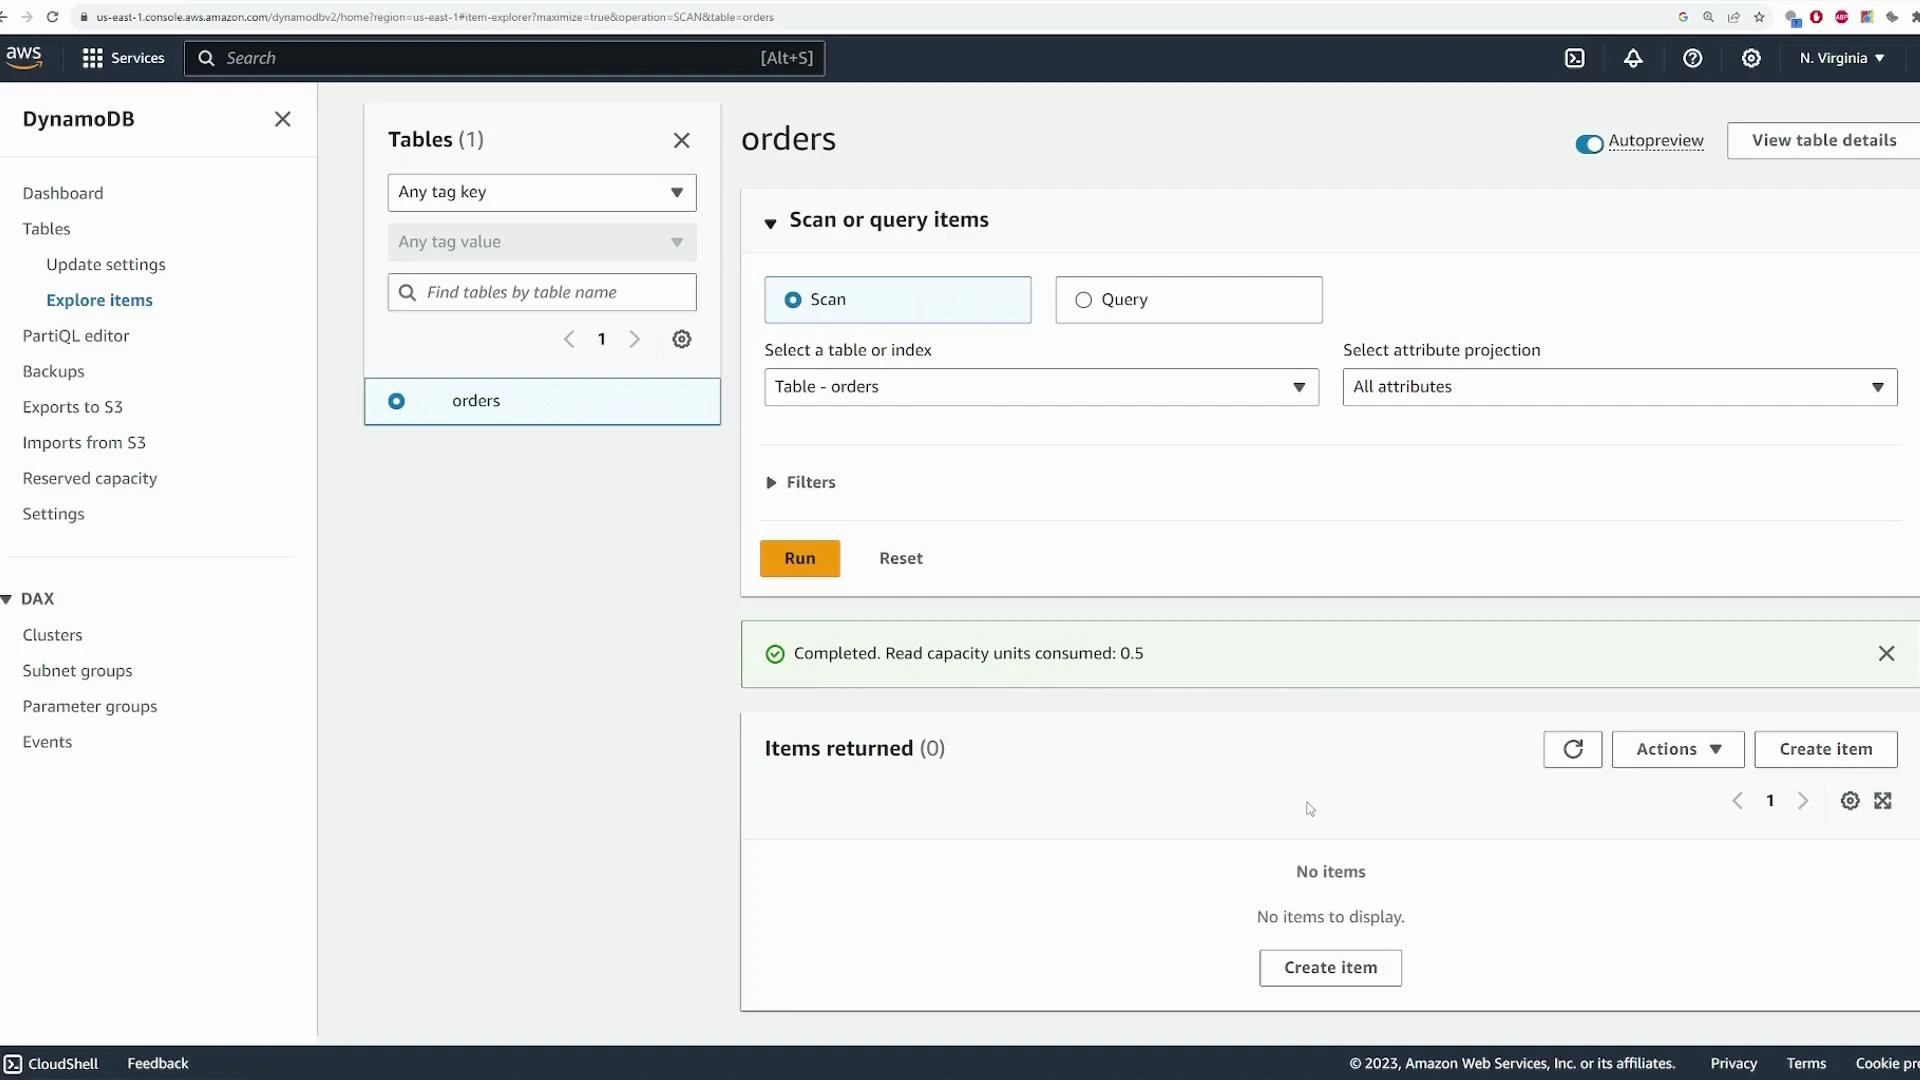
| customerId | orderId | price (Number) | delivered (Boolean) |
|---|---|---|---|
| CUST-1 | ORDER-10 | 100 | False |
| CUST-1 | ORDER-20 | 50 | True |
| CUST-2 | ORDER-30 | 35 | False |
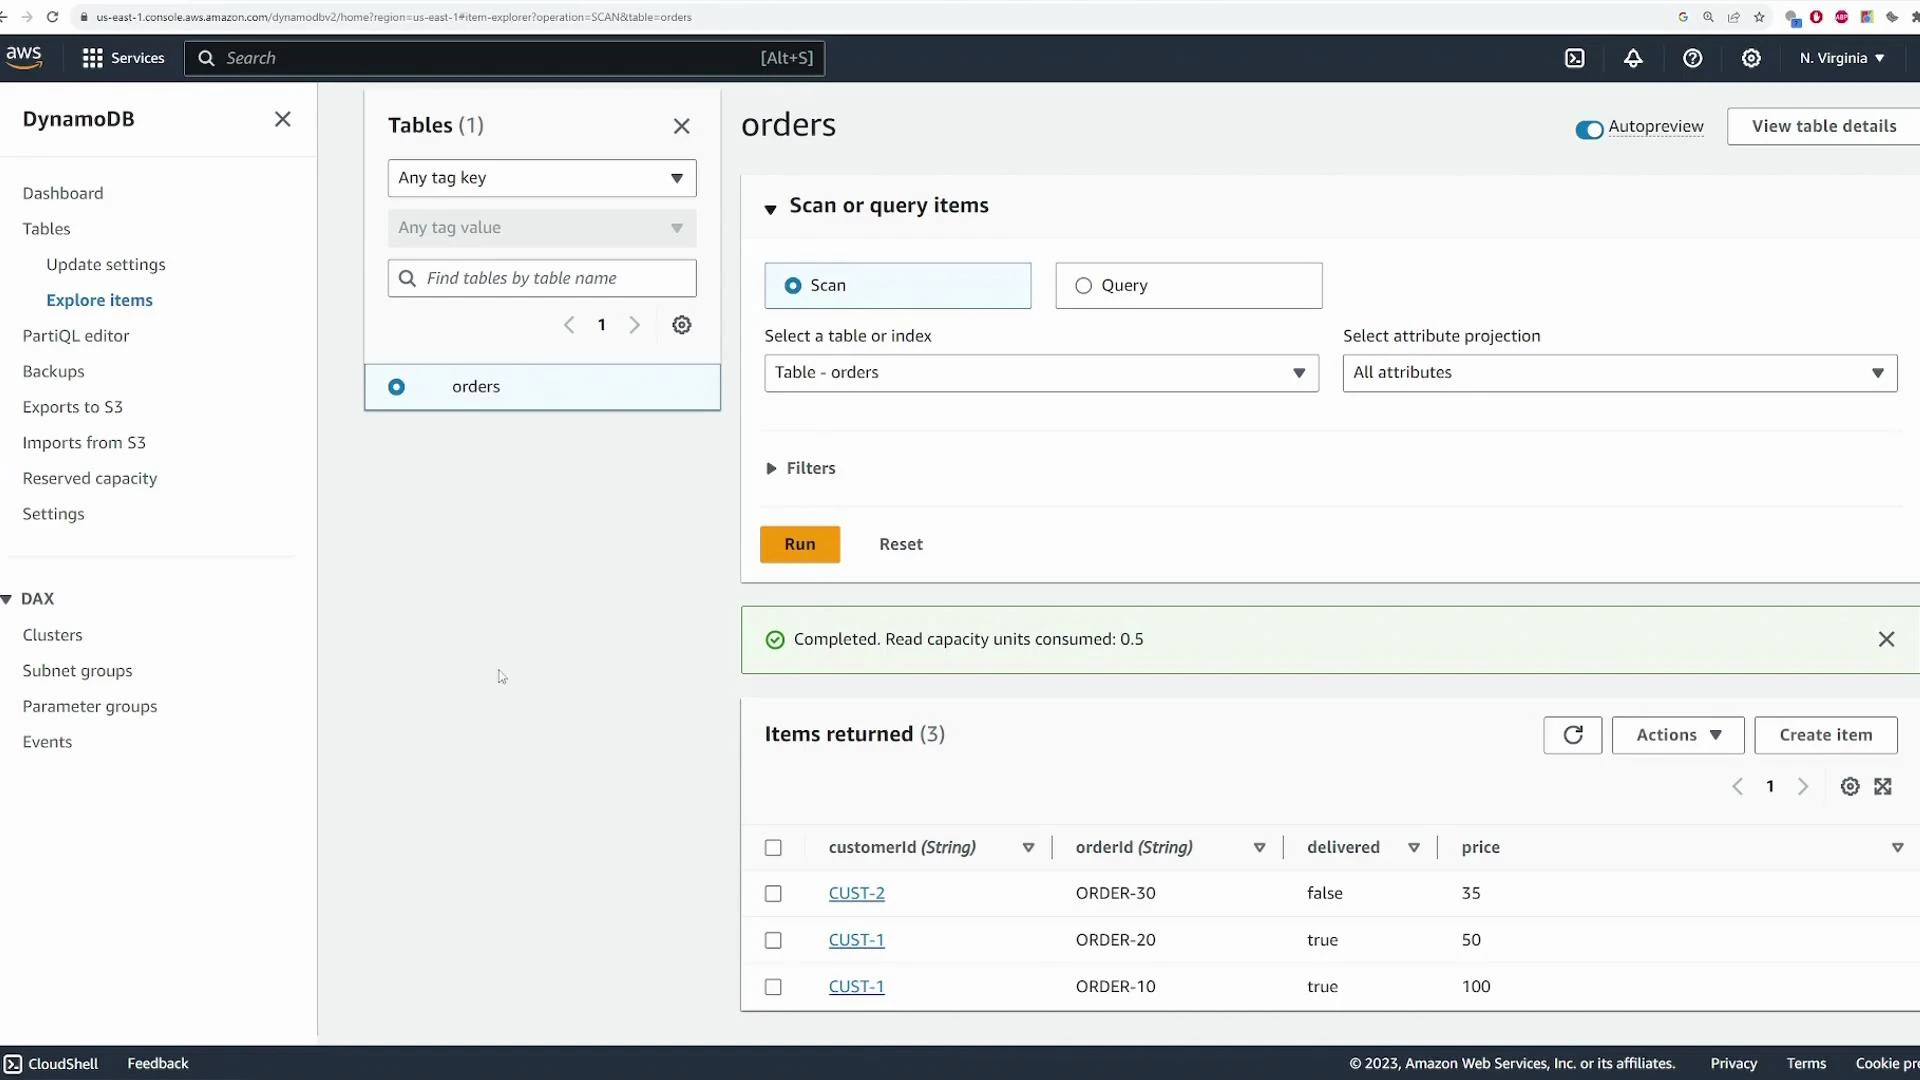
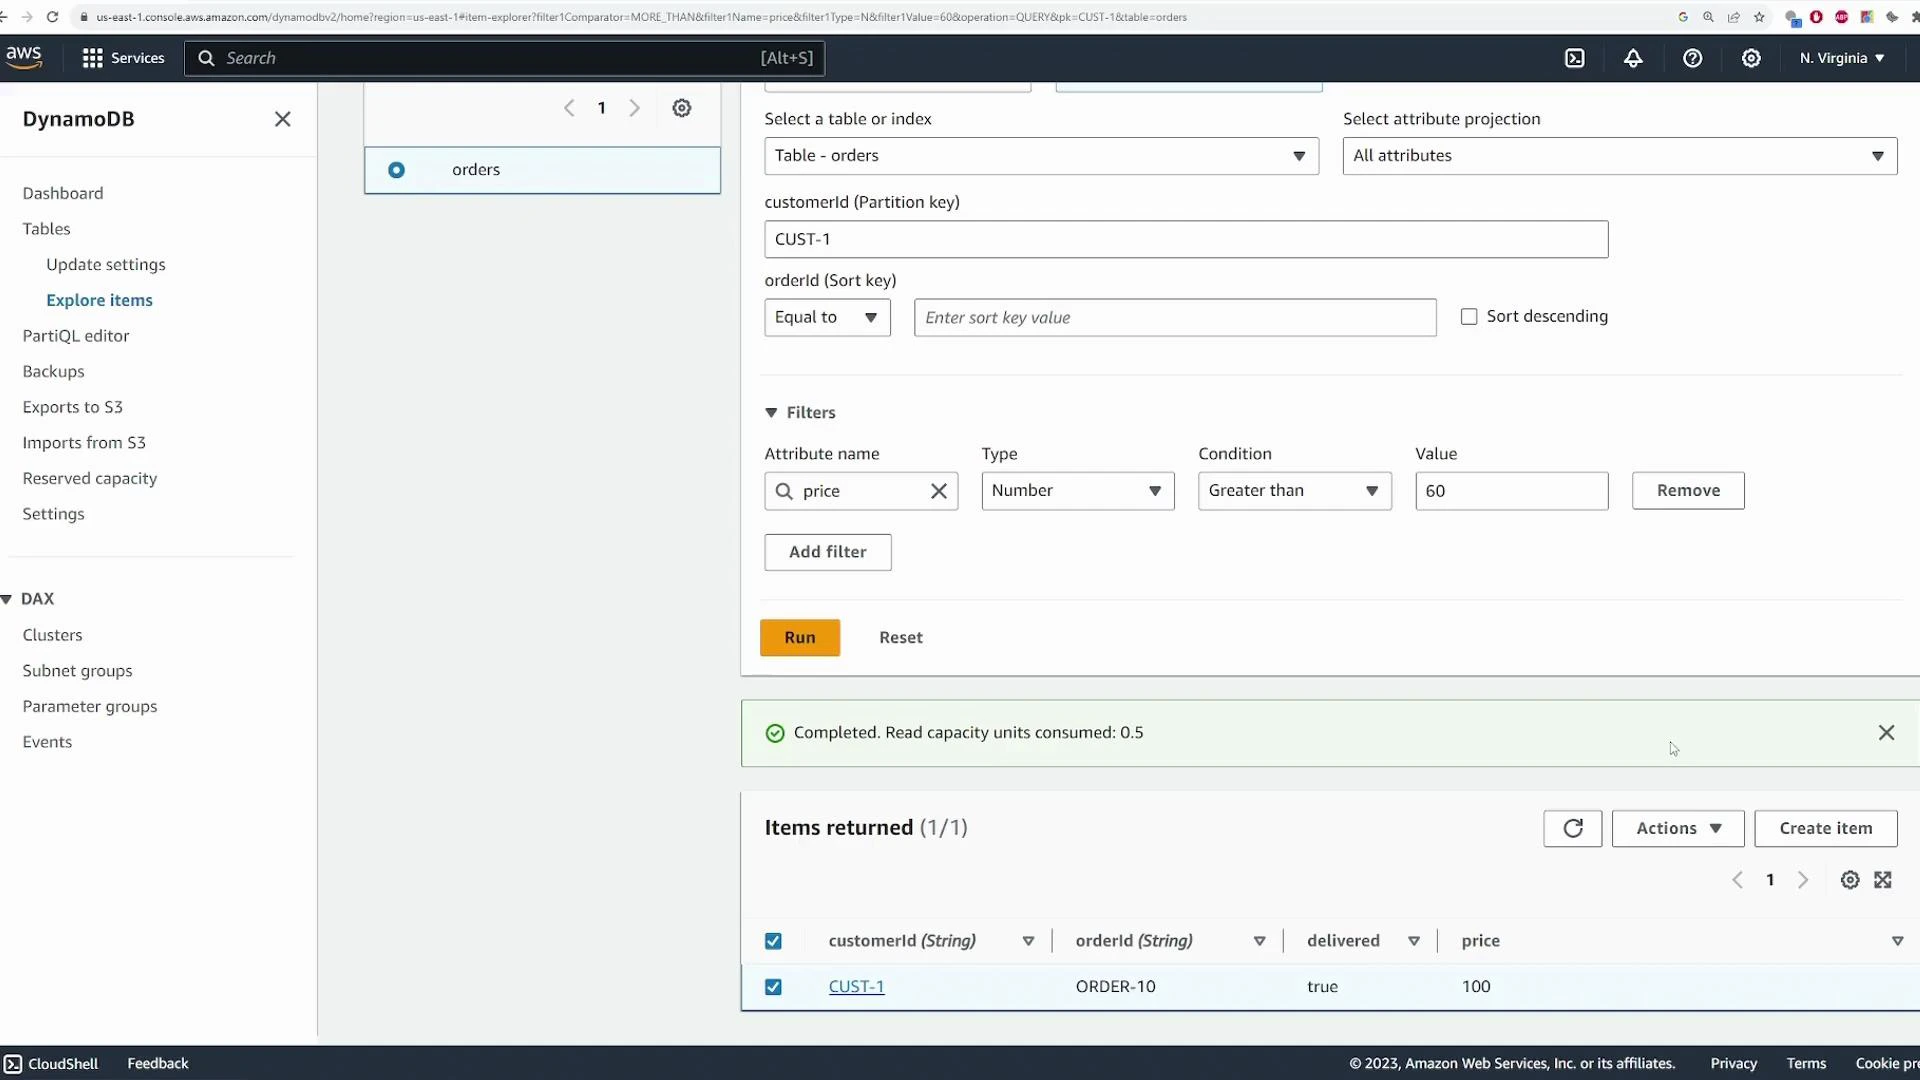
5. Prefer Query over Scan
Use Query whenever possible—it’s much more efficient because it retrieves items by partition key rather than scanning the whole table. Query requires an equality condition on the partition key; you can combine it with sort key conditions (range queries) and FilterExpressions for further narrowing.Query operations require an equality on the partition key. Filter expressions are applied after the query and do not reduce the read capacity units consumed by the initial query—they only narrow the results returned to you.
CUST-1 returns both orders for that customer. To return only orders with price > 60, add a FilterExpression—note the filter runs after DynamoDB reads the partition’s items, so read units are still consumed for the items that matched the partition key.
6. Edit and delete items
You can edit attributes for an item from the console (for example updateprice or delivered status). Use Edit item to change values and Save to apply changes.

7. PartiQL and programmatic access
DynamoDB supports PartiQL, a SQL-compatible language that lets you run familiar INSERT/SELECT/UPDATE/DELETE statements against DynamoDB tables. PartiQL statements are translated into native DynamoDB operations. For automation and production use, prefer the AWS CLI or SDKs.- PartiQL reference: https://docs.aws.amazon.com/amazondynamodb/latest/developerguide/ql-reference.html
8. Summary and cleanup
This demo covered:- Creating an
orderstable with partition keycustomerIdand sort keyorderId. - Choosing table class and capacity (On‑Demand vs Provisioned with Auto Scaling).
- Configuring encryption and deletion protection.
- Adding items, using Query vs Scan, applying FilterExpressions.
- Editing and deleting items and viewing monitoring metrics.