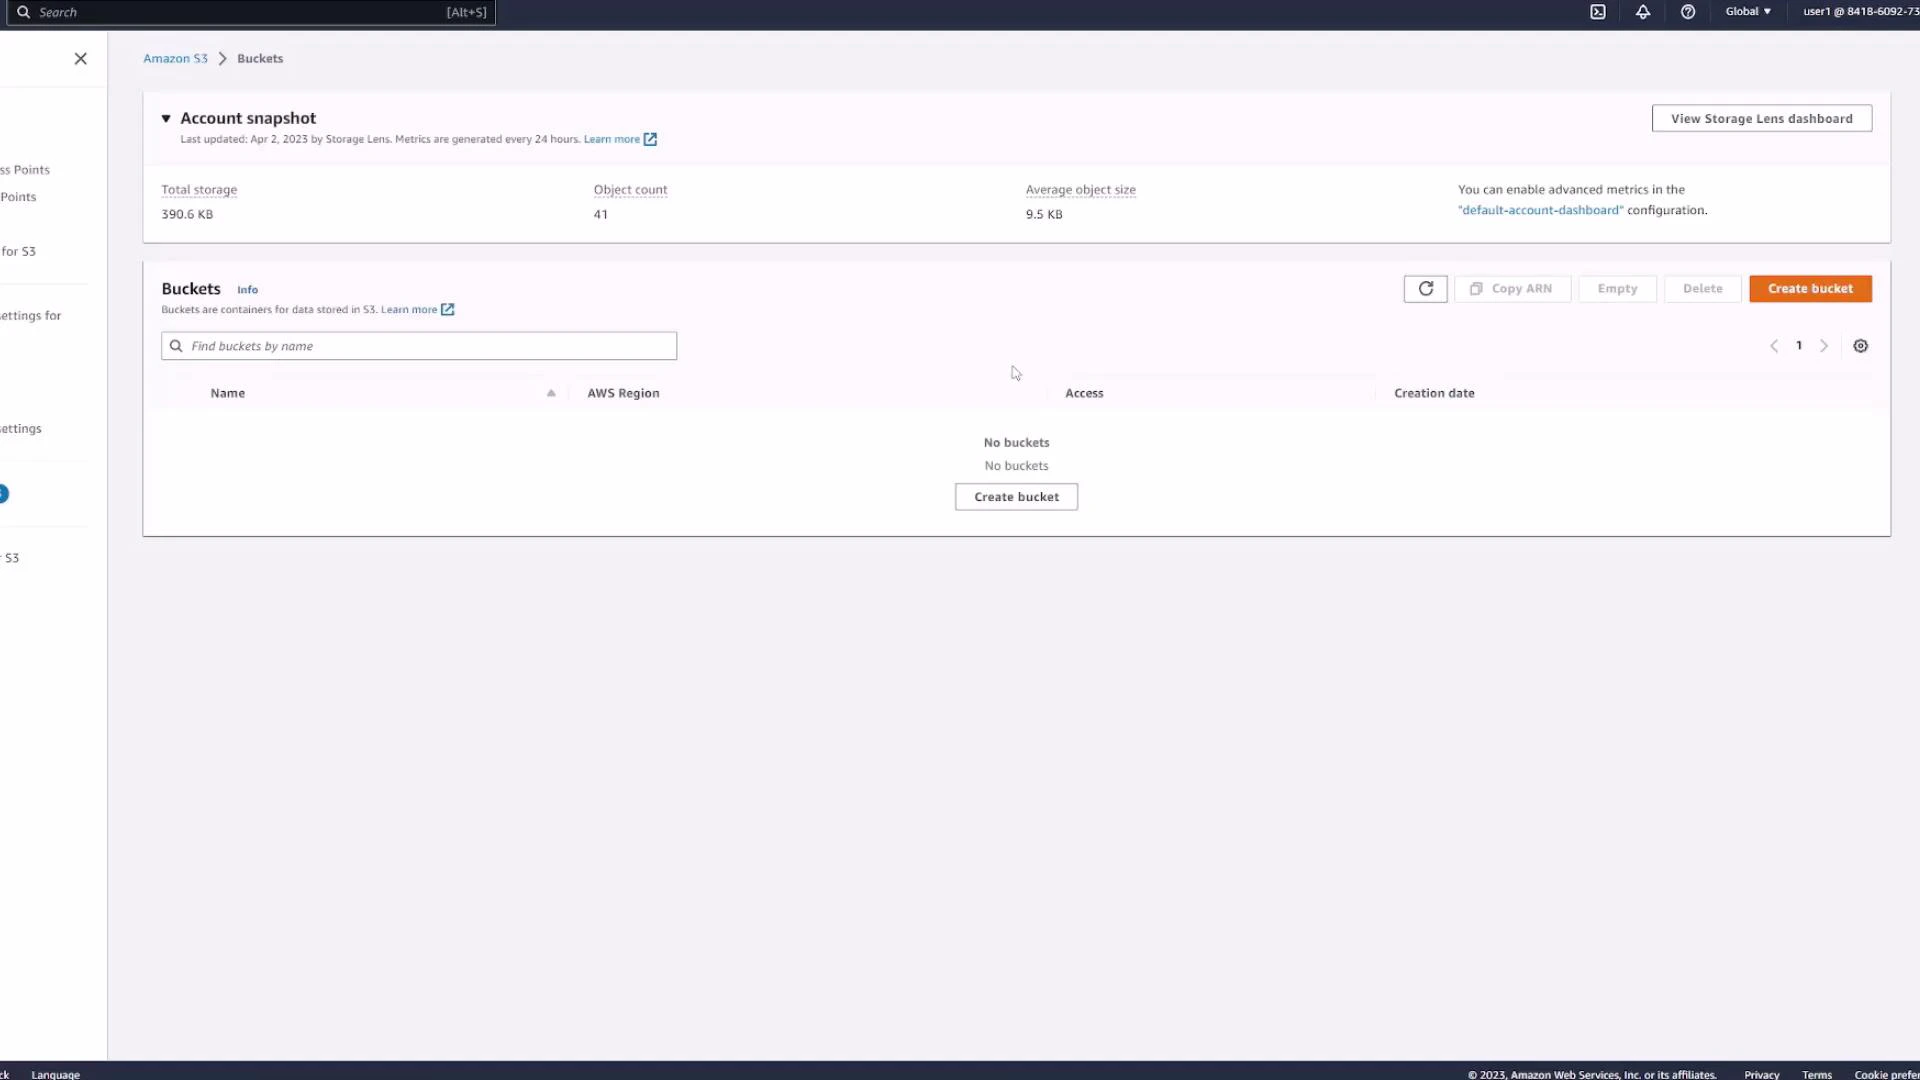
S3 bucket names must be globally unique. The console displays all buckets from every region; pick the bucket’s region when you create it.
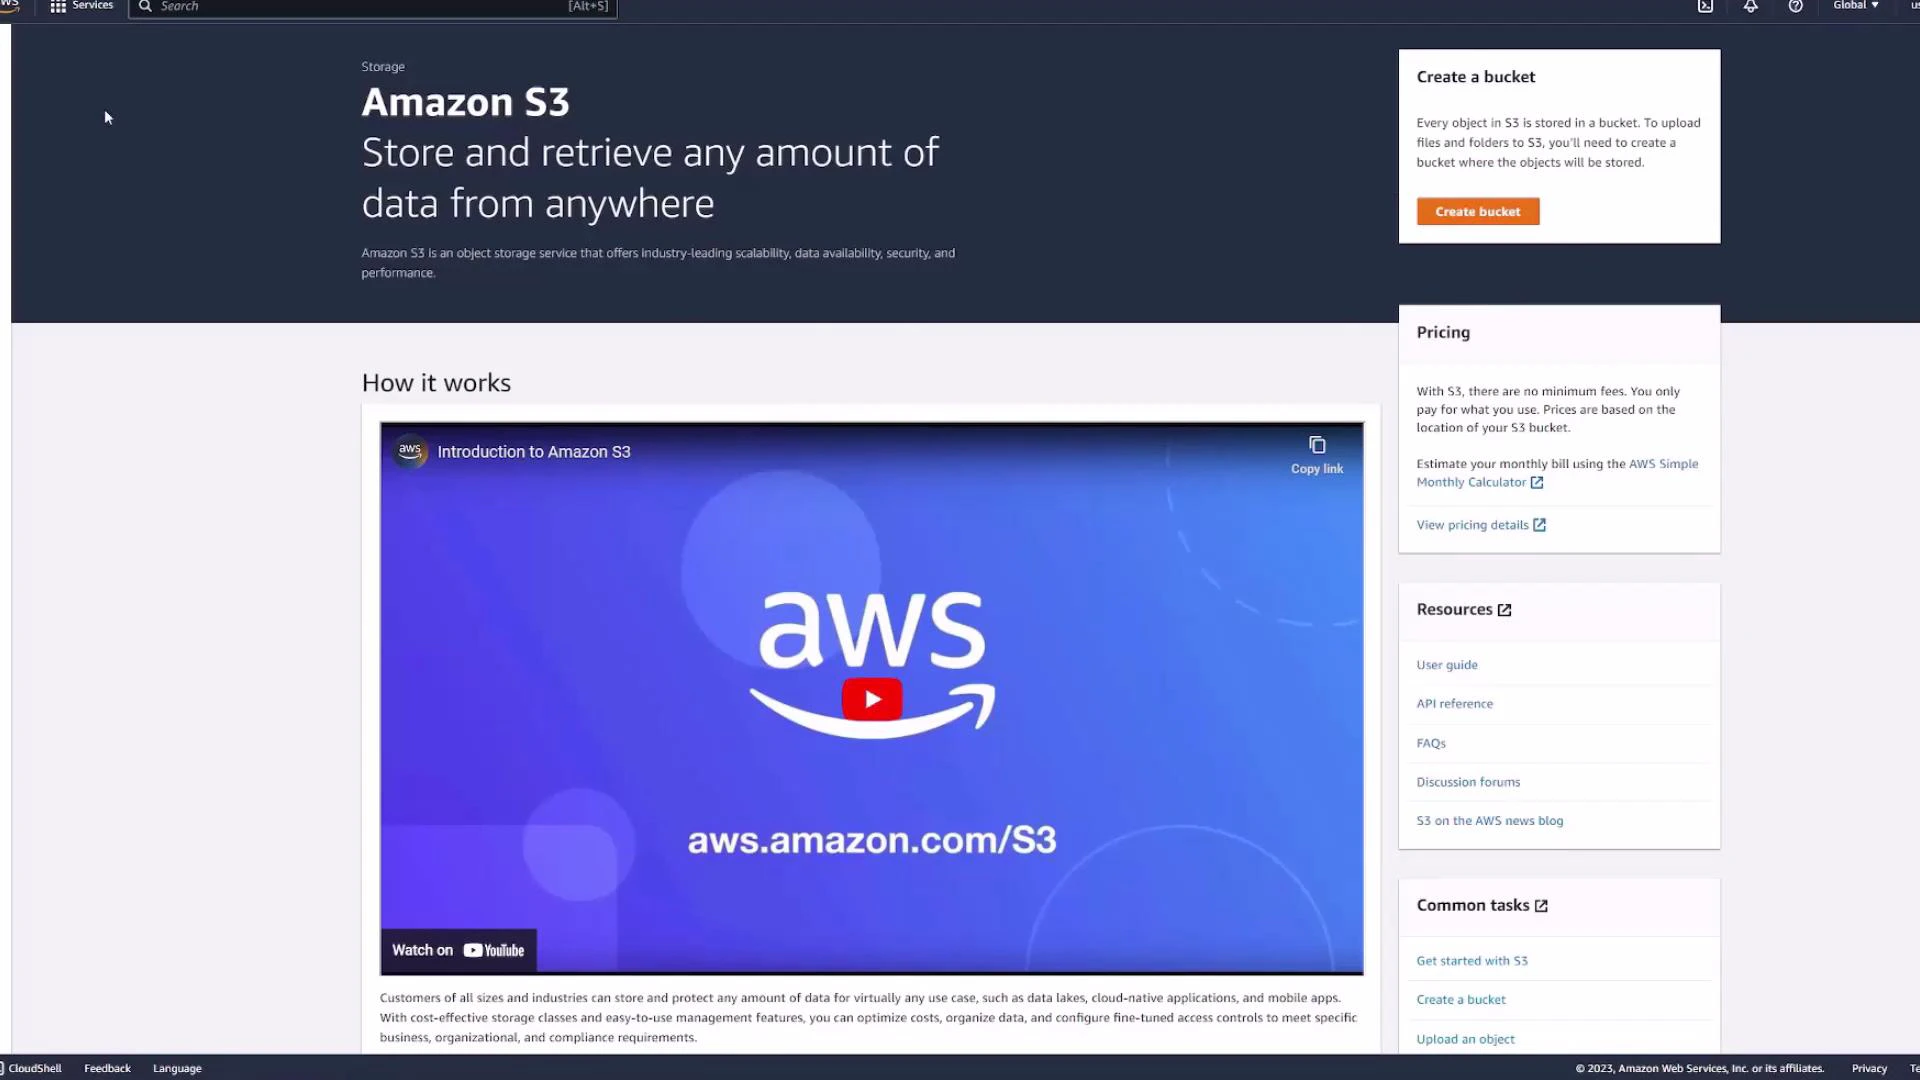
Create a bucket
Click Create bucket to begin. Provide a globally unique name — common names like “demo” are already used. In this walkthrough we use the example name kk-demo-123.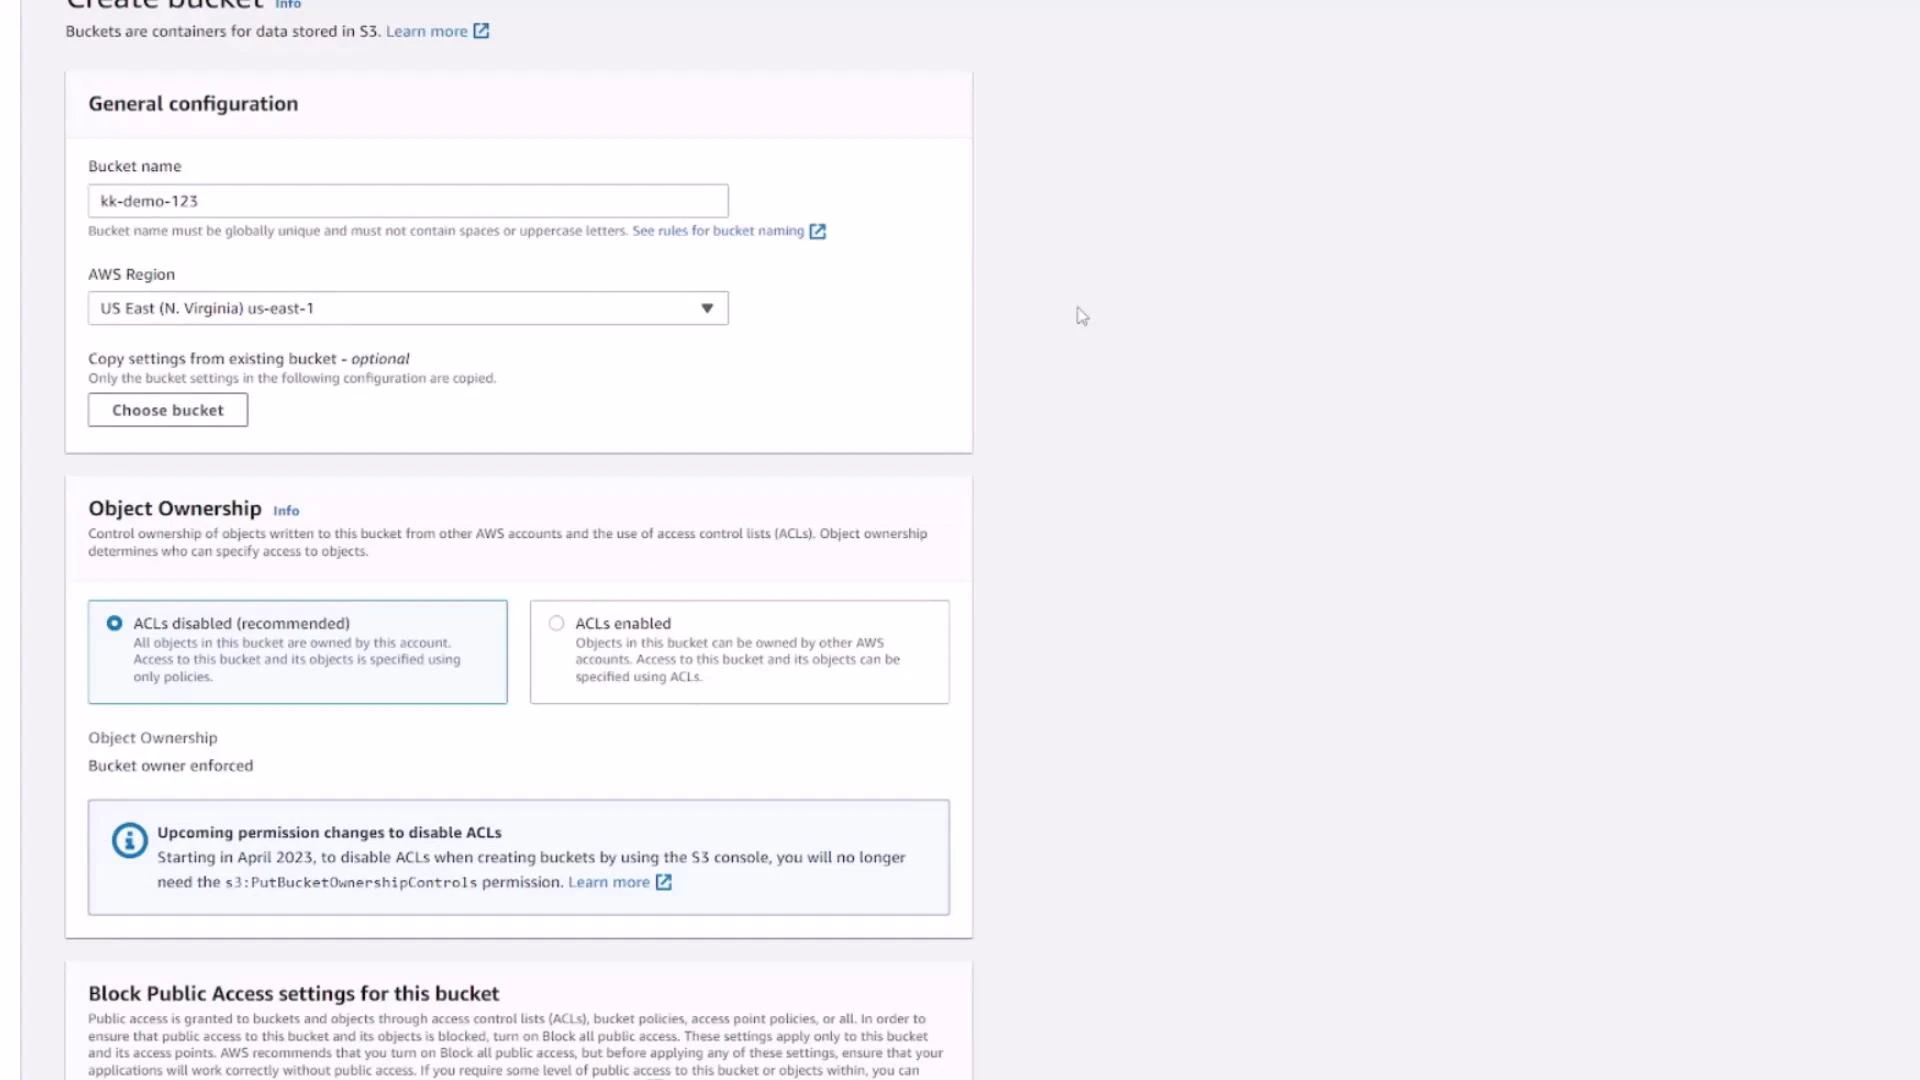
- Object ownership (controls whether objects are owned by the bucket owner or the object uploader),
- Block Public Access settings,
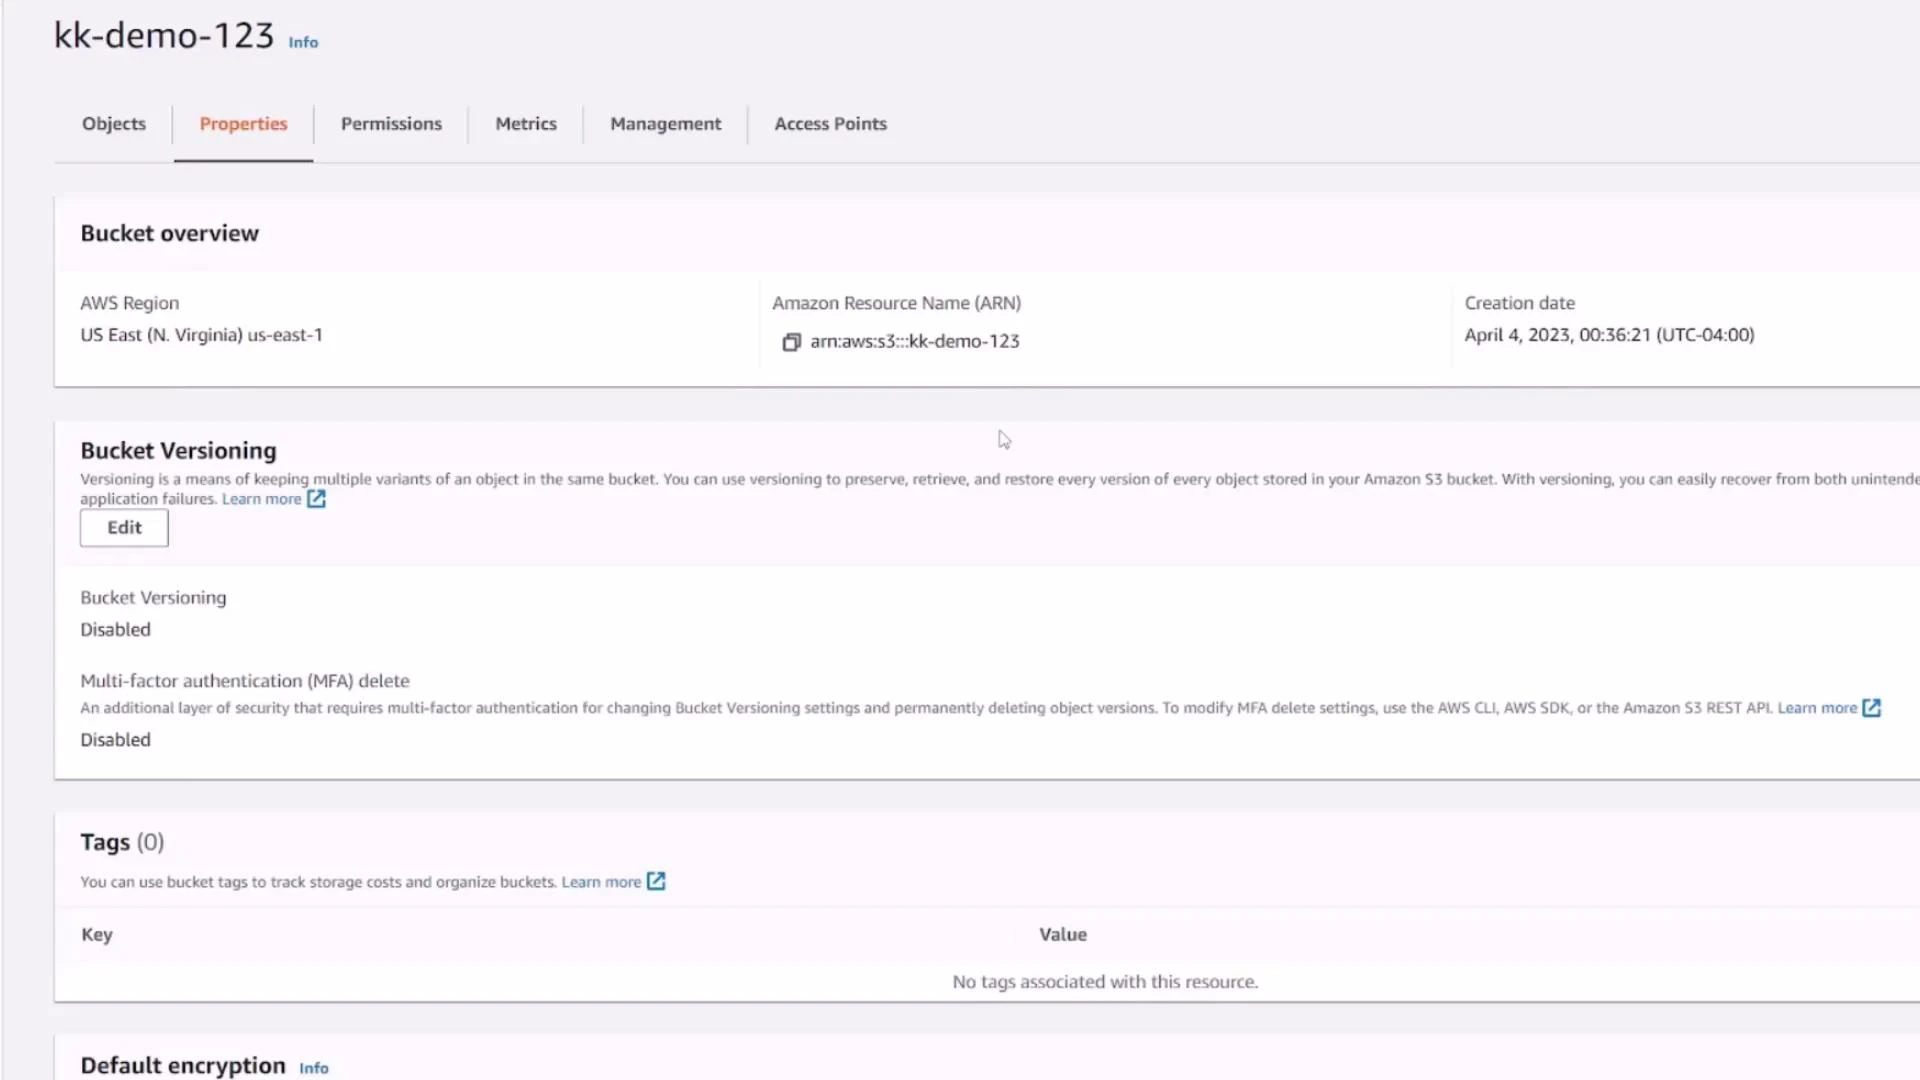
- Versioning,
- Default encryption,
- Tags, and more.
Do not disable Block Public Access unless you intentionally want objects to be publicly accessible. Public buckets can expose data to anyone on the internet.
After creation — bucket overview
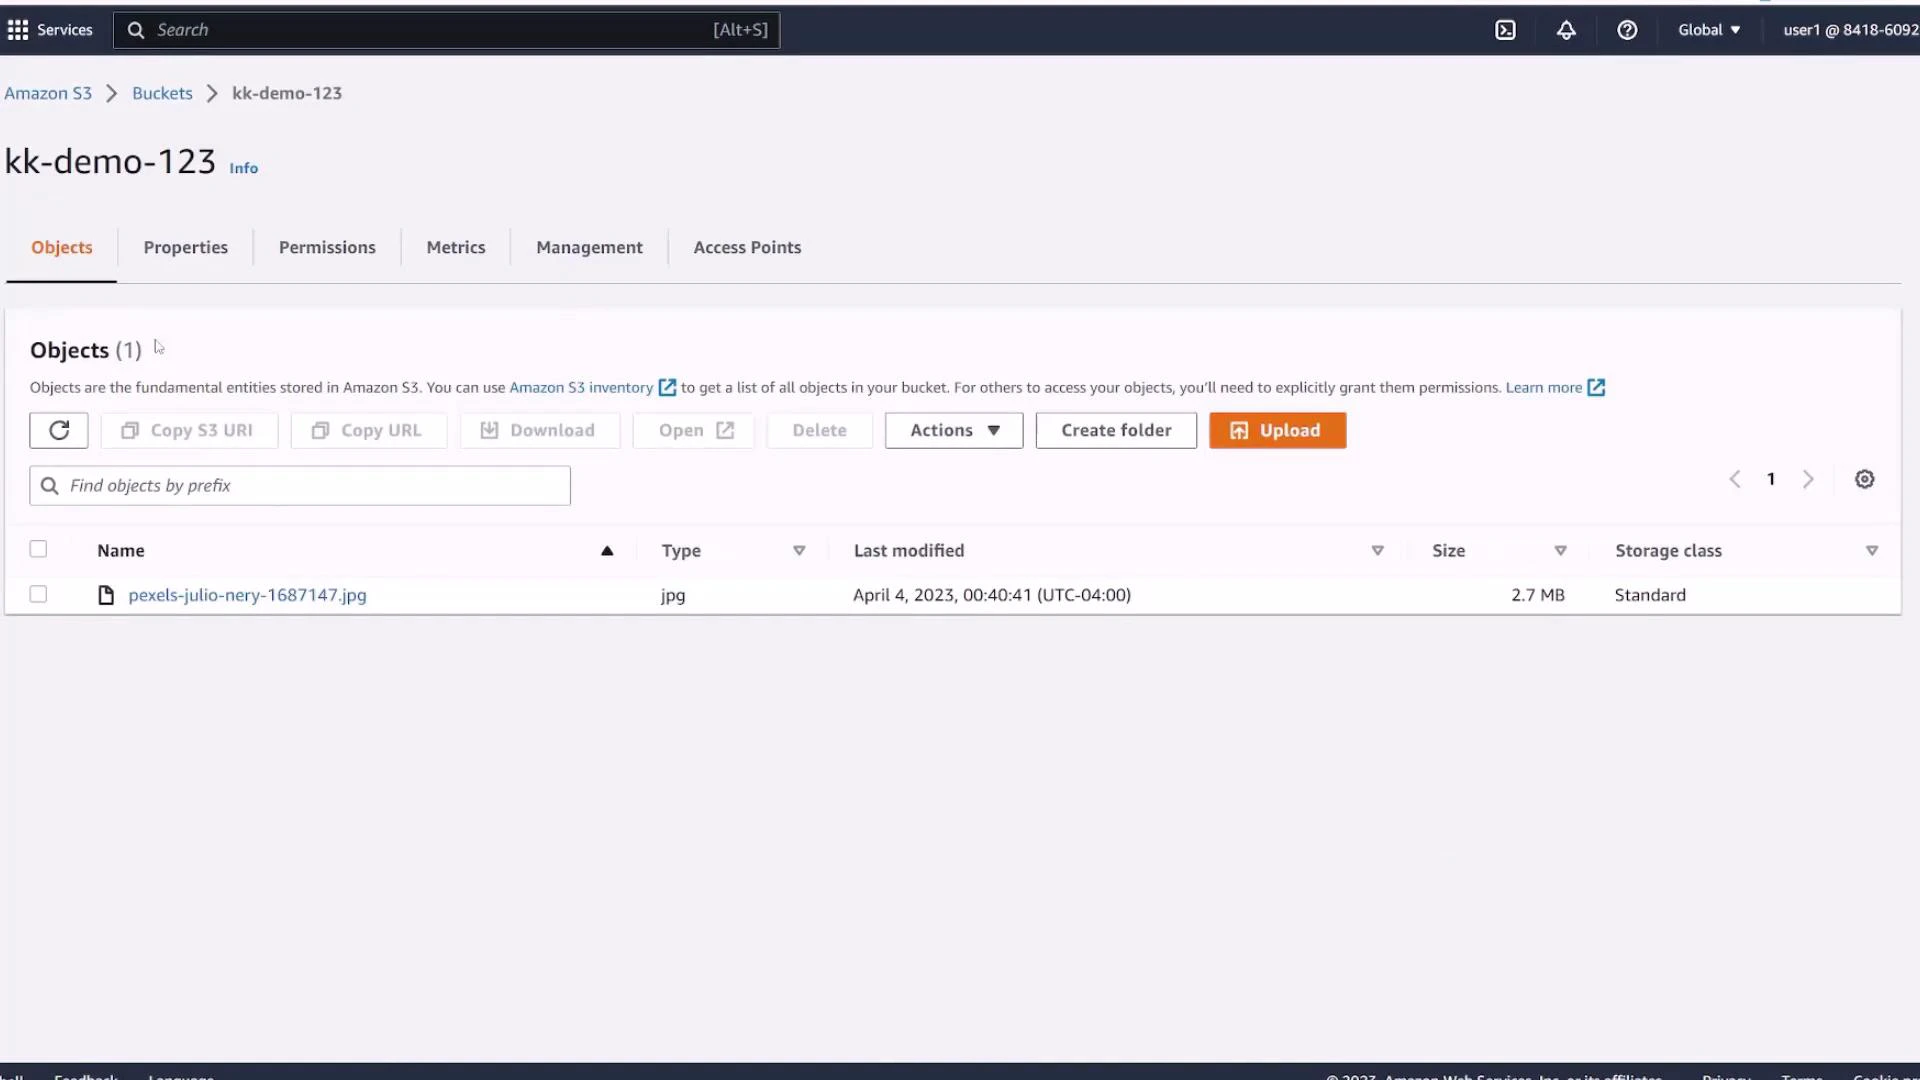
After the bucket is created it appears in the list with its region and creation date. Click the bucket name to open its dedicated console page. On the Objects tab you will find all files (objects) stored in the bucket. A freshly created bucket contains no objects.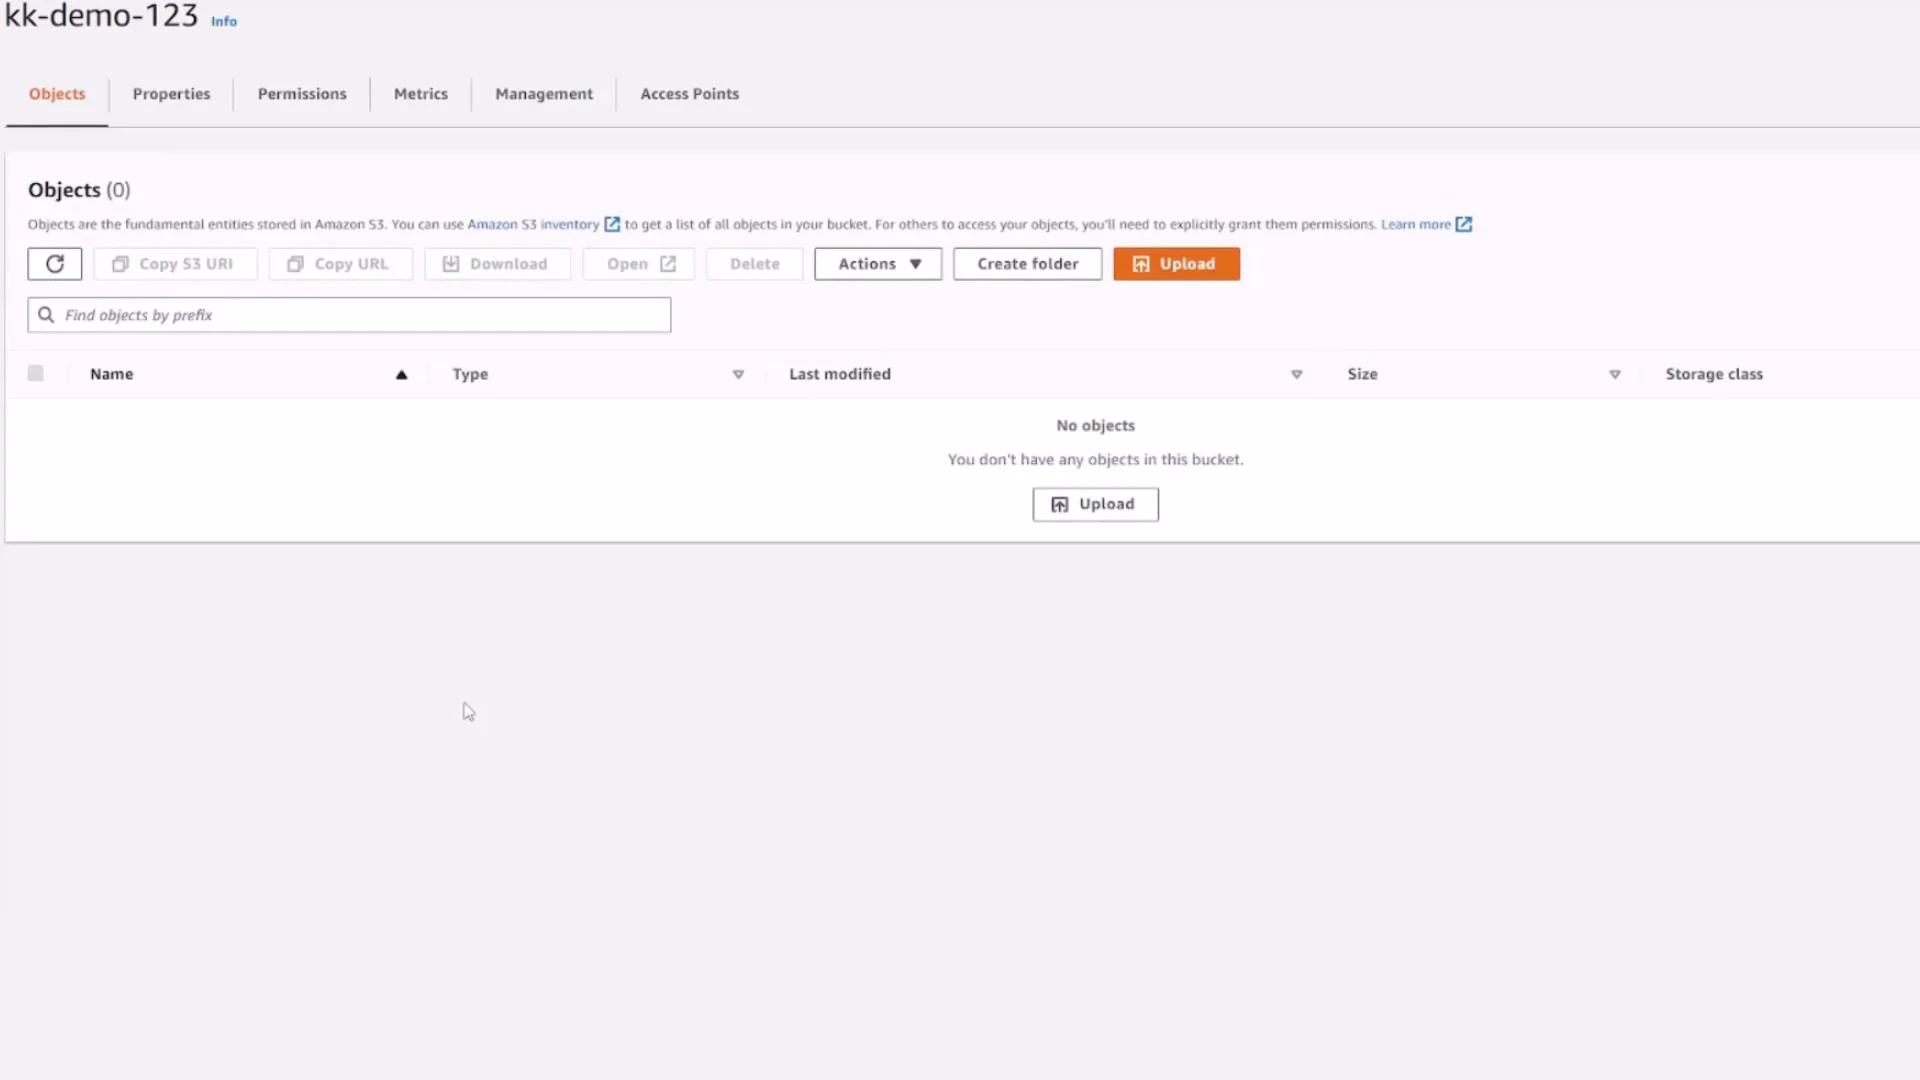
- Bucket policies (recommended for fine-grained access control),
- Access Control Lists (ACLs — not recommended for new accounts),
- Block Public Access settings,
- CORS rules for browser-based access.

- Metrics: storage used, object counts, request metrics.
- Management: lifecycle rules (transition/expiration), replication between regions or accounts, inventory, and access points.
Upload an object
To upload a file return to the Objects tab and click Upload. You can Add files, Add folder, or drag-and-drop. The console shows file size and detected type prior to upload.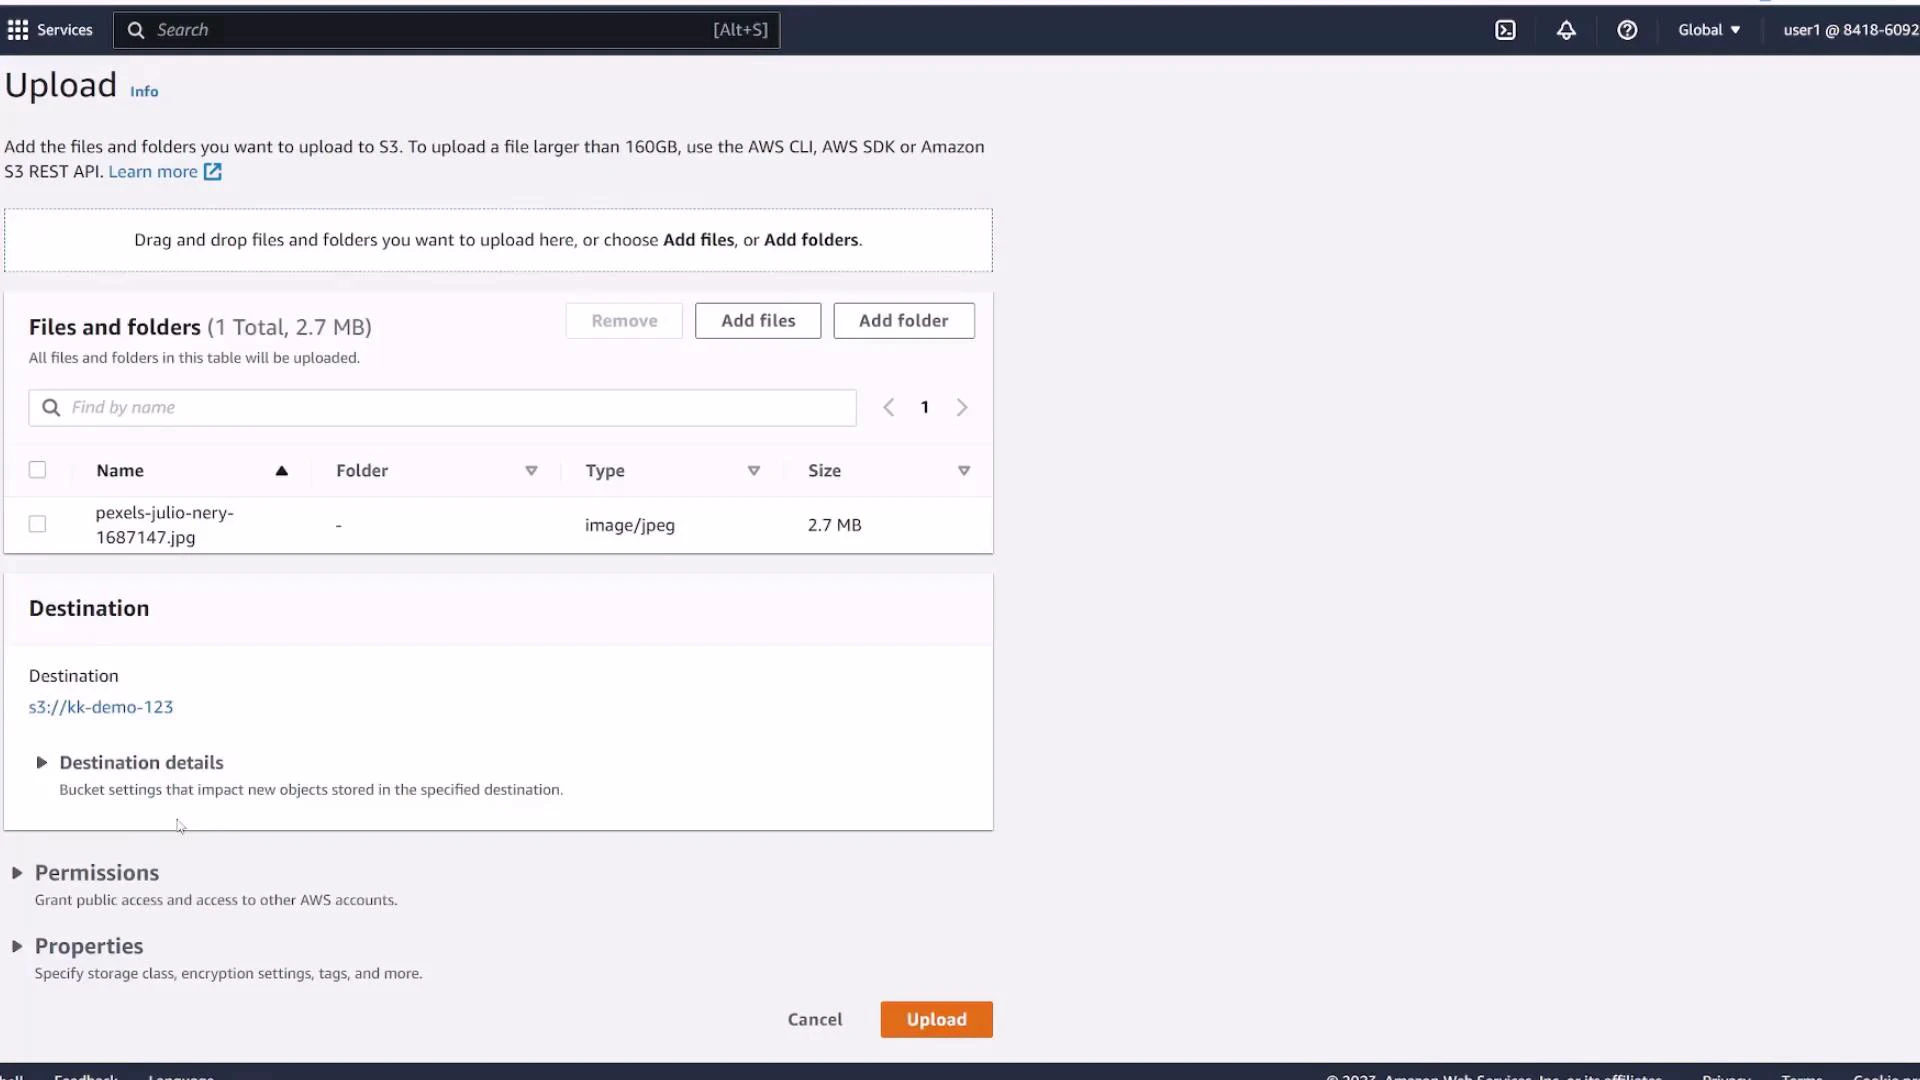
- Permissions (uploads inherit bucket defaults unless you override them),
- Versioning behavior for the object (if bucket versioning is enabled),
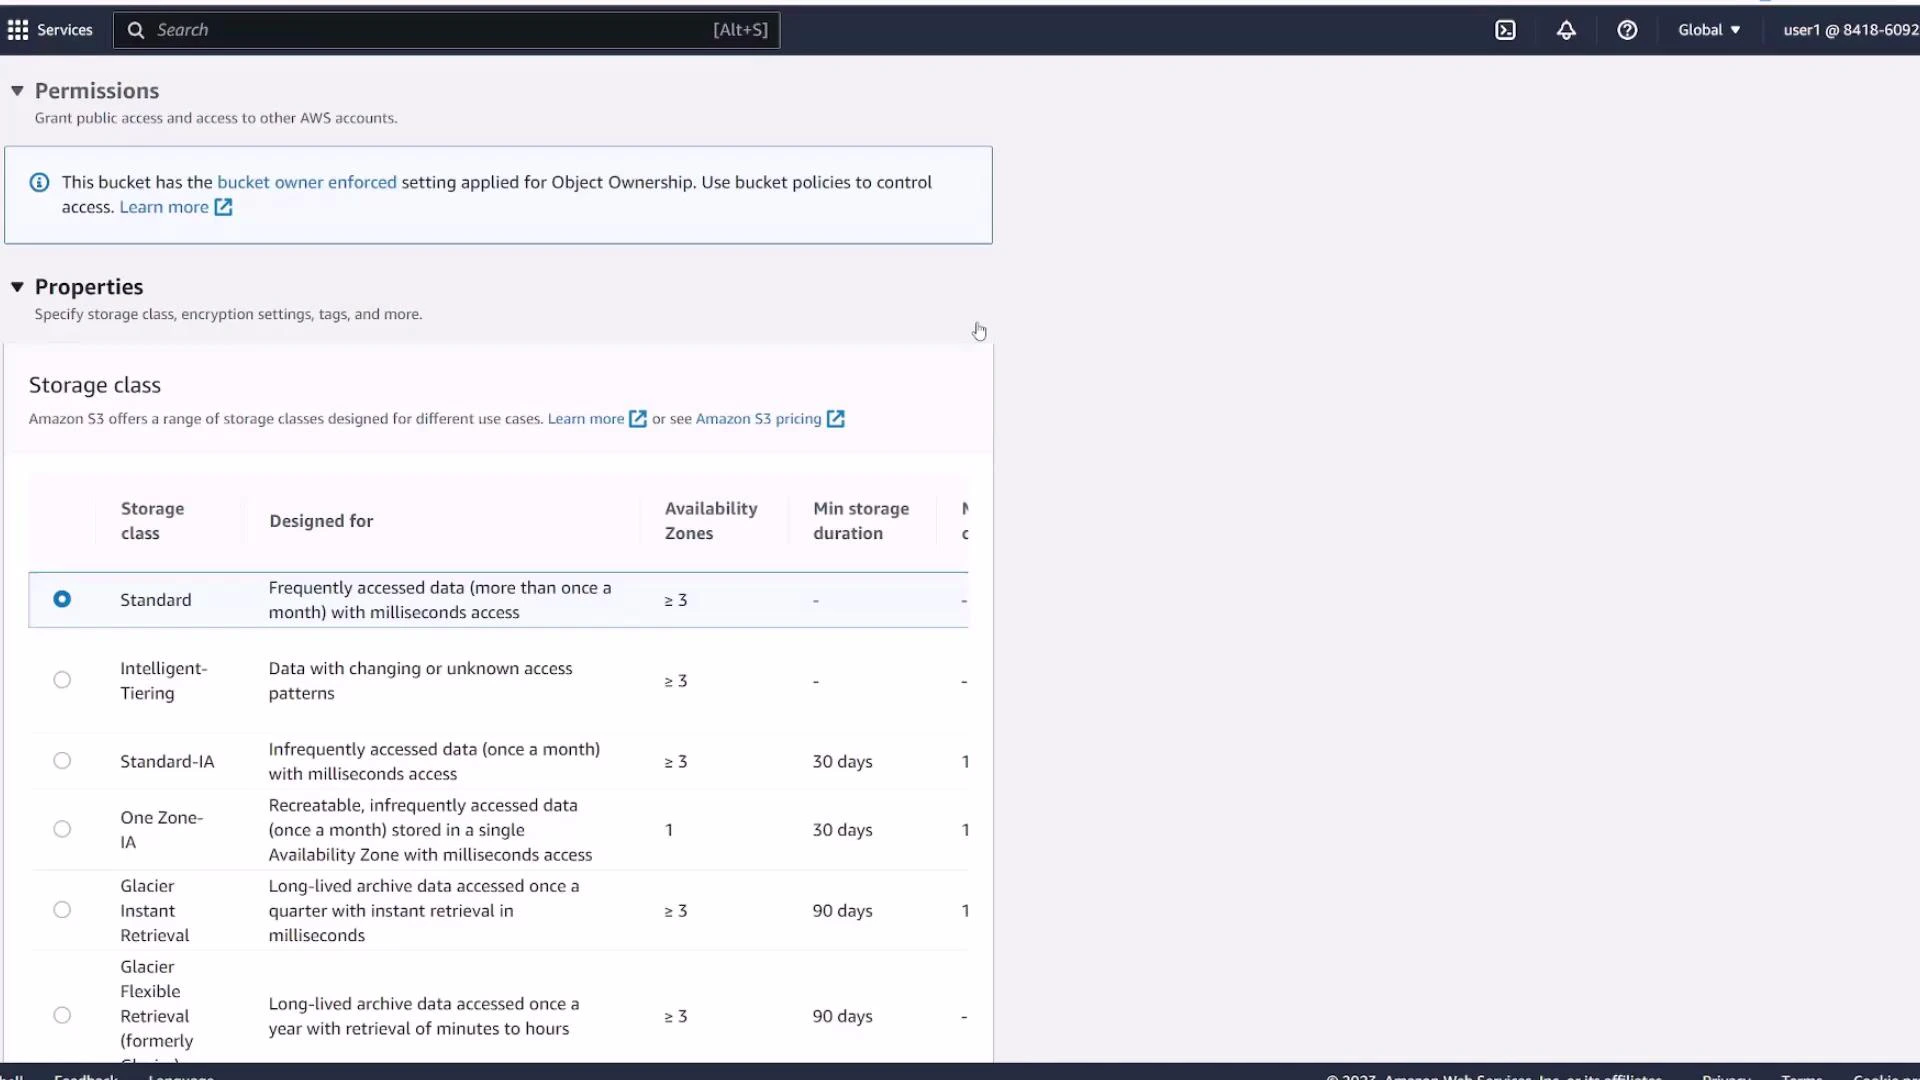
- Storage class selection.
| Storage Class | Typical Use Case | Notes |
|---|---|---|
| Standard | Frequently accessed data | High durability and availability |
| Intelligent‑Tiering | Unknown or changing access patterns | Automatic tiering to save costs |
| Standard‑IA | Infrequently accessed, requires rapid access | Lower storage costs, retrieval fee applies |
| One Zone‑IA | Infrequently accessed, non-critical | Stored in a single AZ — cheaper but less resilient |
| Glacier / Glacier Deep Archive | Long-term archiving | Low cost, retrieval times vary |
Quick CLI examples (optional)
You can also create buckets and upload files with the AWS CLI. Replace <region> and <bucket-name> with your values. Create a bucket (example for regions other than us-east-1):Next steps and references
This completes the basic flow: creating a bucket and uploading an object. From here you can explore:- Enabling versioning and restoring previous versions,
- Creating lifecycle rules to transition or expire objects,
- Configuring default encryption (SSE-S3 or SSE-KMS),
- Adding bucket policies for cross-account access,
- Using the AWS CLI and SDKs for automation.
- AWS S3 Documentation: https://docs.aws.amazon.com/s3/
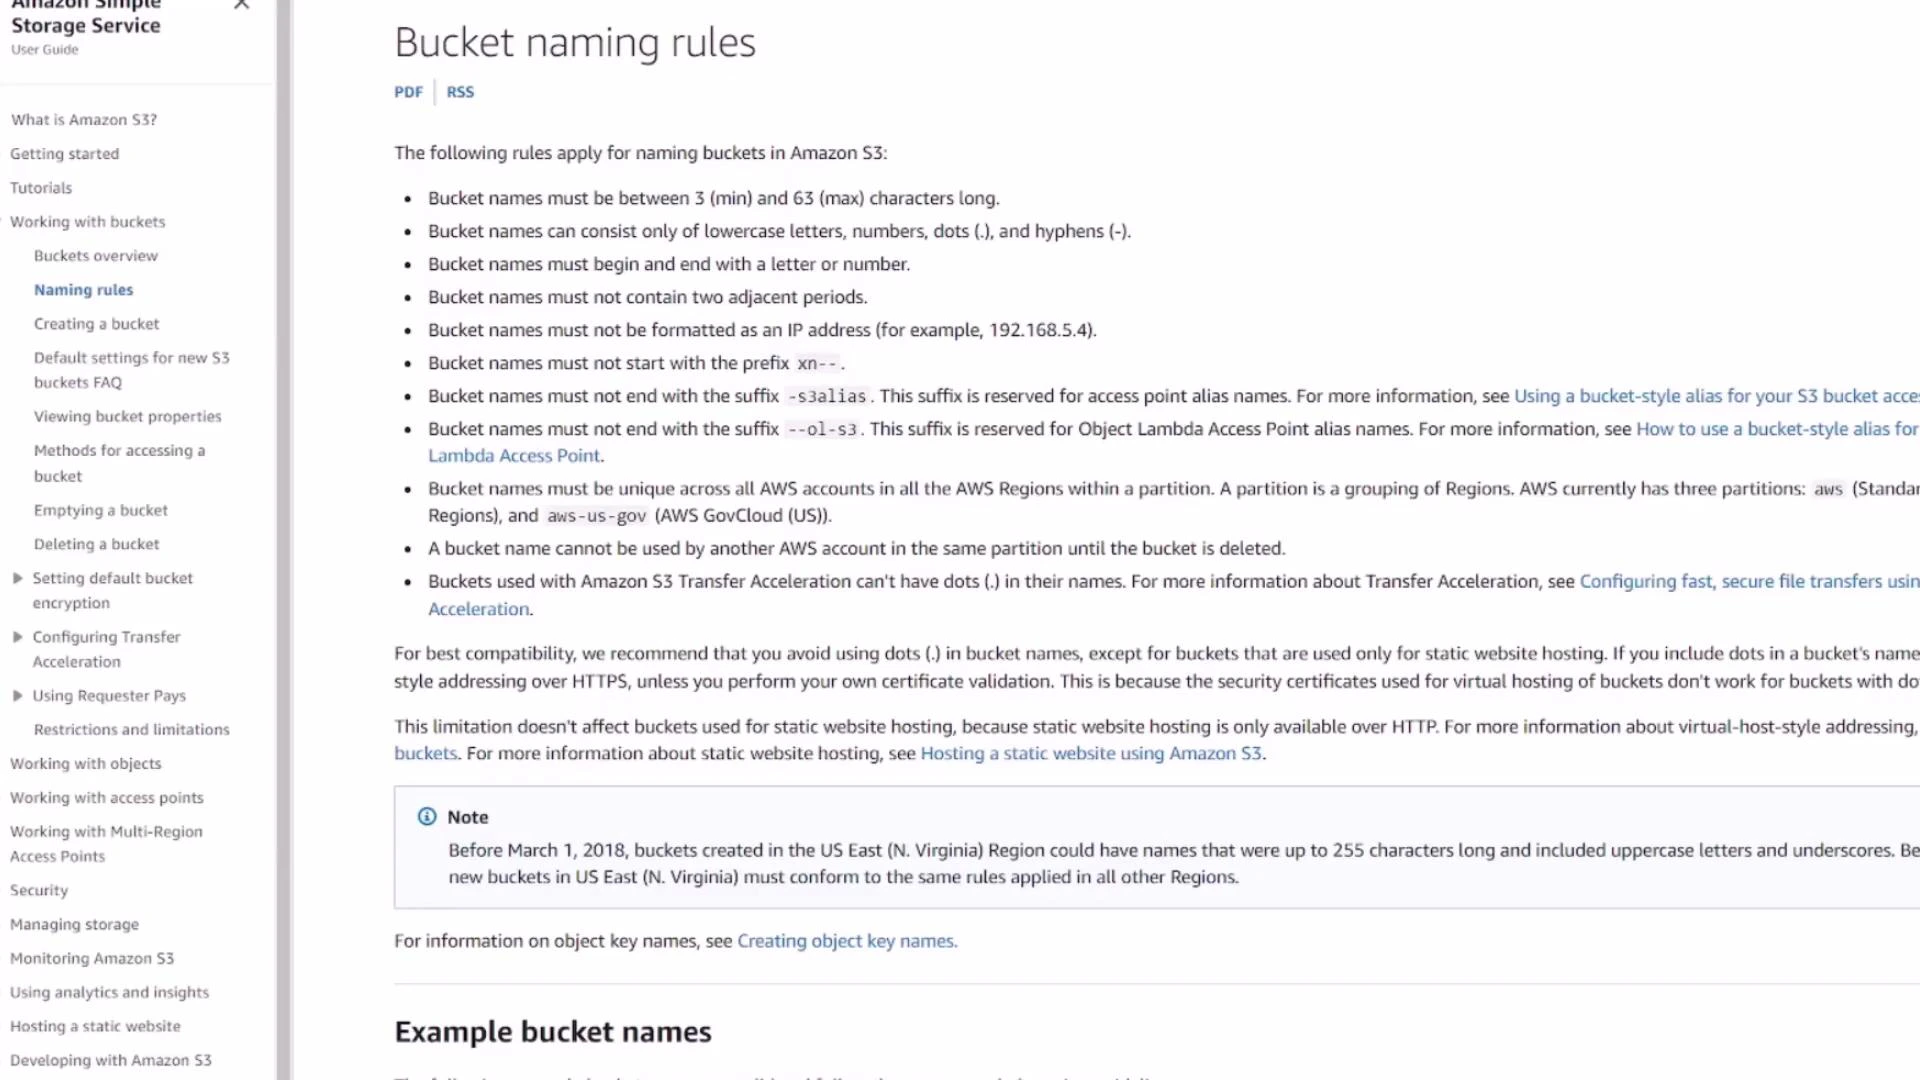
- S3 Bucket Naming Rules: https://docs.aws.amazon.com/AmazonS3/latest/userguide/bucketnamingrules.html
- Working with Objects (S3 docs): https://docs.aws.amazon.com/AmazonS3/latest/userguide/using-objects.html
For production buckets, enable default encryption, enable versioning (if applicable), and use lifecycle policies to manage storage costs.