

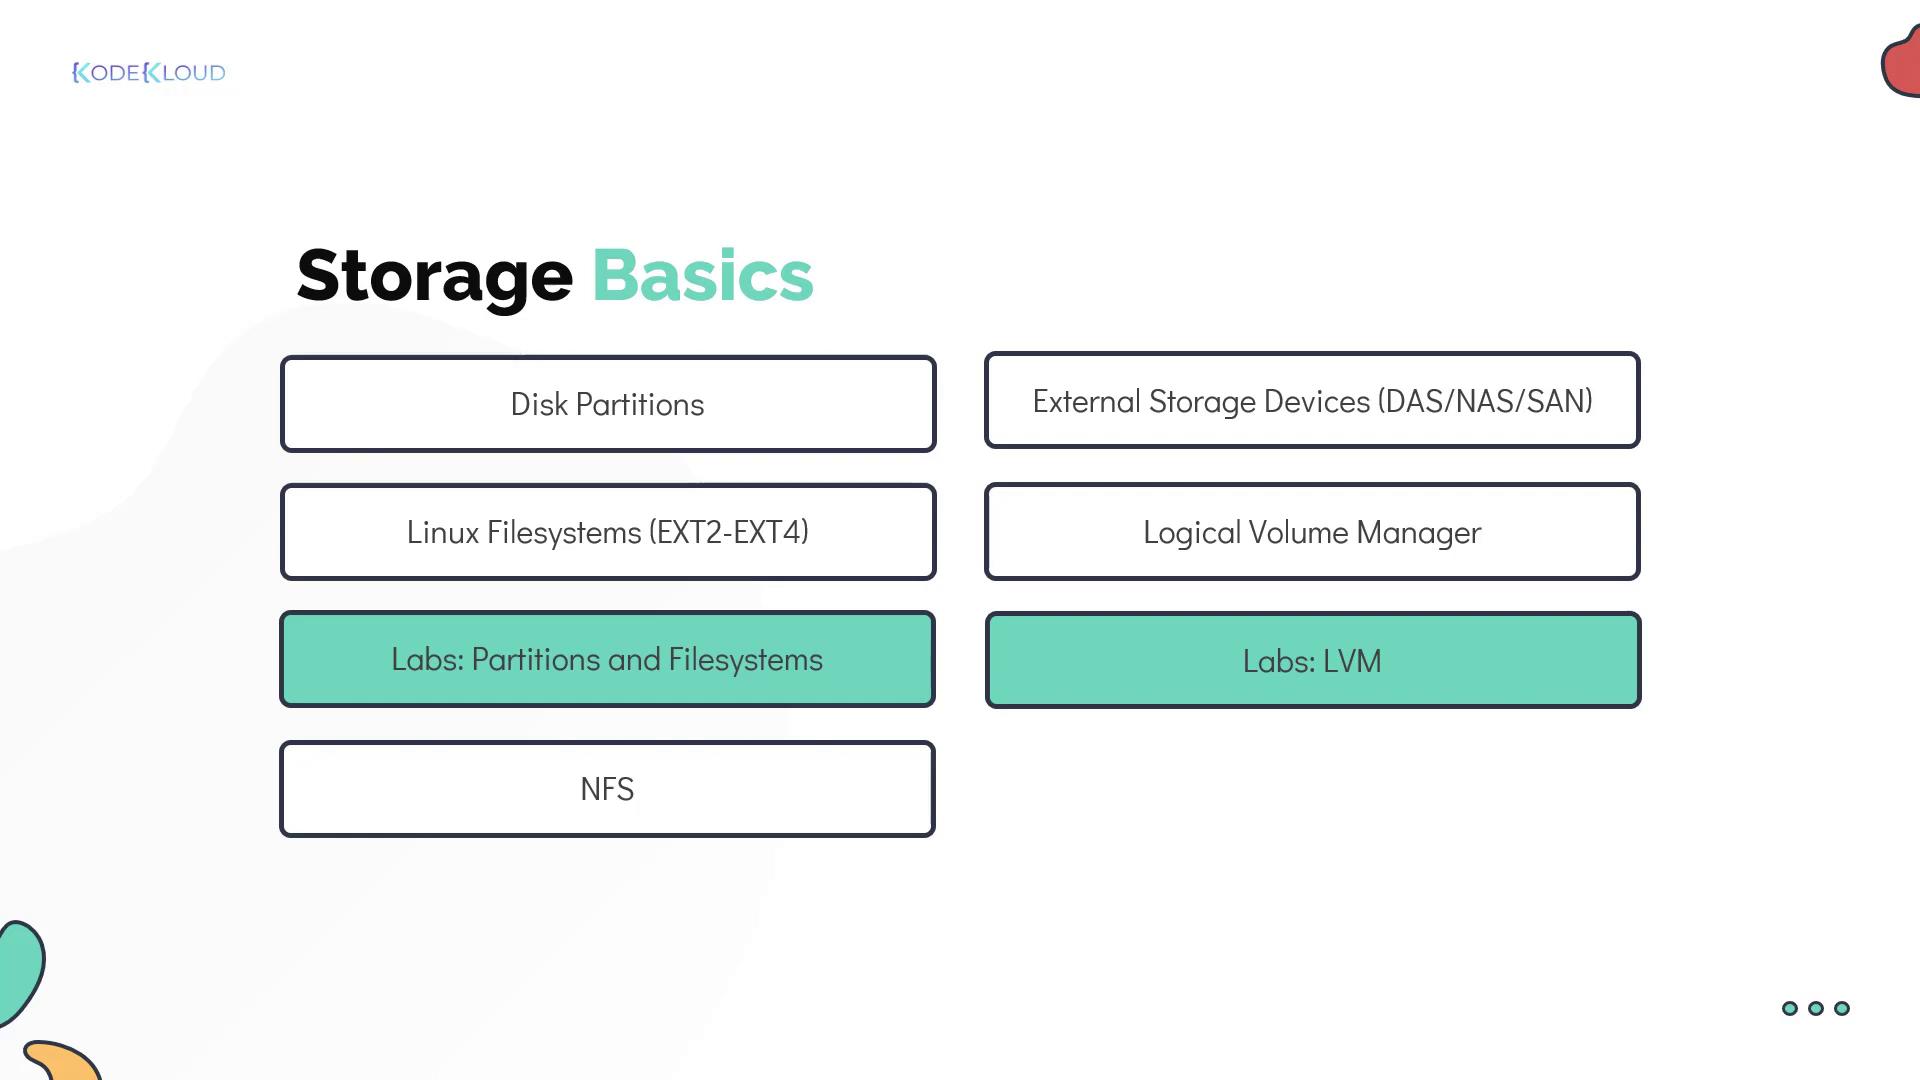
Block Devices
Before diving into partitions, it’s essential to understand some basic storage concepts. A block device is typically represented as a file in the/dev directory and denotes a hardware component used for data storage. Devices such as traditional spinning hard disks and solid-state disks (SSD) are common examples. Data on these devices is accessed in fixed-size blocks.
You can list the block devices on your system using the lsblk command. Additionally, using ls -l in the /dev directory and filtering for lines starting with “b” helps you identify block files.
lsblk output, the device sda represents the entire disk (approximately 119GB), while sda1 through sda3 indicate the individual partitions.
Each block device is assigned a major and minor number:
- The major number (8 in this case) identifies the type of block device (commonly associated with SCSI devices, hence the “sd” prefix).
- The minor numbers differentiate among individual physical or logical devices, such as the whole disk and its partitions.
Disk Partitions
Disk partitions allow you to subdivide an entire disk into smaller segments. In our example, the SSD disk is divided into three partitions:sda3is used as the root partition.sda2(72.5GB) is mounted at/media/MM/Dataand is typically used for storing backup data.sda1is mounted at/boot/efito store boot loader files needed during system startup.
lsblk or fdisk.
fdisk, which not only lists the partition table but also allows you to create or delete partitions. Running fdisk -l /dev/sda provides detailed information such as partition type, disk size in bytes, and sector details.
The disk label type in this example is GPT (GUID Partition Table), which offers improvements over the older MBR (Master Boot Record) scheme such as support for larger disk sizes and more partitions.
Partitioning Schemes
There are three primary types of disk partitions:- Primary Partition: Used for booting an operating system. Traditionally, disks could have a maximum of four primary partitions.
- Extended Partition: Acts as a container for logical partitions; it cannot be used directly.
- Logical Partition: Created within an extended partition to bypass the four primary partition limitation.
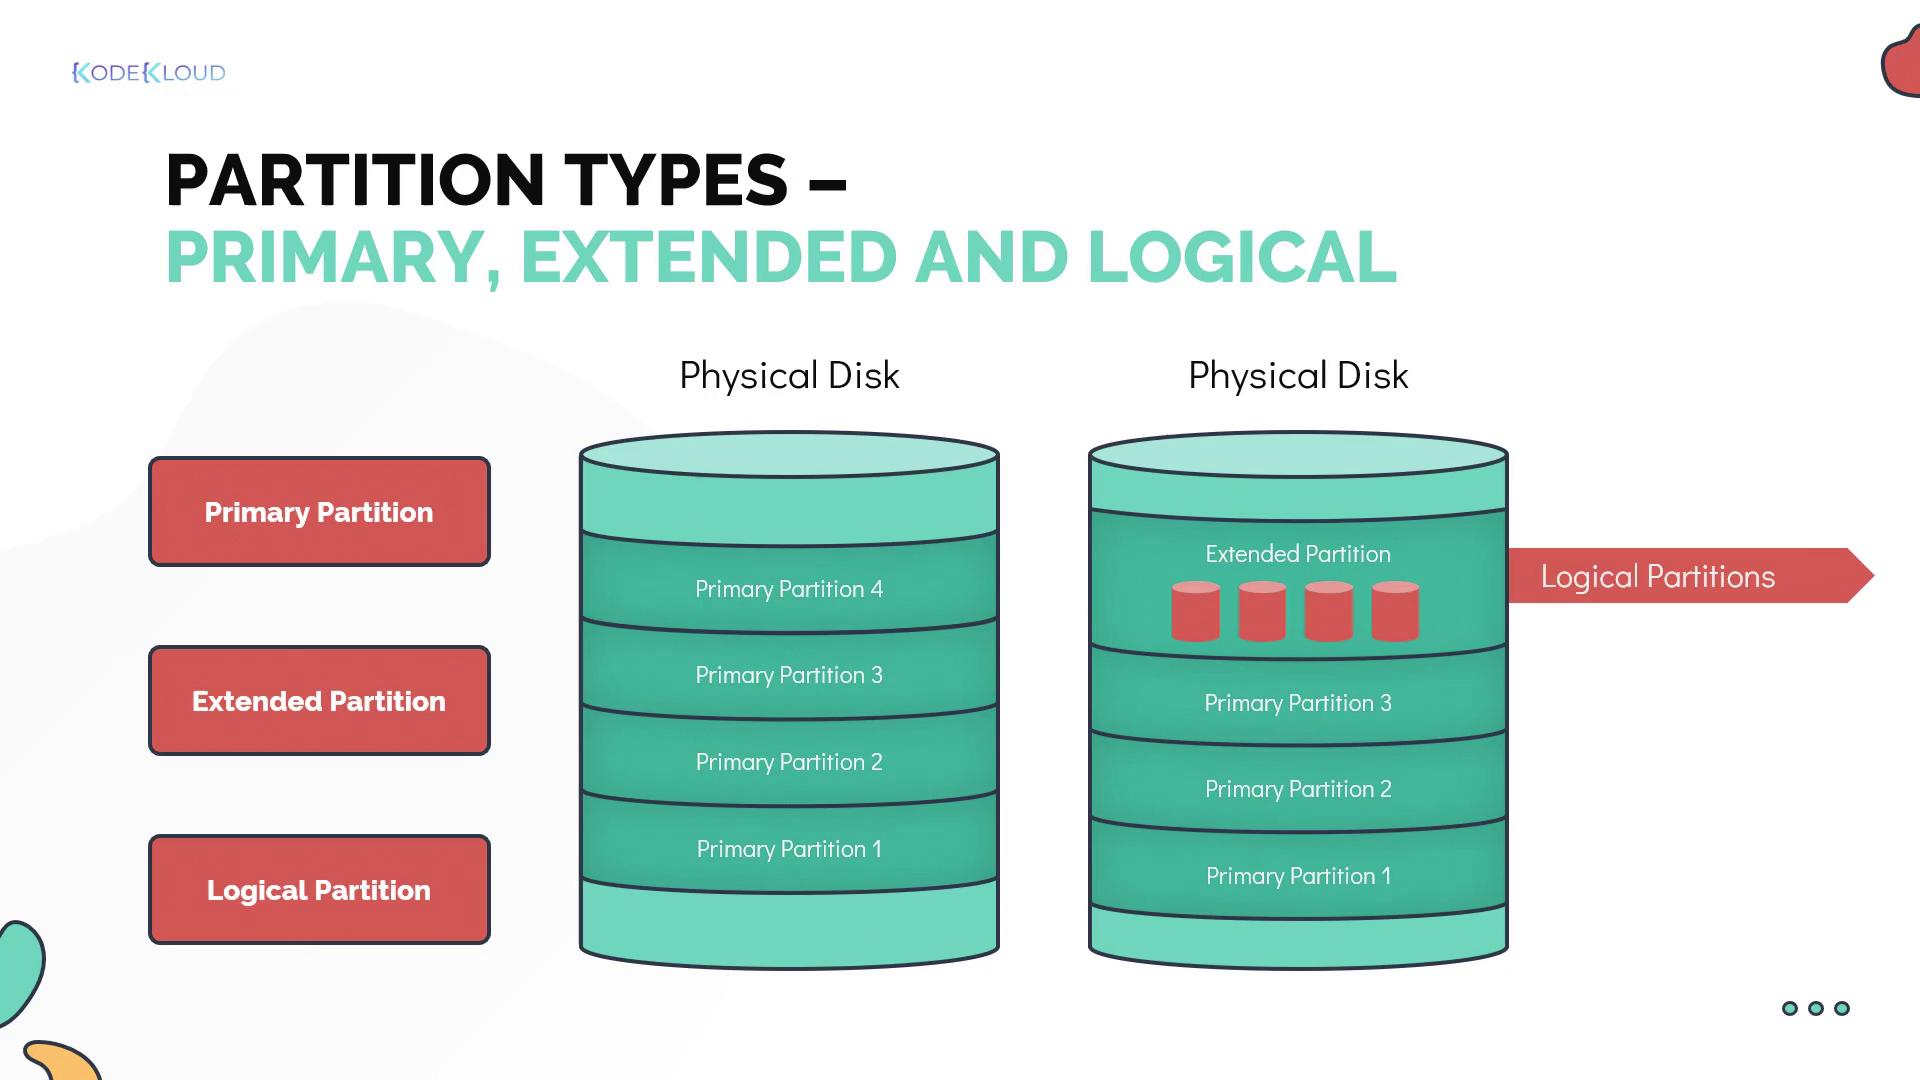
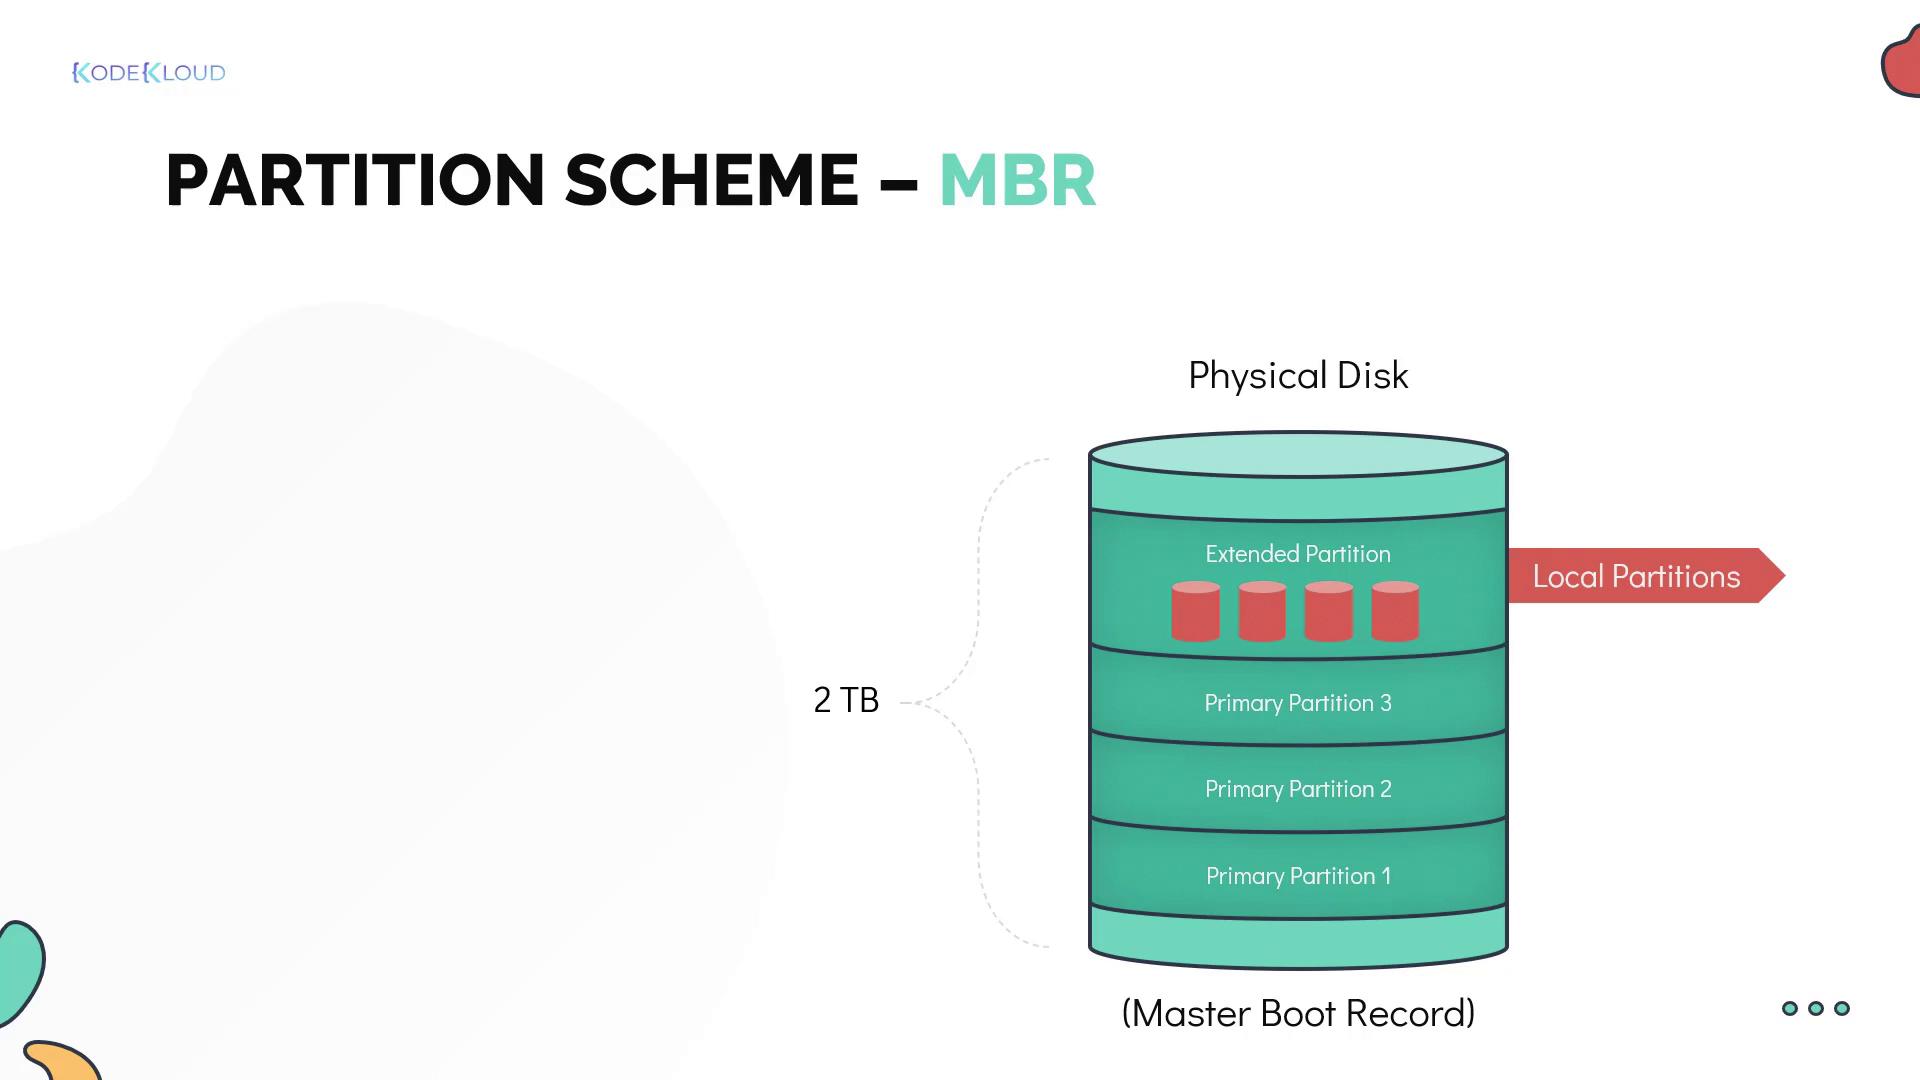
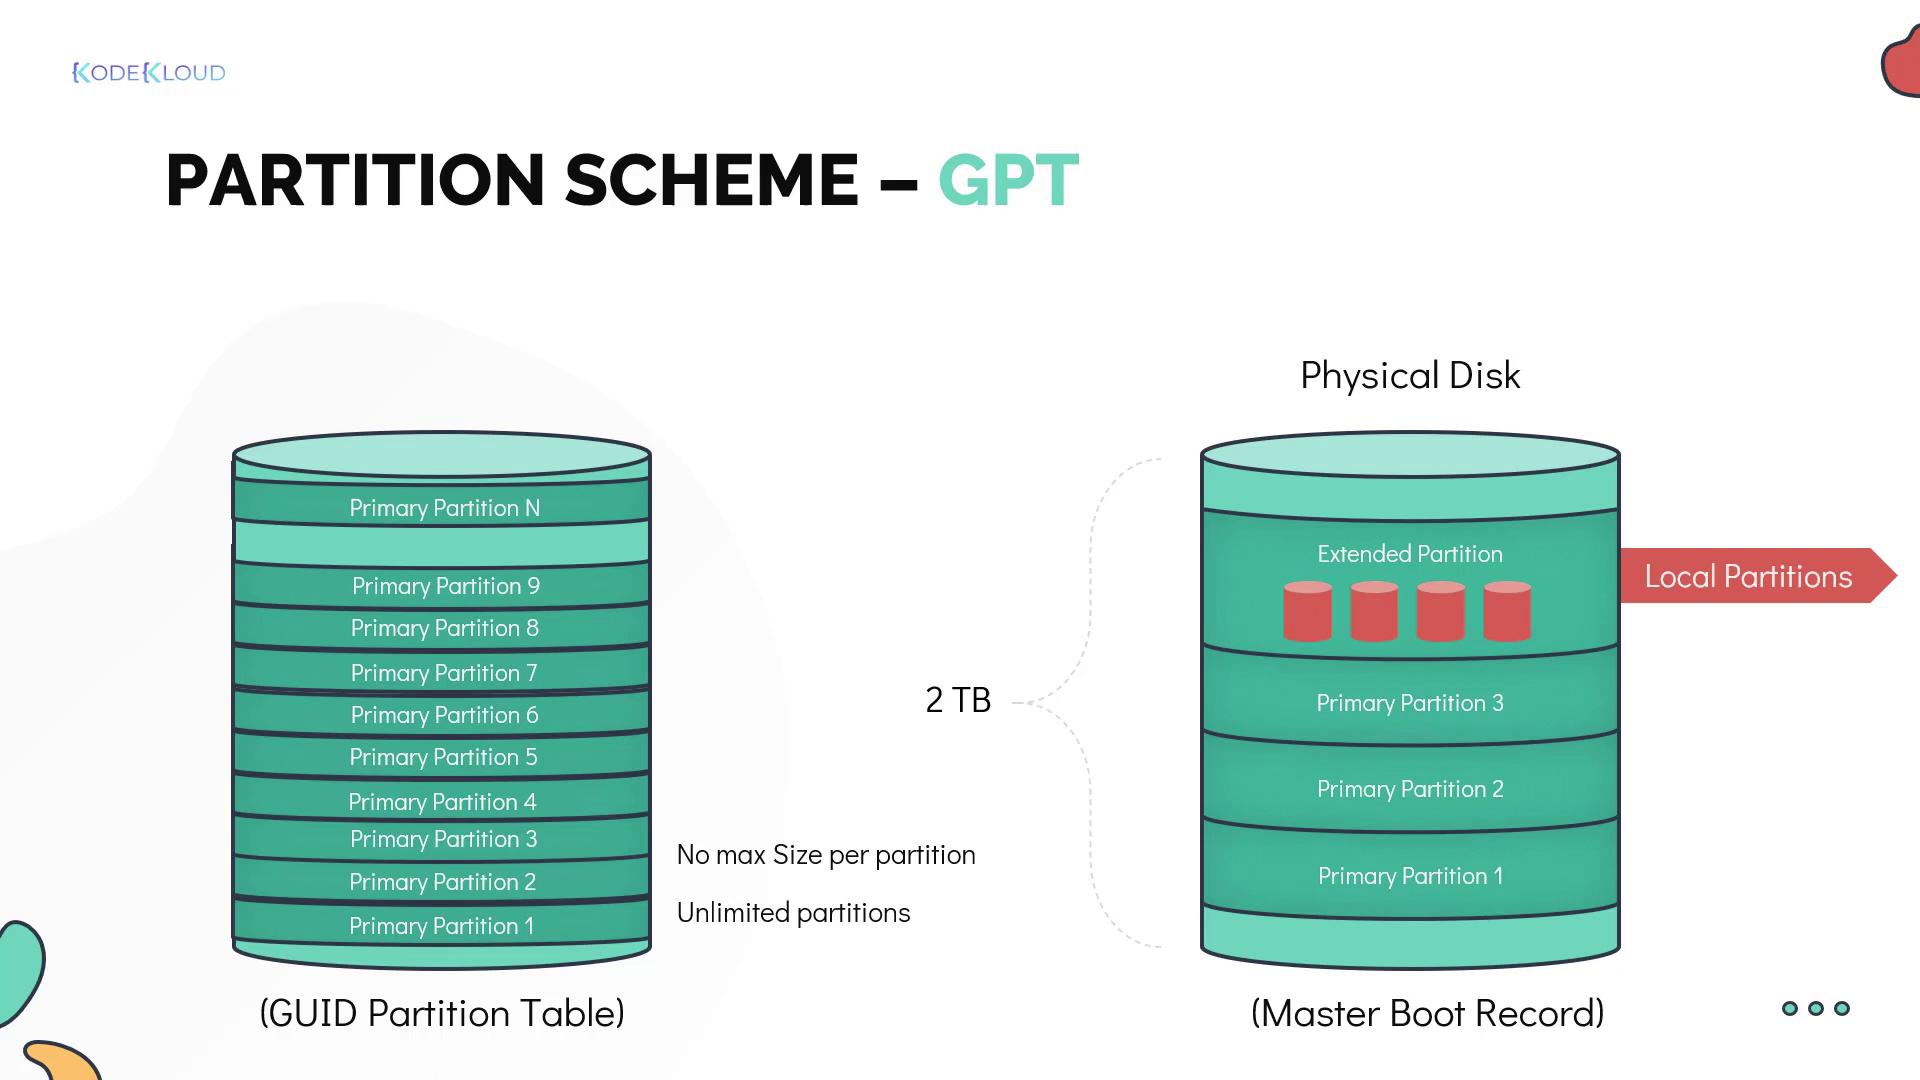
Unless your operating system requires MBR, GPT is generally the preferred choice due to its enhanced capacity and flexibility.
Creating a New Partition with GPT
For practical experience, Mohan grants Bob access to a lab machine. Bob’s system contains two disks: one (SDA) with existing partitions and another (SDB) that is unpartitioned. Runninglsblk clearly indicates the unpartitioned state of SDB:
gdisk command—an improved alternative to fdisk that supports GPT.
gdisk interface, type ? to view all available commands. To add a new partition, press n and follow the interactive prompts:
W at the prompt:
/dev/sdb1) is now available. Verify the partition creation using lsblk or fdisk -l.
Conclusion
This article covered the fundamentals of block devices, disk partitions, partitioning schemes (MBR and GPT), and demonstrated how to create a new partition usinggdisk. For more detailed exercises and troubleshooting—such as addressing why Bob’s system might not display the full physical disk size—please consult the hands-on labs.
For additional resources, consider exploring the following:
Happy partitioning!