This demonstration covers the process of deploying ONNX models, including installation, model modification, export, inference, and output mapping.
Welcome to the first demonstration in our deployment series. In this guide, we provide a comprehensive overview of working with ONNX and the ONNX Runtime. This demonstration will walk you through installing the necessary modules, modifying a pretrained model, exporting it to ONNX format, preparing input for inference, running the inference, and finally mapping the output to a human-readable label.
ONNX is an open standard format that allows interoperability of models across different platforms. With ONNX Runtime, you can execute these models efficiently in various deployment scenarios.
Begin by installing both ONNX and the ONNX Runtime. For this demo, we assume that the required modules are already installed. If you encounter any issues, install the modules using pip and restart your notebook.
# Install the required modules!pip install onnx onnxruntime
Console output:
Requirement already satisfied: onnx in /root/venv/lib/python3.11/site-packages (1.17.0)Requirement already satisfied: onnxruntime in /root/venv/lib/python3.11/site-packages (1.20.1)Requirement already satisfied: numpy>=1.20 in /root/venv/lib/python3.11/site-packages (from onnx) (2.1.1)Requirement already satisfied: protobuf>=3.20.2 in /root/venv/lib/python3.11/site-packages (from onnx) (5.29.3)Requirement already satisfied: coloredlogs in /root/venv/lib/python3.11/site-packages (from onnxruntime) (15.0.1)Requirement already satisfied: flatbuffers in /root/venv/lib/python3.11/site-packages (from onnxruntime) (24.12.23)Requirement already satisfied: packaging in /root/venv/lib/python3.11/site-packages (from onnxruntime) (24.2)Requirement already satisfied: sympy in /root/venv/lib/python3.11/site-packages (from onnxruntime) (1.13.3)Requirement already satisfied: humanfriendly>=9.1 in /root/venv/lib/python3.11/site-packages (from coloredlogs->onnxruntime) (10.0)Requirement already satisfied: mpmath<1.4,>=1.1.0 in /root/venv/lib/python3.11/site-packages (from sympy->onnxruntime) (1.3.0)
Since all packages are present, we can proceed with the demonstration.
In this section, we import the necessary modules from PyTorch and TorchVision to load and modify a MobileNet V3 Large model. After loading the model with pretrained weights, we adjust the classifier’s final layer to output two classes. We then load a checkpoint to restore the model’s state.
# Import modulesimport torchimport torch.nn as nnfrom torchvision import models# Load the mobilenet_v3_large model with default weightsmodel = models.mobilenet_v3_large(weights=models.MobileNet_V3_Large_Weights.DEFAULT)# Modify the last layer for 2 output classesmodel.classifier[-1] = nn.Linear(1280, 2)# Load the model from checkpointcheckpoint = torch.load('mobilenet_checkpoint.tar', weights_only=True)
Next, we load the state from the checkpoint into the model:
# Load the parameters from the checkpointmodel.load_state_dict(checkpoint['model_state_dict'])
These steps ensure that MobileNet V3 is updated for our classification task with two classes and that the weights are successfully restored.
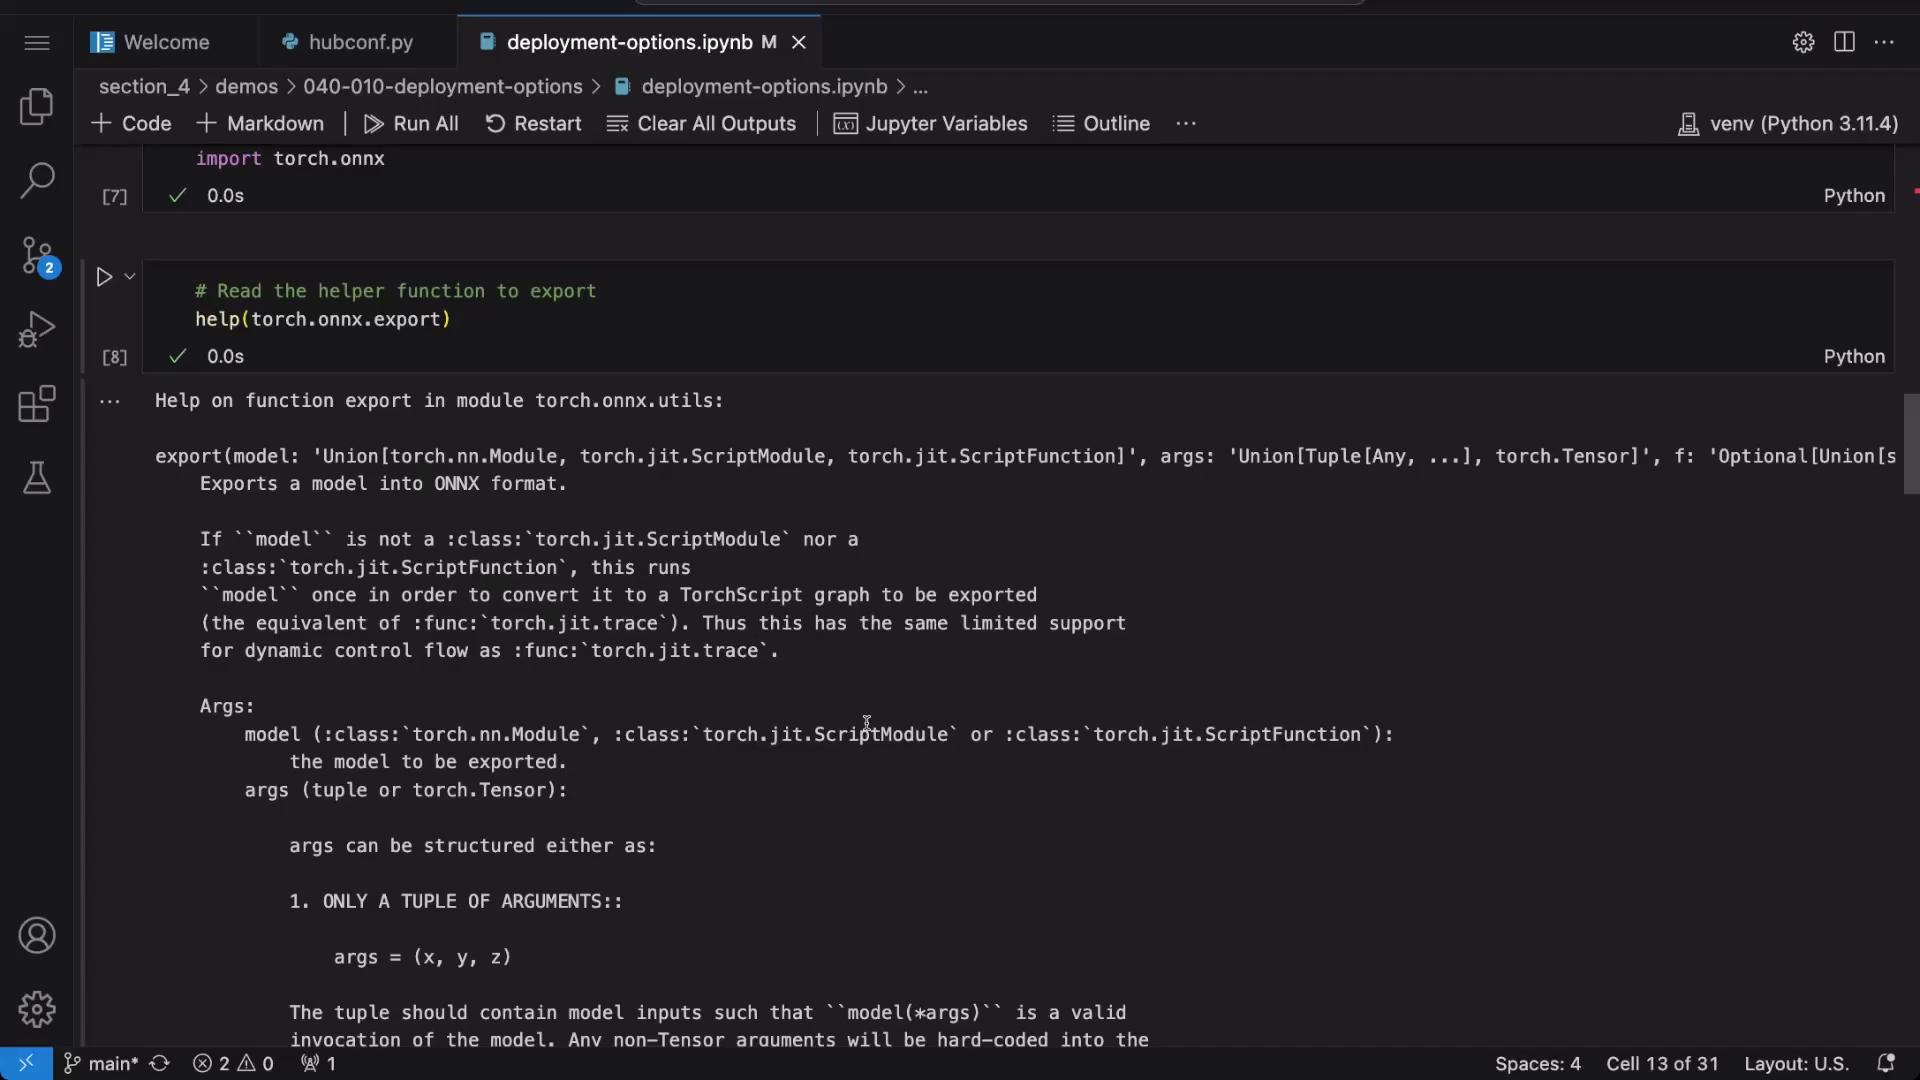
PyTorch offers built-in support to export models to the ONNX format. By using the export function, we define the model’s input signature and create an ONNX file. Start by displaying the documentation for torch.onnx.export for available options:
# Import the ONNX export module from PyTorchimport torch.onnx# Display documentation for torch.onnx.export to see available optionshelp(torch.onnx.export)# Create an example input tensorexample_input = torch.randn(1, 3, 224, 224)# Export the model to an ONNX filetorch.onnx.export(model, example_input, "image_classifier.onnx")
After exporting, verify the correctness of the model by loading and checking the ONNX file:
import onnx# Load the exported ONNX modelonnx_model = onnx.load("image_classifier.onnx")# Check the model consistencyprint(onnx.checker.check_model(onnx_model))
The export process leverages a dummy input to define the model’s signature and generates the “image_classifier.onnx” file for further use.
For clarity, the following example reiterates the export process: preparing an example input, exporting the model, and verifying the exported ONNX model.
# Create an example inputexample_input = torch.randn(1, 3, 224, 224)# Export the modeltorch.onnx.export(model, example_input, "image_classifier.onnx")# Load the model with ONNX and check for consistencyimport onnxonnx_model = onnx.load("image_classifier.onnx")print(onnx.checker.check_model(onnx_model))
This check confirms that the model is export-consistent and ready for deployment.
Before running inference on the ONNX model, the input image must be preprocessed. This involves resizing, normalizing, and converting the image to a tensor using Pillow and TorchVision transformations. The transformed image is then reshaped to include a batch dimension.
# Import necessary modules for image processingfrom PIL import Imagefrom torchvision.transforms import v2import torchtransform = v2.Compose([ v2.Resize((224, 224)), v2.ToImage(), v2.ToDtype(torch.float32, scale=True), v2.Normalize(mean=[0.485, 0.456, 0.406], std=[0.229, 0.224, 0.225])])# Open the image using Pillowimage_path = 'sample-input.jpg'image = Image.open(image_path)# Apply the transformation to the imagetransformed_image = transform(image)print(transformed_image.shape)# Add batch dimension: [batch_size, channels, height, width]transformed_image = transformed_image.unsqueeze(0)print(transformed_image.shape)
After transforming the image, convert it into a NumPy array to match the input requirements of ONNX Runtime:
import numpy as np# Convert the transformed image to a NumPy array with type float32image_np = np.array(transformed_image, dtype=np.float32)
With the ONNX model prepared and the input image transformed, we can perform inference using ONNX Runtime. The process involves loading the model, creating an inference session, and using an input dictionary for the session run.
# Import ONNX Runtime and load the modelimport onnxruntime as ortimport onnxonnx_model = onnx.load("image_classifier.onnx")# Start an ONNX inference sessionsession = ort.InferenceSession("image_classifier.onnx")# Convert the transformed image to a numpy array (if not already done)import numpy as npimage_np = np.array(transformed_image, dtype=np.float32)
Prepare the input dictionary using the session’s first input name and run the inference:
# Prepare the input dictionary for the modelinputs = {session.get_inputs()[0].name: image_np}# Run the inference on the ONNX modeloutputs = session.run(None, inputs)print(outputs) # Raw outputs (logits) from the final model layer# Determine the predicted class by identifying the index with the highest logitpredicted = outputs[0][0].argmax(0)print(predicted)
The raw outputs represent logits, and applying argmax on these logits provides the index of the predicted class.
To present the inference result in a human-friendly format, we associate the numerical prediction with a corresponding class label. Here, the two classes are defined as “malignant” (0) and “benign” (1).
# Get the predicted class indexpredicted = outputs[0][0].argmax(0)print(predicted)# Define label encoding for the datasetlabel_encoding = {"malignant": 0, "benign": 1}# Create a reverse mapping from indices to labelsindex_to_class_map = {v: k for k, v in label_encoding.items()}print(f"Predicted Class: {index_to_class_map[predicted.item()]}")
Console output:
Predicted Class: benign
This mapping step translates the model’s output into a readable class label.
In this demo, we explored the end-to-end process of working with ONNX and ONNX Runtime. We covered the following steps:
Step
Description
Installing Dependencies
Using pip to install ONNX and ONNX Runtime.
Loading and Modifying the Model
Loading a MobileNet V3 model, adjusting its classifier, and loading a checkpoint.
Exporting to ONNX
Exporting the model with a sample input and verifying model consistency.
Preparing Input
Preprocessing an image with Pillow and TorchVision transformations.
Running Inference
Deploying the ONNX model with ONNX Runtime and determining the predicted class from raw logits.
Mapping Predictions
Converting numerical predictions to human-readable class labels.
This guide provides a solid foundation for integrating ONNX models in a variety of deployment environments. For additional information, explore the ONNX Documentation.
Thank you for reading this demonstration on exporting and using ONNX models for inference in real-world applications.