Pod Definitions
Start by creating a new project folder (e.g., “voting-app”) and defining the pods for each component in separate YAML files.1. Voting App Pod
Create a file namedvoting-app-pod.yaml. This file specifies the API version, kind, metadata (including name and labels), and the container details. The labels group all the components as part of the same application while differentiating each component.
2. Result App Pod
Copy the voting app pod template to create the result app pod. Save it asresult-app-pod.yaml and update the metadata (name, labels) and container details accordingly.
3. Redis Pod
For the Redis pod, create a file namedredis-pod.yaml. Use the previous template and update the names accordingly. Note that the container port has been changed from 80 to 6379 (the default Redis port).
4. PostgreSQL (DB) Pod
Using the Redis pod template, create the PostgreSQL pod definition file namedpostgres-pod.yaml. Update the pod and container names, use the official postgres image, and change the container port to 5432. Additionally, include environment variables for the initial username and password required by the worker and result pods.
5. Worker Pod
Finally, create the worker pod in a file namedworker-app-pod.yaml. Use the voting app pod template as a base but update the name and container properties to indicate background processing. Since the worker does not run any service or listen on ports, remove the container port definition.
Service Definitions
After defining the pods, create the corresponding services to expose them. All components except the worker require external or internal services.1. Redis Service (Internal)
Create a file namedredis-service.yaml. This service exposes the Redis pod on port 6379 internally, ensuring the selector matches the labels defined in the Redis pod.
2. PostgreSQL (DB) Service (Internal)
Since the worker expects the Postgres service name to be “DB”, create a file namedpostgres-service.yaml. This service exposes PostgreSQL on port 5432 and selects the appropriate pod.
3. Voting App Service (External)
To make the front-end voting app accessible externally, create a service namedvoting-app-service.yaml. Set the service type to NodePort, expose port 80, and assign a node port, such as 30004. Ensure that the selector matches the labels defined in the voting app pod.
4. Result App Service (External)
Similarly, create an external service for the result app. Save this file asresult-app-service.yaml. This service is also set to type NodePort, exposing port 80 with a node port (e.g., 30005). Update the selector to match the result app pod.
Deploying the Application
With all five pod and service definition files created, navigate to your project directory (e.g.,voting-app) and deploy each object using the kubectl create -f command.
To access the voting application, run:minikube service voting-service —urlThis opens the front-end interface where you can cast your vote.
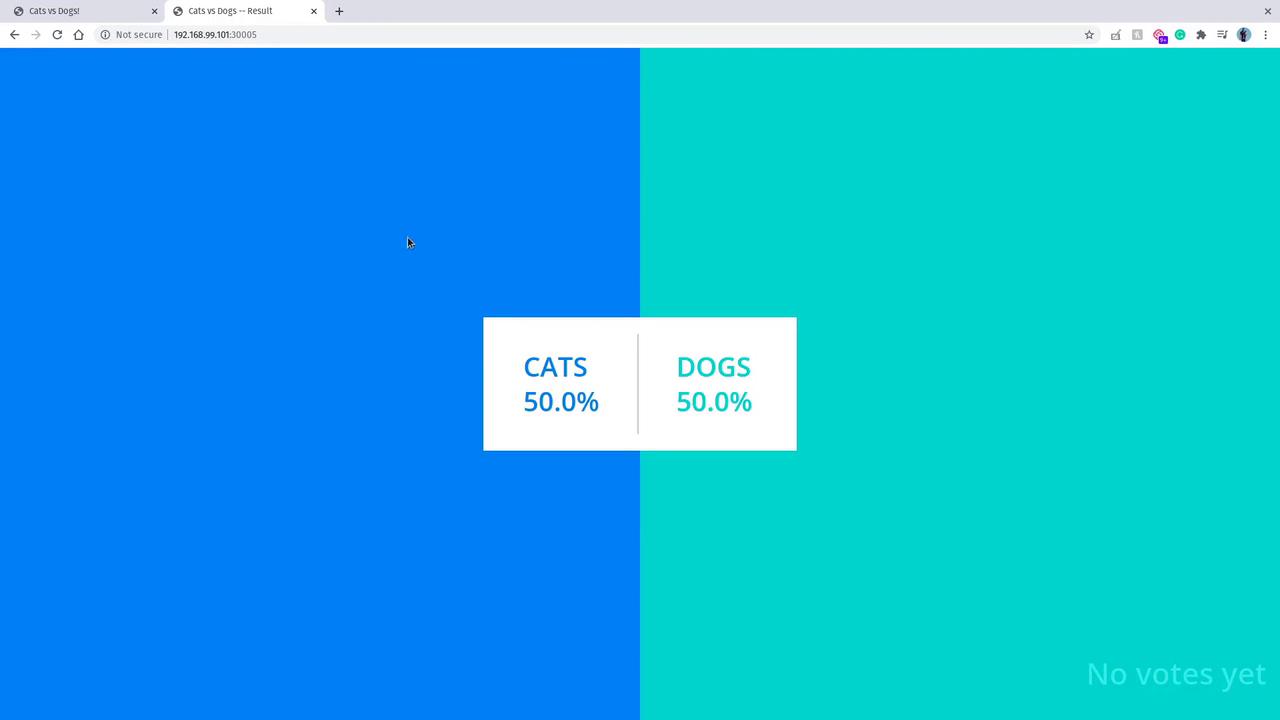
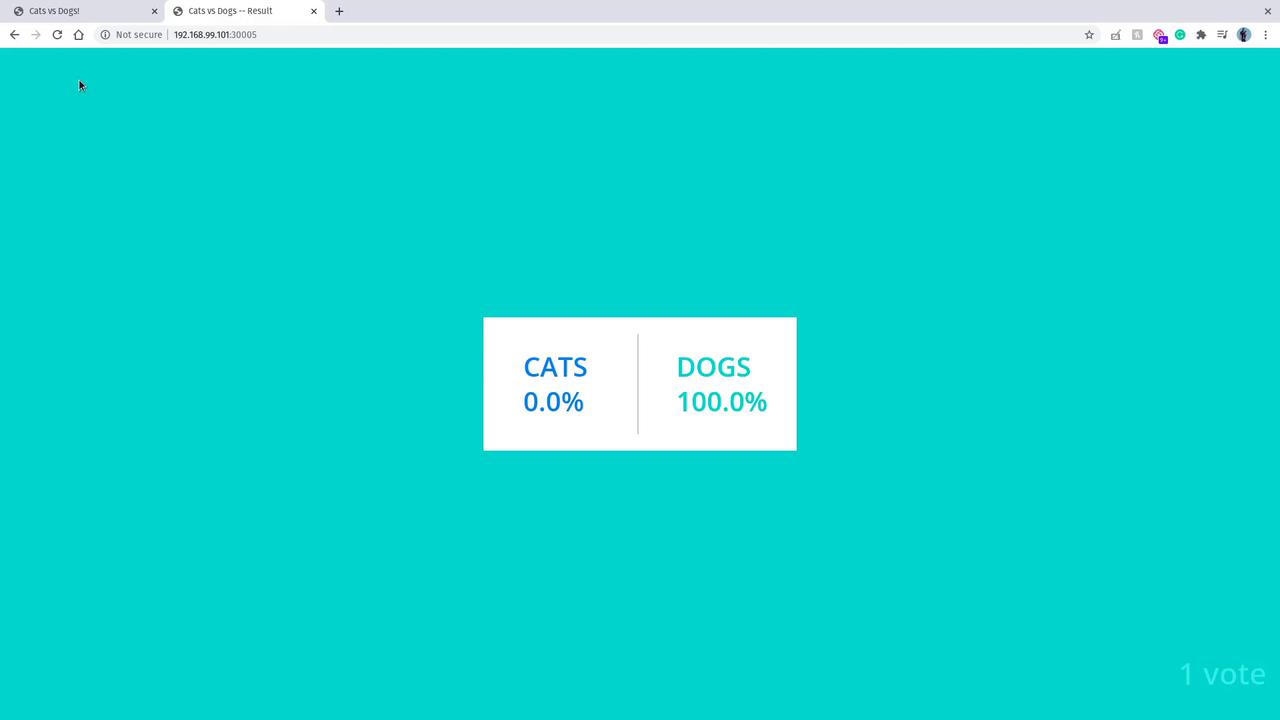
The results page visually represents vote totals along with percentage breakdowns, enhancing the overall user experience.