

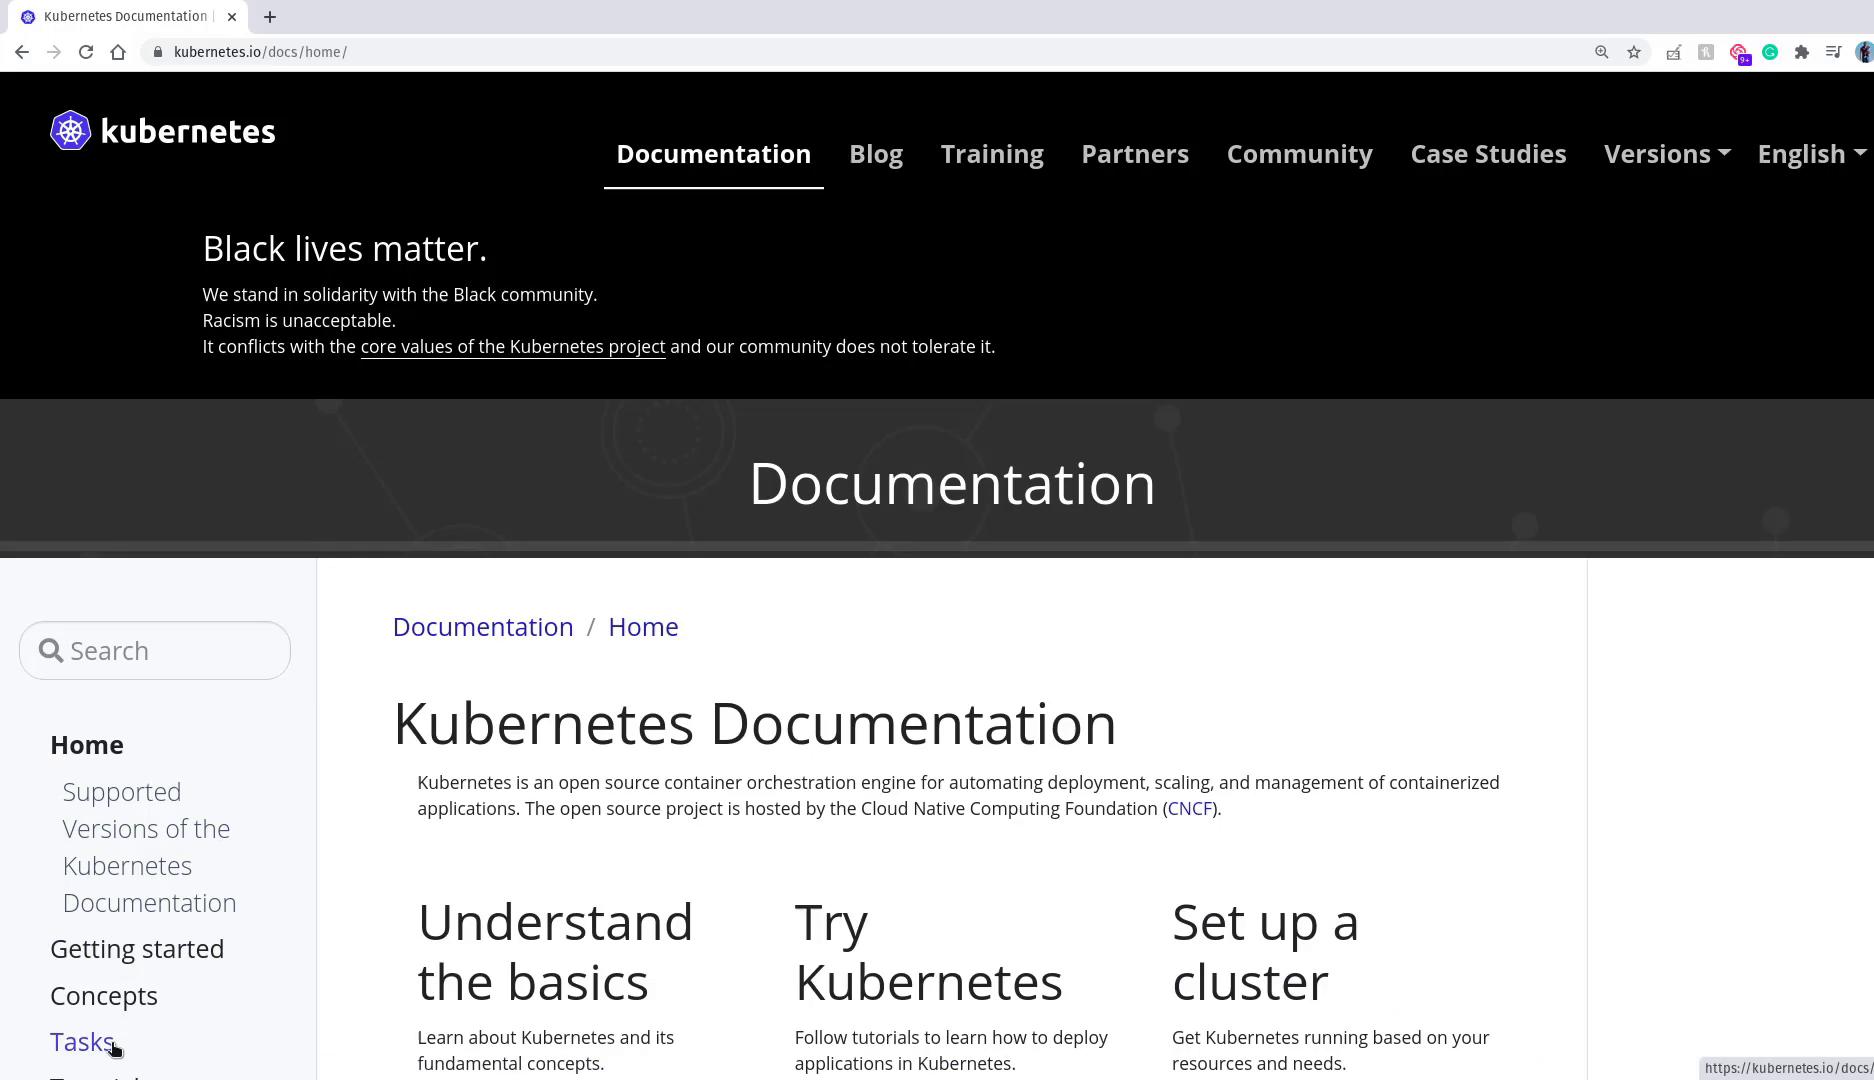
Installing kubectl
Before installing Minikube, it is essential to install the kubectl command-line tool. Kubectl manages your Kubernetes resources and interacts with your cluster once it is set up via Minikube. Installing kubectl first enables Minikube to configure it correctly during provisioning.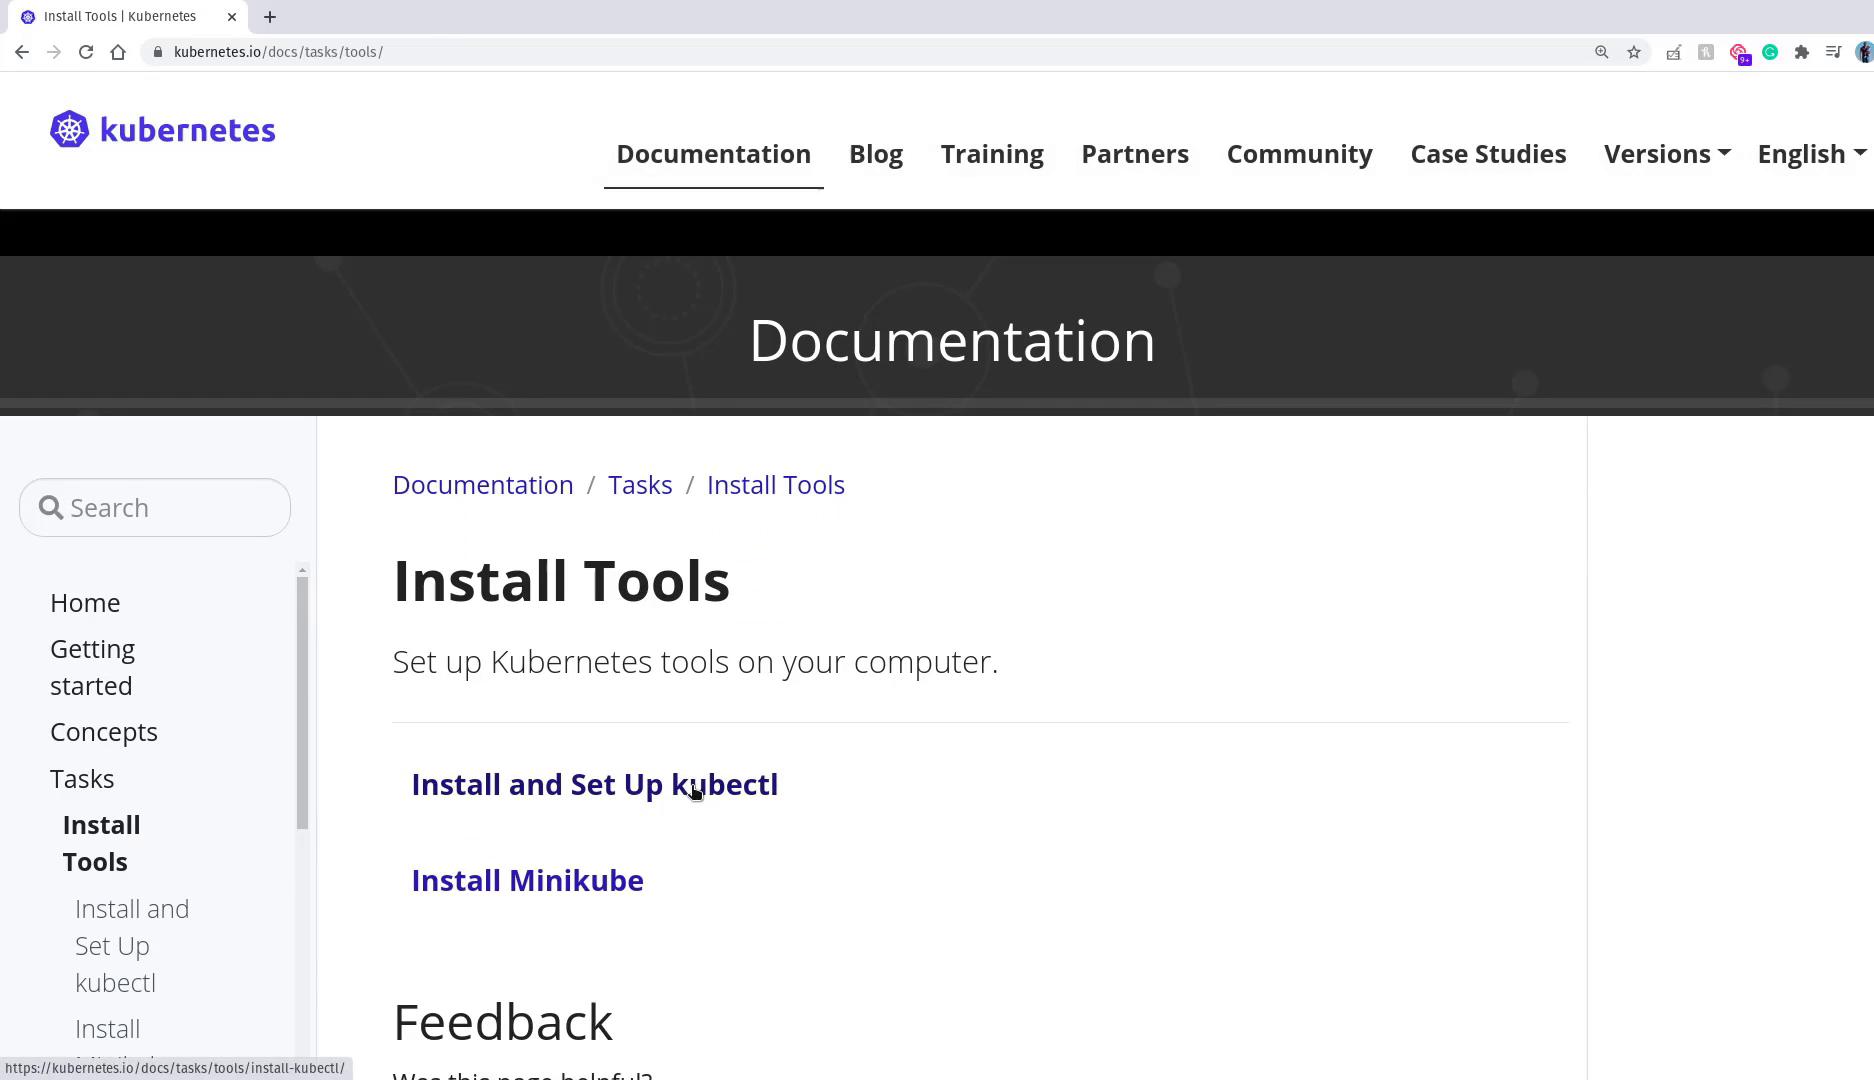
Verifying Virtualization Support
Before installing Minikube, ensure virtualization is enabled on your machine. This check is essential regardless of whether you are on Linux, Windows, or macOS. On Linux, you can check for the necessary virtualization flags (vmx for Intel or svm for AMD) with the following command:
If no output is returned from the command above, virtualization may be disabled in your BIOS settings. Consult your laptop’s manual or search online using your specific model to enable virtualization.
Installing Minikube
After installing kubectl and verifying that virtualization is enabled, the next step is to install Minikube. On Linux, you typically choose between two hypervisors: VirtualBox or KVM. In this lesson, VirtualBox is the chosen hypervisor because of its cross-platform availability (Linux, Windows, and macOS) and ease of resetting via snapshots. If VirtualBox is not installed on your system, download the appropriate package from the VirtualBox website. For systems using yum (such as CentOS or RHEL), install VirtualBox with:
Downloading and Installing Minikube
Download the latest Minikube binary and make it executable:Starting the Minikube Cluster
With both kubectl and Minikube now installed, you can start your local Kubernetes cluster. Specify the virtualization driver—in this example, VirtualBox—with the following command: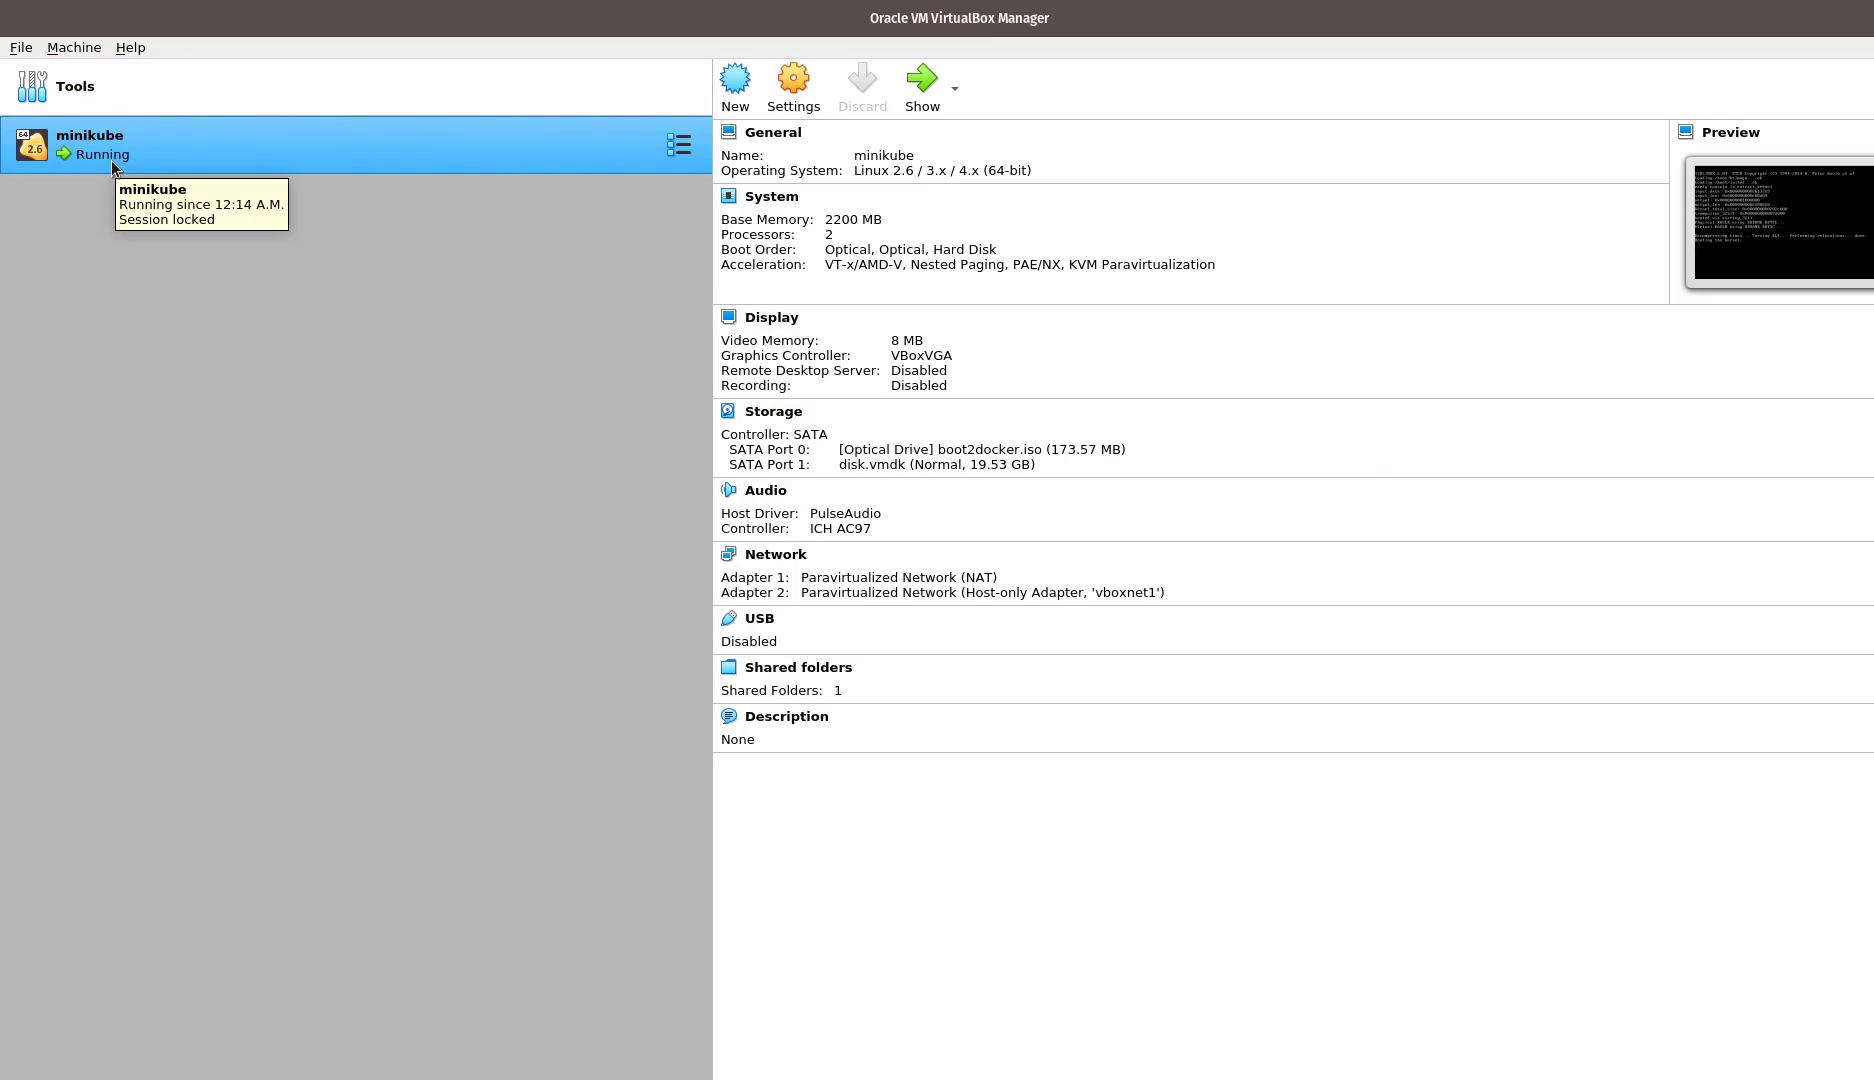
Verifying the Cluster
To ensure everything is functioning correctly, check the status of your Minikube cluster with:Deploying a Sample Application
With your cluster up and running, deploy a sample application to verify that the environment is fully operational.1. Create a Deployment
Deploy a sample echoserver application with the following command:2. Verify the Deployment
Check the deployment status with:3. Expose the Deployment as a Service
Expose the deployment on port 8080 using a NodePort service:4. Cleaning Up
After testing, remove the service and deployment:Conclusion
Your Minikube-based Kubernetes cluster is now operational, and you have successfully deployed and exposed a sample application. This setup forms a solid foundation for upcoming lessons where more complex deployments and Kubernetes concepts will be explored. Happy learning, and see you in the next lesson!Consider exploring additional Kubernetes resources such as the Kubernetes Documentation and tutorials to deepen your understanding of cluster management and container orchestration.