

If your Mac has 8 GB of RAM the deploy script automatically reduces the cluster to a control plane plus one worker node. Systems with 16 GB or more get the full three-node setup (one control plane + two workers).
What you’ll get
- A small kubeadm-ready environment on macOS (Apple Silicon).
- One control-plane VM and two worker VMs (reduced to one worker on 8 GB systems).
- Preconfigured network bridging and
/etc/hostsentries so nodes resolve each other by name. - Helper scripts to deploy and tear down the VMs.
Prerequisites
- macOS (Apple Silicon / M-series)
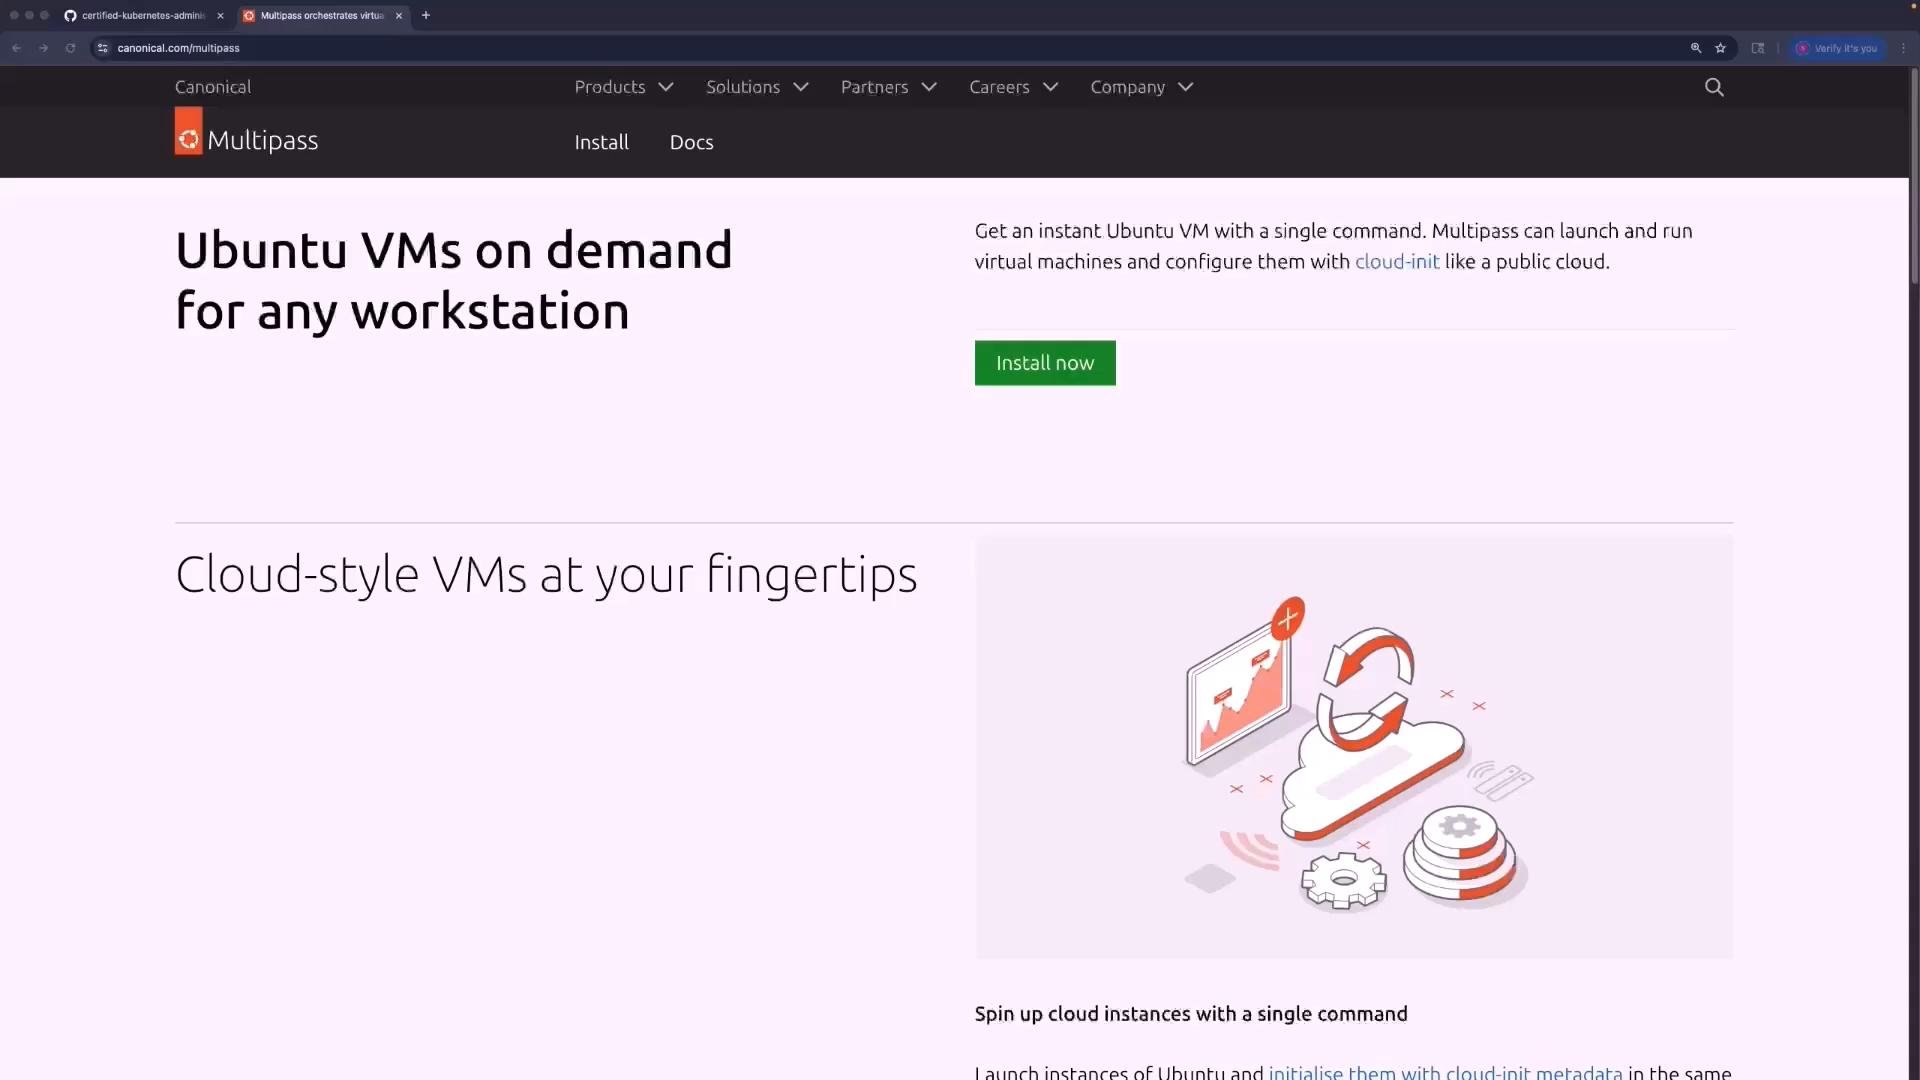
- Multipass installed
- Homebrew (optional, used for installing Multipass)
- Git (to clone the repository)
Install Multipass on macOS
You can install Multipass via the official installer or with Homebrew Cask.- Download and run the macOS installer from
https://multipass.run/install. - Or install with Homebrew:
Repository with helper scripts
This project contains helper scripts that create and tear down the VM environment using Multipass. The Apple Silicon-specific scripts are in thekubeadm-clusters/apple-silicon folder of the repository.
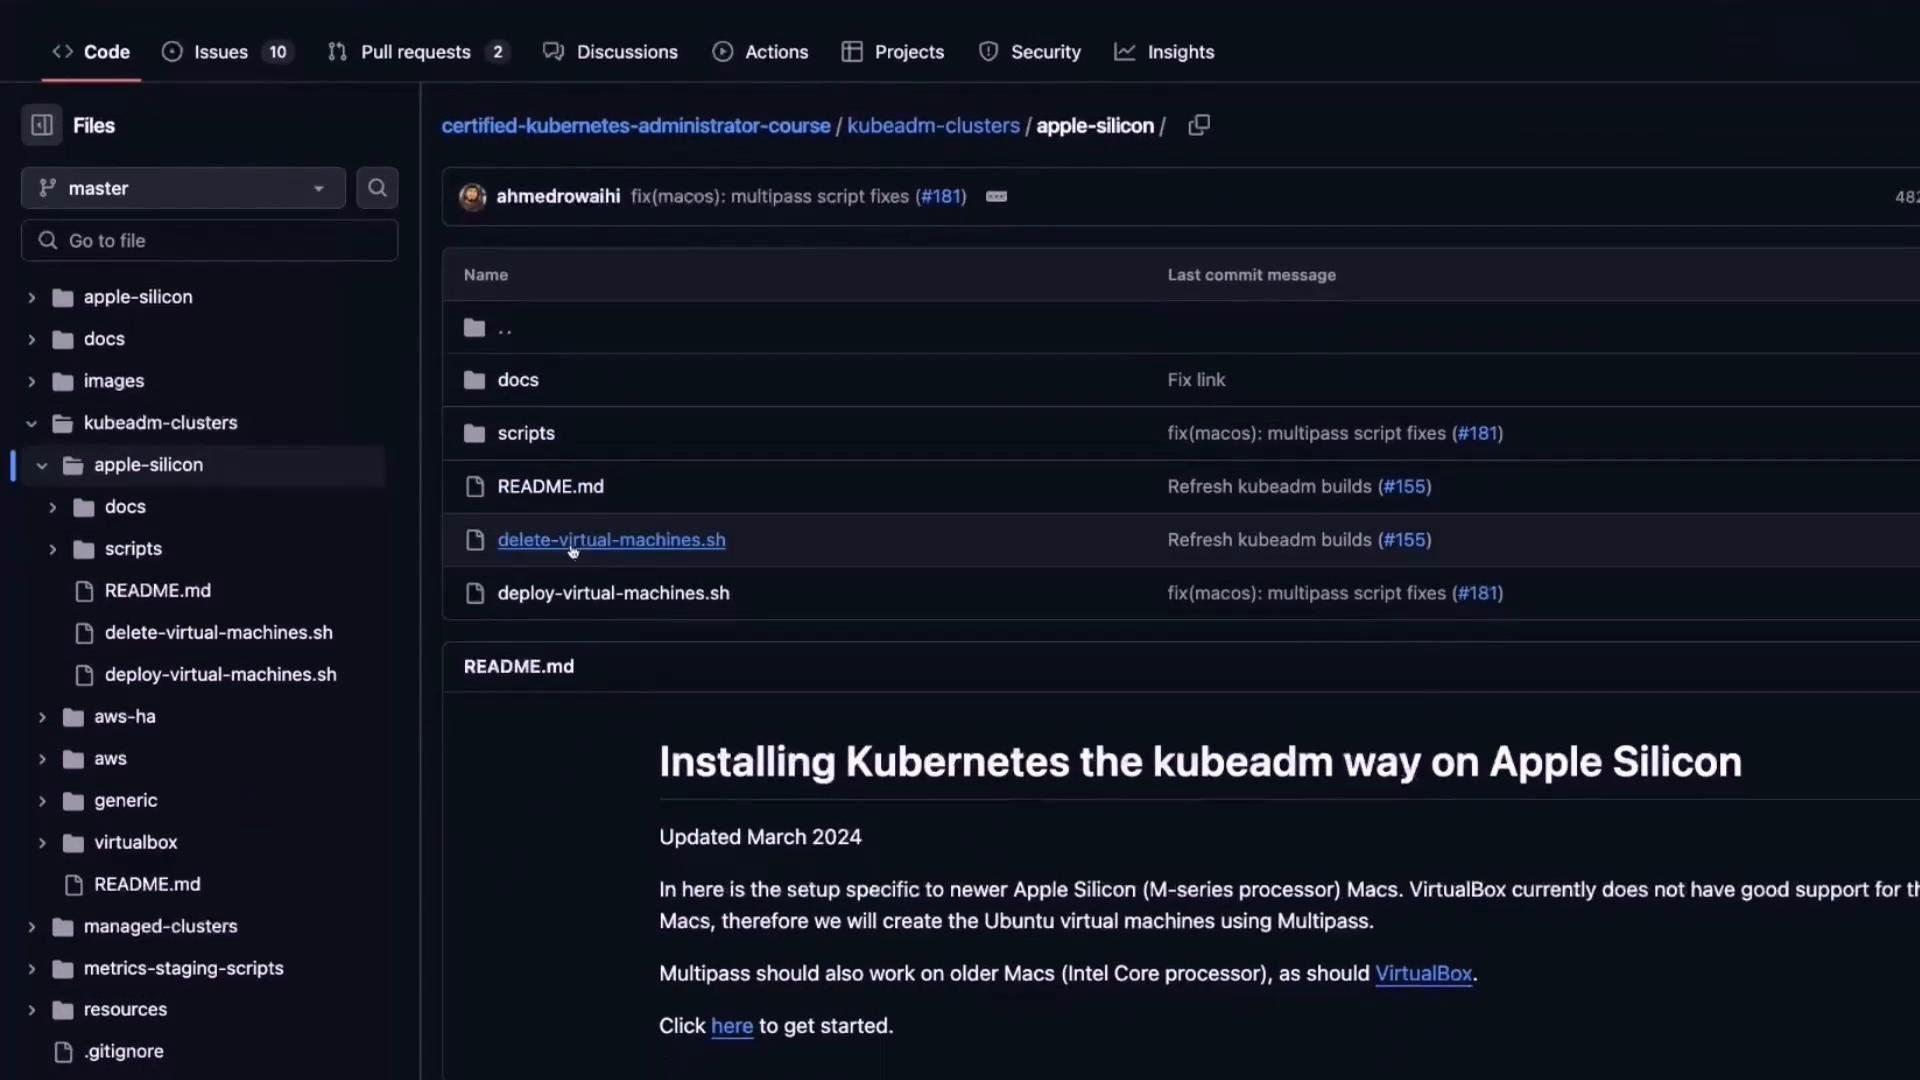
deploy-virtual-machines.sh. It checks for required tools (jq, multipass), inspects available system RAM, and chooses a network mode (BRIDGE or NAT). Below are key excerpts (abbreviated) to show the checks and RAM detection logic:
Deploy the VMs
Make the deploy script executable and run it:Connect to each VM
Open an interactive shell into any VM withmultipass shell <name>:
Example: connect to the control plane
Networking details and host entries
Each VM generally has two network interfaces. The deploy script configures a bridged interface for node-to-node communication (the bridged interface typically carries addresses in the192.168.86.x range). Inspect the network interfaces inside a VM:
enp0s1 and enp0s2):
enp0s2 with 192.168.86.x) for Kubernetes cluster communication.
The deploy script also updates /etc/hosts on each VM so the nodes resolve each other by name. View the file:
/etc/hosts entries added by the script:
/etc/hosts.
Cleaning up — deleting the VMs
When you are finished, use the teardown scriptdelete-virtual-machines.sh in the same apple-silicon folder:
Next steps
With the VMs up and networking configured you can continue to the kubeadm installation and cluster bootstrap steps in the repository’sapple-silicon README. The helper scripts and README will guide you through initializing the control plane, joining worker nodes, and verifying cluster status.
Links and references
- Multipass:
https://multipass.run/install - Project repository:
https://github.com/kodekloudhub/certified-kubernetes-administrator-course - Kubernetes kubeadm docs: https://kubernetes.io/docs/reference/setup-tools/kubeadm/