

- VirtualBox as the hypervisor (free, cross-platform).
- Vagrant to automate creating multiple VMs from a single Vagrantfile.
- Windows laptop with administrative rights
- VirtualBox installed (see below)
- Vagrant installed (see below)
- Git (optional, to clone the example repository)
- Internet access so Vagrant can download box images
Install VirtualBox (Windows)
Download and install VirtualBox from the official site:- VirtualBox: https://www.virtualbox.org
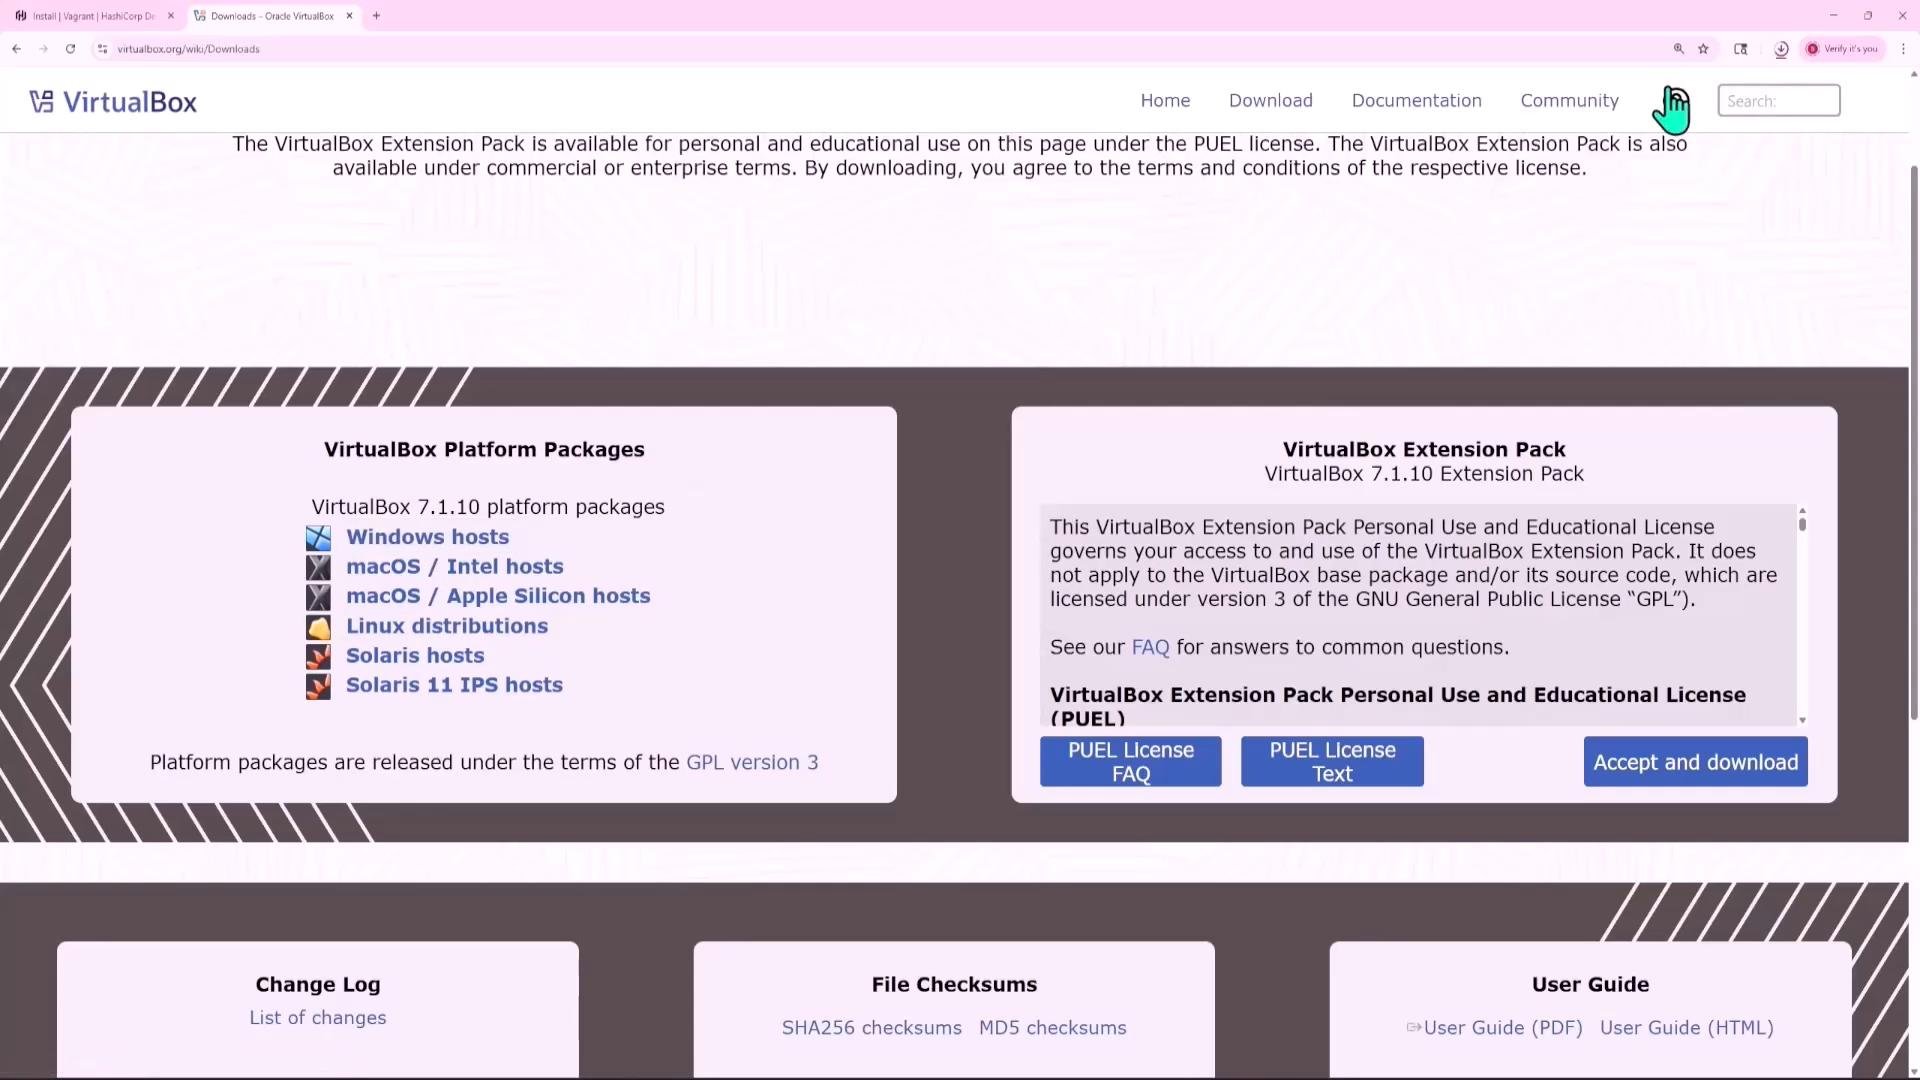
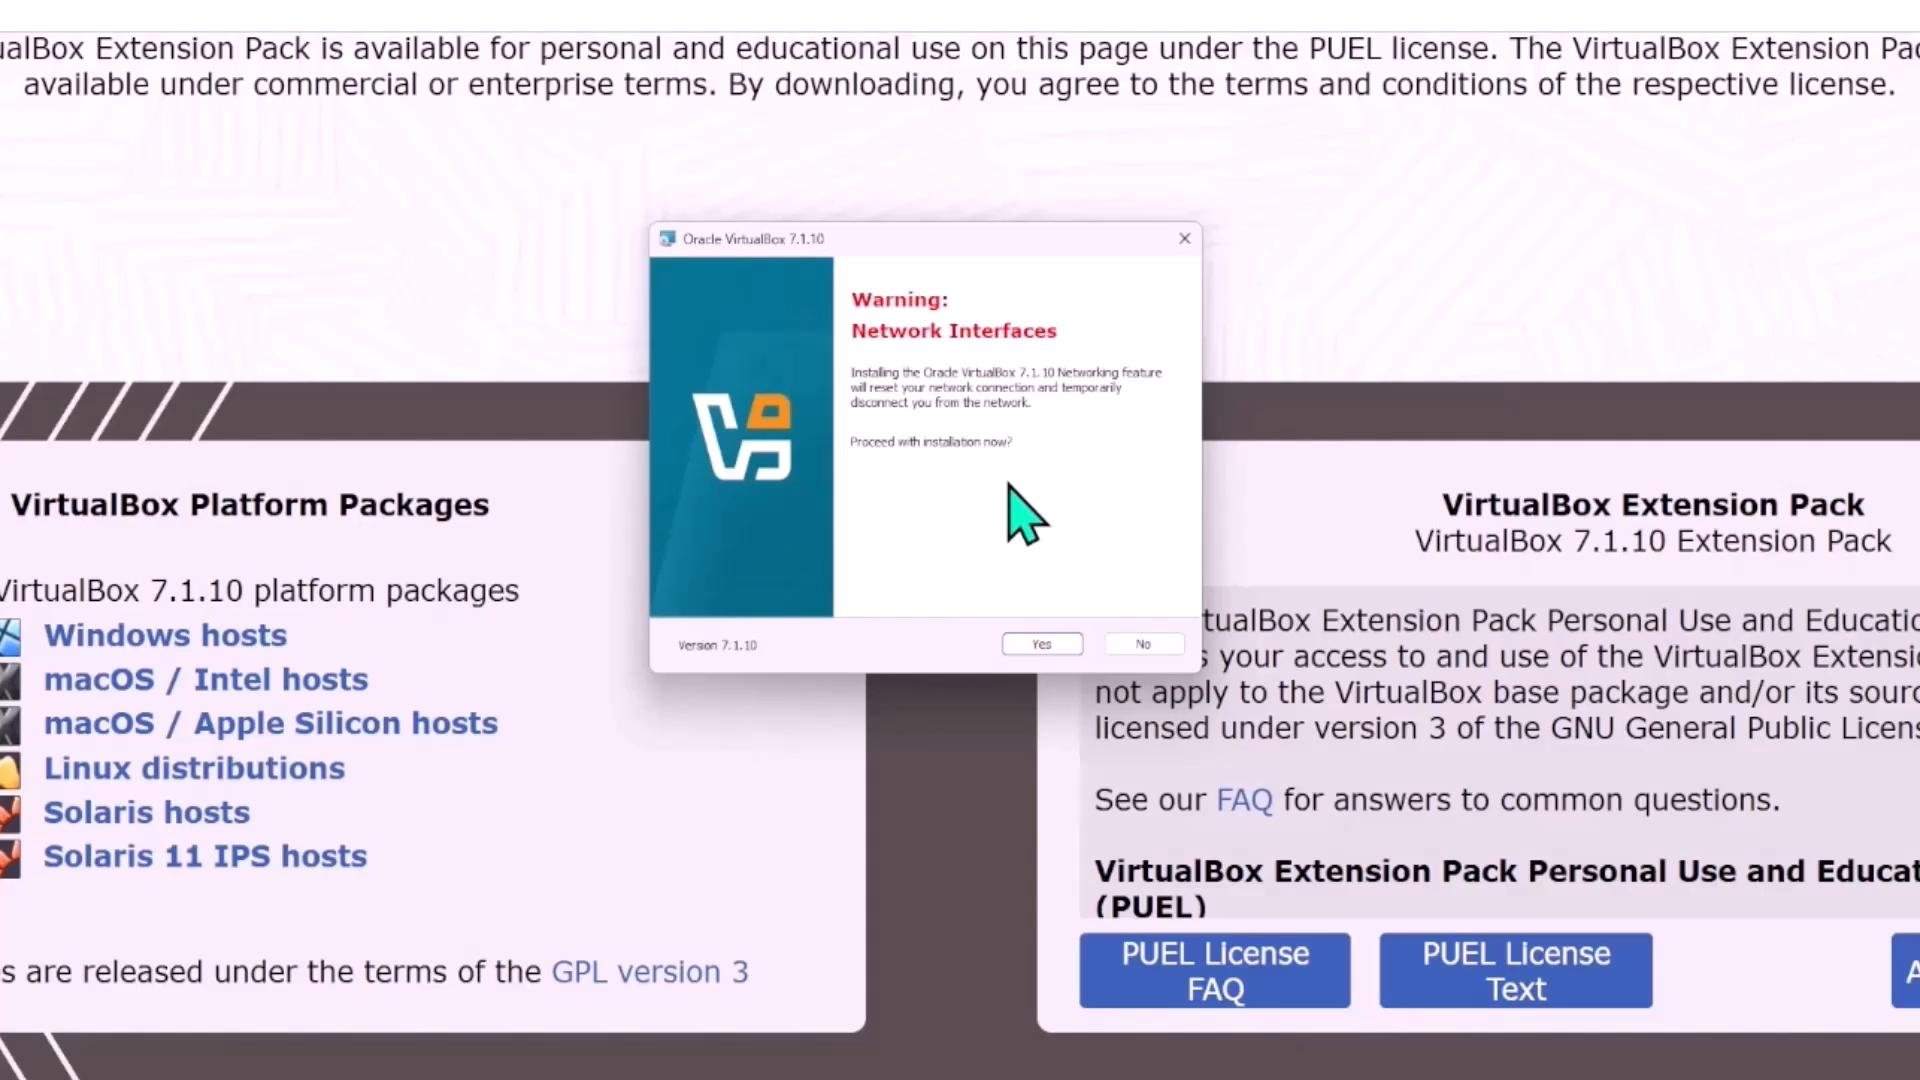
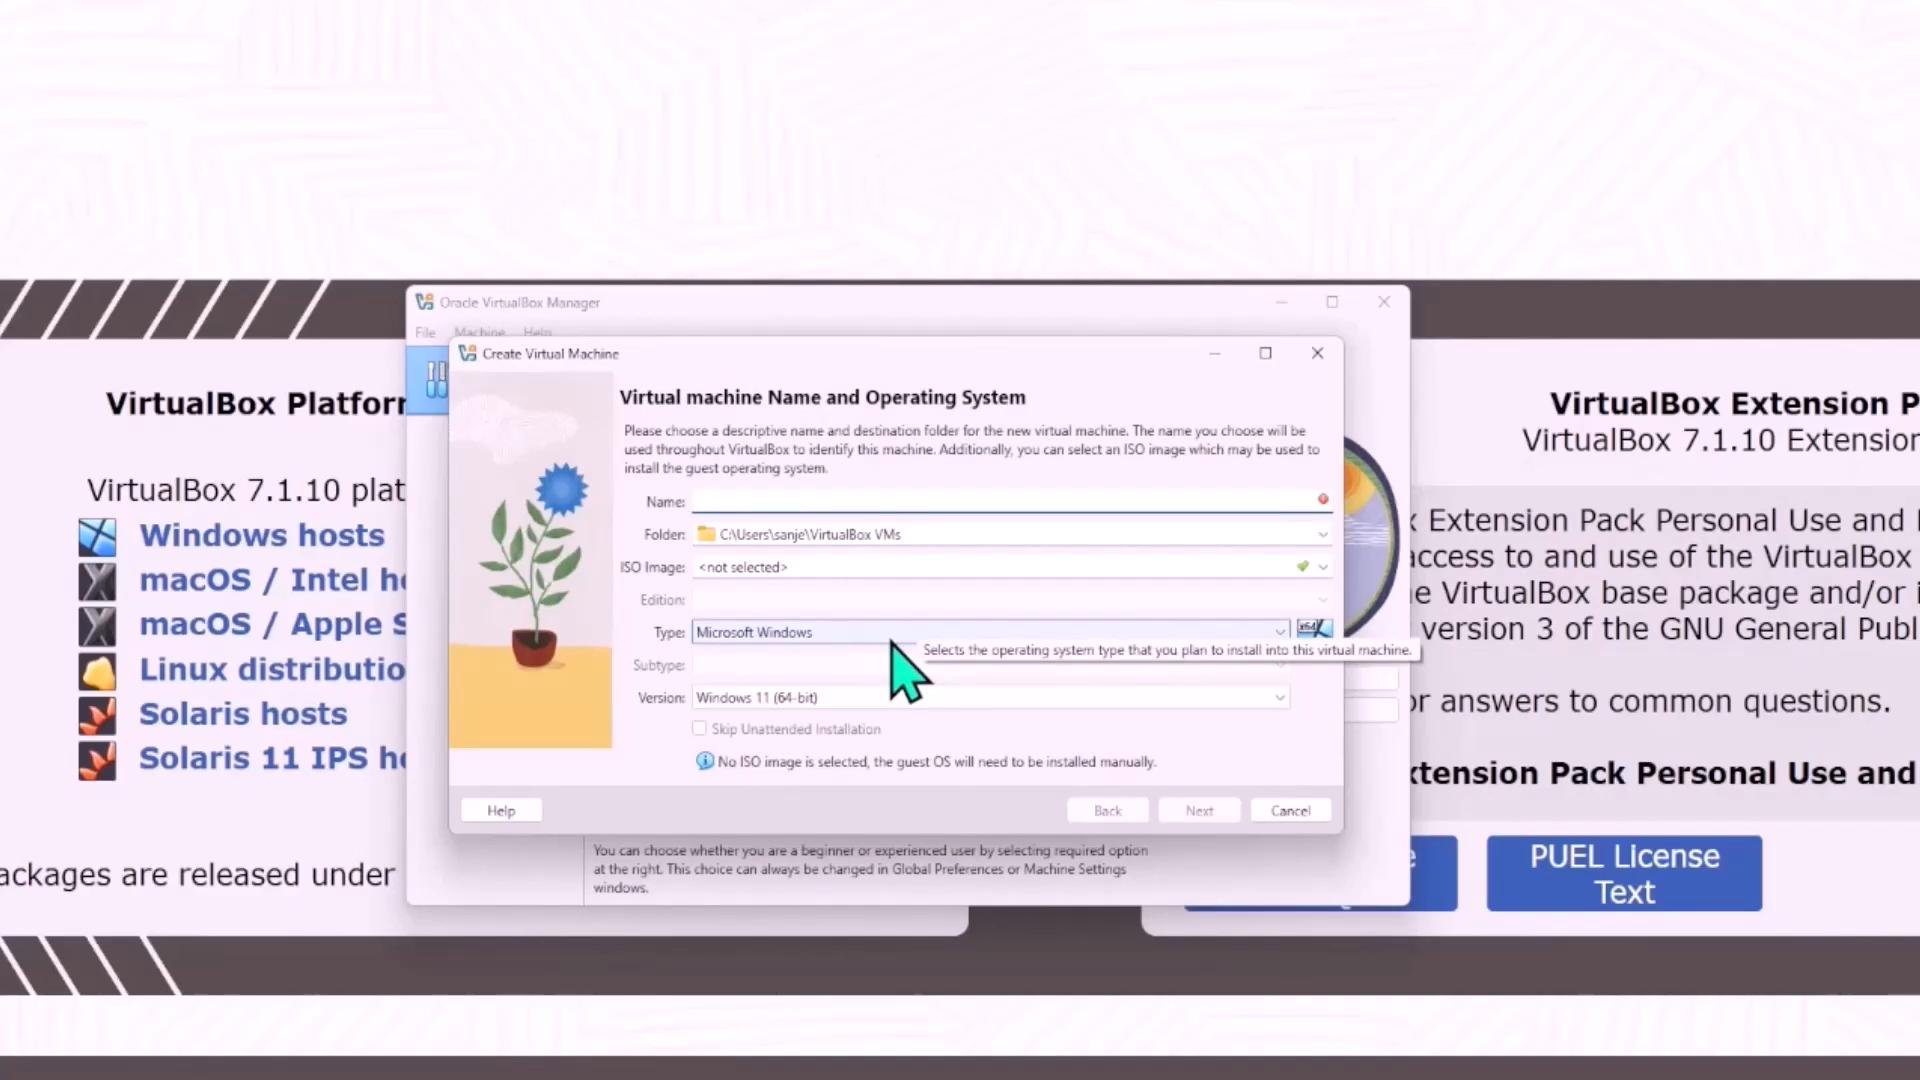
If you are on macOS with Apple Silicon, use Multipass or macOS-specific instructions instead of VirtualBox to avoid compatibility issues.
Install Vagrant (Windows)
Download the Vagrant installer for Windows from the official site and run the MSI: After installation, restart your machine if prompted. Verify the installation: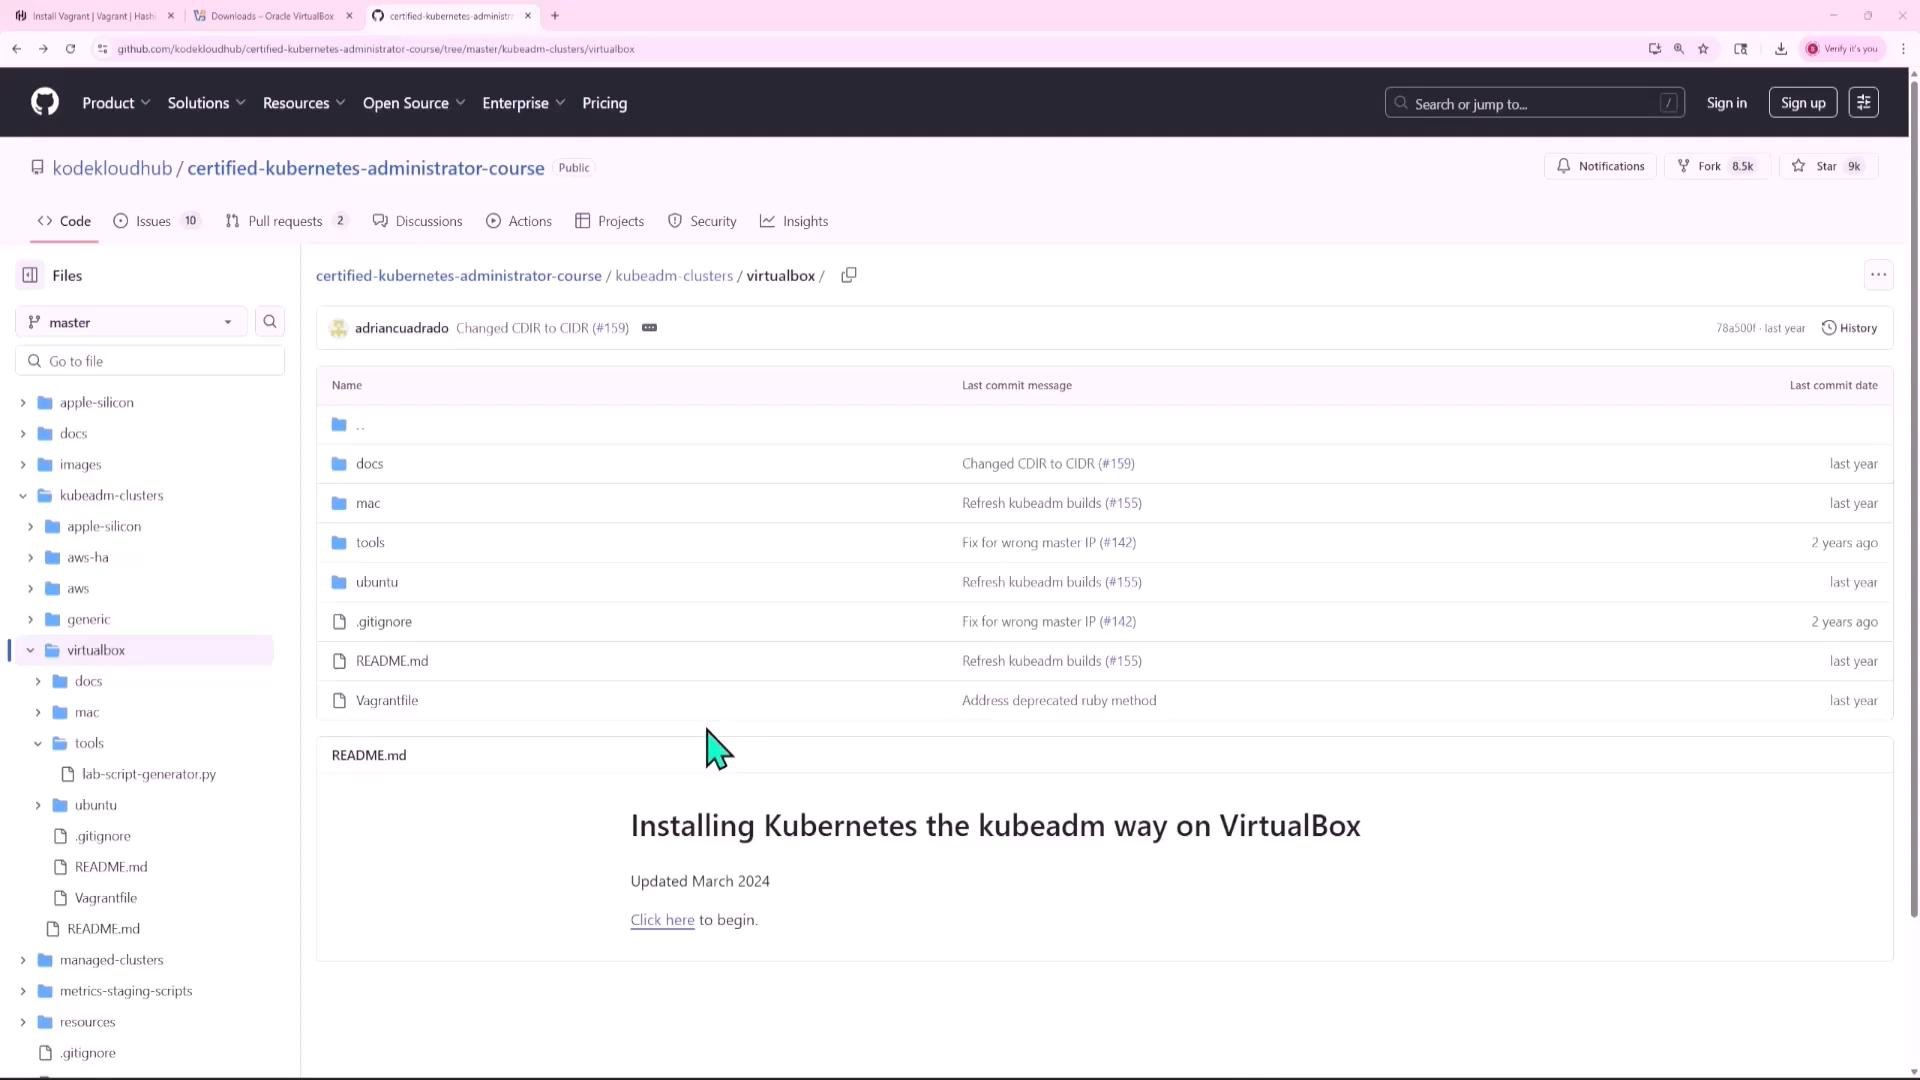
Clone the repository and use the VirtualBox Vagrant configuration
Clone the example repository (replace with your desired repo URL if different):Connect to the VMs
SSH into any VM created by Vagrant. Example — control-plane:Verify network interfaces and IP addresses
On each VM, list network interfaces and IPs:192.168.86.0/24 network. The typical mapping is:
You will also see
enp0s3 with 10.0.2.15 on each VM — a NAT interface VirtualBox creates for internet access. For cluster communications and NodePort access we rely on the bridged/enp0s8 network, not the NAT interface.
Helpful Vagrantfile excerpts
The Vagrantfile configures BUILD_MODE, number of worker nodes, and helper functions. The following excerpts illustrate key configuration and helper logic. Network and build-mode configuration (Ruby):Tear down the environment
When you are done and want to free resources, destroy the VMs created by Vagrant in the current directory:Next steps: kubeadm and Kubernetes bootstrap
With the three VMs provisioned and reachable via SSH, you can proceed to:- Install Docker or containerd on all nodes.
- Install kubeadm, kubelet, and kubectl.
- Initialize the control-plane with
kubeadm init. - Join worker nodes with
kubeadm join ....
192.168.86.32, 192.168.86.33, 192.168.86.34) for the cluster control-plane and worker node communications, and to access NodePort services from your host browser.
Troubleshooting tips
- If
vagrant upfails, inspect the Vagrant logs and provider output, then runvagrant destroy -fand try again. - If network bridged mode fails because your network does not provide free IPs, set
BUILD_MODE = "NAT"in the Vagrantfile and adjust NAT IP ranges. - For VirtualBox networking issues on Windows, ensure Hyper-V is disabled (Hyper-V can conflict with VirtualBox networking).
- If SSH is unavailable, verify the VM boot logs in VirtualBox and that the Vagrant box image download completed successfully.
Links and references
- VirtualBox: https://www.virtualbox.org
- Vagrant: https://developer.hashicorp.com/vagrant
- Kubernetes kubeadm docs: https://kubernetes.io/docs/setup/production-environment/tools/kubeadm/
- GitHub repo used in examples:
https://github.com/kodekloudhub/certified-kubernetes-administrator-course