In this guide, we will walk through the solution for the lab on Services in Kubernetes. The instructions include identifying existing services, checking service types, inspecting target ports, verifying labels and endpoints, reviewing deployments, and finally creating a service to expose a web application.

Identifying Existing Services

The first step is to check how many services are running on your system. Run one of the commands below:
or use the shorthand:
The output should look similar to:
This output confirms that there is only one service running—the default Kubernetes service.

Checking the Service Type

Next, verify the type of the default service by executing:
and
You should see output like this:
This confirms that the service type is “ClusterIP”. We will focus on this configuration for now, with further details to be discussed later. To verify, run:

Inspecting the Target Port

To determine the target port configured on the Kubernetes service, use the following command:
You will see output similar to:
Notice that the target port is set to 6443.

Verifying Service Labels

Next, check the labels that are configured on the Kubernetes service. From the output above, you can see two labels:
  • component: apiserver
  • provider: kubernetes
These labels indicate that the service is associated with the Kubernetes API server. Details about the API server will be covered in a later section.

Exploring Endpoints

Endpoints represent the pods that the service directs traffic to. The output shows one endpoint:

What Are Endpoints?

Endpoints list the pods selected by the service based on specified labels. For example, if a service targets three pods (all matching the label selector), then three endpoints will be listed. Conversely, if an extra pod is unintentionally matched, the endpoints list will increase, which could affect traffic routing. Endpoints are essential for troubleshooting. If the service’s selector does not match any pod labels, the endpoints list will be empty, indicating why the application may not be accessible. In a properly configured scenario, services map pod endpoints by associating the service with the IP addresses of matching pods. Here are two diagrams provided for visualization:
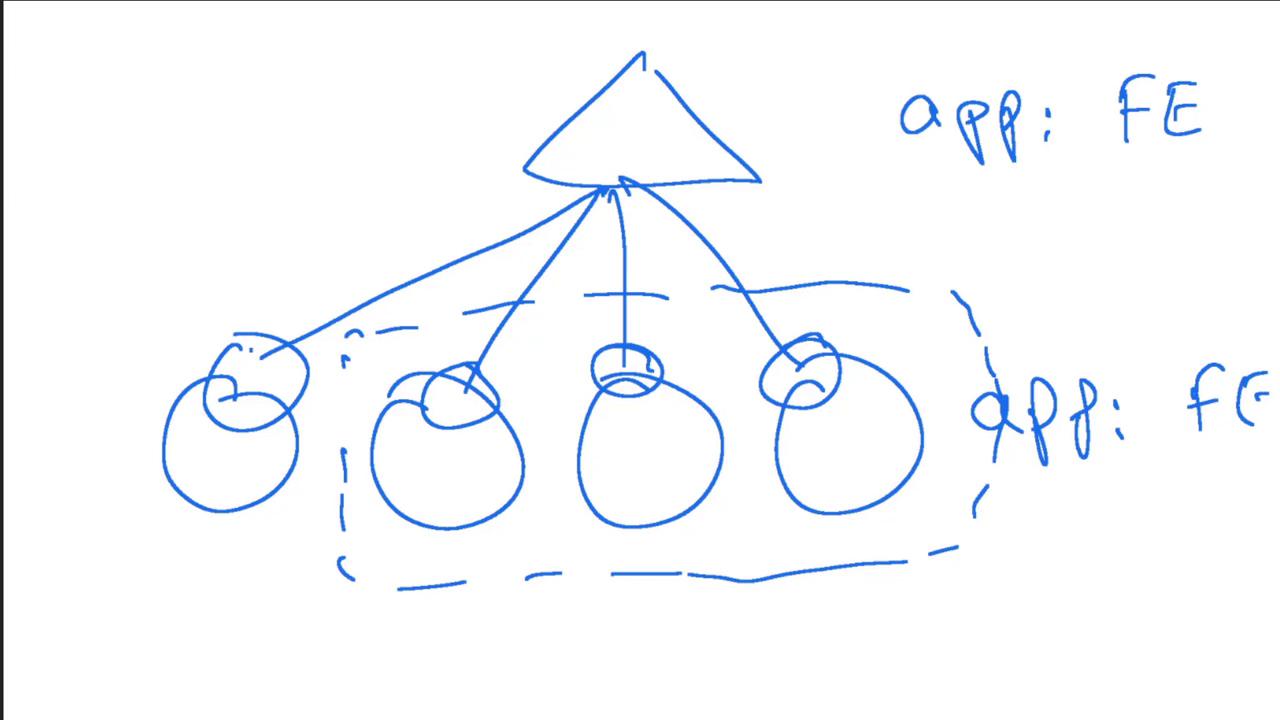
The image shows a simple hierarchical diagram with a triangle connected to three circles, labeled "app: FE" and "app: fr" on the side.
If additional pods inadvertently match the service selector, the endpoints list will expand, potentially impacting traffic routing:
The image depicts a diagram with a triangle connected to four circles, labeled "app: FE" and "app: fr," possibly representing a network or system architecture.
In our lab scenario, the Kubernetes service has just one endpoint:

Reviewing Deployments

Now, let’s check the number of Deployments in the default namespace by running:
The output indicates there is one deployment present.

Inspecting the Deployment

Inspect the deployment responsible for creating the pods:
The detailed output shows the deployment specifics, including the container image:
The container image used to create the pods is:

Accessing the Web Application UI

At this point, you may try to access the web application UI using the link provided in the deployment tab; however, you will encounter a “bad gateway” error. This occurs because there is no service configured to expose the deployment:
Since no service is exposing the deployment, the web application is not accessible.
To resolve this, create a new service using a YAML configuration file.

Creating a Service to Expose the Web Application

Below is an example YAML configuration file that defines a Kubernetes service to expose the web application:
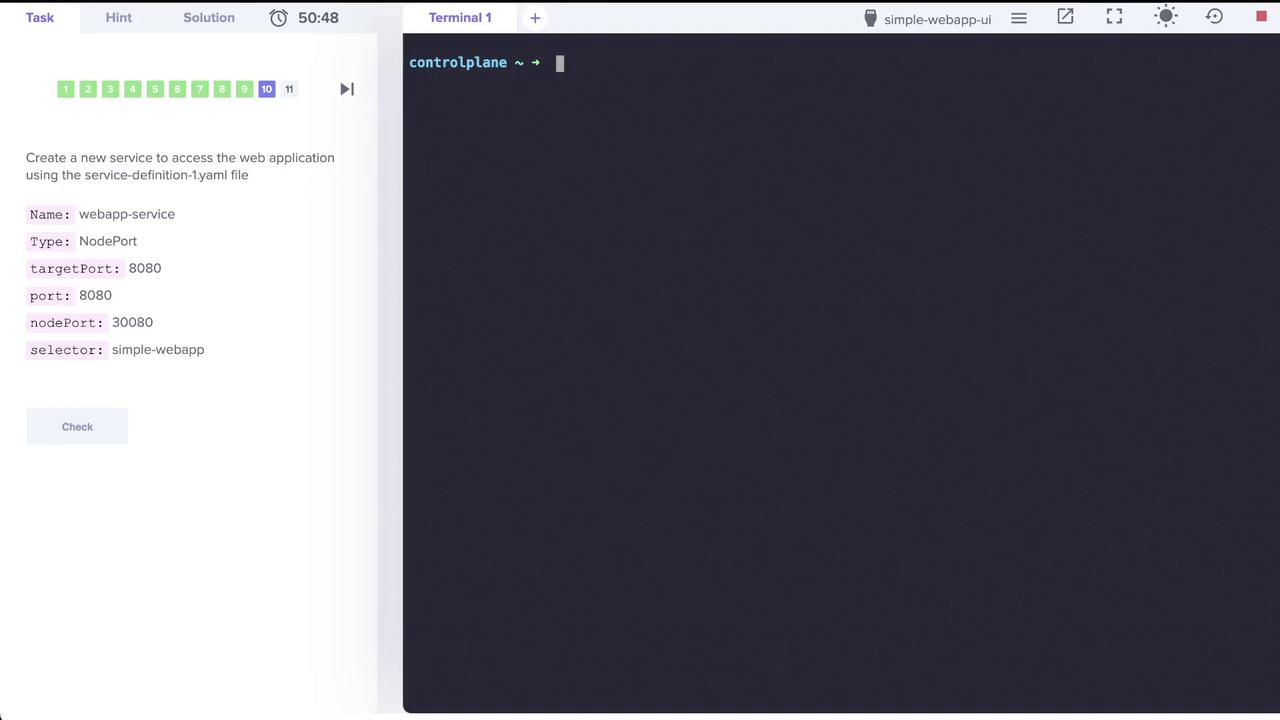
The image shows a terminal interface and instructions for creating a Kubernetes service using a YAML file, specifying details like name, type, ports, and selector.
The service YAML template is as follows:
A more complete example from the Kubernetes documentation is:
For our web application, we will create a service with the following specifications:
  • Name: webapp-service
  • Type: NodePort
  • Target port: 8080 (the port on which the application is running)
  • Port: 8080 (the port to expose)
  • NodePort: 30080
  • Selector: name set to simple-webapp
Here is the complete YAML configuration:
Apply the configuration with the following command:
The command should output:
After creating the service, verify that it is working by accessing the web application UI.

Additional Ways to Create Services

In future sections, we will explore how to use imperative commands to create services. Here are some examples:
This concludes the lab walkthrough. By following these steps, you have learned how to manage services and deployments in Kubernetes effectively.

Watch Video