

Ensure you have:
- A valid Google Cloud account.
- Familiarity with GCP Console and basic terminal commands.
Creating the Cluster
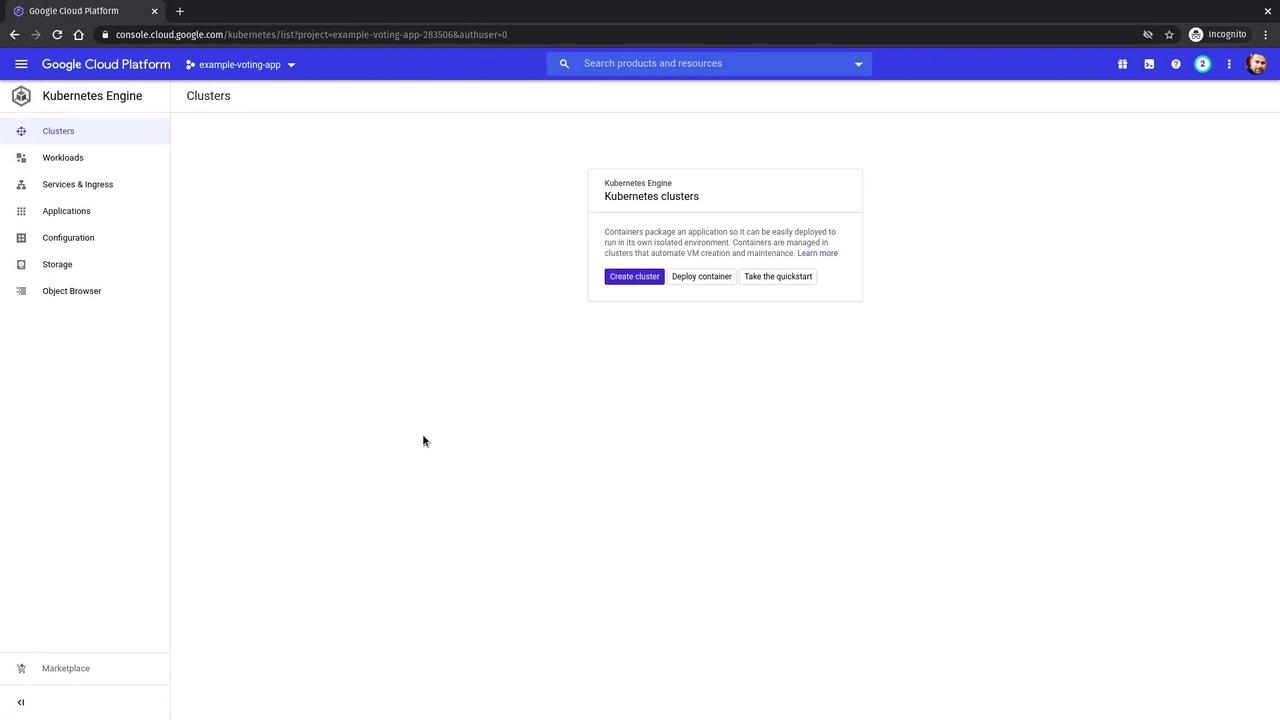
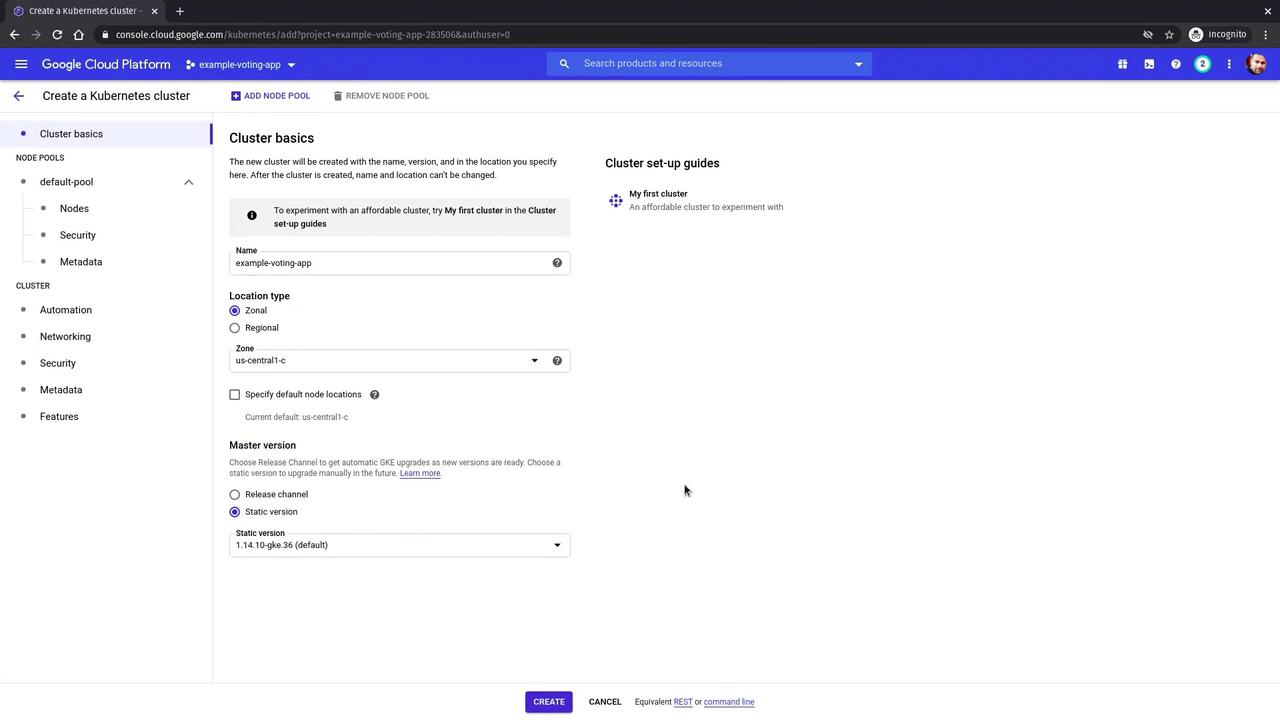
After logging into the GCP console, locate your project. In this example, we will use the project named “Example Voting App”. Follow these steps to begin configuring GKE:- Click the navigation menu at the top left corner.
- Under the Compute section, select Kubernetes Engine.
- In the Kubernetes Engine section, click Create Cluster.
Cluster Settings
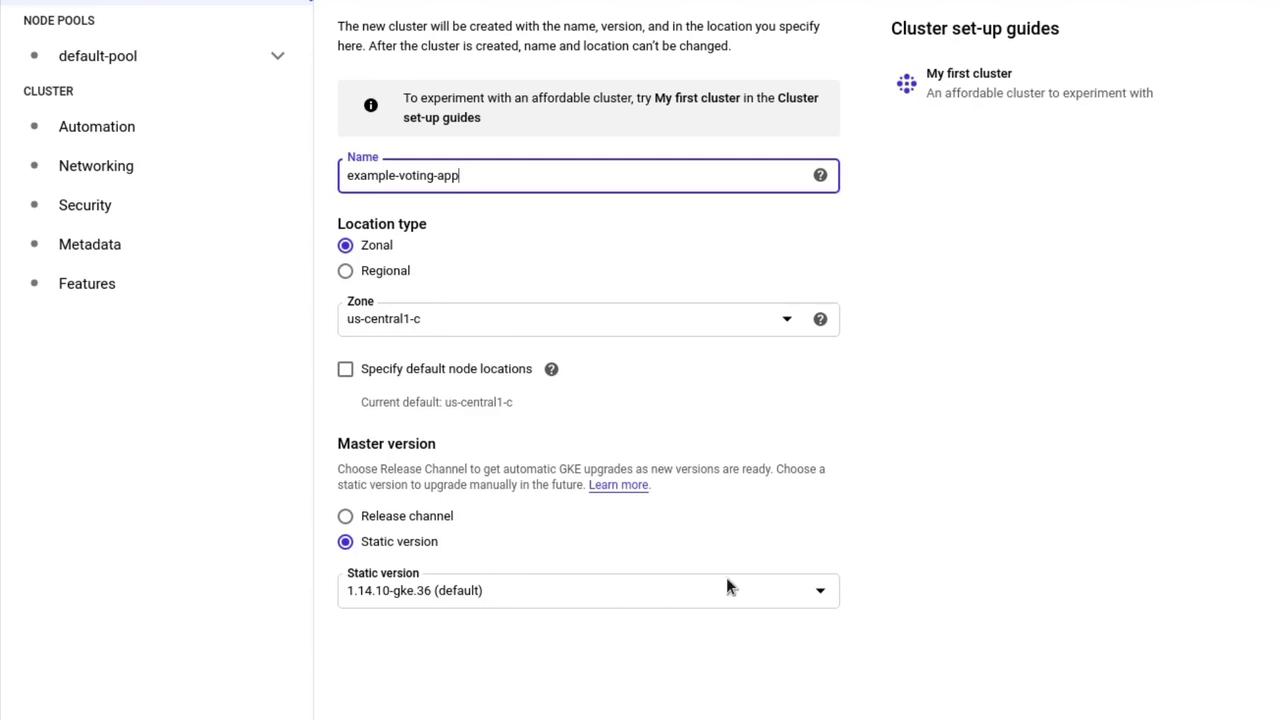
- Rename the cluster to “Example Voting App”.
- Use the default values for location type and zone.
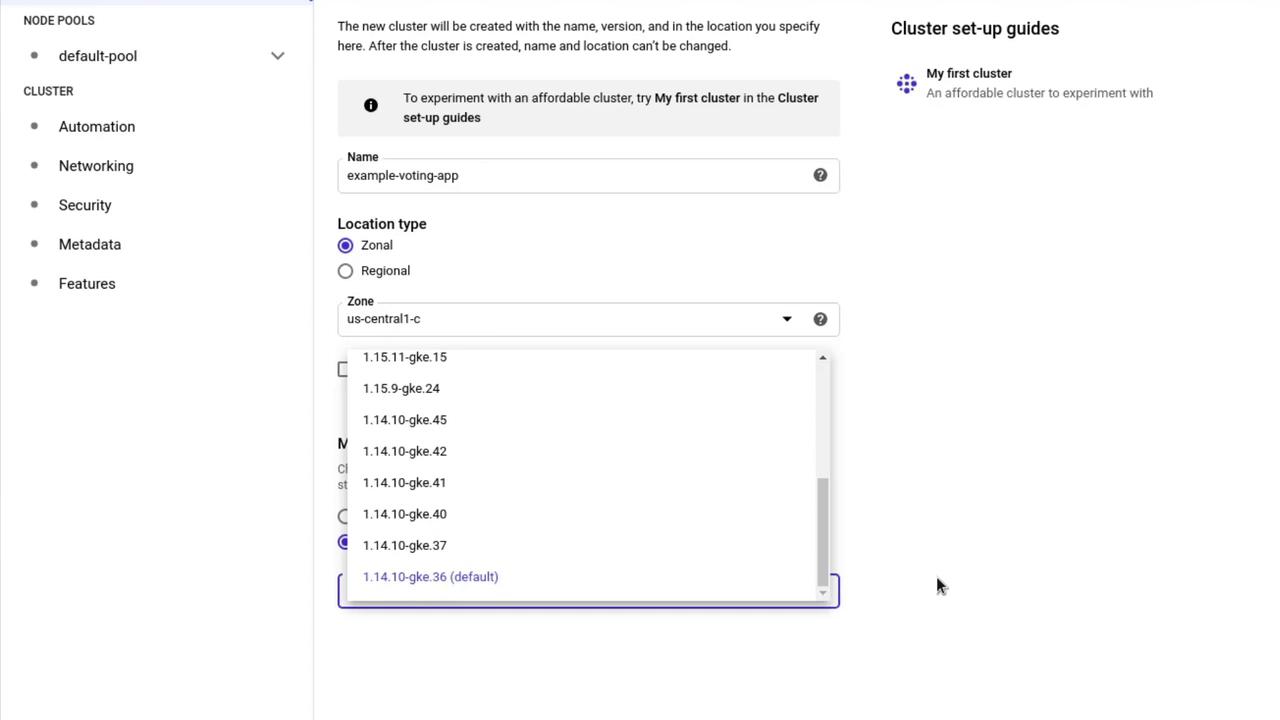
- For the master version, you can either select a static version or a release channel for automatic upgrades. For this demonstration, leave it at the default setting.
Connecting to Your Cluster
The simplest method to connect to your cluster is by clicking the Connect button: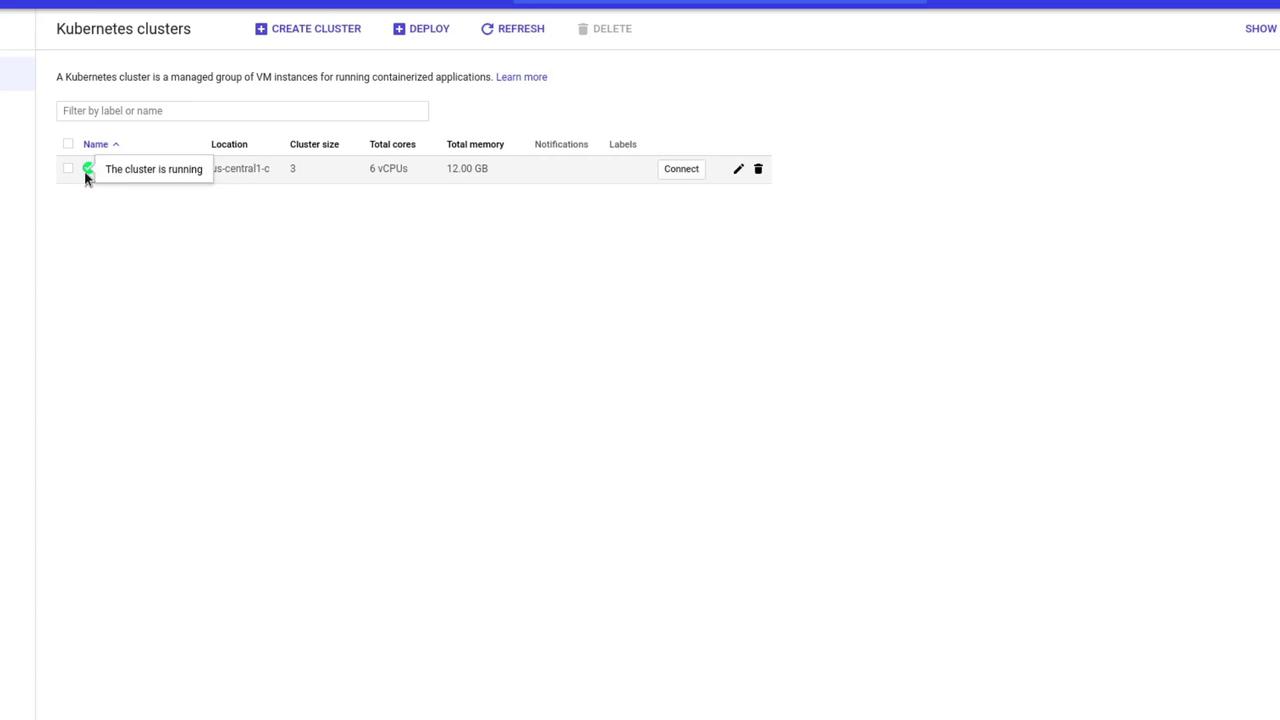
kubectl using Cloud Shell. Once the Cloud Shell opens (you can maximize the window for convenience), run the provided command:
kubectl configuration, allowing you to interact with your GKE cluster. To verify the connection, run:
Deploying the Application
Now that your cluster is connected, you can deploy the YAML files for the various Deployments and Services that make up the voting application. These files are available in a GitHub repository. Follow the steps below in your Cloud Shell:Step 1. Clone the Repository
Execute the following commands to clone the repository and navigate into the project directory:Step 2. Navigate to the Kubernetes Specifications Directory
Change into the directory containing the deployment and service definitions:Updating Service Definitions
To ensure the application works seamlessly in a cloud environment, a minor modification was made to the service definitions. For example, the voting service YAML now uses a LoadBalancer instead of a NodePort:Creating Kubernetes Objects
Create the Kubernetes objects in the order below to ensure proper dependency management:- Deploy the voting application and its corresponding service.
- Deploy Redis (both deployment and service).
- Deploy PostgreSQL (both deployment and service).
- Deploy the worker application.
- Deploy the result application and its corresponding service.
Note that the external IP for load balancers might initially show as
<pending>. Wait a few minutes and rerun the command to confirm that the IPs have been assigned.Verifying Load Balancer Configuration
Once all deployments are ready and pods are running, verify the load balancer settings in the GCP console. Navigate to Services & Ingress under the Kubernetes Engine section. Here, you’ll see internal services (such as PostgreSQL and Redis) and front-end services that utilize the cloud provider’s native load balancer.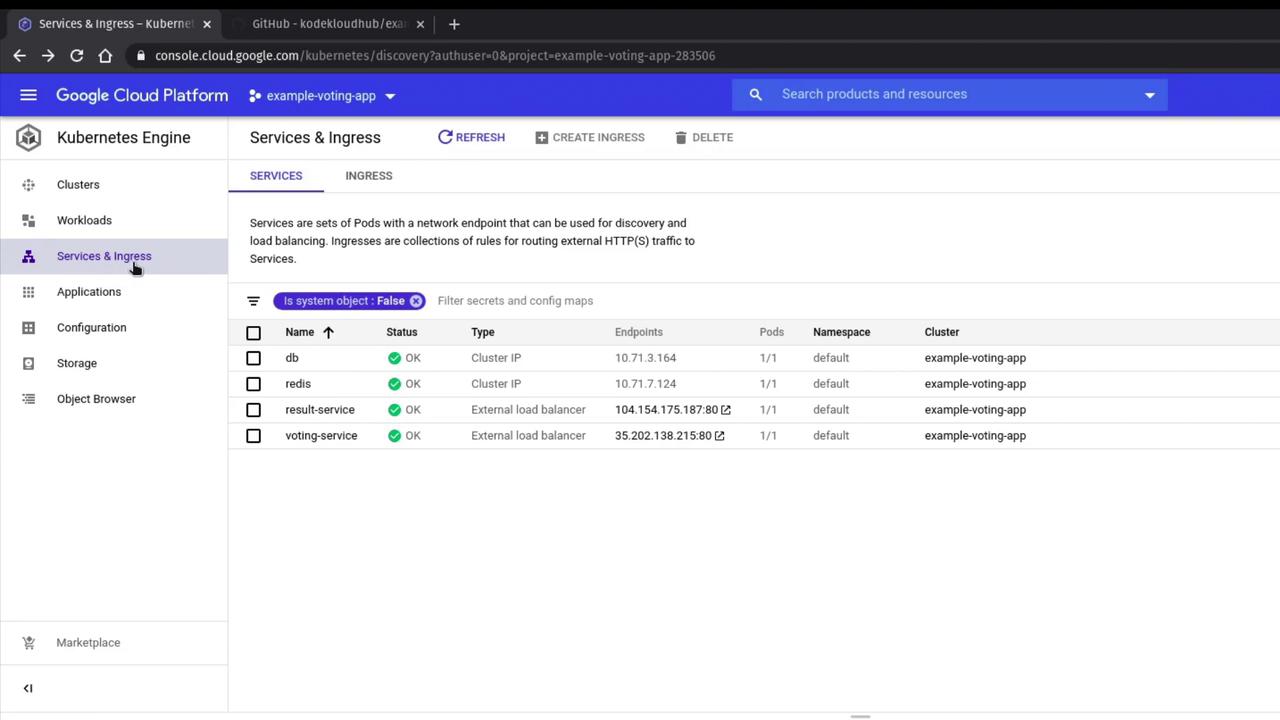
Testing the Application
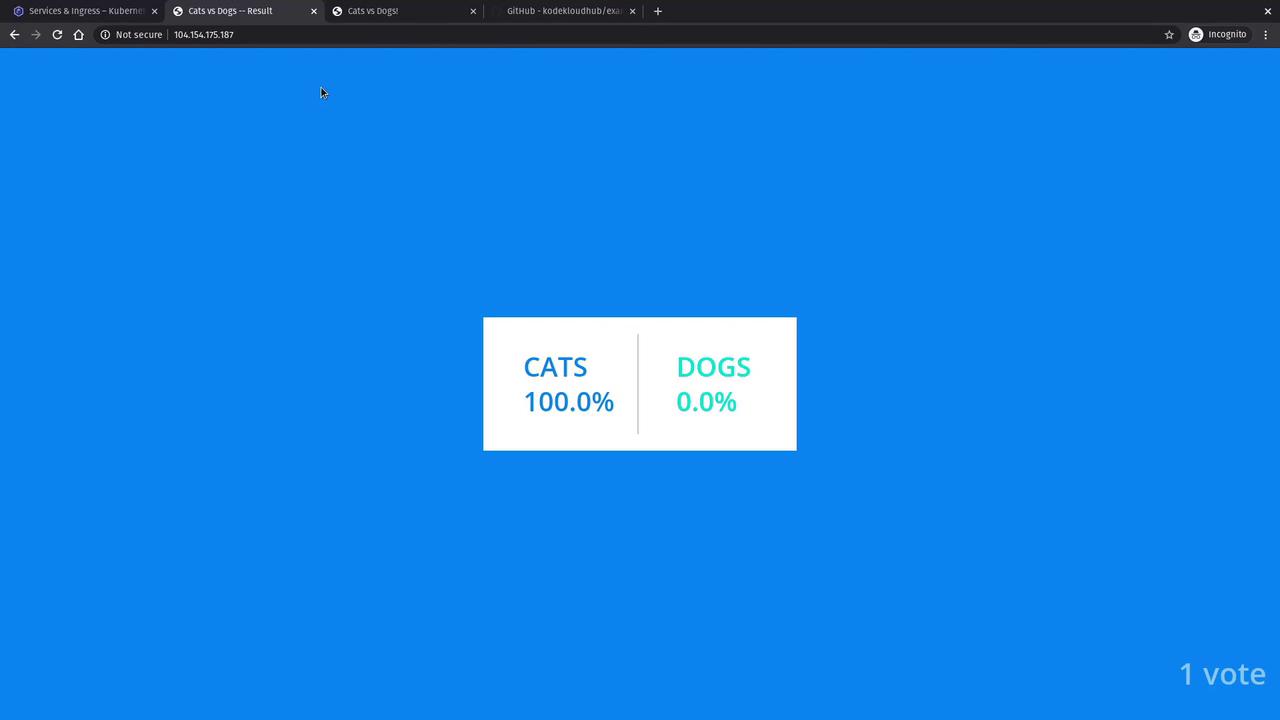
After the load balancers are assigned external IPs, open a new browser tab and navigate to the external IP associated with the voting service to load the voting application interface. Open another tab to view the results application.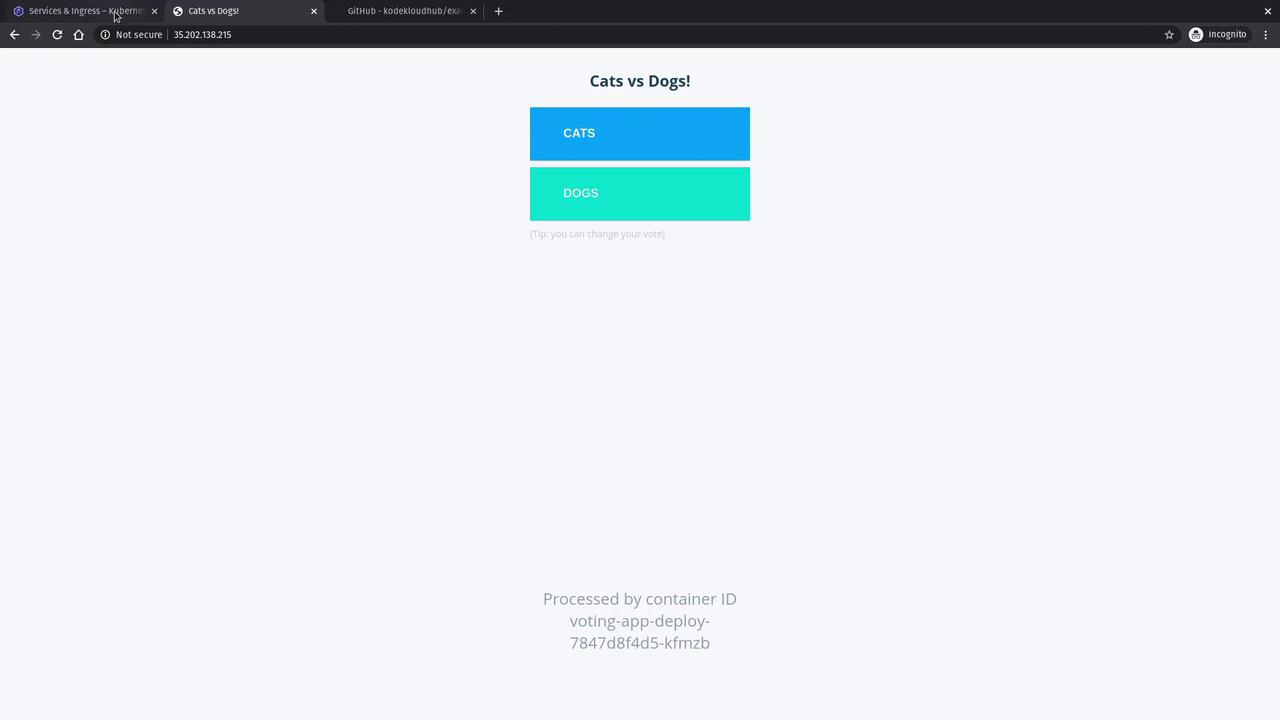
This guide has demonstrated the process of deploying a Kubernetes cluster on GKE and launching a multi-component voting application. Happy deploying, and stay tuned for more advanced Kubernetes tutorials!