

Listing Existing Pods
To view the pods currently running in the default namespace, use the following command:Creating a New Pod with the Nginx Image
To create a new pod using thenginx image, run the command below. Make sure to specify both the pod name and the image:
nginx pod, there are several other pods present (assumed to be a total of four pods during this lab exercise).
──────────────────────────────
Inspecting Pod Details
To determine which container image a specific pod is using, inspect one of the pods in detail. For example, to inspect the pod namednewpods-llstt, use:
busybox is using the busybox image.
──────────────────────────────
Determining Pod Node Placement
To view the nodes on which your pods are running, use the-o wide option:
controlplane node.
──────────────────────────────
Checking Container Status Within a Pod
Consider a pod namedwebapp that contains two containers—one running nginx and another named agentx. To inspect the container details, use:
agentx container is currently waiting due to an image pull error—ErrImagePull indicates that Kubernetes was unable to locate the agentx Docker image on Docker Hub. The READY column in the kubectl get pods output will reflect this status (e.g., 1/2 indicating that only one out of two containers is ready).
When troubleshooting image pull errors, verifying the image name and tag is essential. Ensure the image exists on the container registry you are using.
Deleting the Web App Pod
If you need to remove thewebapp pod, execute the following command:
Creating a New Pod with a Mistaken Redis Image
In this exercise, you will create a pod namedredis using an intentional mistake in the image tag (redis123) to simulate an error scenario. Instead of using the kubectl run command directly, you will generate a YAML configuration file.
First, generate the YAML definition with a dry-run command:
Redis.yaml. The generated YAML might appear as follows:
The pod will not run correctly until you update the image to a valid one. This step is crucial for ensuring the application runs as expected.
Correcting the Redis Pod Image
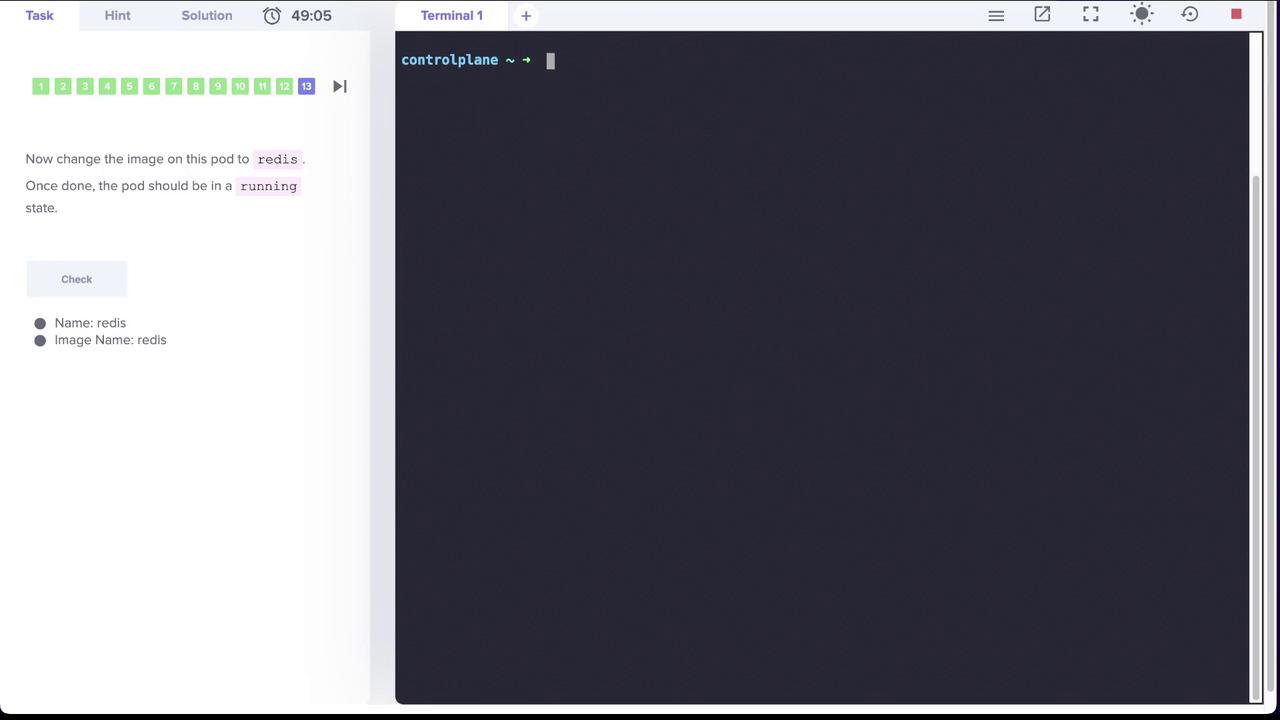
To resolve the error, update your YAML definition to use the correct image,redis. You can update the file directly and then apply your changes, or use the kubectl edit command.
The image below illustrates the process of updating the Redis pod’s image:
kubectl.kubernetes.io/last-applied-configuration annotation. The output will be similar to:
redis pod now indicates that all containers are running and ready.
──────────────────────────────
Conclusion
In this lab solution, you learned how to:- List pods in the default namespace.
- Create a pod using the
kubectl runcommand. - Inspect pod details to verify container images and node assignment.
- Troubleshoot image pull errors by diagnosing pod statuses (e.g., the
agentxcontainer). - Create and update a pod using a YAML configuration.