

- A reusable CentOS template VM in VirtualBox
- A bridged network setup so the host can SSH to guests
- A process for cloning the template into controller and managed hosts
- VirtualBox installed: https://www.virtualbox.org
- CentOS Stream ISO for your architecture (x86_64 or ARM64)
- Basic familiarity with SSH and VirtualBox UI
- Install VirtualBox using the installer for your platform from VirtualBox.org.
- Go to the CentOS site and download the CentOS Stream ISO that matches your platform (for example, ARM64 for Apple Silicon).
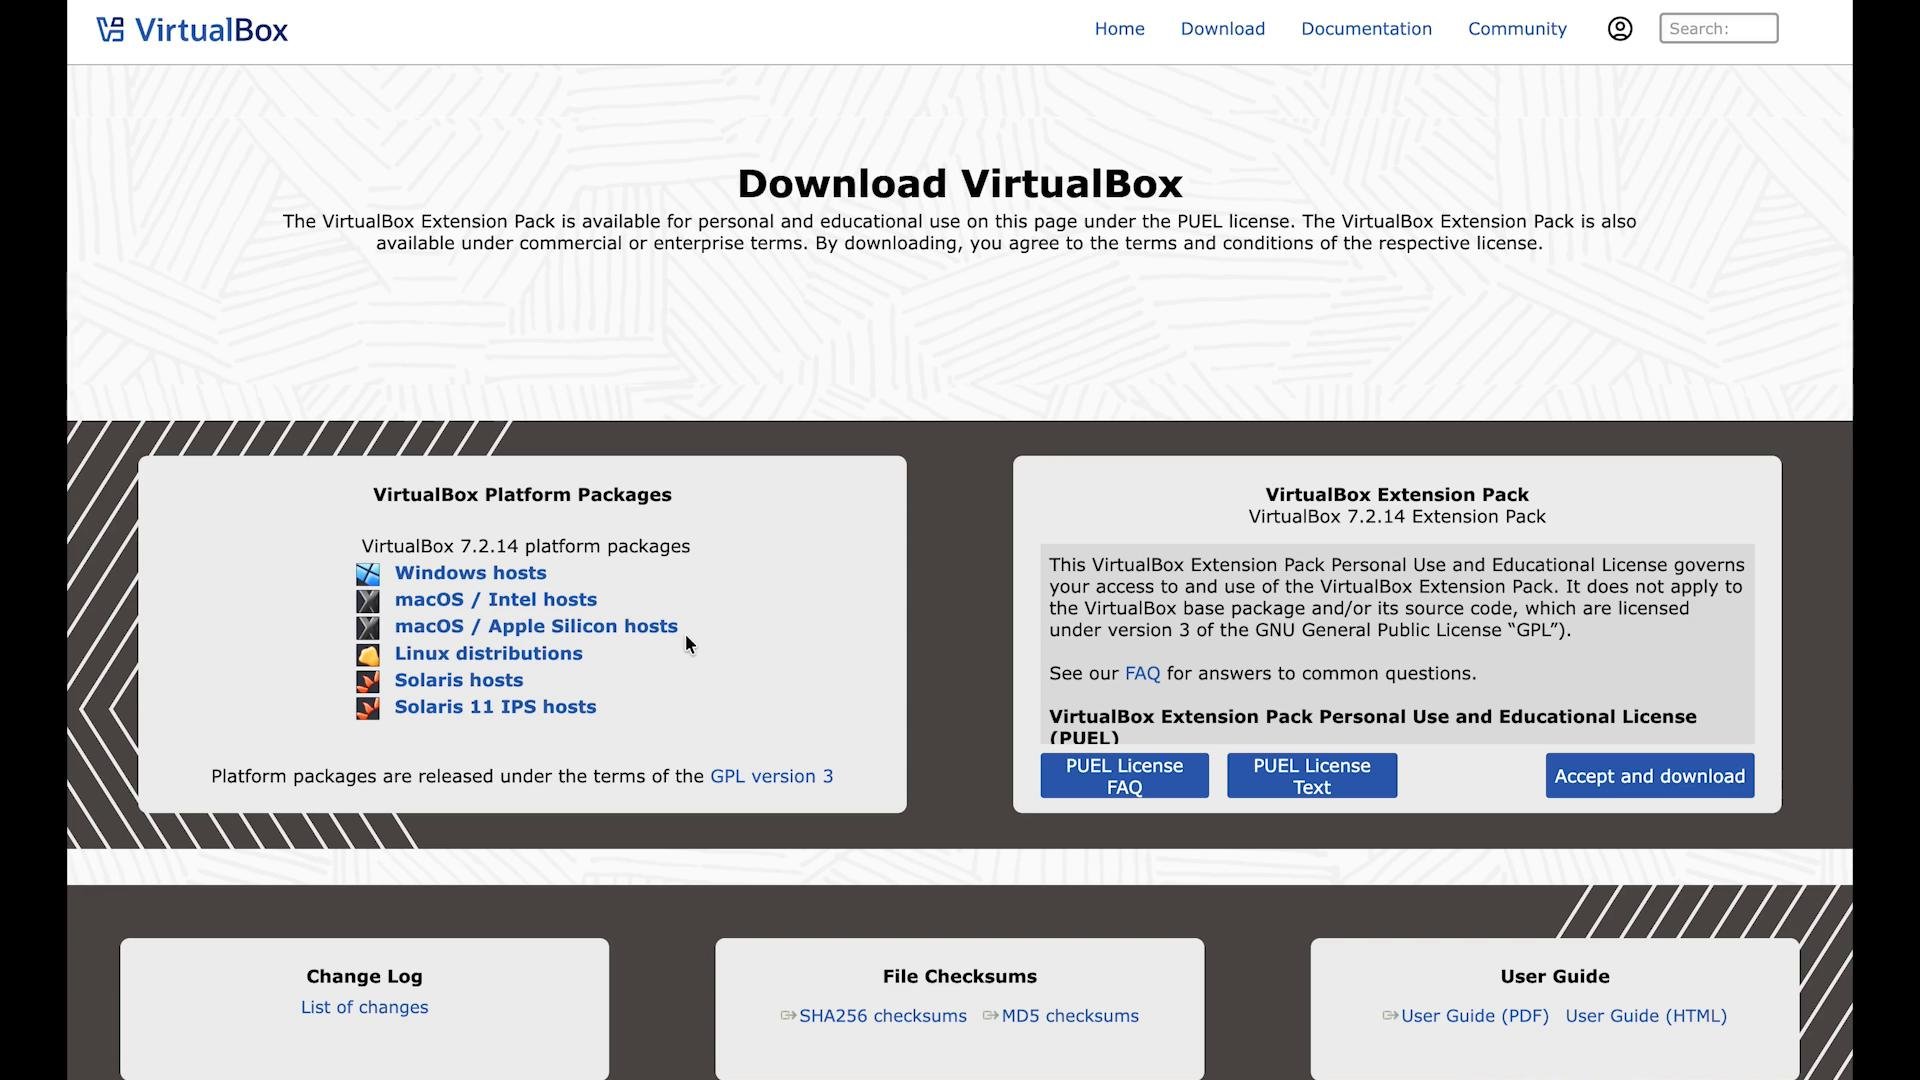
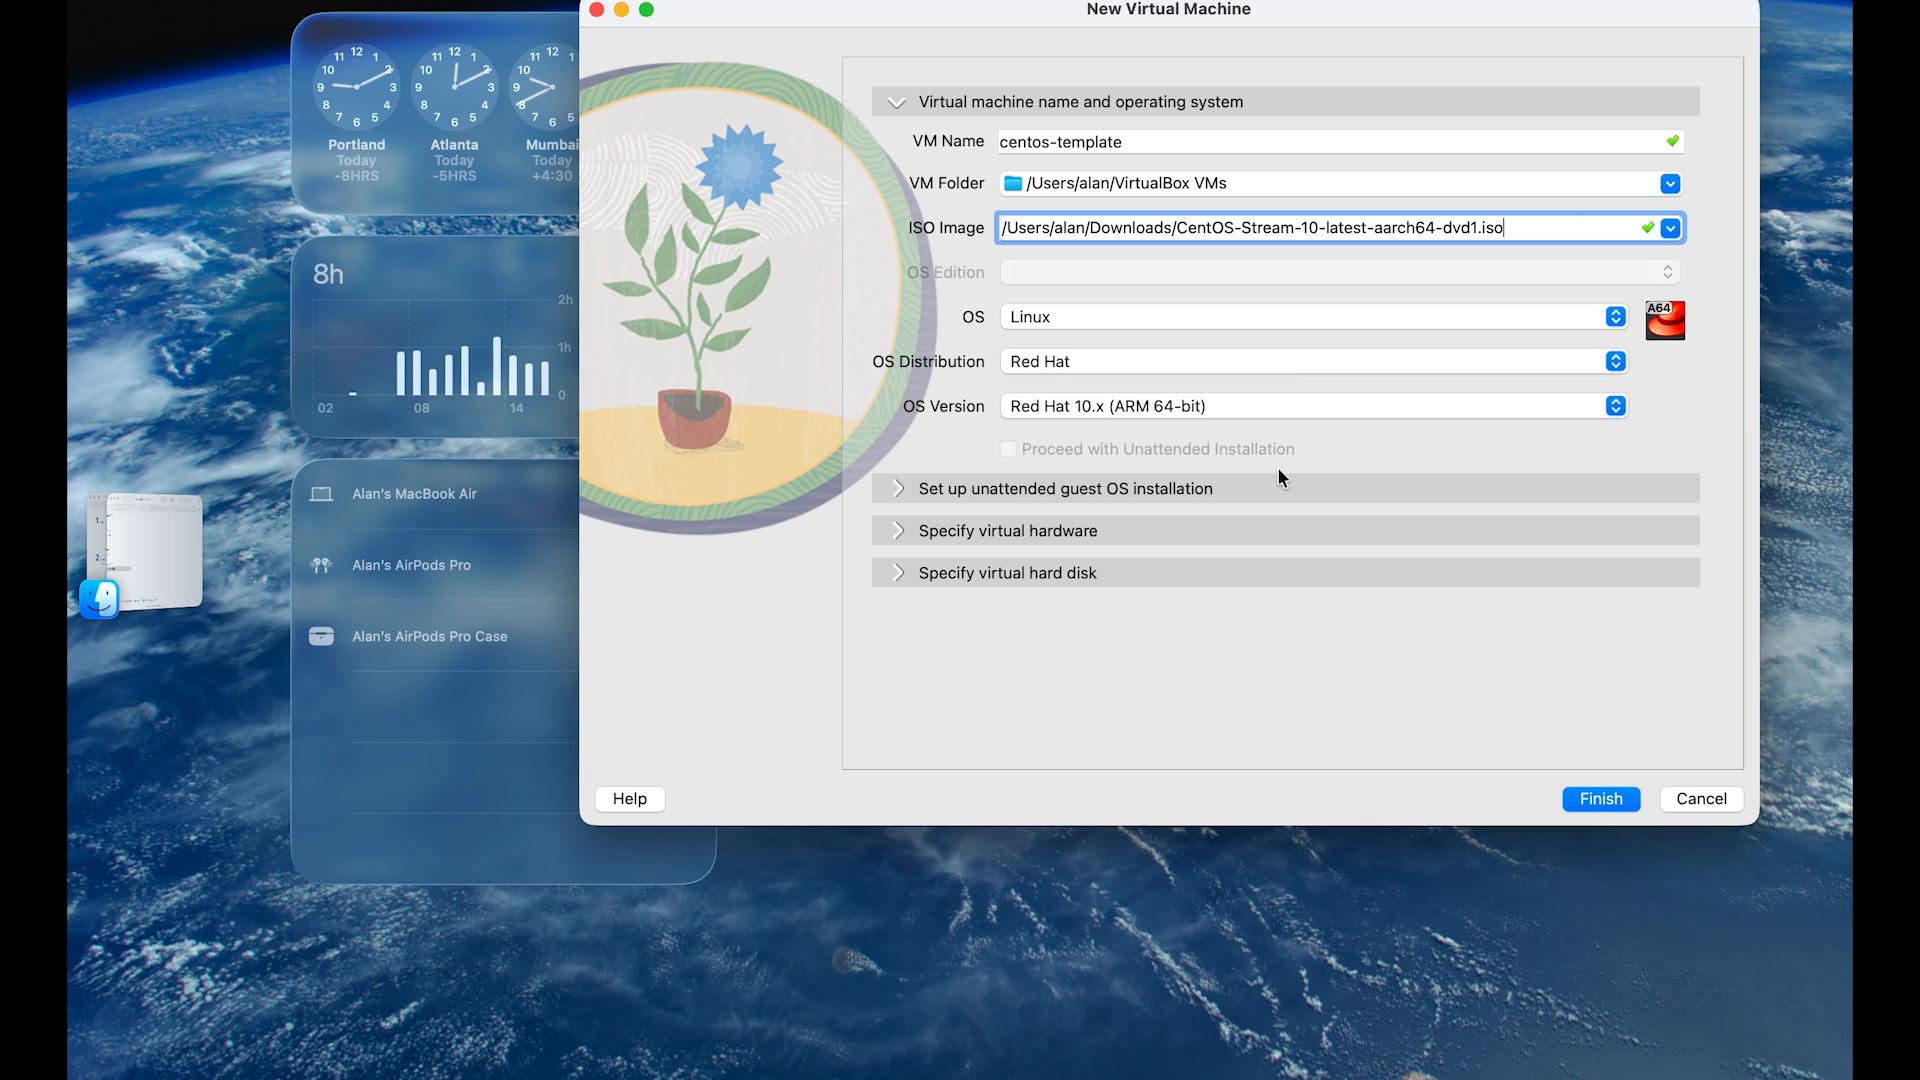
- In VirtualBox click New and create a VM that matches the CentOS Stream ISO.
- Give it a clear name such as
centos-template. If VirtualBox fails to create a VM with that name, there may be a leftover folder in your VirtualBox VMs directory—delete it and retry. - Choose Linux as the OS type and a matching vendor/version (for CentOS Stream 10: Red Hat / Red Hat 10).
- Increase CPU to 2 if desired, keep other defaults, and create a new virtual hard disk.
- Before powering on, open Settings → Network and change Adapter 1 from NAT to Bridged Adapter. Bridged mode lets the guest get an IP on your LAN so your host can SSH to it directly.
- Ensure VirtualBox is set to Expert Mode (Preferences → General view setting) so you have full cloning and advanced options.
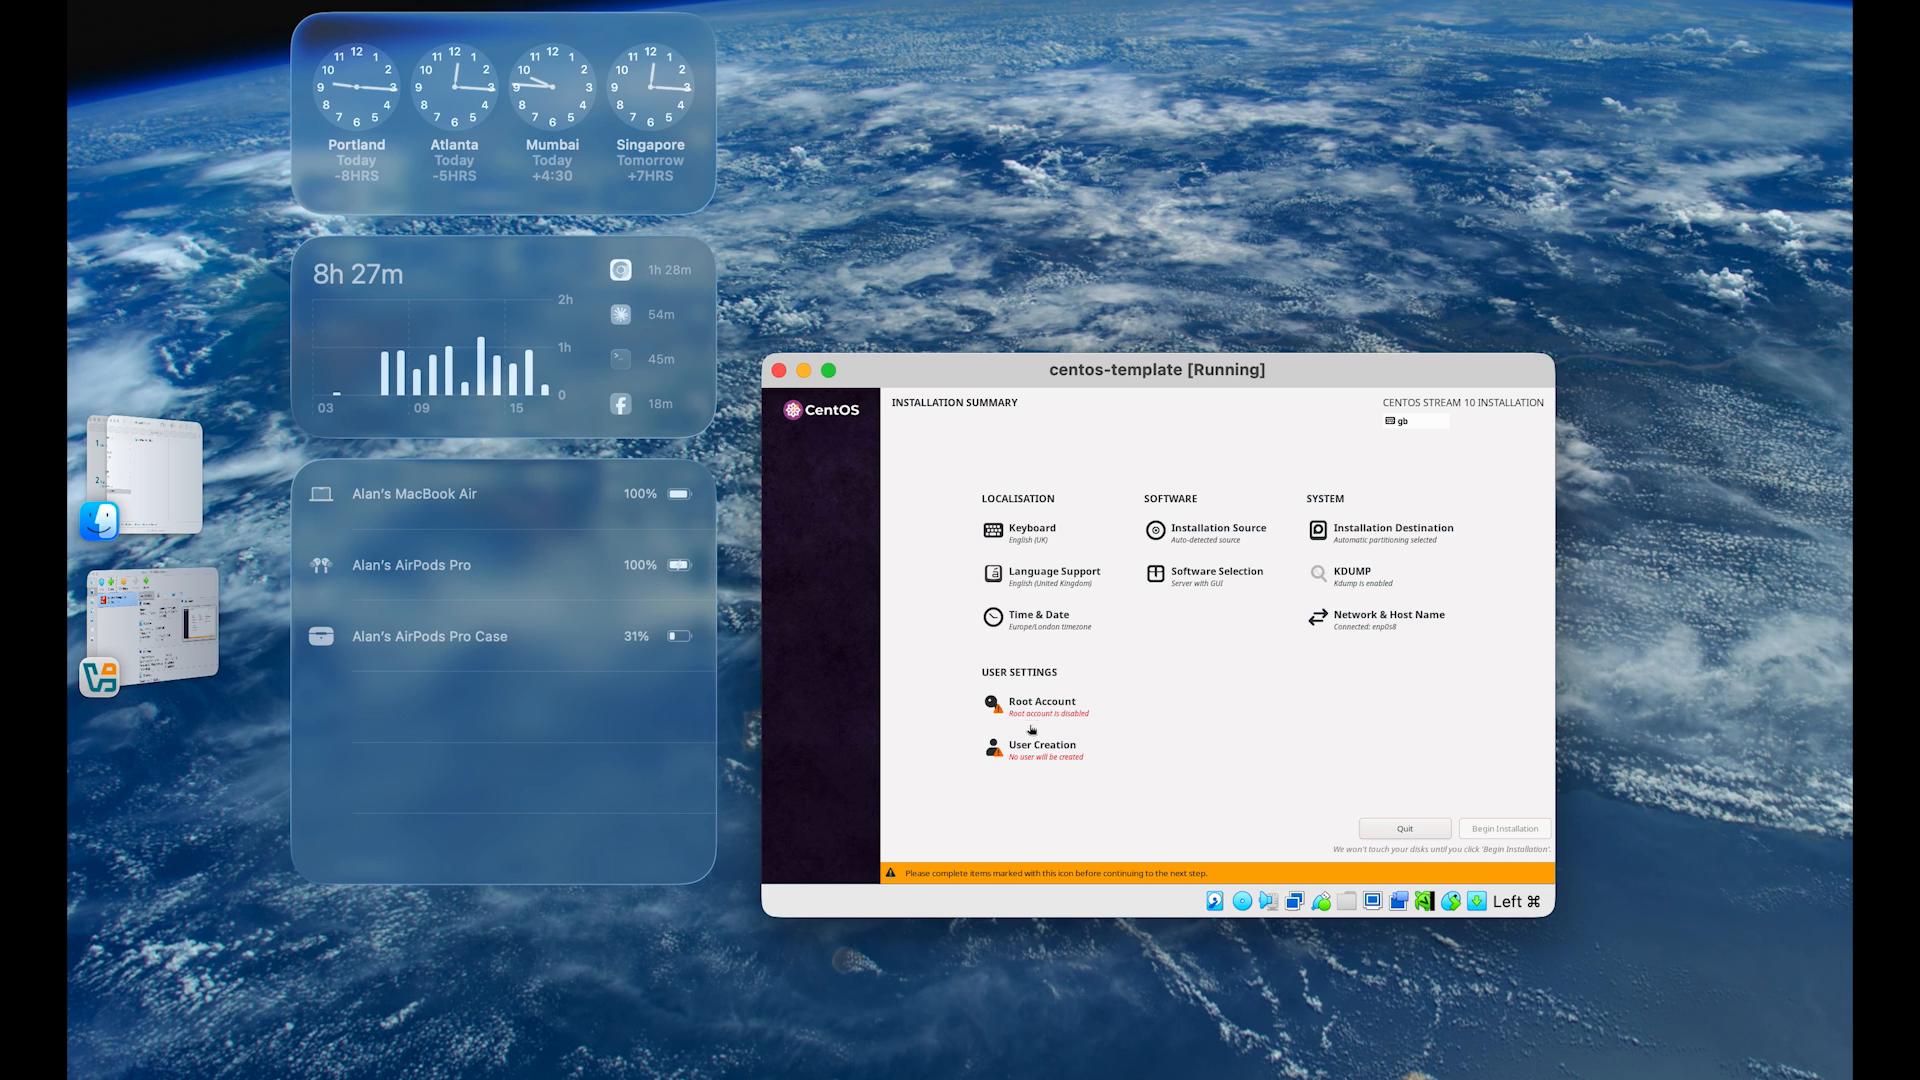
- Start the VM and boot from the CentOS Stream ISO.
- At the GRUB menu select the plain install option (or equivalent).
- Proceed through the installer:
- Choose language and keyboard layout.
- Confirm Installation Destination (default disk is fine).
- Set a root password and enable the root account if you want to SSH as root. Alternatively, create a regular user (for example,
alan) and allow sudo access — recommended for security. - Complete installation and reboot into the installed system.
- After first boot, open a terminal inside the guest and run
ip ato find the bridged interface IP (ignorelo).
ip a output:
- From your host (macOS Terminal, Windows PowerShell, or Linux shell) SSH into the guest:
- Verify the connection (ls, whoami, or create a test file).
- To power off from the SSH session:
- After the template VM is powered off, create clones:
- Right-click the template VM → Clone.
- Use “Full clone” for convenience (this produces independent VMs).
- Create at least three clones total: one for the controller (Ansible control node) and two or more managed hosts.
- Boot each clone and set unique hostnames and static or DHCP-assigned IPs as needed.
- Confirm each clone is reachable via SSH from the controller VM and from your host.
Troubleshooting tips
- If VirtualBox refuses to create a VM with a name, look for a leftover folder in your VirtualBox VMs directory and delete it before retrying.
- If guests don’t get a bridged IP, verify your host network and adapter selection in VirtualBox. Some Wi-Fi adapters don’t support bridged networking reliably on all platforms—switch to NAT with port forwarding if needed.
If you hit an error creating a VM with a given name, check for leftover VM folders under your VirtualBox VMs directory and delete them before retrying. Also ensure VirtualBox is in Expert Mode for full cloning functionality.
- Convert one clone into your Ansible controller:
- Install Ansible on that VM (package manager or pip).
- Add SSH keys to the managed hosts for passwordless access.
- Practice basic playbooks and inventories against the managed hosts.
- Snapshot the controller VM before major changes so you can roll back quickly.
- VirtualBox: https://www.virtualbox.org
- CentOS Stream: https://www.centos.org
- SSH documentation: https://www.openssh.com