This guide teaches how to create and modify Docker images for containerizing applications, focusing on a Python Flask web app.
Welcome to this comprehensive guide on Docker images. In this tutorial, you’ll learn how to create your own Docker image by containerizing a simple web application built with the Python Flask framework. Containerizing an application is essential for creating customized components that may not be available on Docker Hub, as well as streamlining deployment processes.
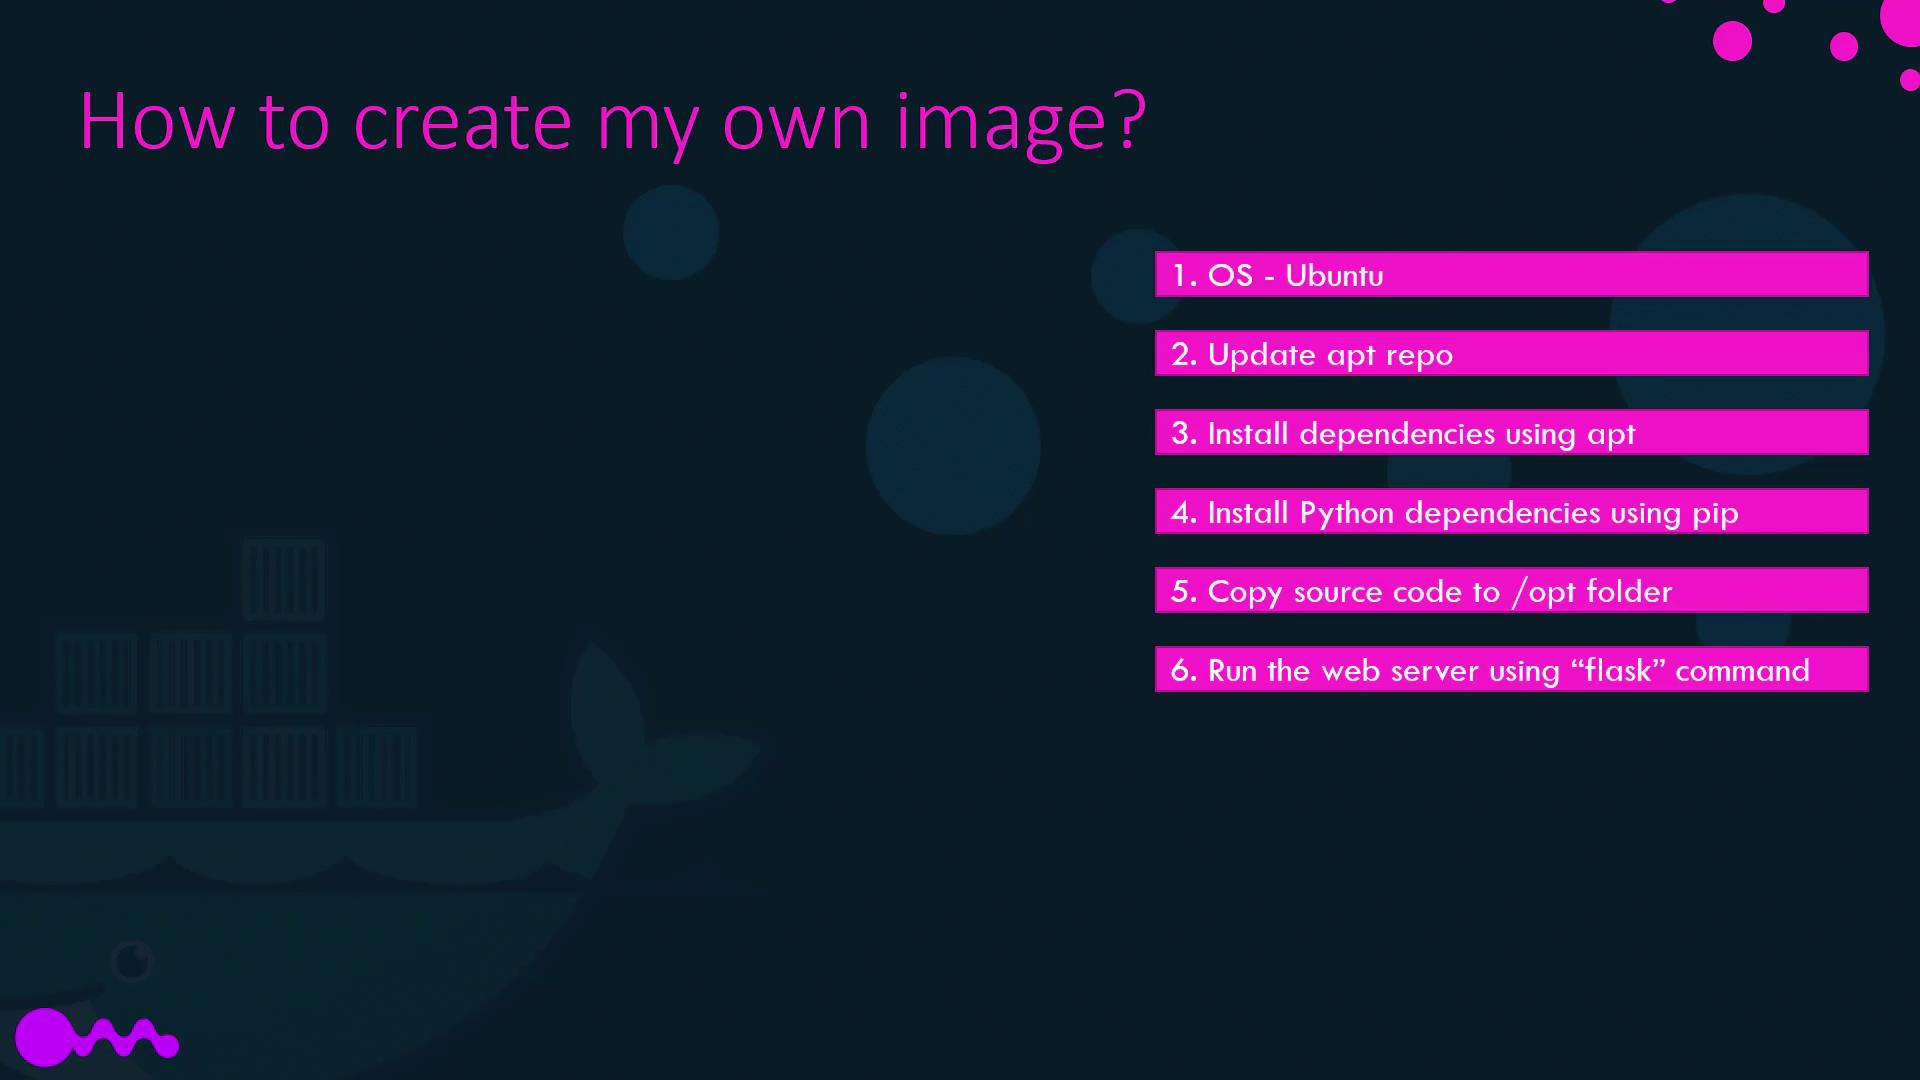
Before containerizing, consider the manual deployment steps: starting with a base operating system (like Ubuntu), updating package repositories using APT, installing required system and Python packages, copying the source code to a designated directory (e.g., /opt), and finally running the web server with Flask.
With these steps in mind, you can automate the process using a Dockerfile. Below is an example Dockerfile for our Flask application:
FROM: Sets the base image as Ubuntu. Every Docker image starts with a base layer from either an operating system or a prebuilt image available on Docker Hub.
RUN: Executes commands during image build. The first RUN updates the system and installs Python, while the second installs Flask and MySQL support via pip.
COPY: Transfers your application’s source code from your local repository to the container directory /opt/source-code.
ENTRYPOINT: Specifies the command to execute when the container launches, setting the FLASK_APP environment variable and starting the Flask server.
Docker processes these instructions sequentially, creating layers that represent the changes made with each step. If you update any instruction, Docker reuses the cached layers for all preceding steps, speeding up the build process significantly.
If a build step fails, Docker caches the successful layers up to the failure point. After correcting the error, re-running the build command leverages the cached layers, drastically reducing rebuild times.
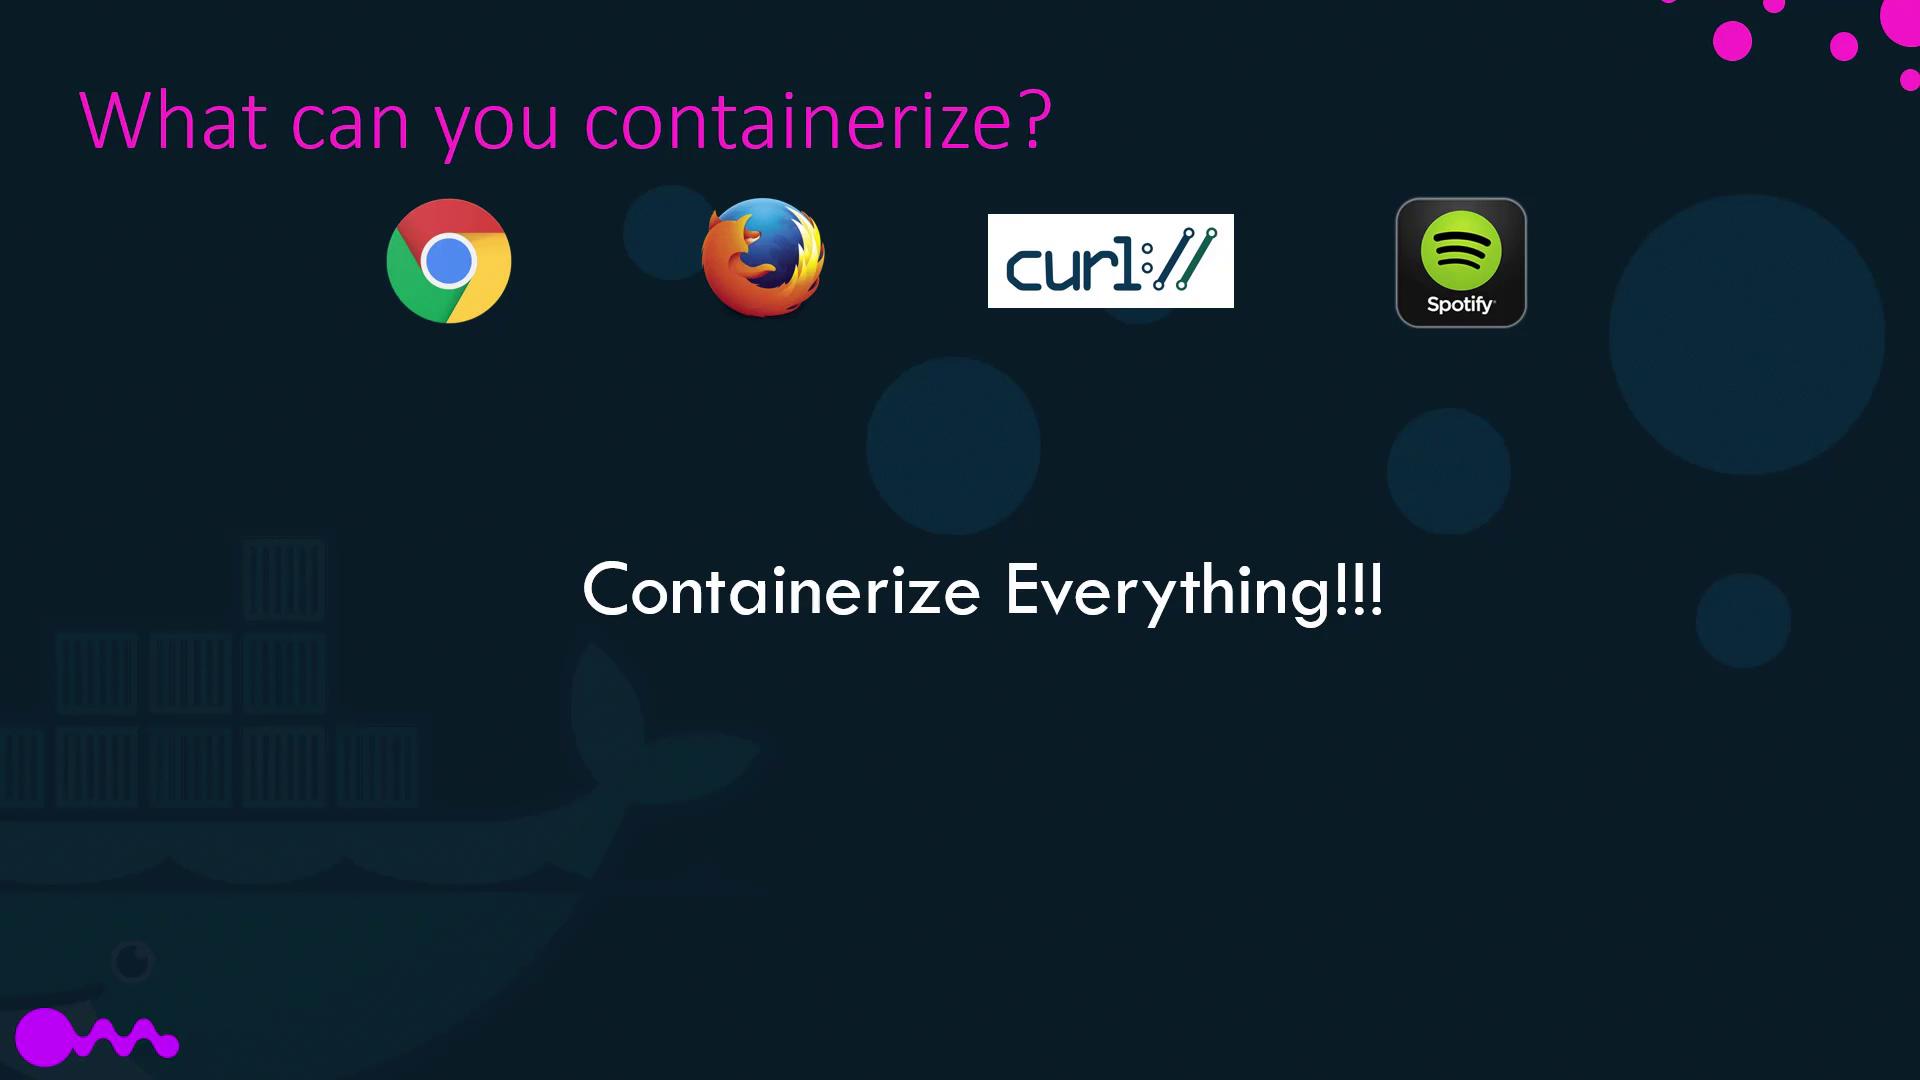
Docker is not limited to web applications. You can containerize databases, development tools, web browsers, and utilities like curl, Spotify, or Skype. The versatility of containerization is reshaping how applications are deployed and managed.
In the future, instead of installing software directly onto your operating system, you’ll run it in a containerized environment. This approach ensures that applications can be removed cleanly without leaving residual files or configurations on your system.Happy containerizing!