This guide explains how to set up an MLflow server in a local development environment using Visual Studio Code.
Welcome to this comprehensive guide on setting up an MLflow server for your local development environment using Visual Studio Code. Follow along step-by-step with your terminal while you watch the terminal pane in VS Code similar to the demonstration below.
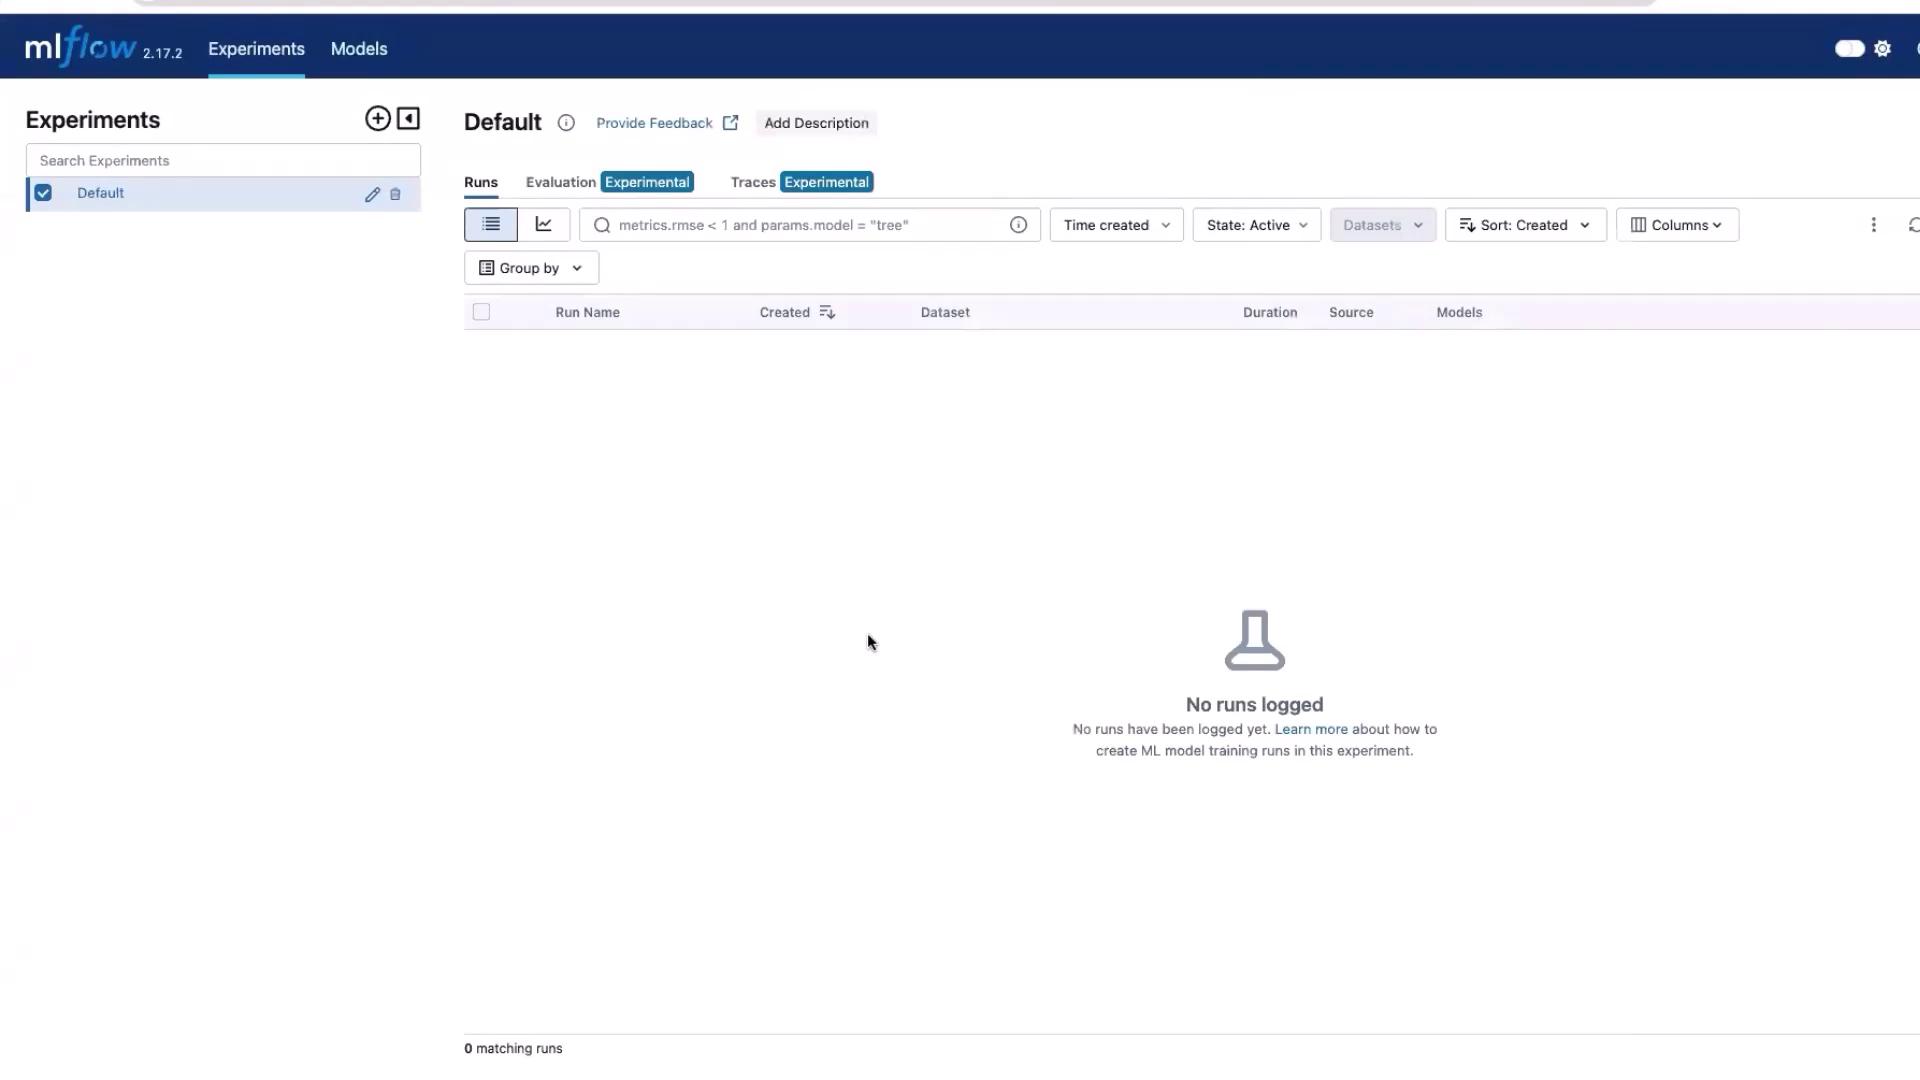
When you open the MLflow UI in your browser, you will initially see a default experiment. If no experiments have been logged, the experiment section will appear empty.
The MLflow UI acts as a centralized hub where all experiments are recorded. Here, you can:
Begin a new experiment with a custom name.
View detailed logs and traces.
Compare the performance of different runs.
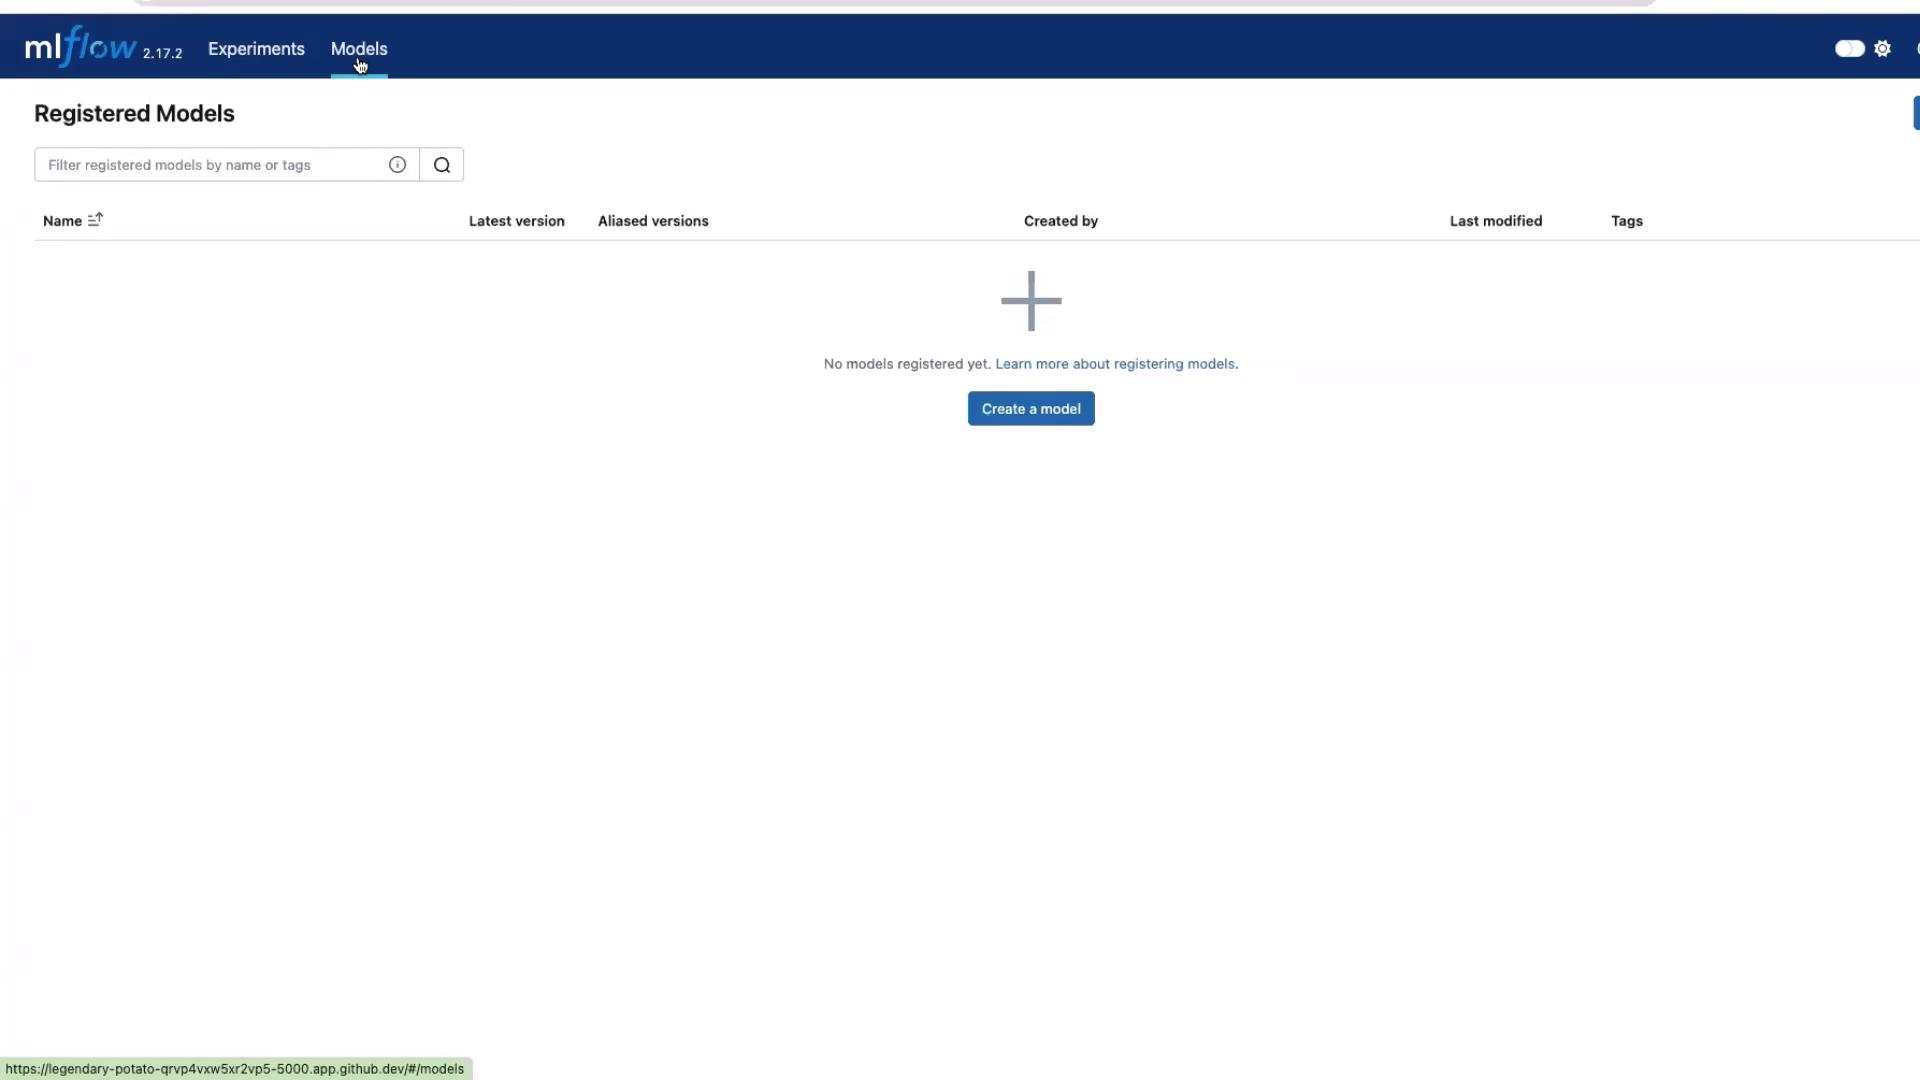
Access the dedicated models section, which serves as the MLflow model repository.
In this demonstration, MLflow version 2.17.2 was installed by default since no specific version was provided during installation.
This tutorial has demonstrated how to set up a basic MLflow service on a local system. This setup can also be applied to other environments such as virtual machines or Kubernetes clusters.Thank you for following this guide. Stay tuned for more detailed tutorials on advanced MLflow functionalities and usage scenarios.Happy experimenting!