Table of Contents
- Select AWS Region & EC2 Service
- Configure EC2 Instance
- Generate Key Pair
- Networking & Storage Configuration
- Advanced Instance Details
- Launch & Verify Your Instance
- View Instance Status
- References
Select AWS Region & EC2 Service
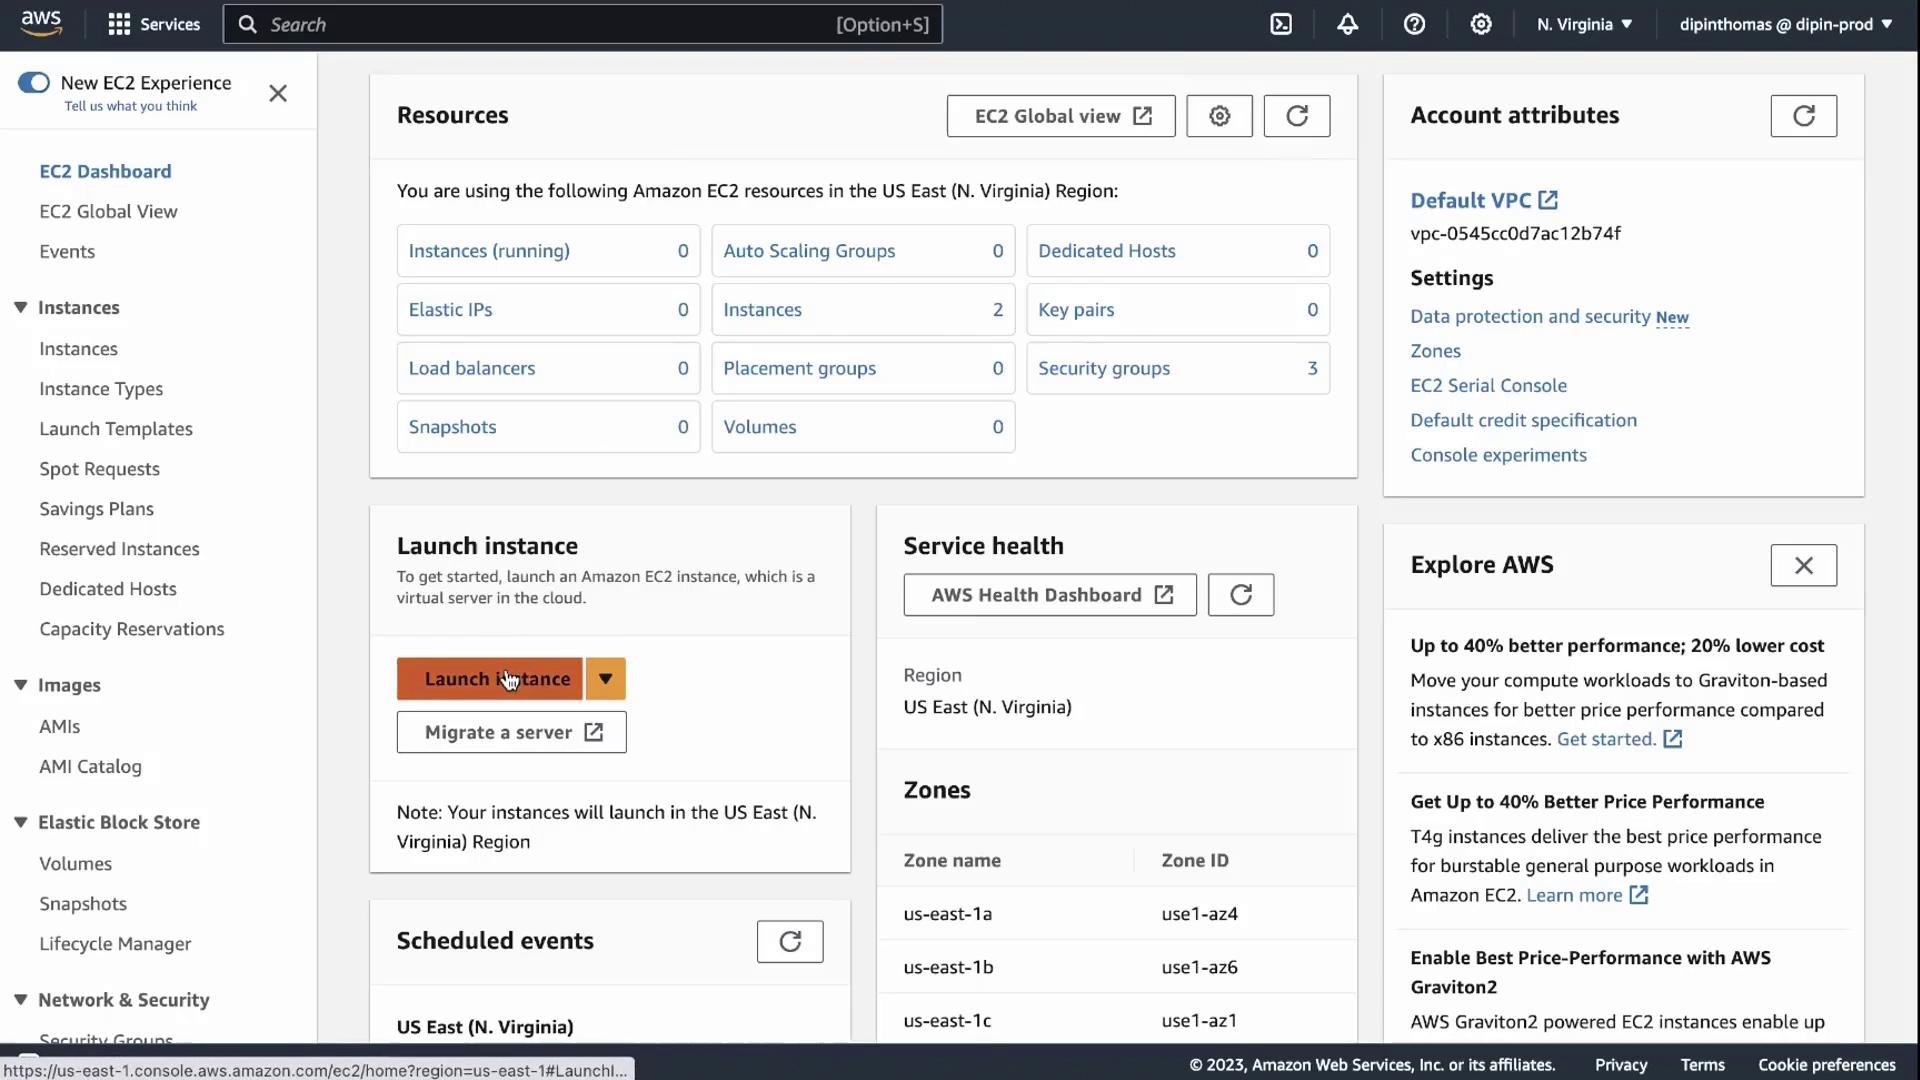
- In the AWS Management Console, choose your desired Region (for example, US East (N. Virginia)) from the top-right corner.
- Search for EC2 in the Services menu and select EC2 to open the EC2 Dashboard.
- Click Launch instance to begin.
Configure EC2 Instance
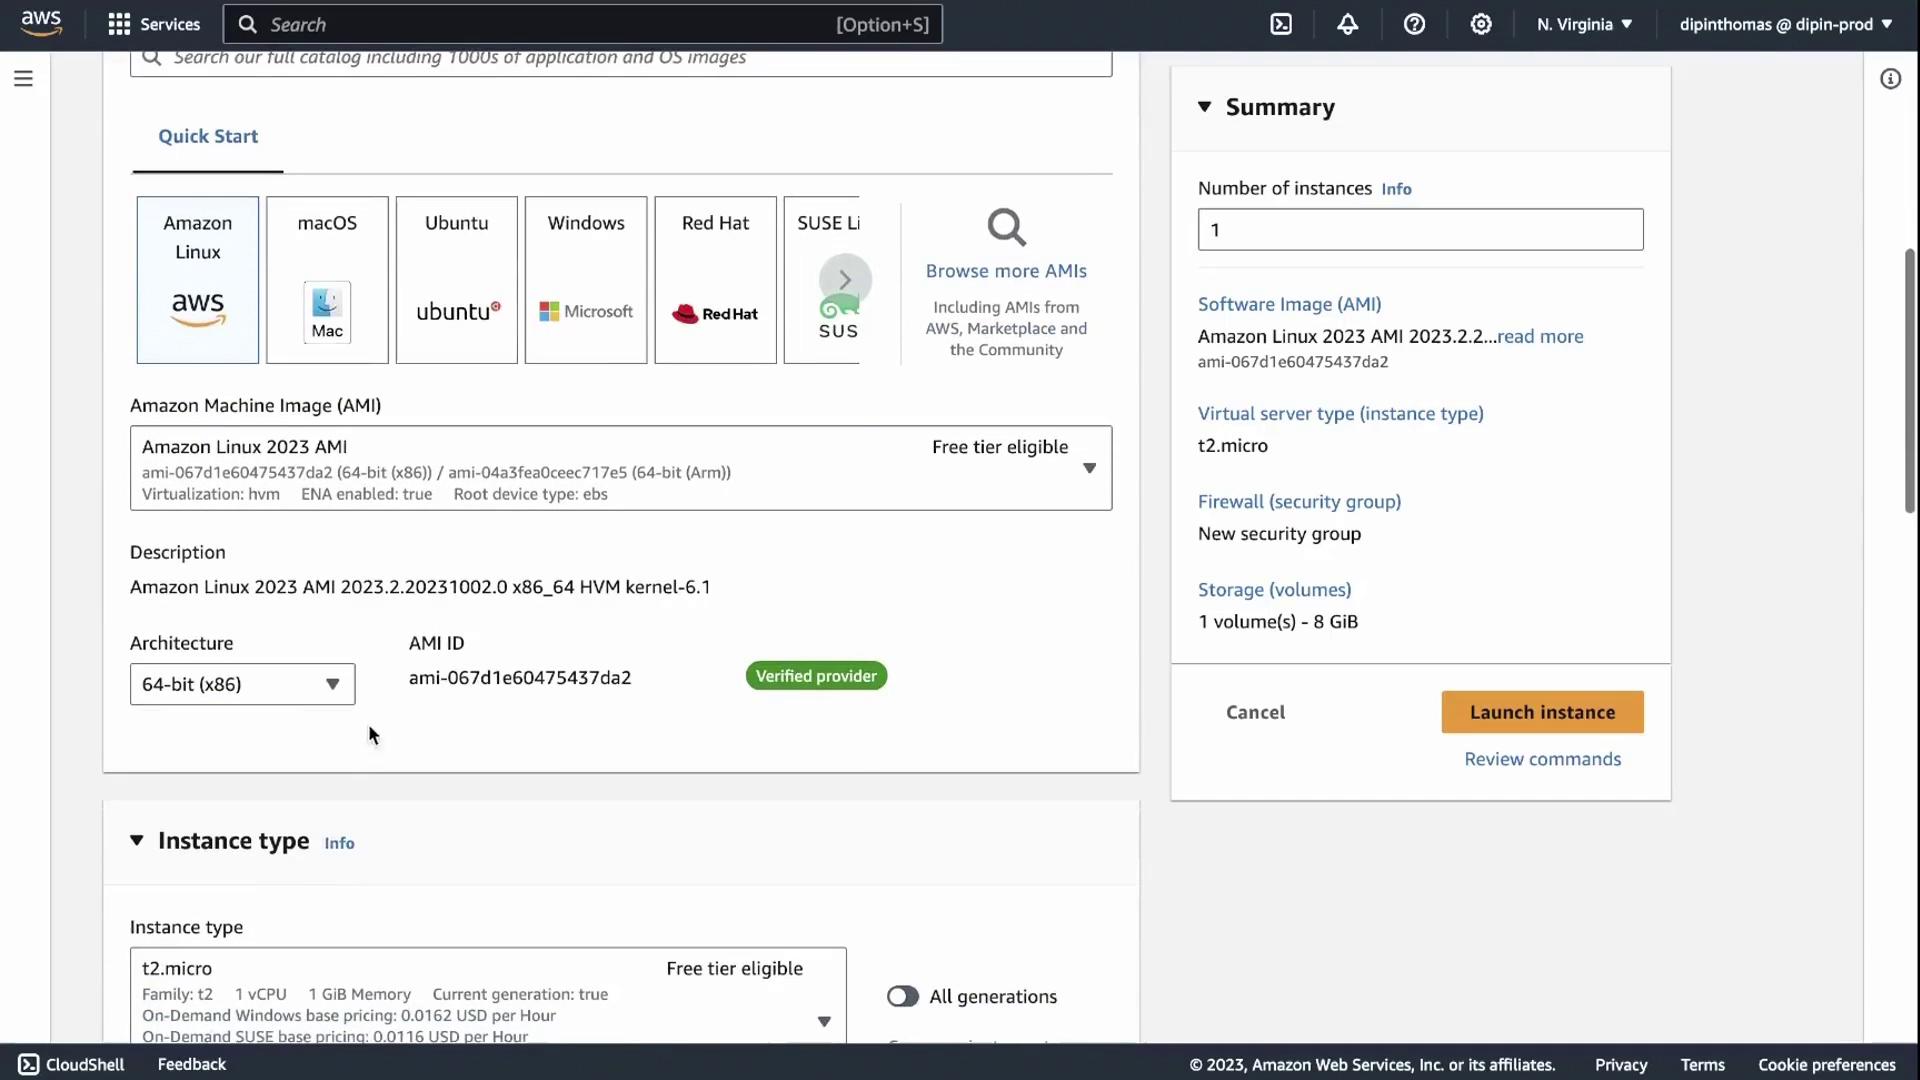
- Name your instance – e.g.,
demo. - Select an Amazon Machine Image (AMI) – choose the OS you prefer. Ensure the CPU architecture (e.g., x86_64) is correct.
- Choose Instance Type – for free tier, pick t2.micro.
Generate Key Pair
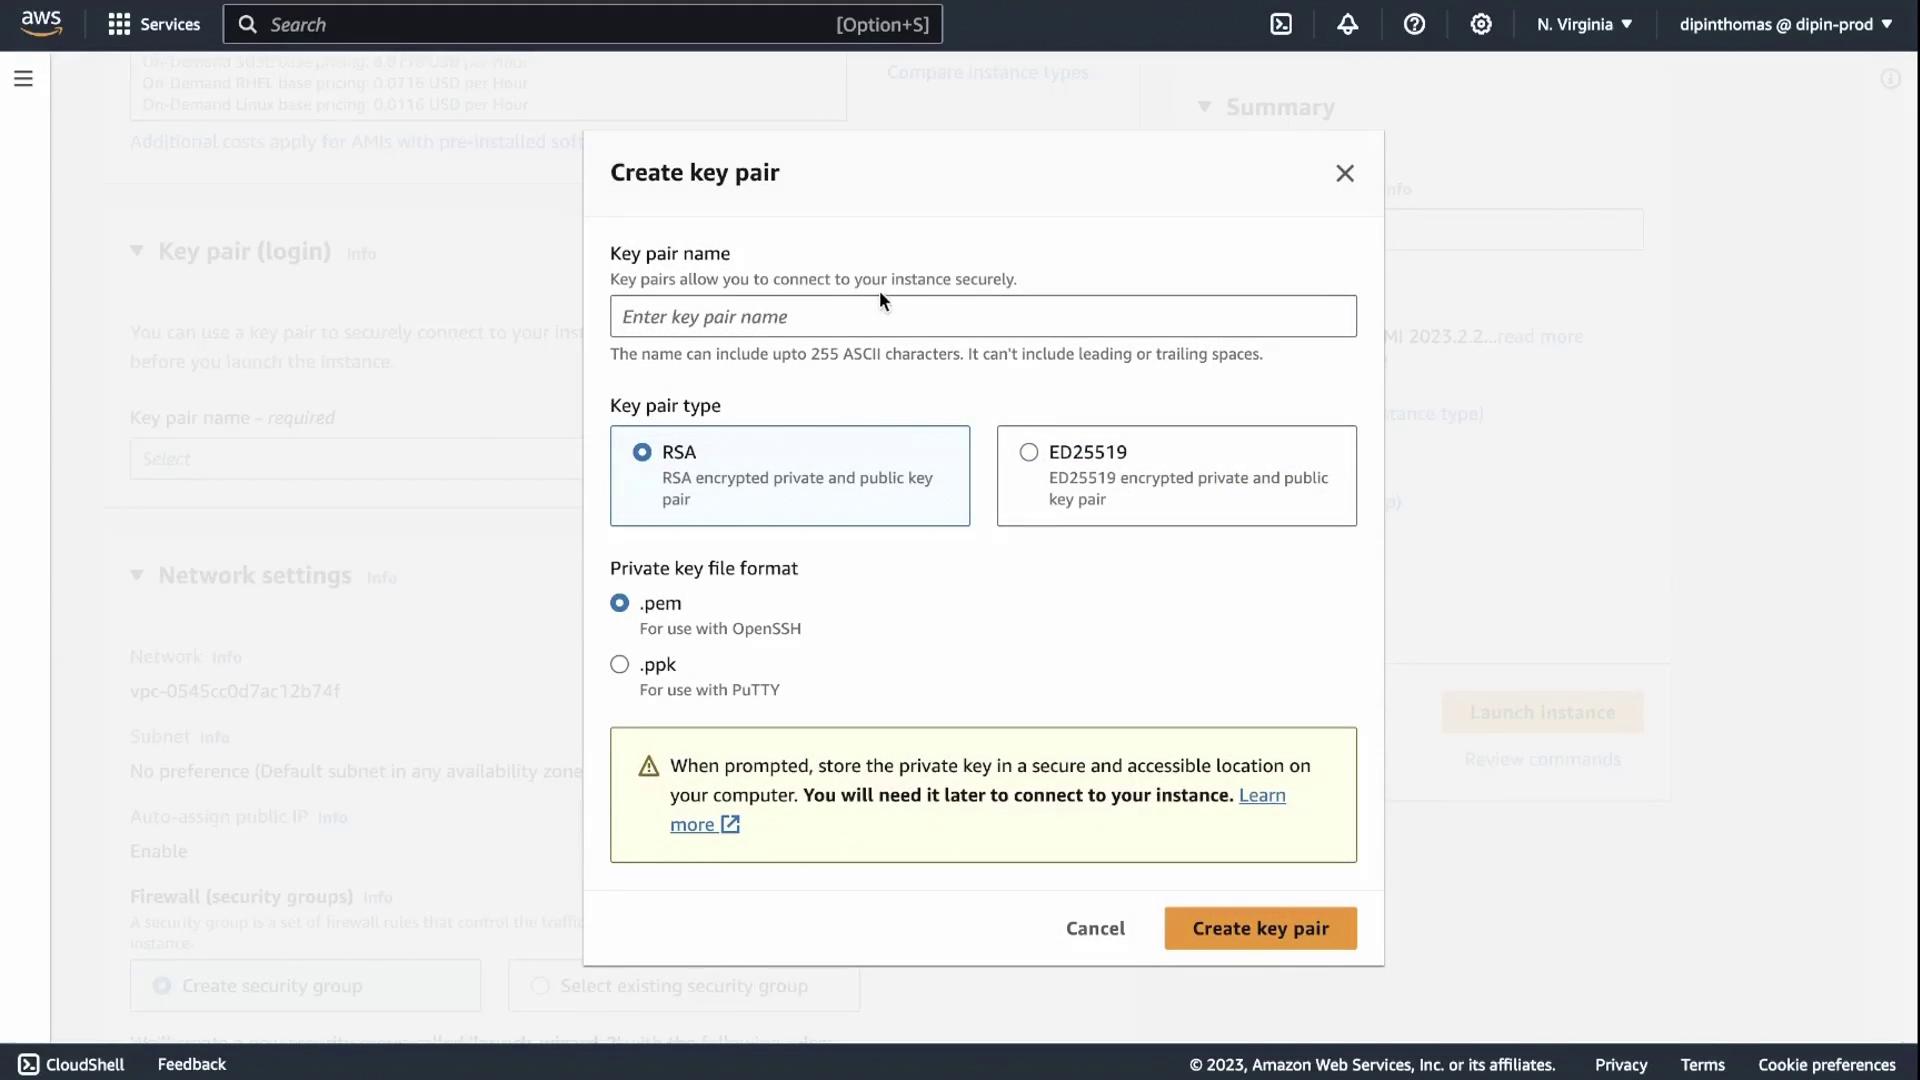
You must create or select an SSH key pair to connect to your instance.Choose Create a new key pair, enter a name (e.g.,
Save it securely—losing this file means you cannot SSH into your instance without recovery steps.
demo), and download the private key (.pem) file immediately. You cannot retrieve it later.Save it securely—losing this file means you cannot SSH into your instance without recovery steps.
Networking & Storage Configuration
-
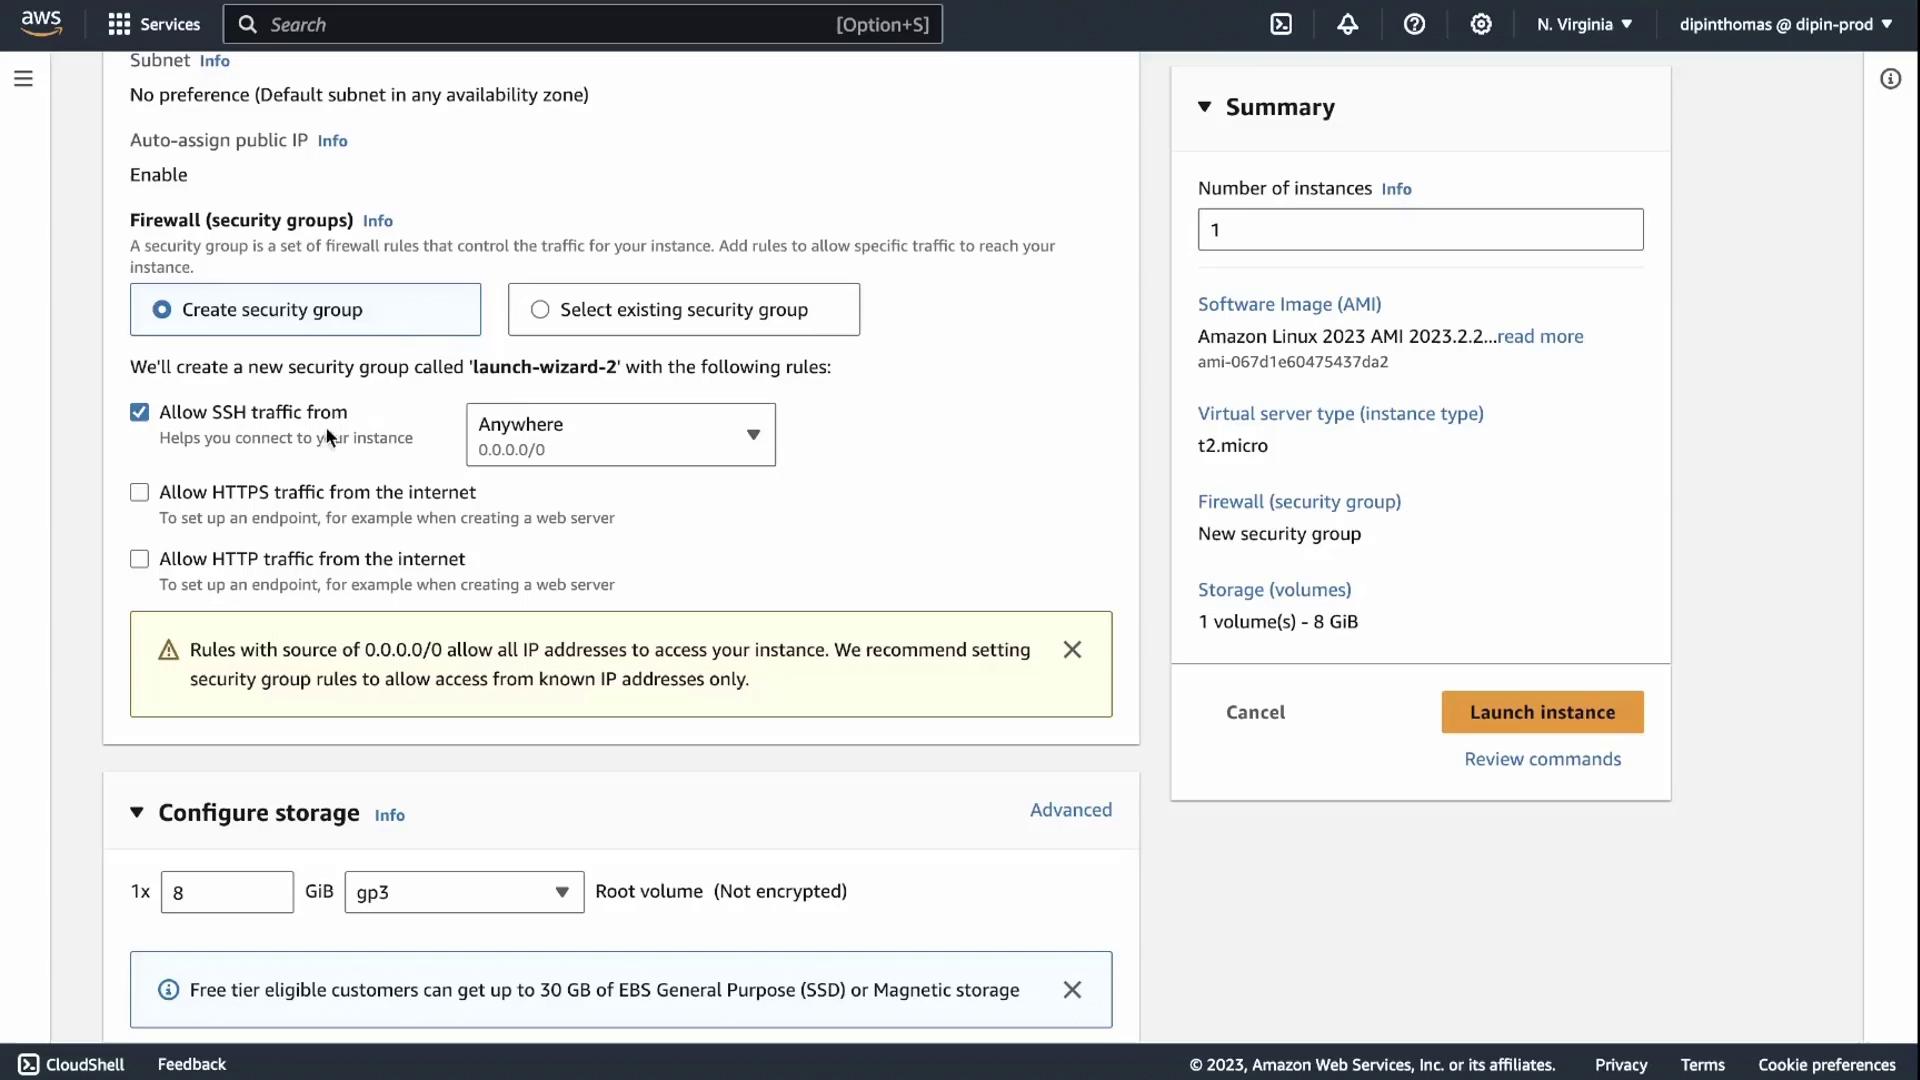
Network settings
- VPC: Default VPC
- Subnet: Default subnet
- Auto-assign Public IP: Enabled
-
Storage
- Root volume: 8 GB EBS (gp2 / gp3)
Advanced Instance Details
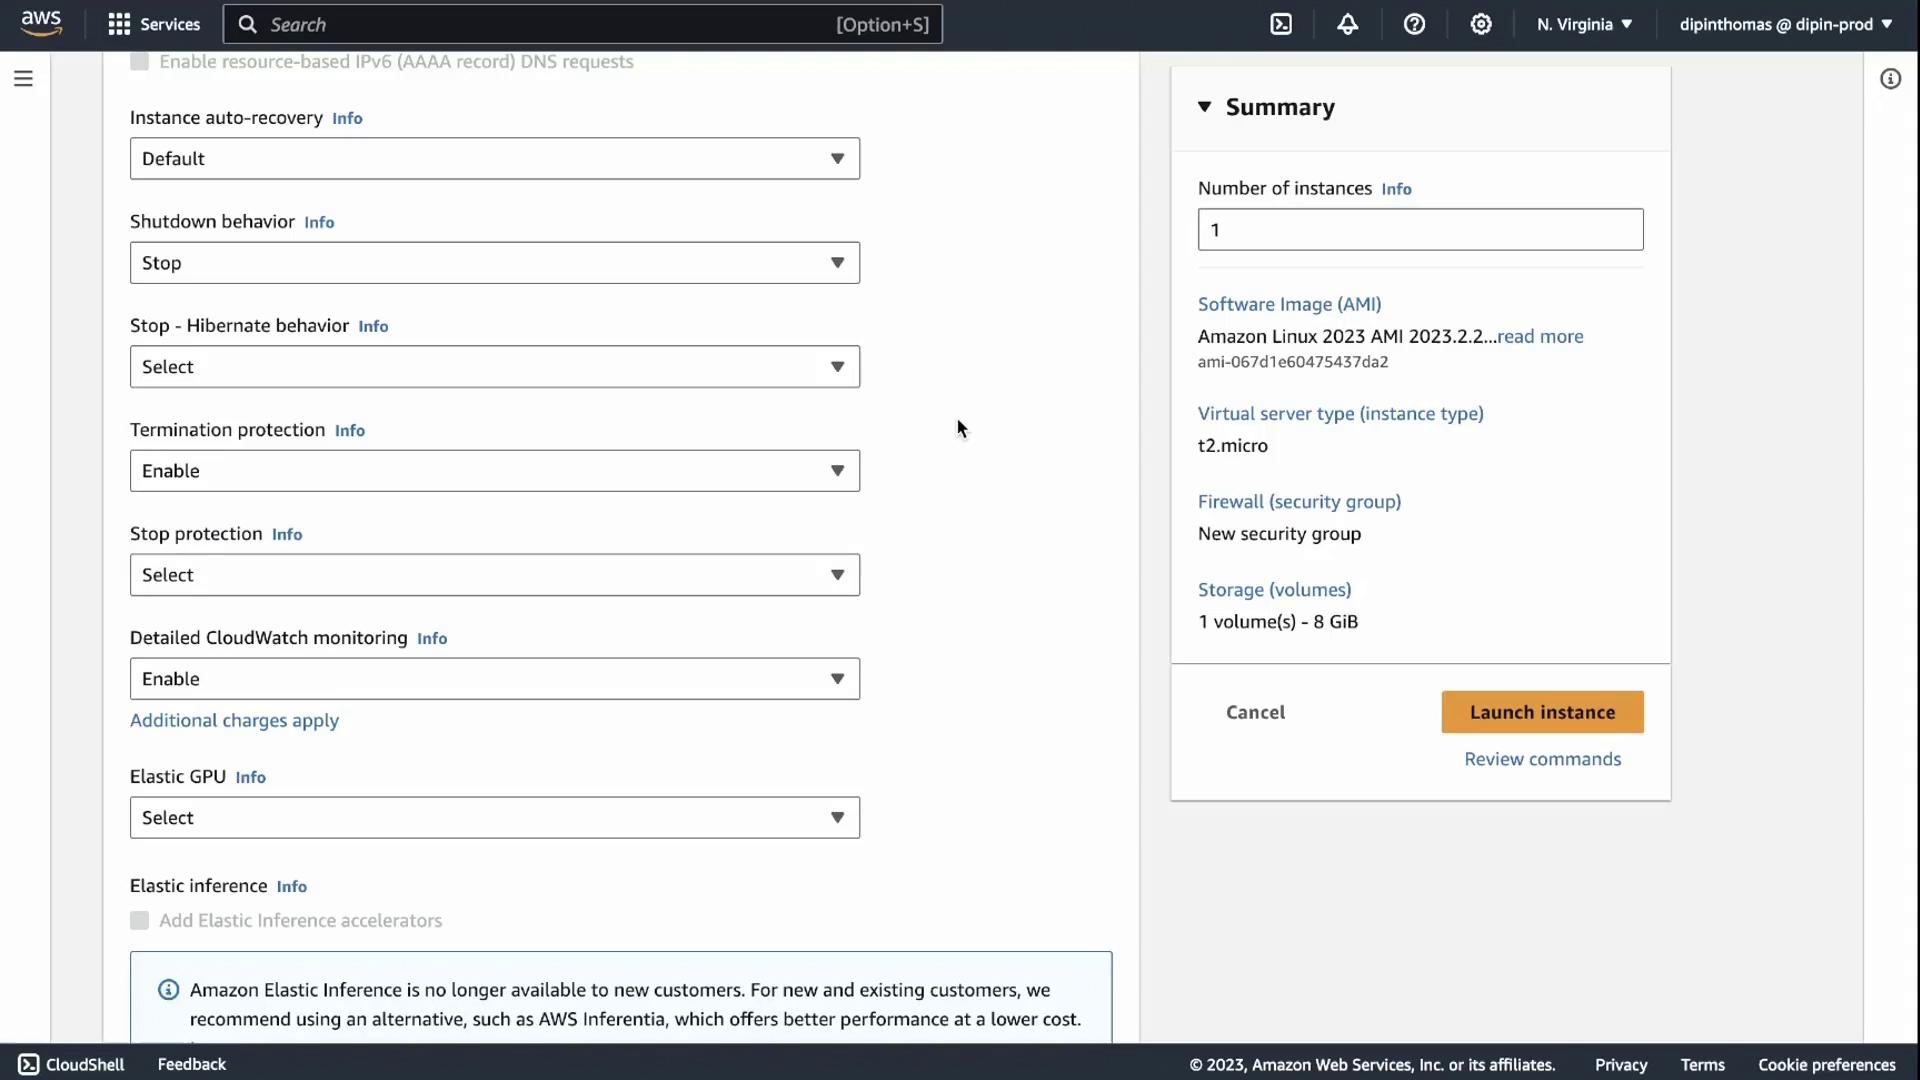
Review and adjust advanced settings as needed:- Shutdown behavior: Stop (prevents accidental termination)
- Termination protection: Enabled (requires confirmation to delete)
- Metadata accessibility: IMDSv1 & IMDSv2 enabled
- User data: Add initialization scripts (optional)
Launch & Verify Your Instance
Click Launch instance. AWS will provision your VM in seconds.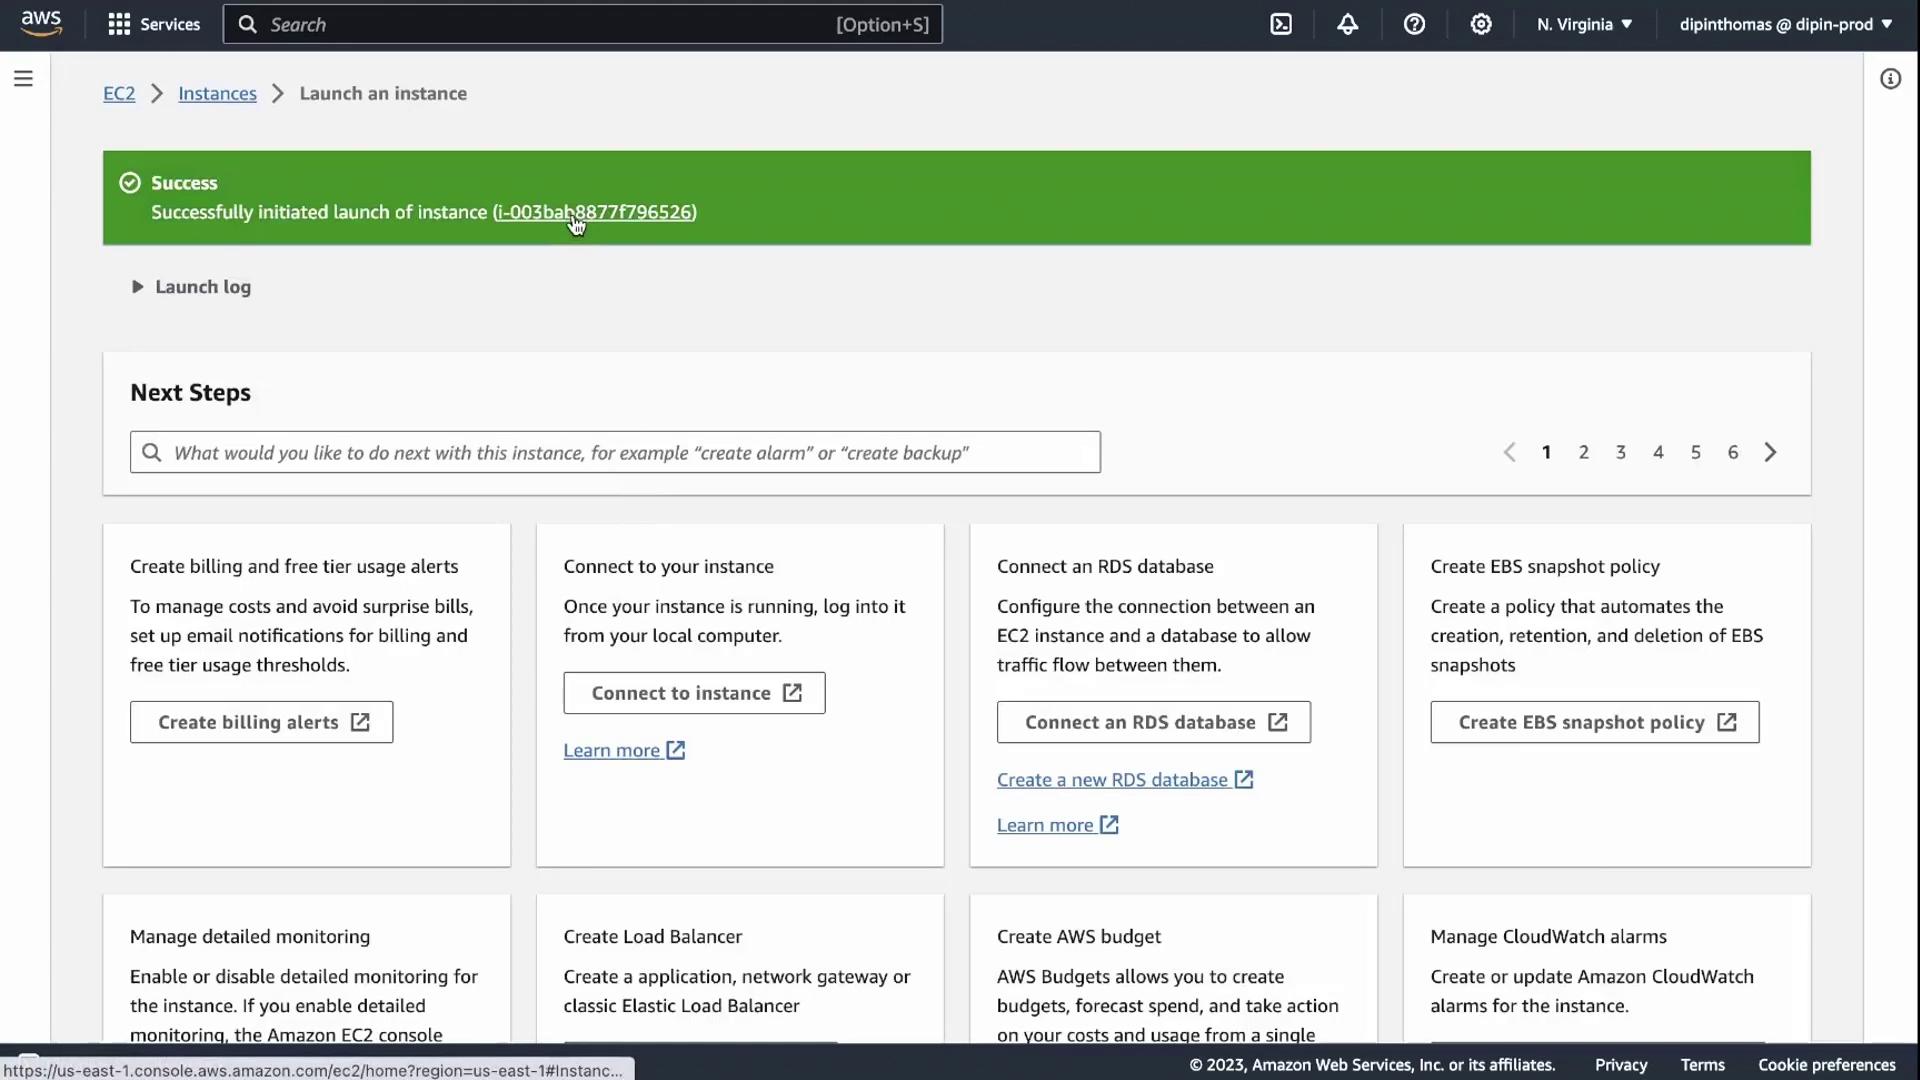
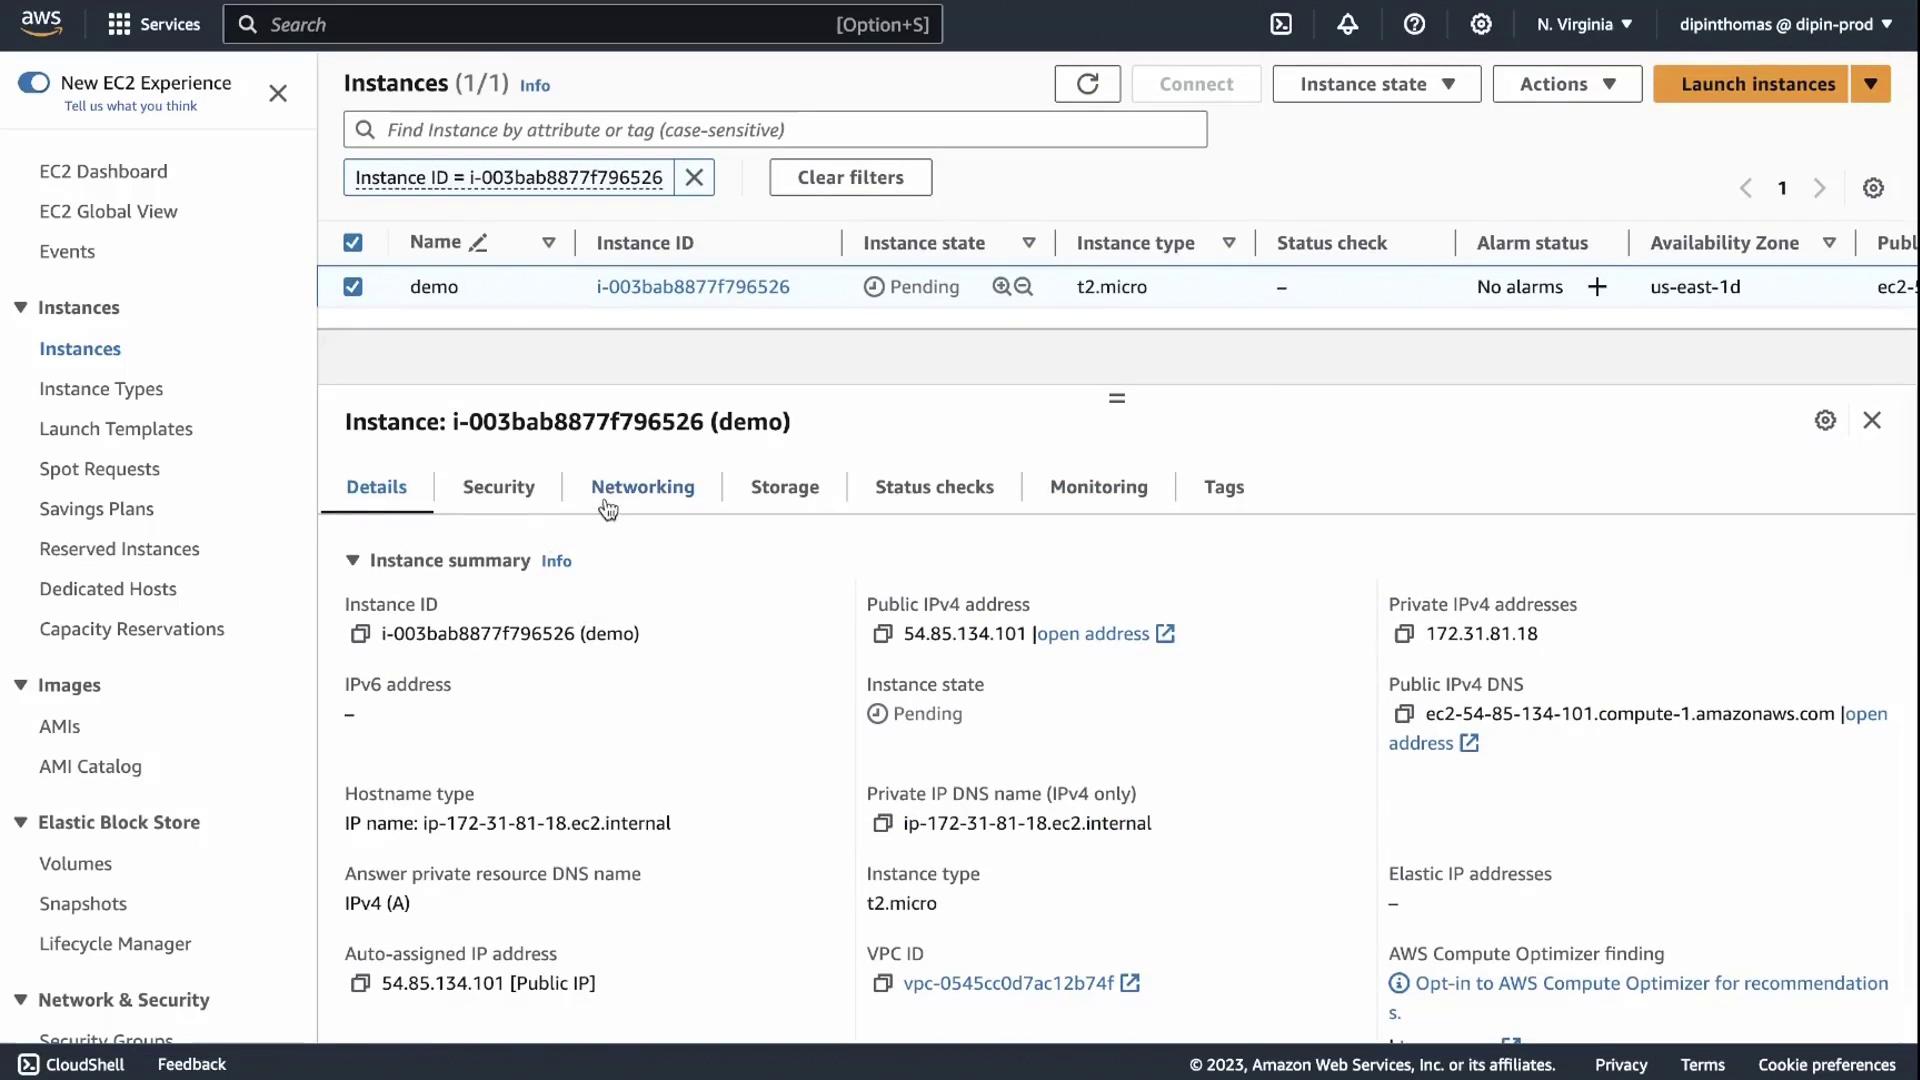
Instance Overview
After launch, go to View instances or return to the EC2 Dashboard. You’ll see your demo instance with status pending.