Prerequisites
- An active AWS account with required IAM permissions (EC2:Describe, StopInstances, TerminateInstances).
- An existing EC2 instance to terminate.
Overview of Termination Protection
AWS EC2 offers Termination Protection to prevent accidental instance deletion. When enabled, any termination attempt fails until you explicitly disable it.Enabling termination protection is a best practice for critical workloads. It safeguards against unintended shutdowns.
Read more: EC2 Termination Protection
Read more: EC2 Termination Protection
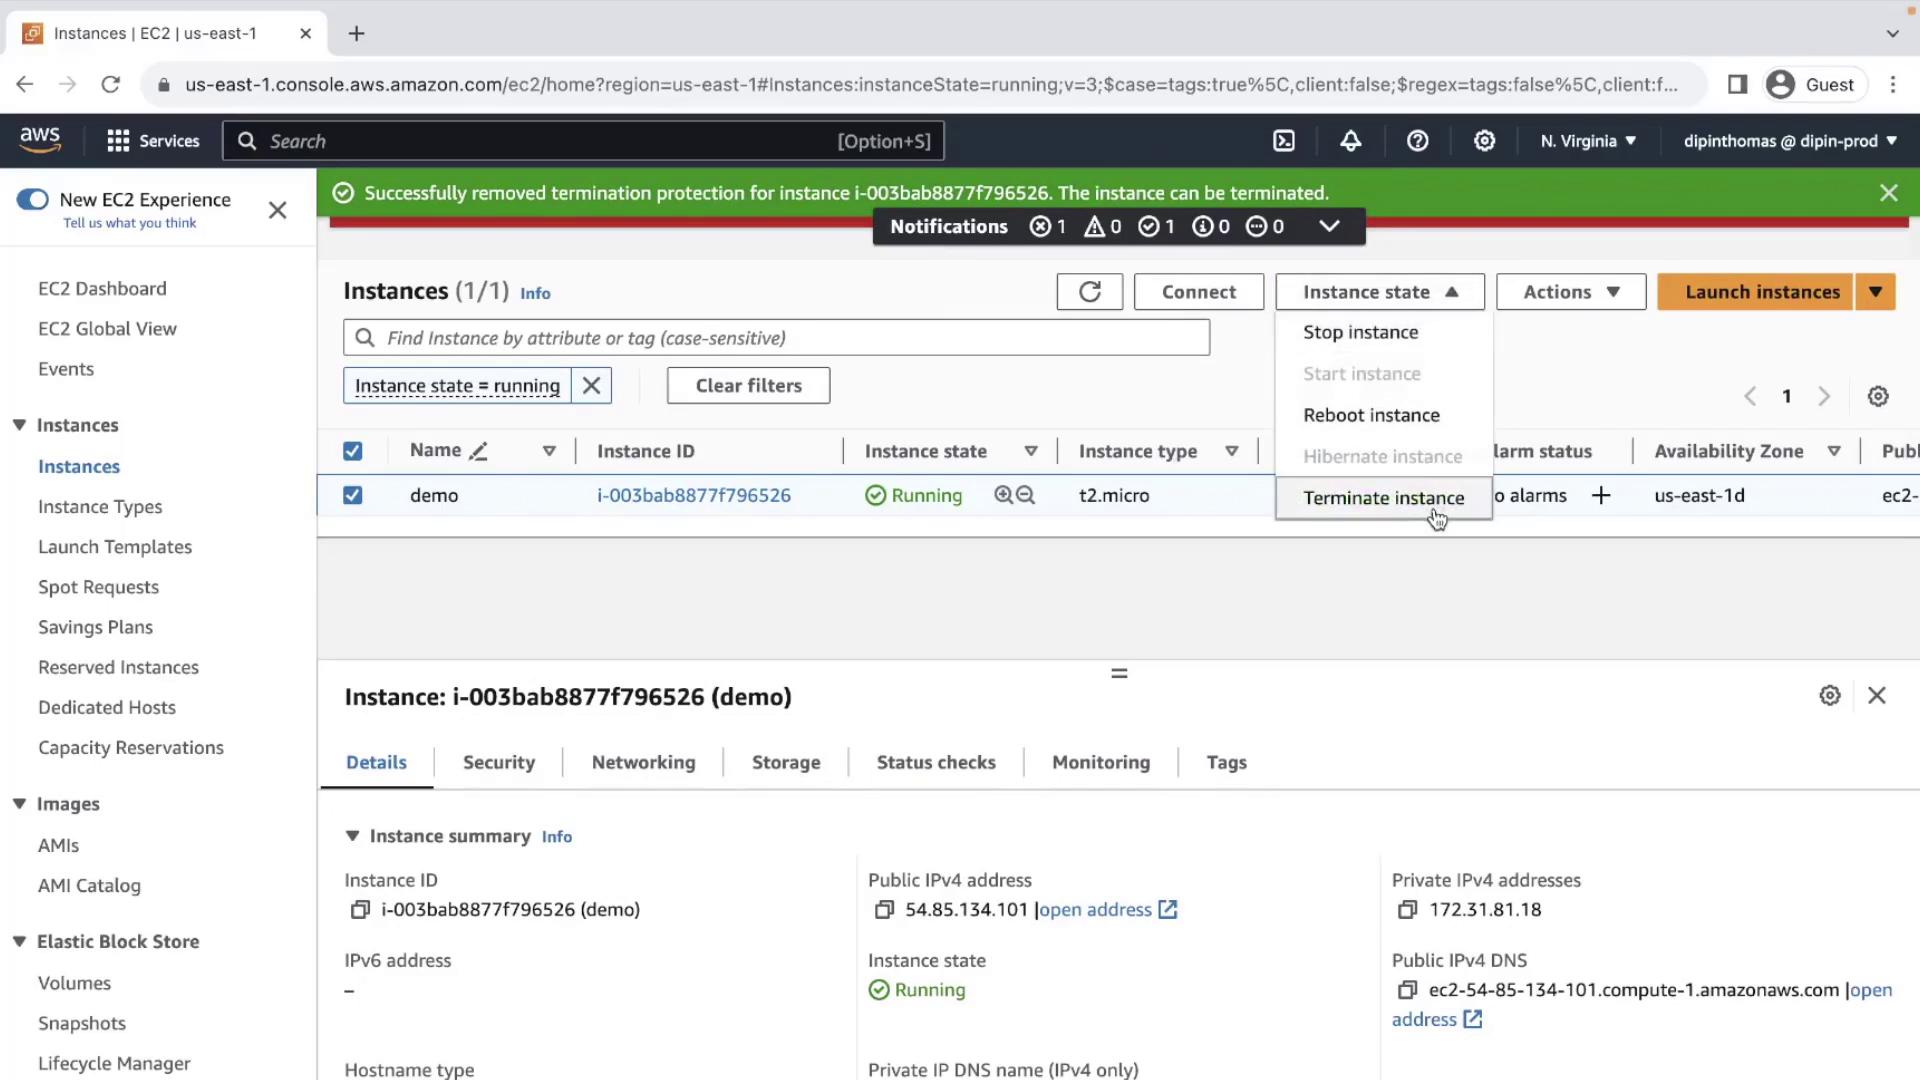
Step 1: Attempt to Terminate the Instance
- Open the EC2 Dashboard in the AWS Management Console.
- Select the target instance in the Instances list.
- Click Instance State → Terminate Instance.
Error: “Failed to terminate instance. The instance may not be terminated.”
This indicates that Termination Protection is active.
This indicates that Termination Protection is active.
Step 2: Disable Termination Protection
- With the same instance selected, choose Actions → Instance Settings → Change Termination Protection.
- In the dialog, uncheck Enable and click Save.
Step 3: Terminate the Instance
- Again, select the instance and navigate to Instance State → Terminate Instance.
- Confirm the action in the pop-up.
| Instance State | Description |
|---|---|
| running | Instance is active and accepting traffic. |
| shutting-down | Termination has been initiated. |
| terminated | Instance has been deleted and cannot start. |
