

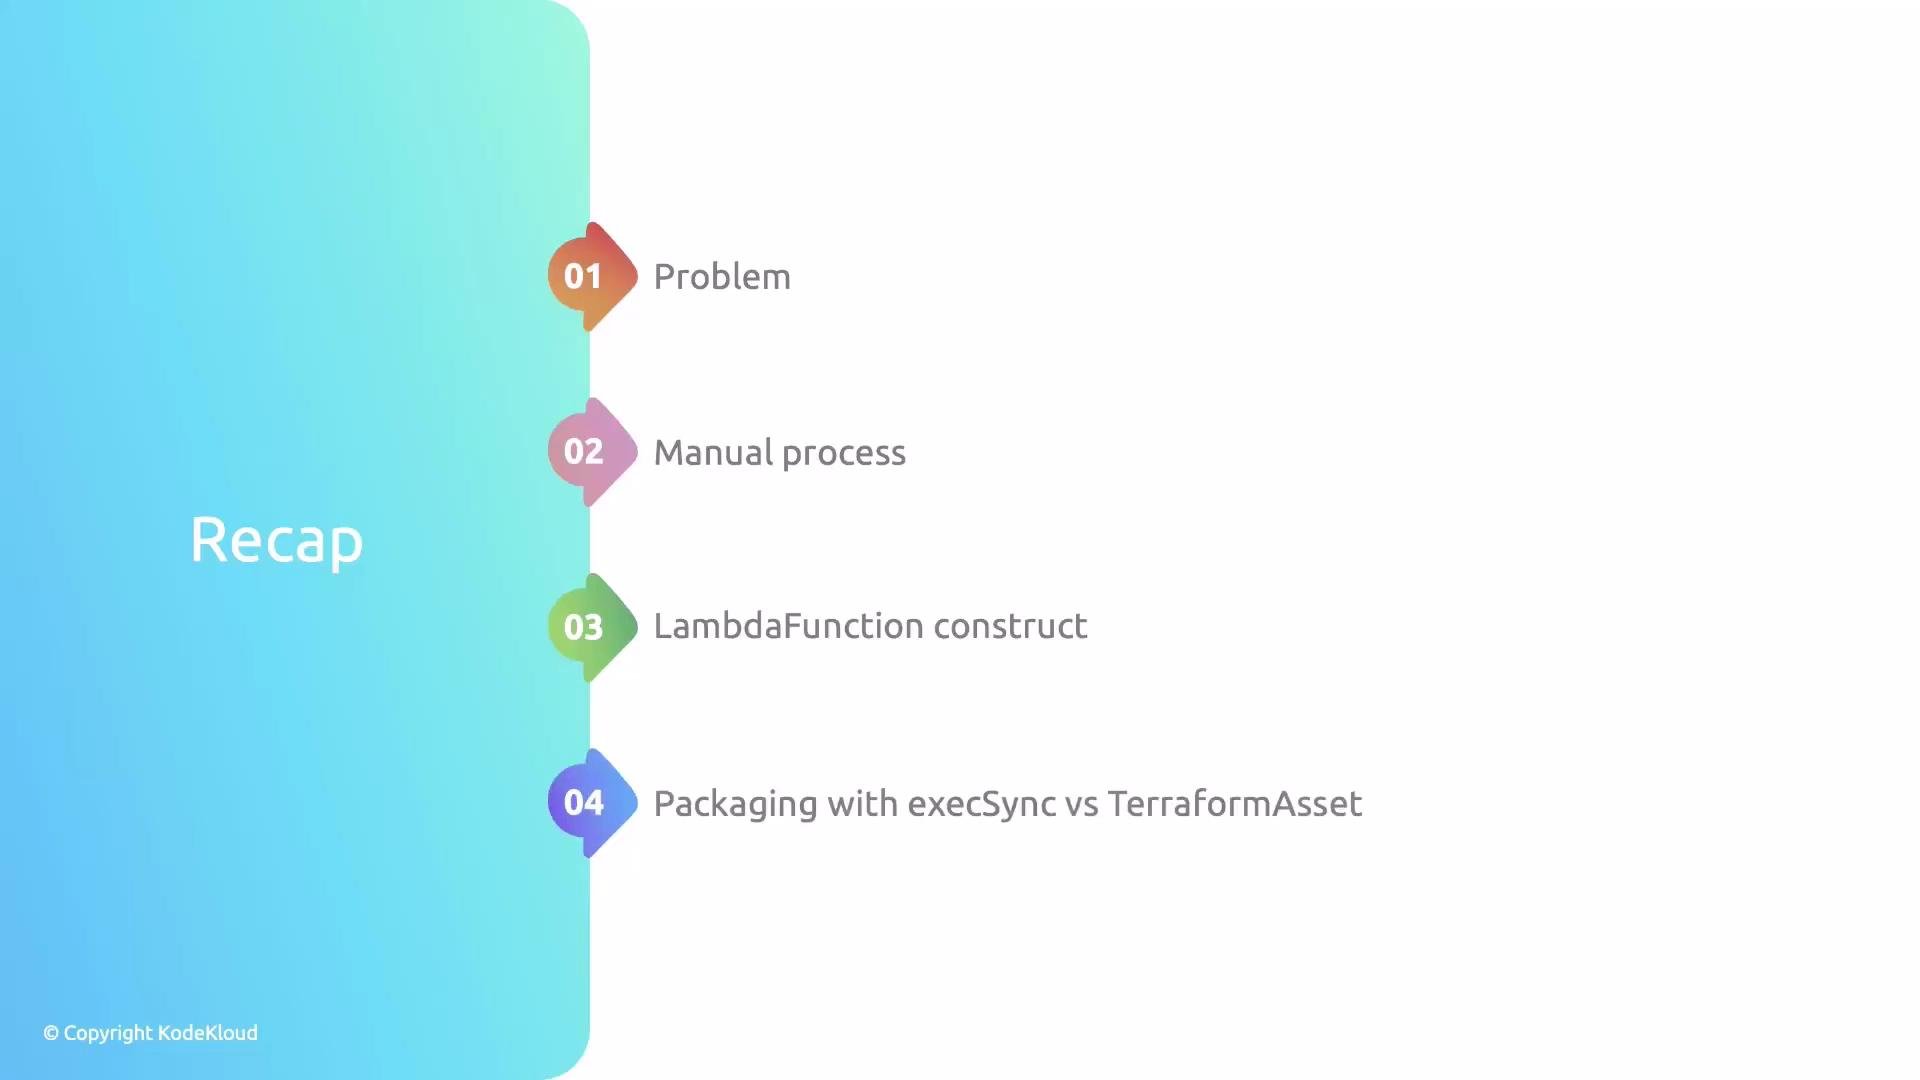
- Reusable Constructs:
LambdaFunctionandLambdaRestApi. - Packaging strategy: prefer
TerraformAssetoverexecSyncfor deterministic Lambda packaging. - Remote backend: transition local state to S3/DynamoDB for team collaboration.
- CDKTF modules: import generated modules with
cdktf get.
Adding a new stack (WeekPlannerStack)
To add a separate feature as its own deployable unit, create a new stack class that extends your sharedAwsBaseStack (this base stack centralizes provider/backend configuration). The WeekPlanner example below demonstrates a minimal stack that reuses the base stack and exposes an output.
When to split functionality into separate stacks
A stack should map to a deployable unit of business functionality. Typical reasons to split into separate stacks:
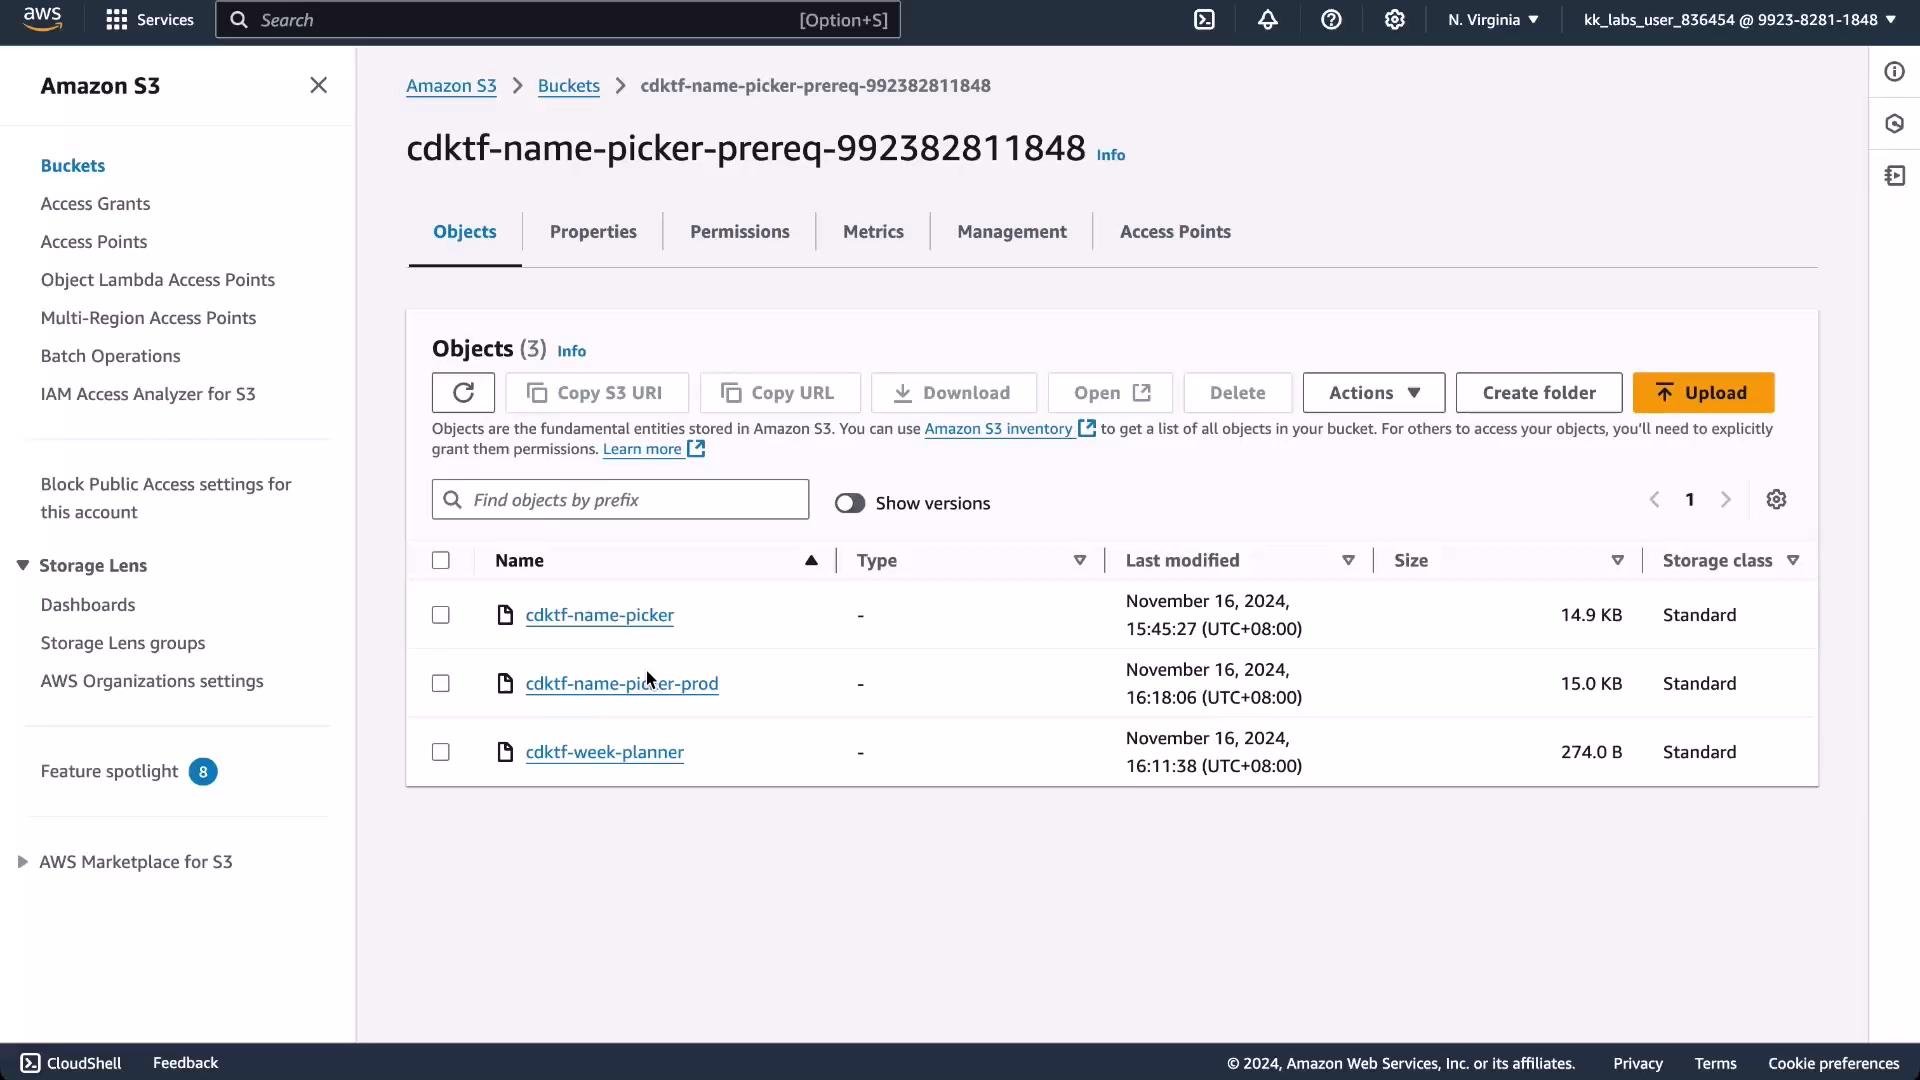
Below is the S3 console showing separate per-stack Terraform state files. Using a per-stack backend configuration results in distinct state objects per stack in your backend bucket.
Creating a prod stack (example)
A simple way to add a production environment is to instantiate the same stack class with a different ID. To avoid resource name collisions across stacks, use a helper that prefixes names with the stack identifier:main.ts:
/dev for both stacks — update stage naming if you want distinct stage paths for each environment.
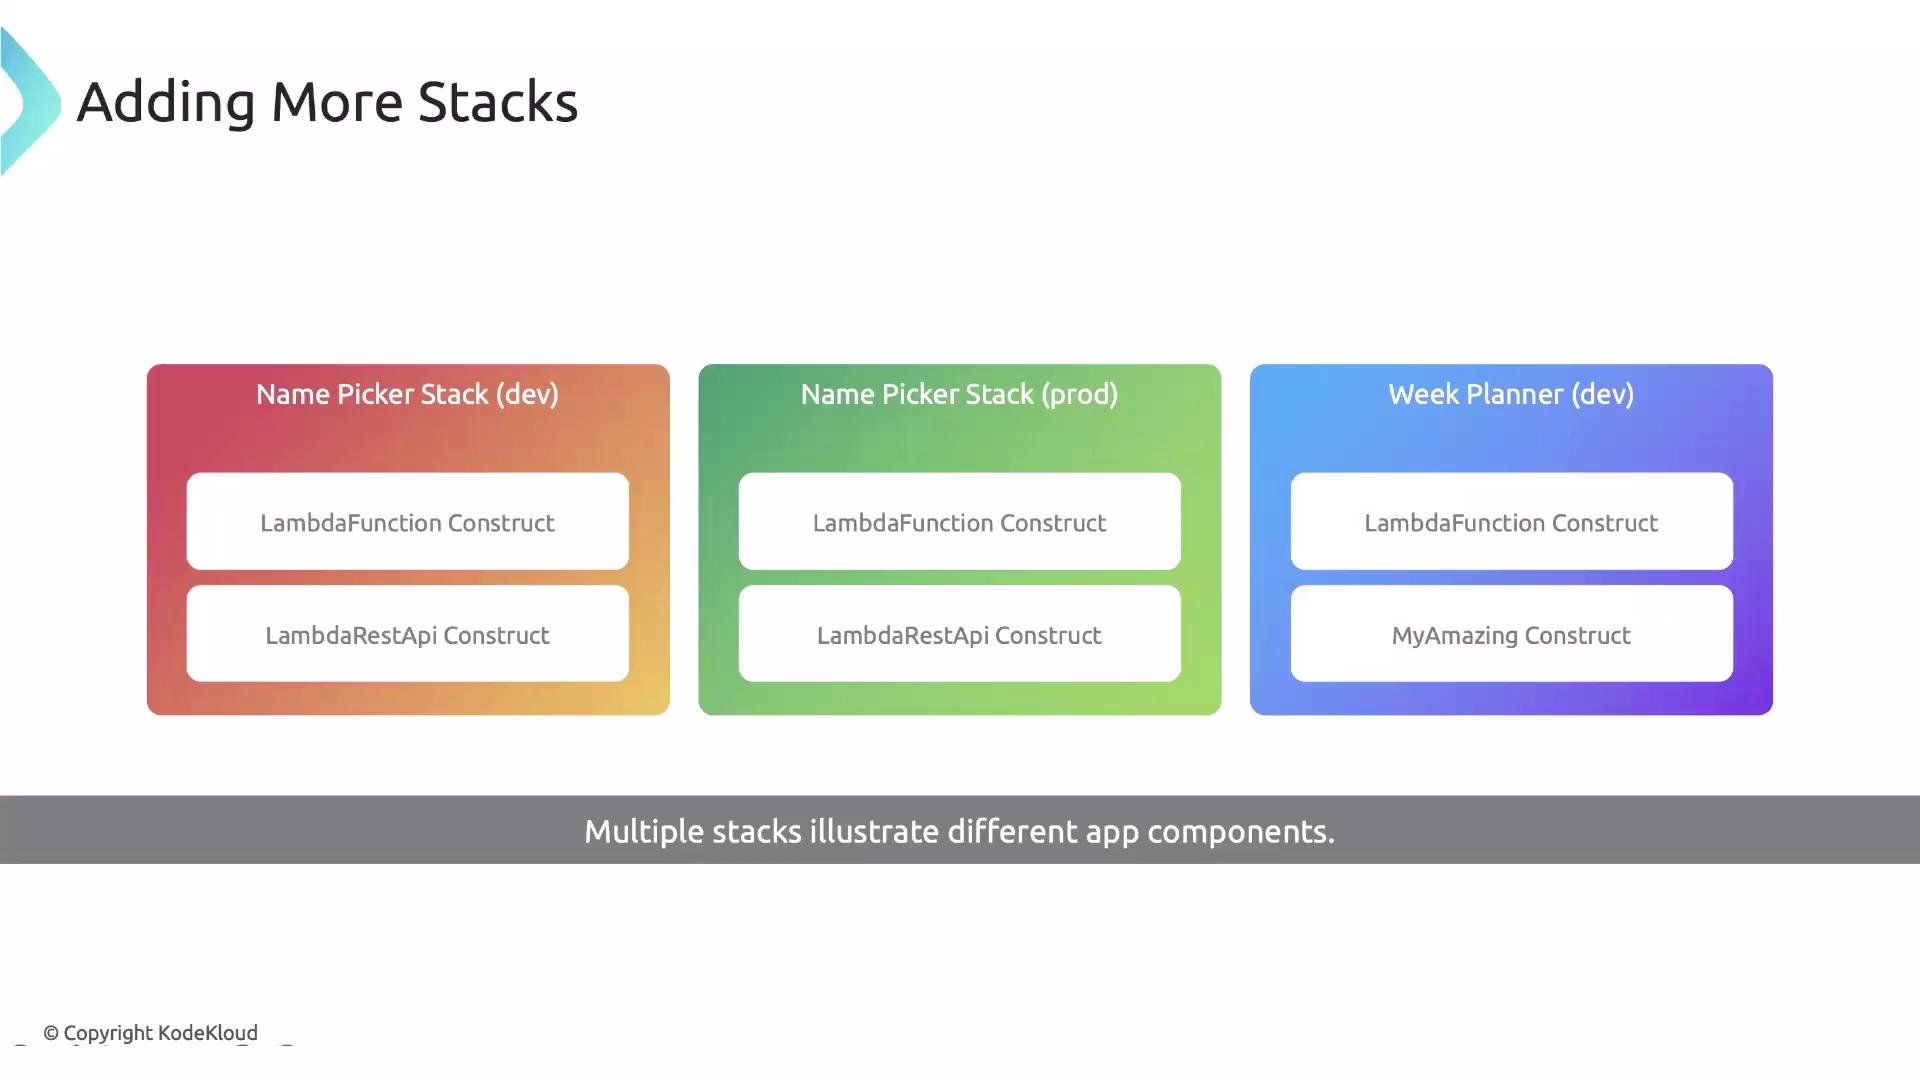
Visual: multiple stacks and components
This diagram shows three stacks (dev/prod for the name picker and a WeekPlanner). Each stack can contain Constructs such asLambdaFunction and LambdaRestApi.
Overriding runtime behavior with environment variables
Making Lambda runtime behavior configurable via environment variables is a practical way to change behavior without changing code. The name-picker Lambda supports a JSON array (NAMES) and a SHUFFLE flag. The handler below supports both modes:
- Roulette (random): return a random name on each invocation.
- Shuffle: maintain a shuffled in-memory list and return names sequentially; the in-memory state persists for the lifetime of the execution environment.
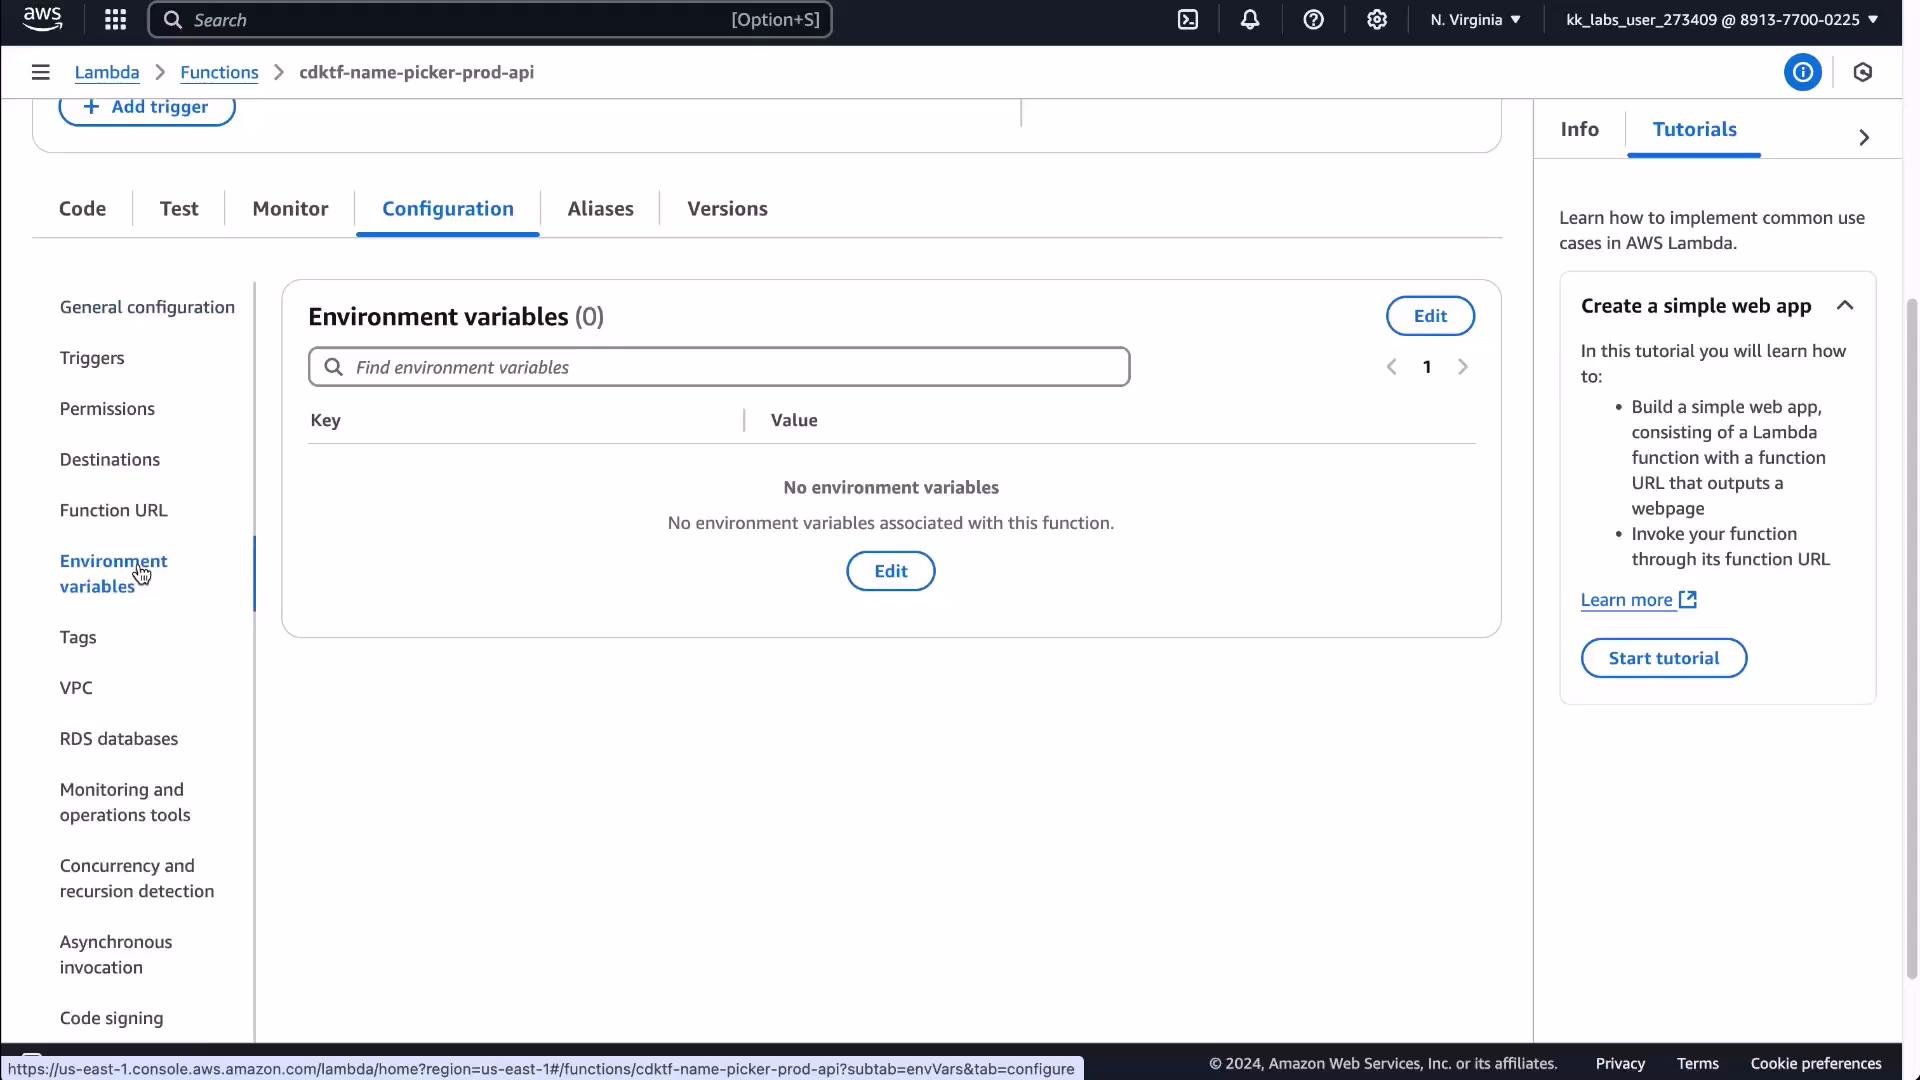
LambdaFunction construct forwards standard Lambda configuration (including environment) directly to the underlying AWS resource. Example:
Hints and type-safety (as const)
TypeScript’sas const can help narrow literal types for compile-time checks. For example:
How to deploy the full project (quick start)
Include a README with the following step-by-step commands for a fresh checkout. This short sequence is the recommended quick-start for collaborators:Run these commands after cloning to fetch providers/modules and deploy the backend and app stacks:
yarn install— install dependenciesyarn cdktf get— generate module bindingsyarn deploy:prereq— deploy the S3/DynamoDB remote backendyarn deploy "*"— deploy all stacks (dev, prod, and feature stacks)
yarn cdktf getgenerates the.genfolder used for imported Terraform modules.yarn deploy:prereqdeploys the prerequisite infrastructure (remote state bucket and locking table).
package.json scripts
Here are the useful npm/yarn scripts included in the project and what they do:
Example
package.json scripts snippet:
Cleaning up (destroying your infrastructure)
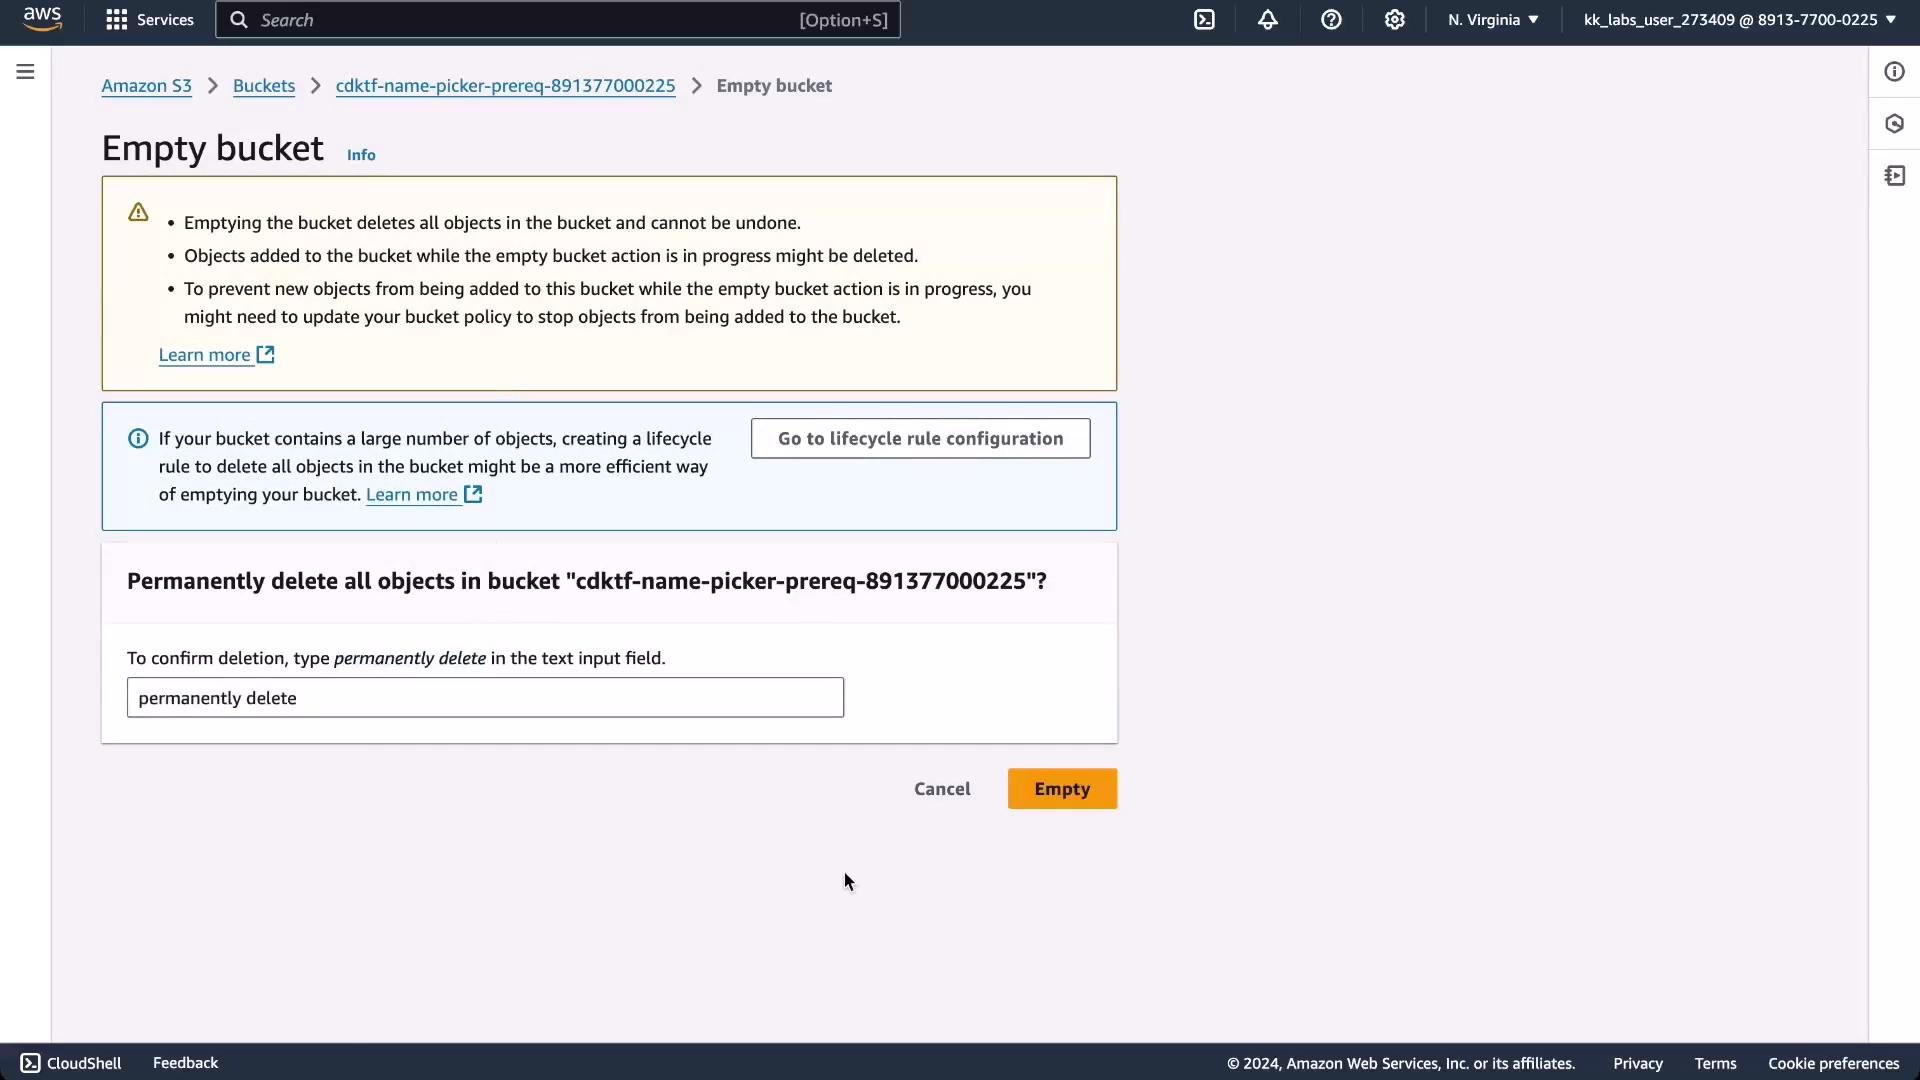
Destroying resources follows the reverse order of deployment. Important: destroy the application stacks first, then destroy the remote backend stack (the S3 bucket and DynamoDB table). If you destroy the backend first (remove the state bucket), Terraform will lose state and cannot reliably destroy the managed resources.Warning: Always destroy application stacks before destroying the remote state backend. If the S3 bucket containing state is removed while resources still exist, Terraform cannot track or destroy those resources (you may encounter
BucketNotEmpty or orphaned resources).- Destroy application stacks:
- Empty the backend S3 bucket if required (Terraform will fail with
BucketNotEmptyif the bucket is not empty). - Destroy the prereq backend stack:
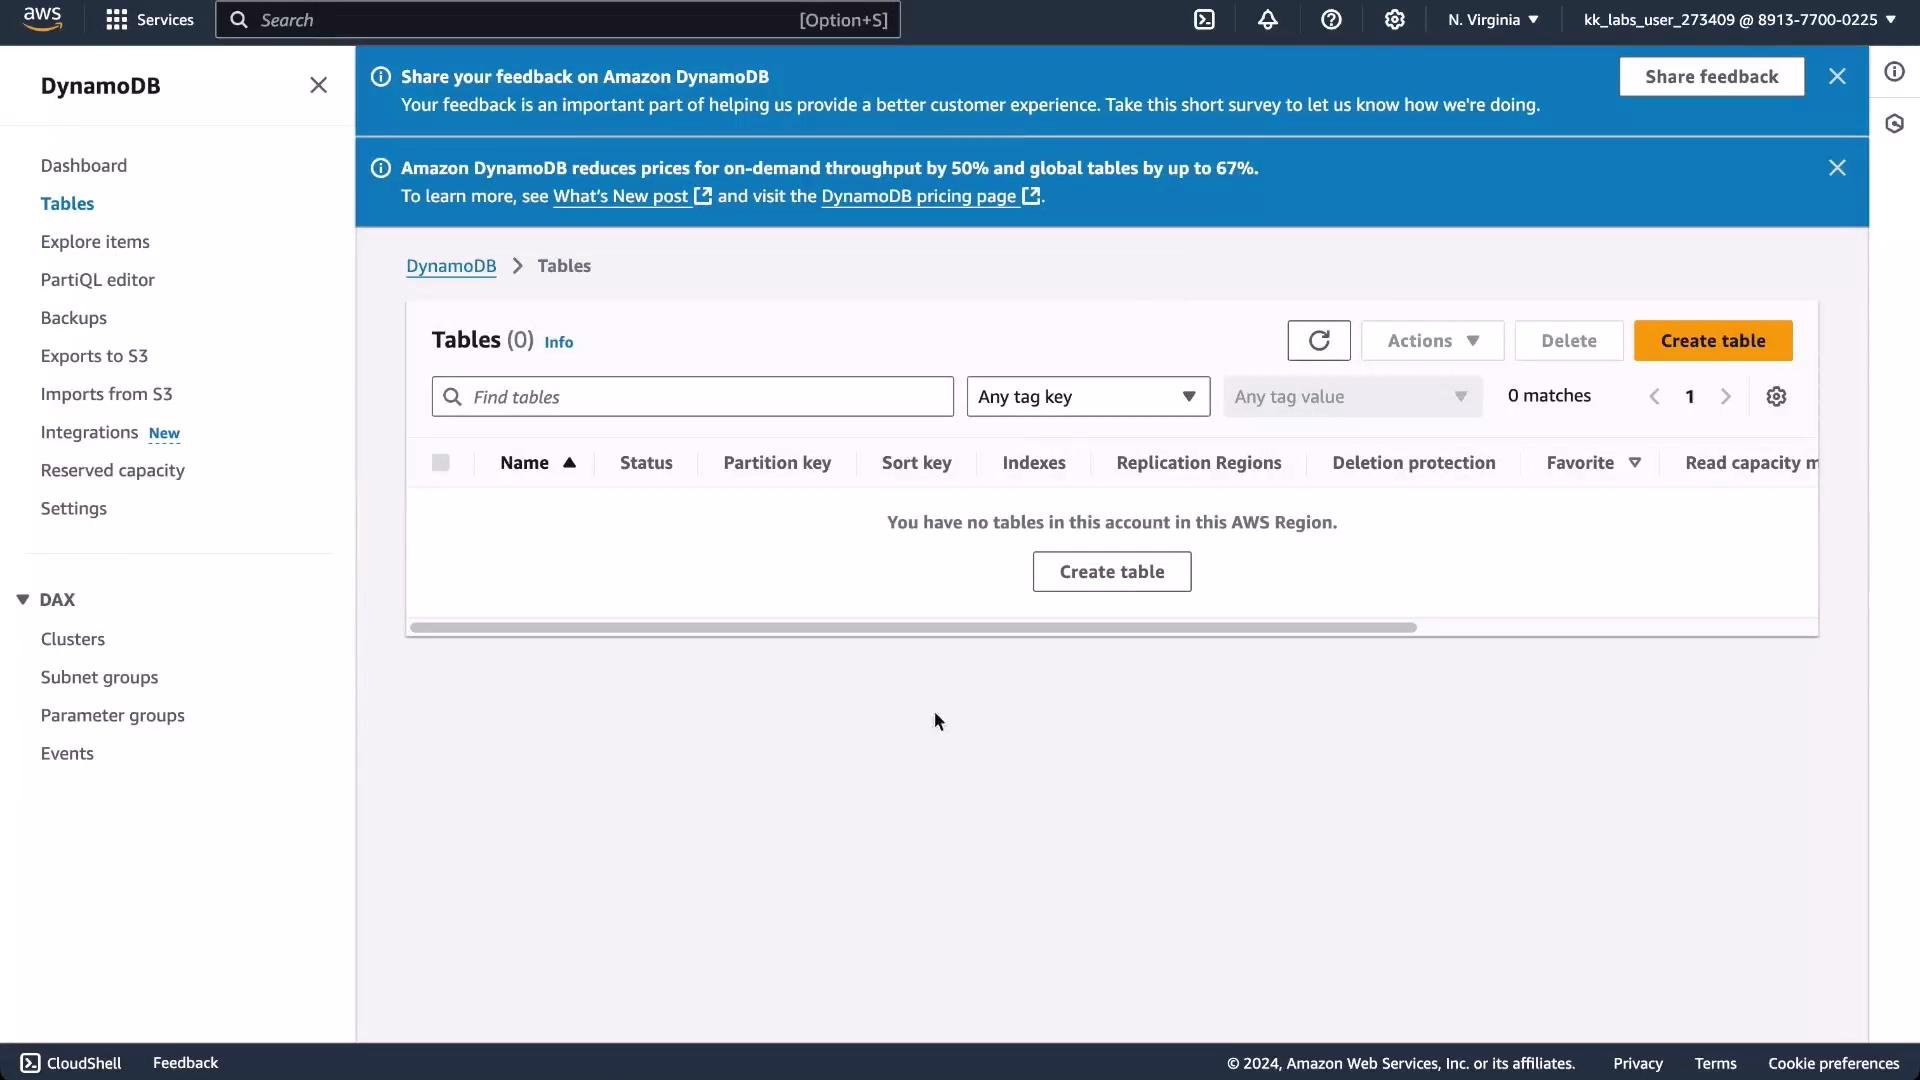
That concludes this lesson. The final summary covers everything learned across the course: problem definition, manual AWS deployment, reusable constructs, packaging strategies, remote backend setup, and importing modules via CDKTF — all combining to produce an automated, shareable, and maintainable infrastructure.
Links and References
- CDK for Terraform (CDKTF) — https://developer.hashicorp.com/terraform/cdktf
- Terraform documentation — https://www.terraform.io/docs
- AWS Lambda Developer Guide — https://docs.aws.amazon.com/lambda/latest/dg/welcome.html
- S3 documentation — https://docs.aws.amazon.com/s3/index.html
- DynamoDB documentation — https://docs.aws.amazon.com/amazondynamodb/latest/developerguide/Introduction.html