Explains using remote S3 and DynamoDB backends with CDKTF, bootstrapping backend resources to avoid synth deploy circular dependencies and migrating Terraform state
In this lesson we cover backend strategies in CDKTF — why Terraform state matters, how to use a remote backend on AWS, and a practical workflow to avoid synth/deploy circular dependencies when using CDK for Terraform.Recap: Terraform state is a JSON file that records the resources Terraform manages, their current attributes, and relationships. Terraform (and CDKTF) uses state to plan changes accurately by comparing the real infrastructure with the desired configuration in code.When working locally you might see a normal deploy flow like this:
# example terminal interaction after deployApply complete! Resources: 11 added, 0 changed, 0 destroyed.Outputs:namePickerApiUrl = "https://exgnru9me6.execute-api.us-east-1.amazonaws.com/dev"# Curl the endpointcurl https://exgnru9me6.execute-api.us-east-1.amazonaws.com/dev"Arthur"
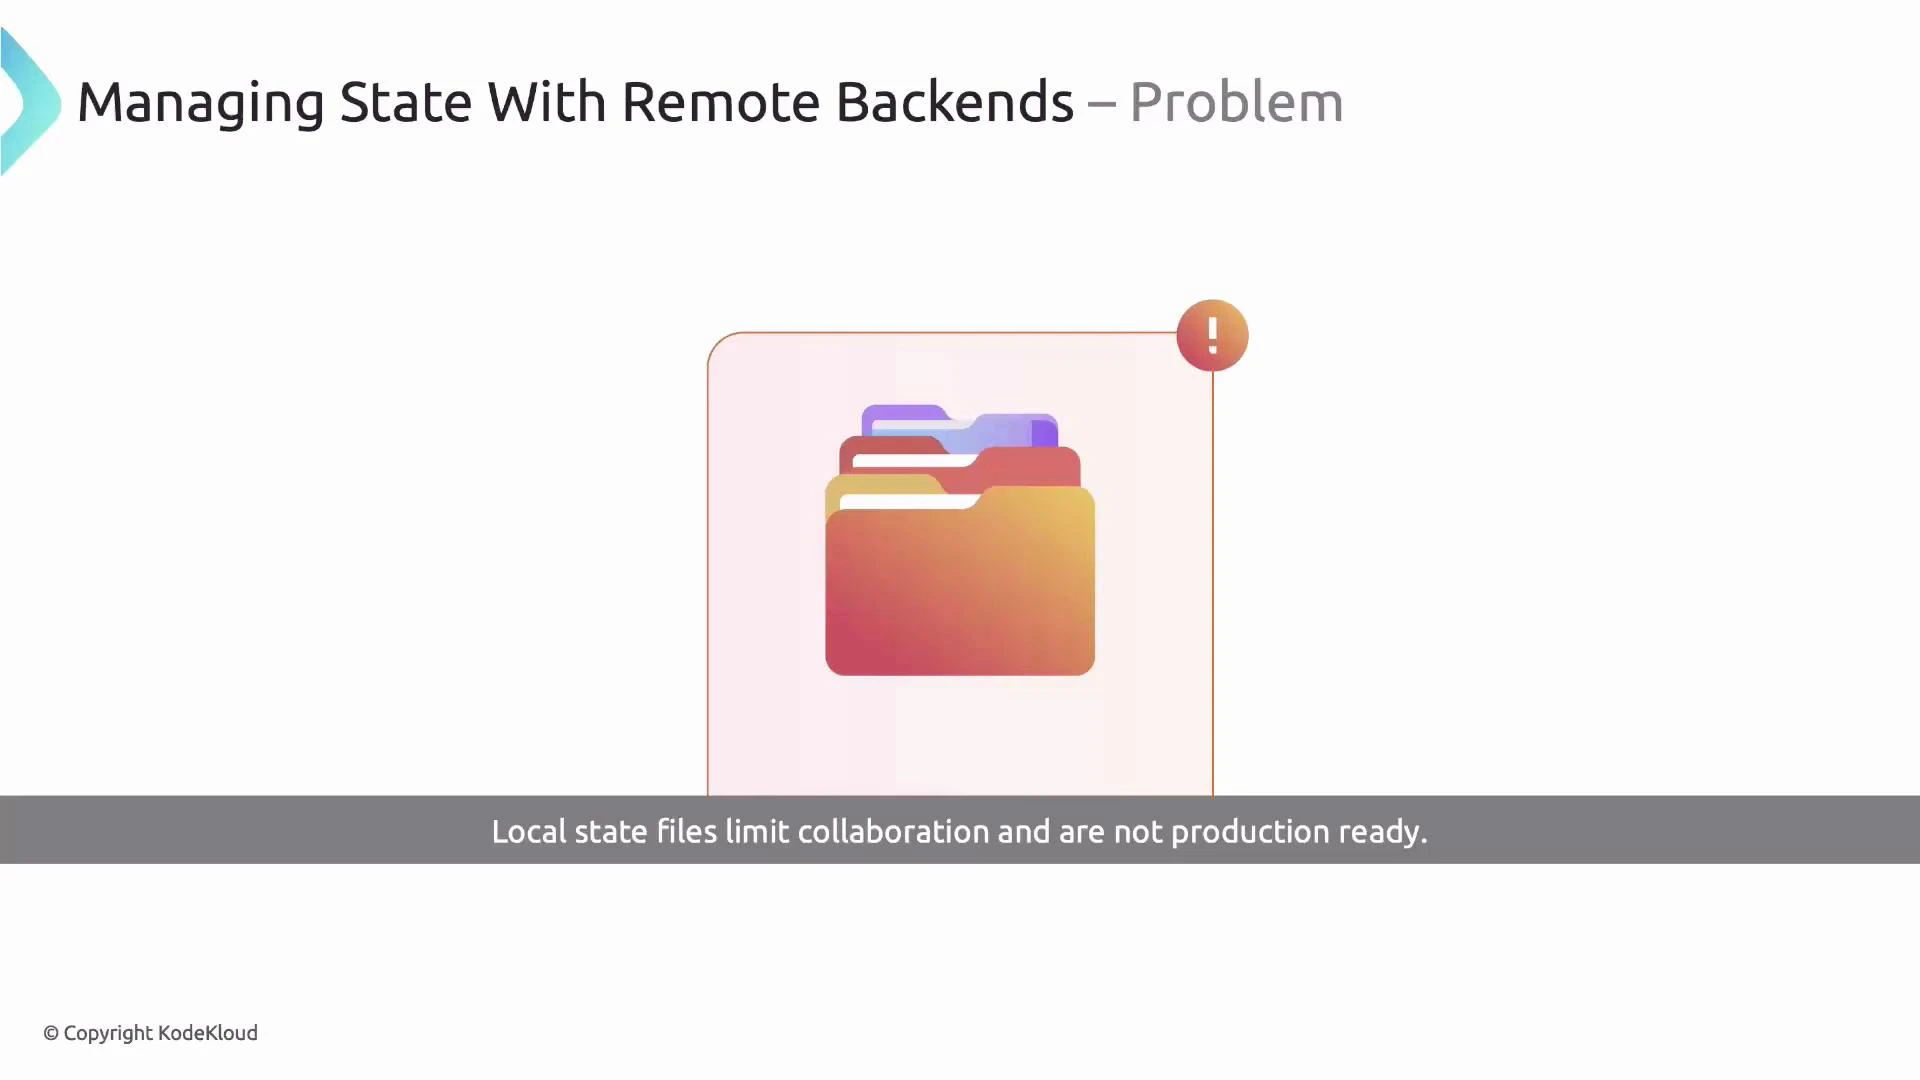
All of that deployment information is saved in a local Terraform state file (e.g., terraform.tfstate). When you run cdktf deploy, CDKTF/Terraform compares the synthesized configuration to that stored state to determine what to create, change, or destroy.Local state is fine for single-developer experiments, but it presents problems for collaboration: team members don’t share a single source of truth and concurrent changes can cause conflicts and drift.
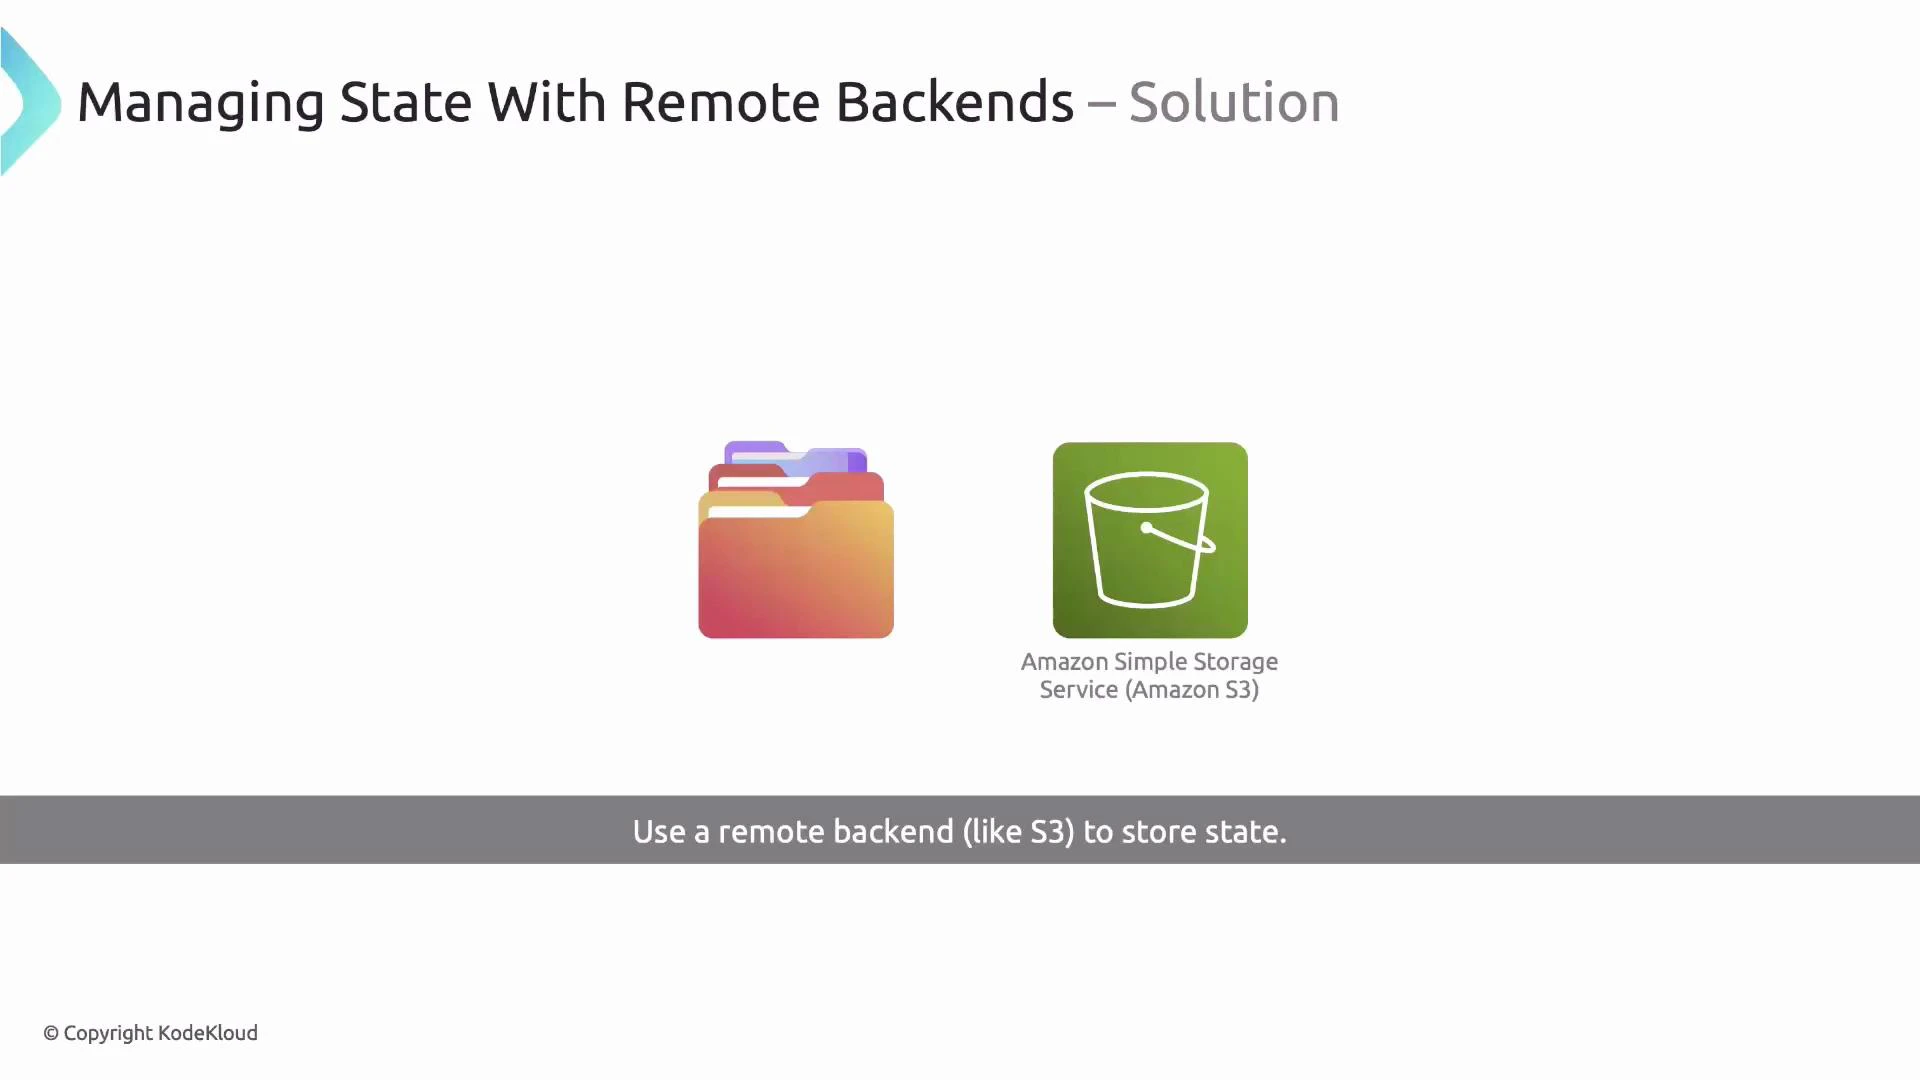
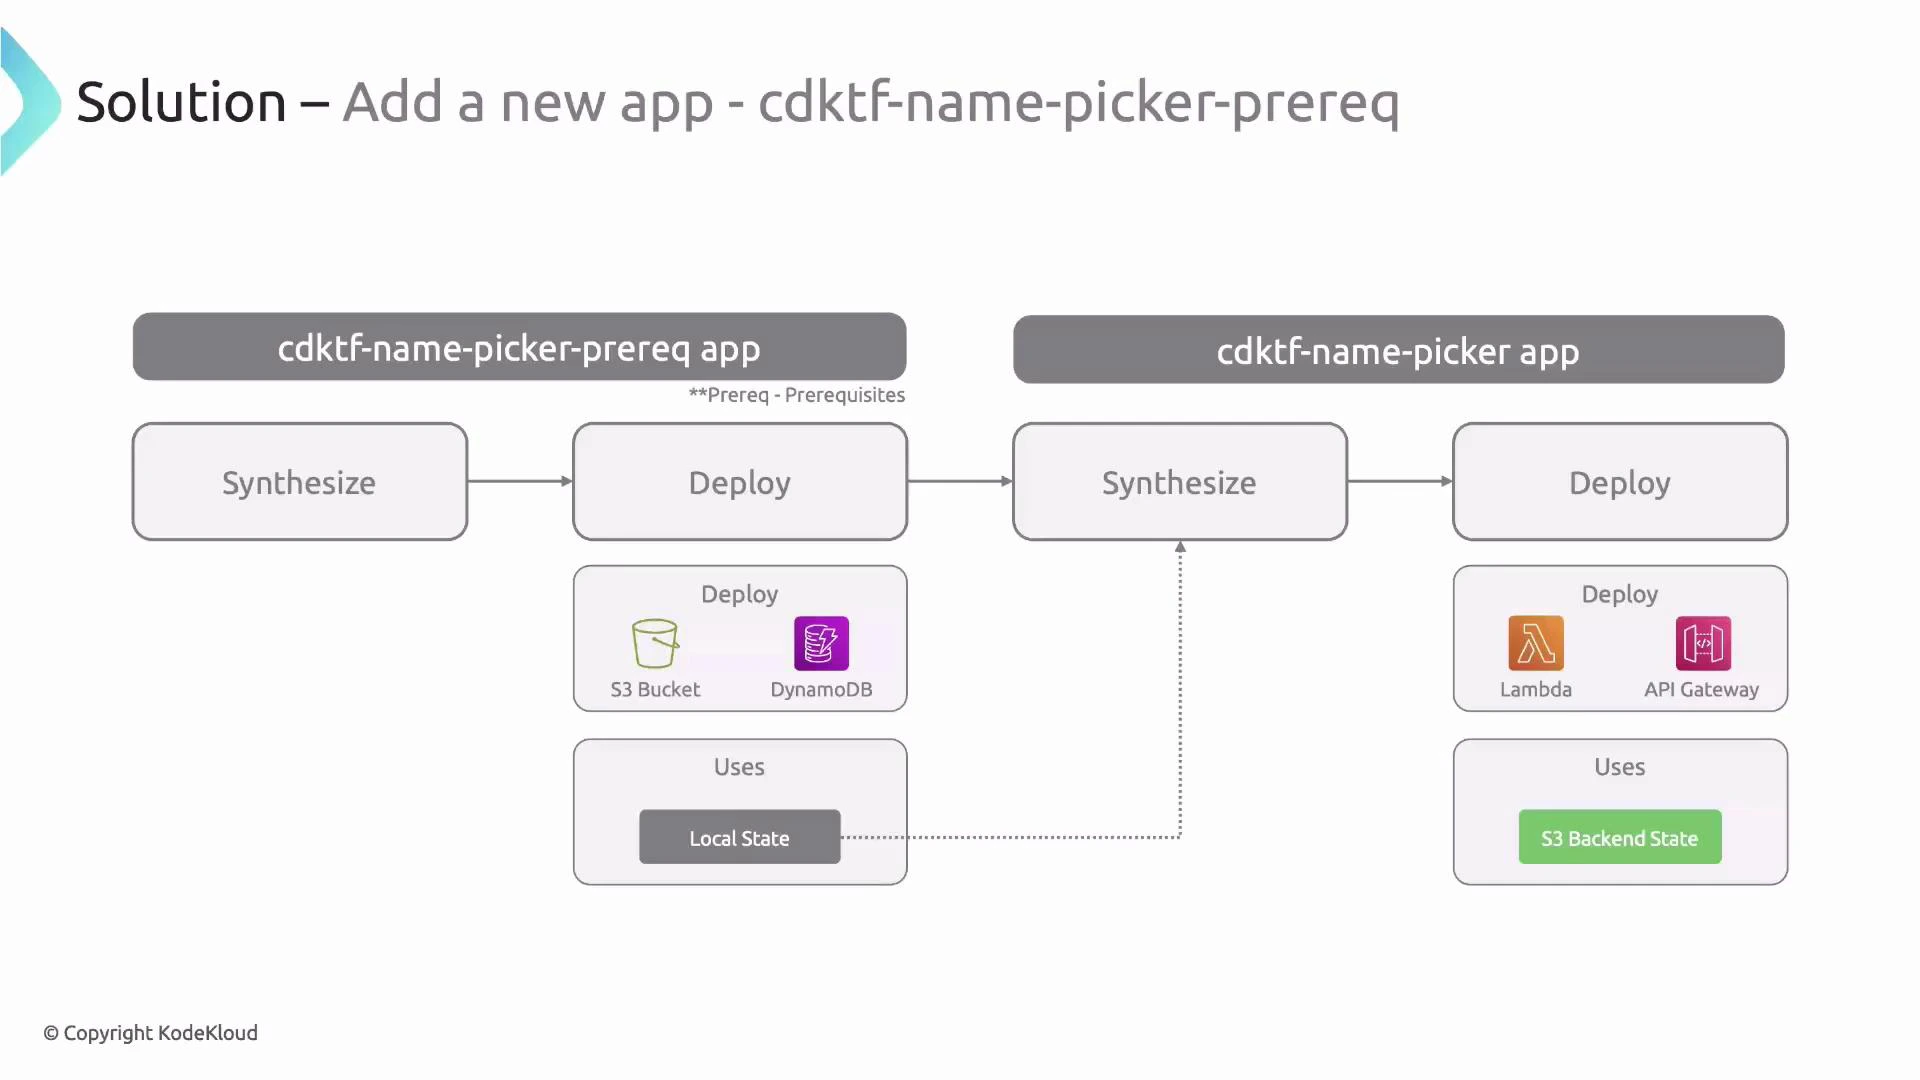
A remote backend provides a shared state file and avoids inconsistent local copies. On AWS a common production-ready choice is:
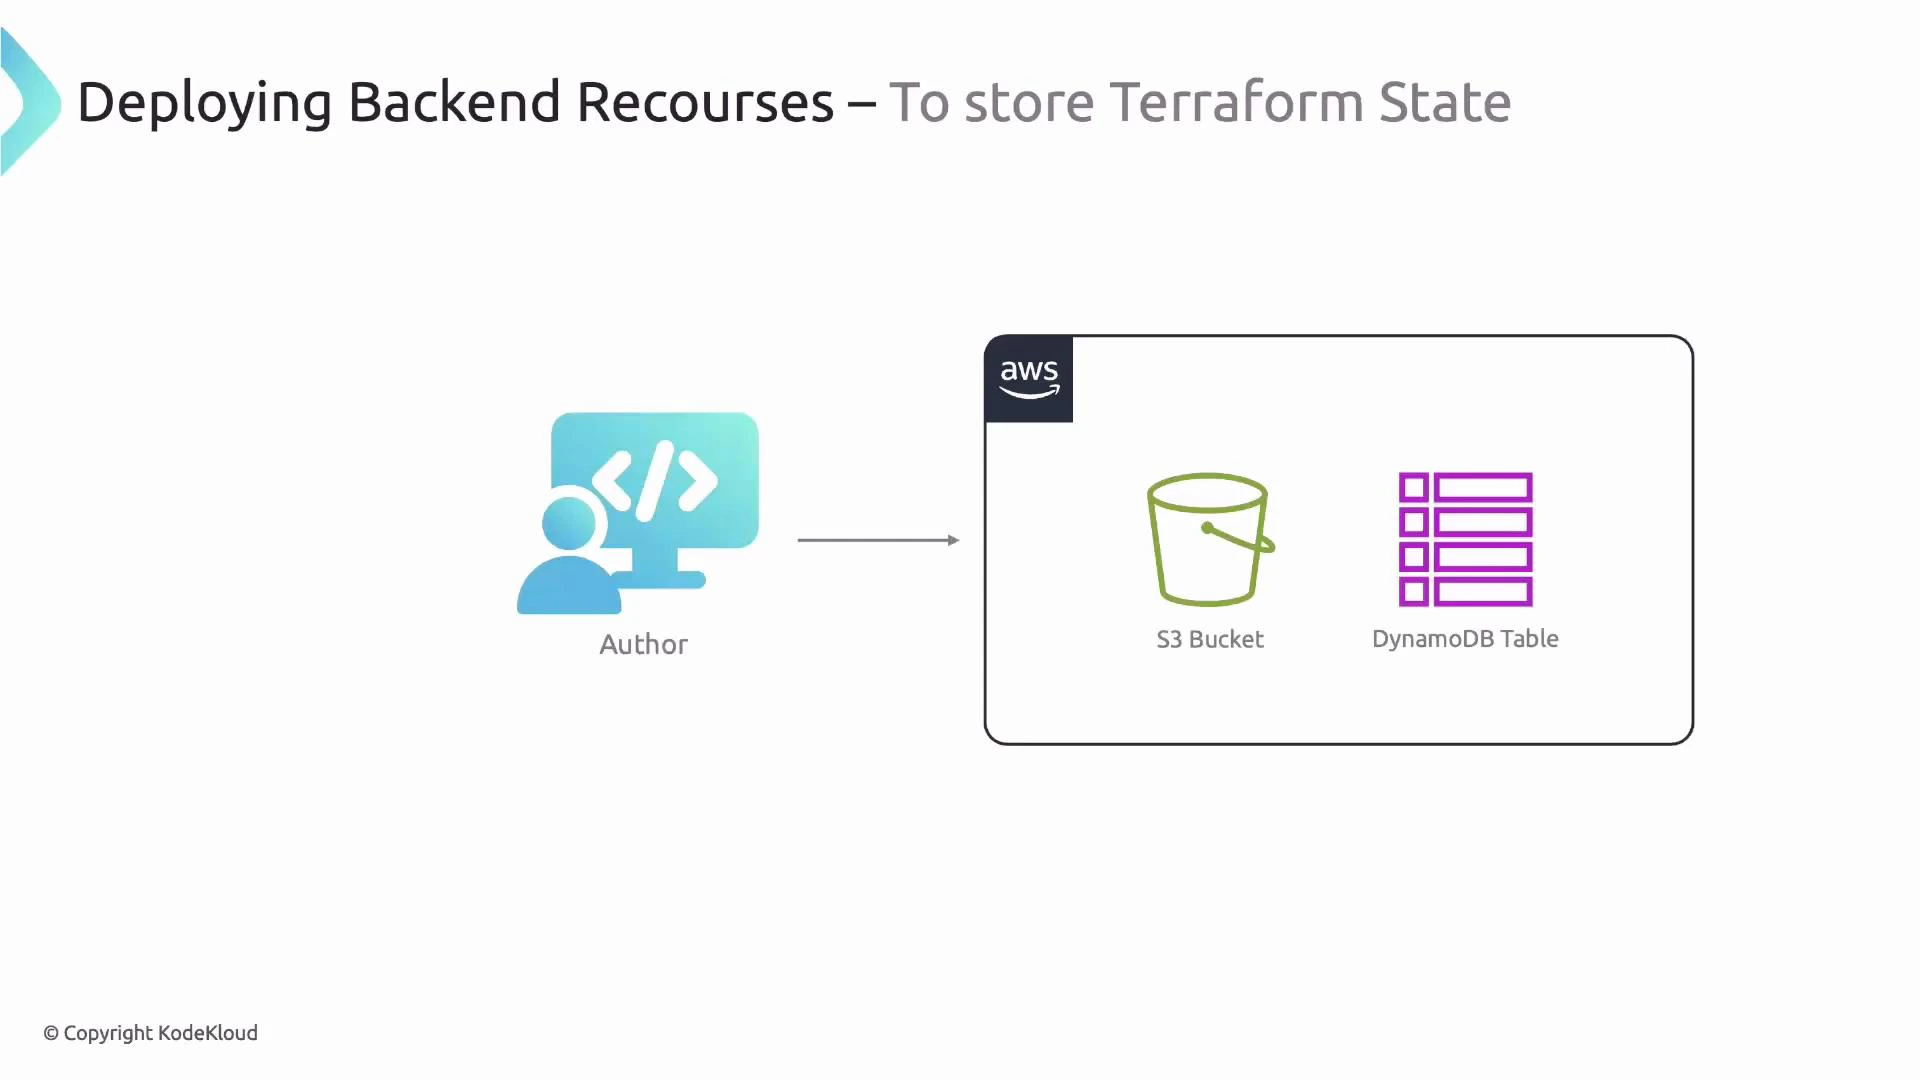
S3 to store the Terraform state file (shared storage)
DynamoDB to provide a locking mechanism to prevent concurrent apply/plan operations
Other hosted options include Terraform Cloud/Enterprise. For this lesson we’ll demonstrate the S3 + DynamoDB pattern for the NamePicker app.Example CDKTF backend configuration:
Organize code: move the existing NamePicker stack to stacks/NamePickerStack.ts. Remove any S3Backend declarations from it — the backend will be injected later by a base stack.
Create a Prereq stack that provisions the S3 bucket and DynamoDB table and emits outputs.
Example prereq stack:
// stacks/PrereqStack.tsimport { TerraformStack, TerraformOutput } from 'cdktf';import { Construct } from 'constructs';import * as aws from '@cdktf/provider-aws';import { S3DynamodbRemoteBackend } from '../.gen/modules/my-devops-way/s3-dynamodb-remote-backend/aws';export interface PreReqStackProps { backendName: string; }export class PreReqStack extends TerraformStack { constructor(scope: Construct, id: string, { backendName }: PreReqStackProps) { super(scope, id); new aws.AwsProvider(this, 'aws', { region: 'us-east-1' }); const currentAccount = new aws.DataAwsCallerIdentity(this, 'current-account', {}); const backend = new S3DynamodbRemoteBackend(this, 's3-dynamodb-remote-backend', { bucket: `${backendName}-${currentAccount.accountId}`, dynamodbTable: backendName, }); new TerraformOutput(this, 'bucket', { value: backend.bucket }); new TerraformOutput(this, 'dynamodbTable', { value: backend.dynamodbTable }); }}
Use the AWS account ID or another unique suffix for S3 bucket names to avoid global collisions — S3 bucket names must be globally unique.
Add a small config module for project-level constants:
The prereq deploy prints outputs (bucket name and table name) when complete.
Create a reusable base stack that sets up the S3 backend for downstream stacks by reading outputs from the prereq state file:
// stacks/AwsBaseStack.tsimport { Construct } from 'constructs';import { S3Backend, TerraformStack } from 'cdktf';import * as aws from '@cdktf/provider-aws';import * as path from 'path';import * as fs from 'fs';import { BACKEND_NAME } from '../config';export class AwsBaseStack extends TerraformStack { constructor(scope: Construct, id: string) { super(scope, id); new aws.AwsProvider(this, 'aws', { region: 'us-east-1' }); const prereqStateFile = path.join(process.env.INIT_CWD!, `./terraform.${BACKEND_NAME}.tfstate`); let prereqState: any = null; try { prereqState = JSON.parse(fs.readFileSync(prereqStateFile, 'utf-8')); } catch (error: any) { if (error.code === 'ENOENT') { throw new Error(`Could not find prerequisite state file: ${prereqStateFile}`); } throw error; } new S3Backend(this, { bucket: prereqState.outputs.bucket.value, dynamodbTable: prereqState.outputs.dynamodbTable.value, region: 'us-east-1', key: id, }); }}
This base stack reads terraform.<BACKEND_NAME>.tfstate (the prereq’s local state file created when you applied the prereq app) and configures an S3 backend for any stack that extends it. The key uses the stack ID so each stack gets its own state key in the bucket.
Update NamePicker stack to extend the base stack:
// stacks/NamePickerStack.ts (excerpt)import { AwsBaseStack } from './AwsBaseStack';export class NamePickerStack extends AwsBaseStack { constructor(scope: Construct, id: string) { super(scope, id); // application resources (Lambda, API Gateway, outputs, etc.) }}
Remove any local S3Backend declarations from the NamePicker stack so the backend is provided by AwsBaseStack.
Synthesize the main app:
yarn synth
CDKTF will generate Terraform configurations under cdktf.out/stacks/<stack-name> that now reference the S3 backend configuration.
Migrate the existing local state into the S3 backend. In the generated stack folder run:
cd cdktf.out/stacks/cdktf-name-pickerterraform init -migrate-state
Terraform will detect the backend change and ask whether to copy the local state to the new S3 backend. Answer yes to migrate state.Example (condensed) interaction:
Terraform detected that the backend type changed from "local" to "s3".Do you want to copy existing state to the new backend?Enter "yes" to copy and "no" to start with an empty state.Enter a value: yesTerraform has been successfully initialized!
When migrating state, run terraform init -migrate-state inside the generated stack directory (e.g., cdktf.out/stacks/<stack-name>). Always back up local state files before migrating.
Deploy the main app from the project root as usual:
yarn deploy# expected output for a successful migration with no changesApply complete! Resources: 0 added, 0 changed, 0 destroyed.Outputs:namePickerApiUrl = "https://<rest-api-id>.execute-api.us-east-1.amazonaws.com/dev"
After a successful migration, the state file is stored in S3 (e.g., s3://<prereq-bucket>/<stack-key>) and you can remove the local terraform.tfstate for that stack if you no longer need it locally. Keep the prereq state file if you want to use it for subsequent bootstrapping or redeploys.
For new projects, prefer creating the remote backend first (prereq app) to avoid manual migration.
Consider separating prereq and main app into different packages or workspaces inside a monorepo to avoid CDKTF overwriting cdktf.out during synths.
Use unique names for globally scoped resources (like S3 buckets) — incorporate account ID, region, or a generated UUID.
For larger teams and pipelines, consider automating the prereq bootstrap in CI/CD so the backend is reproducibly created before running downstream synths.
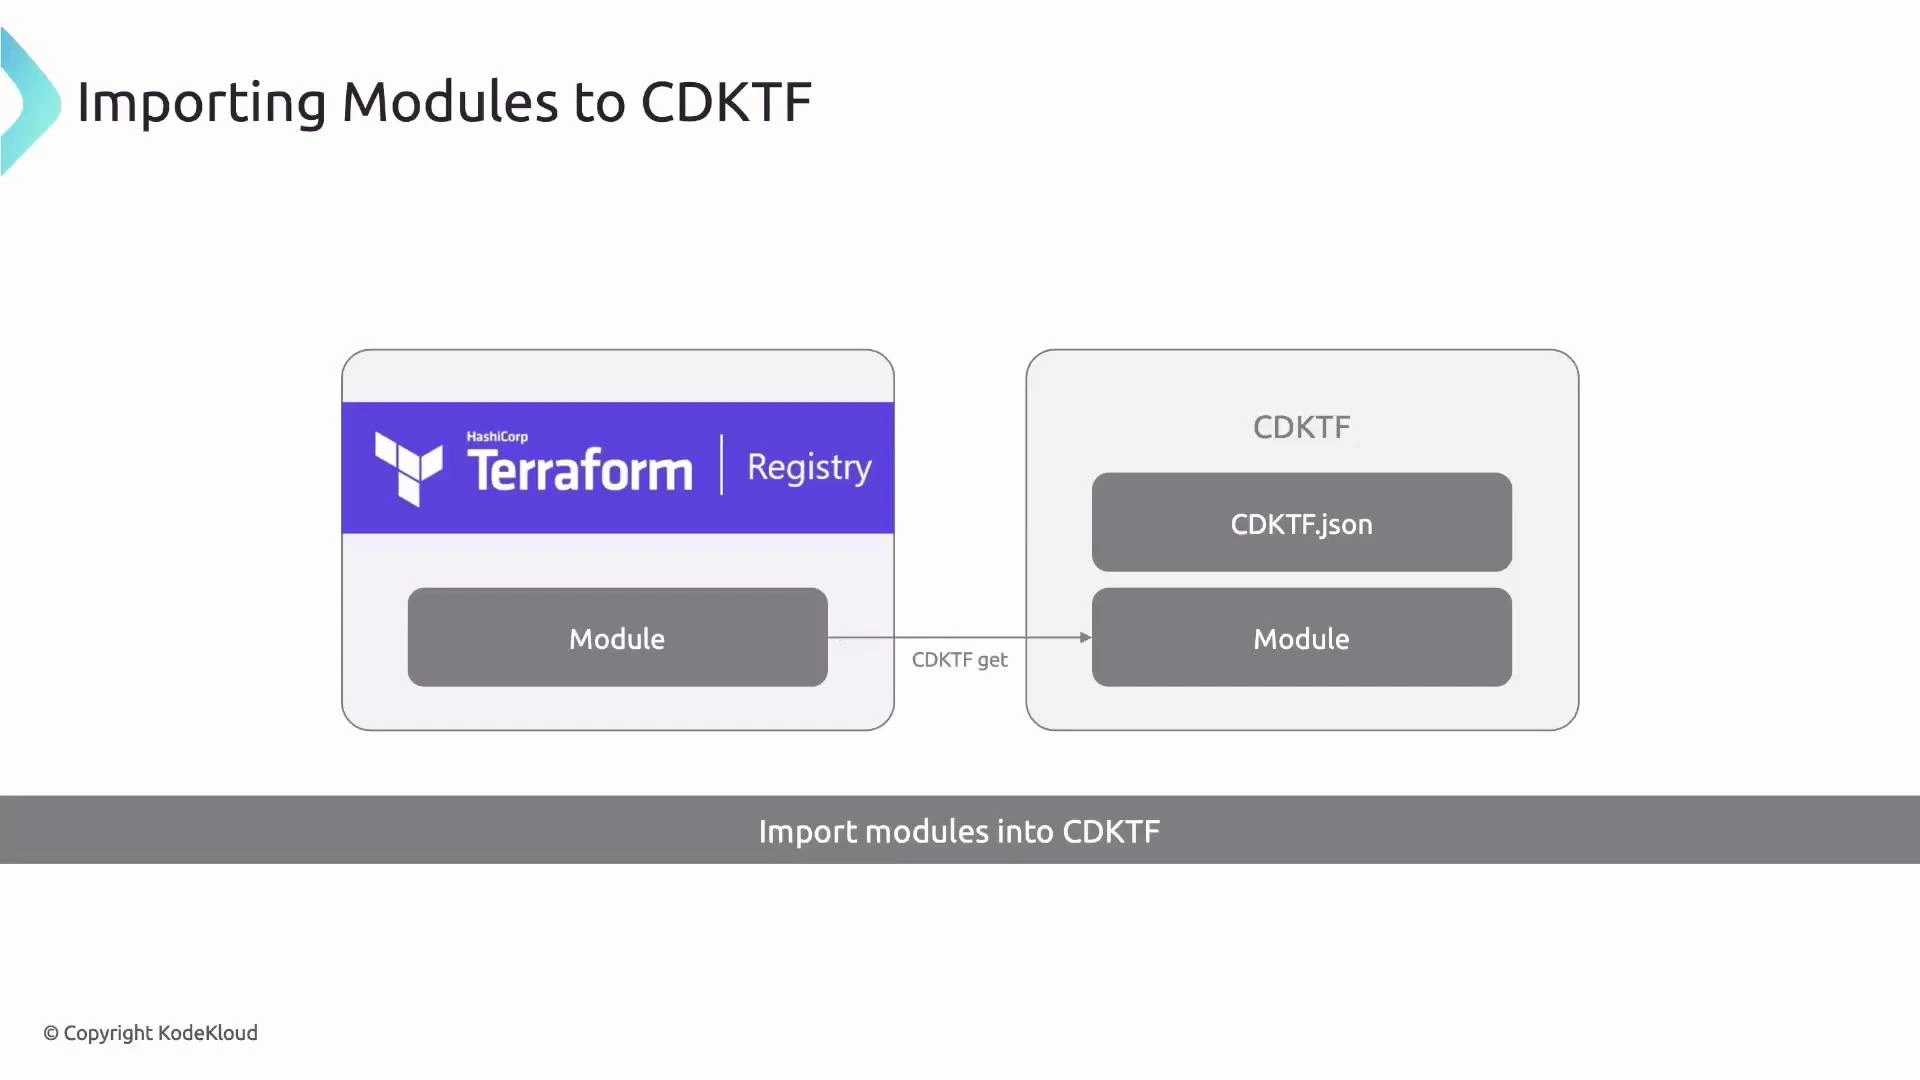
CDKTF’s generated .gen constructs let you reuse community Terraform modules from the Registry — run cdktf get to fetch and generate TypeScript wrappers.