In this lesson we explore Cursor IDE’s AI-powered autocompletion, Python auto-imports, and customizable settings. We’ll demonstrate how to streamline your Flask development workflow and tailor Cursor to your preferences.

Table of Contents

  • Automatic Imports
  • Quick Fix Menu
  • Python Auto Import (Beta)
  • Global & Project Settings
    • Importing VS Code Configuration
    • Defining .cursor-rules
    • Feature Toggles
  • AI Models & API Keys
  • Enabling Beta Features
  • Next Steps

Automatic Imports

Cursor leverages machine learning to detect missing Python modules and insert the corresponding imports. Consider this Flask example:
Because csv is not imported, csv.reader will trigger a quick fix. Press ⌘. (macOS) or Ctrl+. (Windows/Linux), choose Import ‘csv’, and Cursor auto-inserts:
Your application runs without ModuleNotFoundError.
Use the auto-import feature to speed up development and avoid manual import typos.

Quick Fix Menu

Beyond imports, the Quick Fix menu helps with:
  • Renaming symbols
  • Searching for import candidates
  • Suppressing linter warnings
Navigate to suggested actions with Ctrl+. / ⌘..

Python Auto Import (Beta)

The Python auto-import (Beta) proactively adds necessary imports as you type. Example:
Press Tab inside the function, save the file, and watch import csv appear at the top.

Customizing Settings in Cursor

Access global settings with ⌘⇧J (macOS) or Ctrl+Shift+J (Windows/Linux). Here you can adjust AI rules, feature toggles, editor themes, and more.

Importing VS Code Settings

Mirror your VS Code preferences by importing your settings and extensions into Cursor.
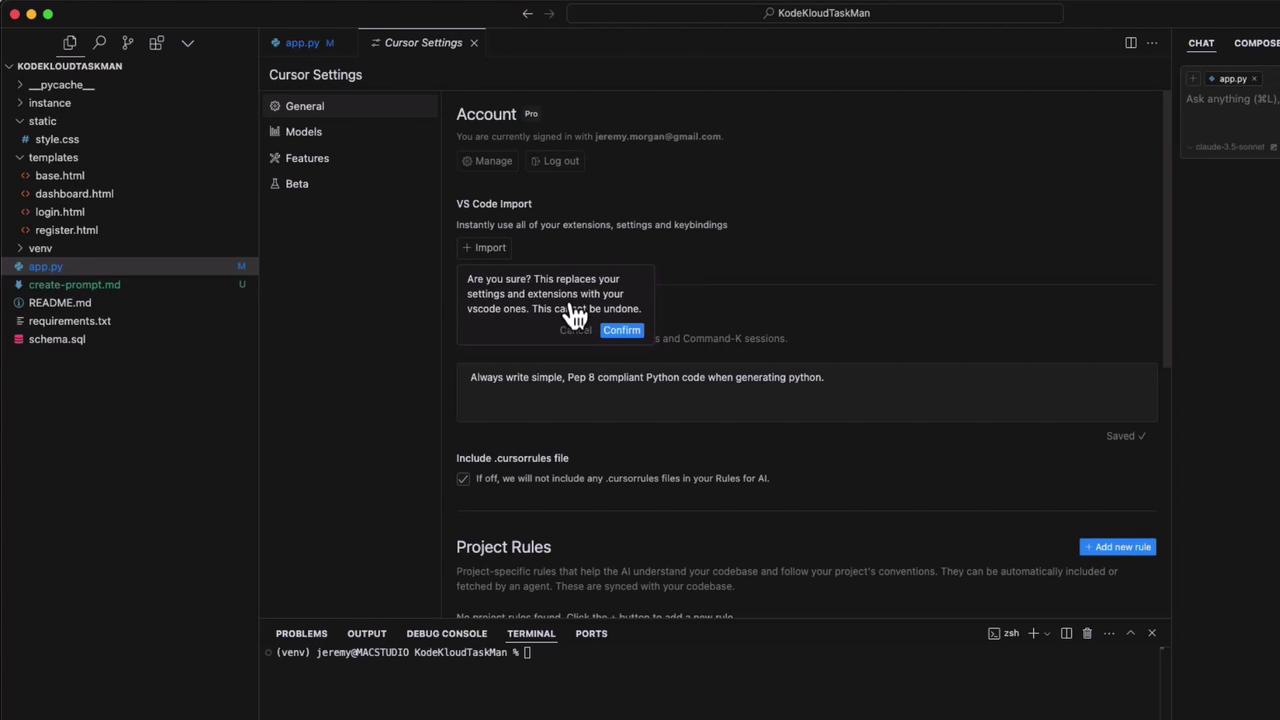
The image shows a dark-themed code editor interface with a file explorer on the left and a settings panel on the right, where a confirmation dialog is open for importing VS Code settings.
After import, extensions like TabNine and your preferred theme sync automatically.

Project-Specific Cursor Rules

Define a .cursor-rules file at your project root to override global AI instructions. These per-project settings ensure consistent code style.
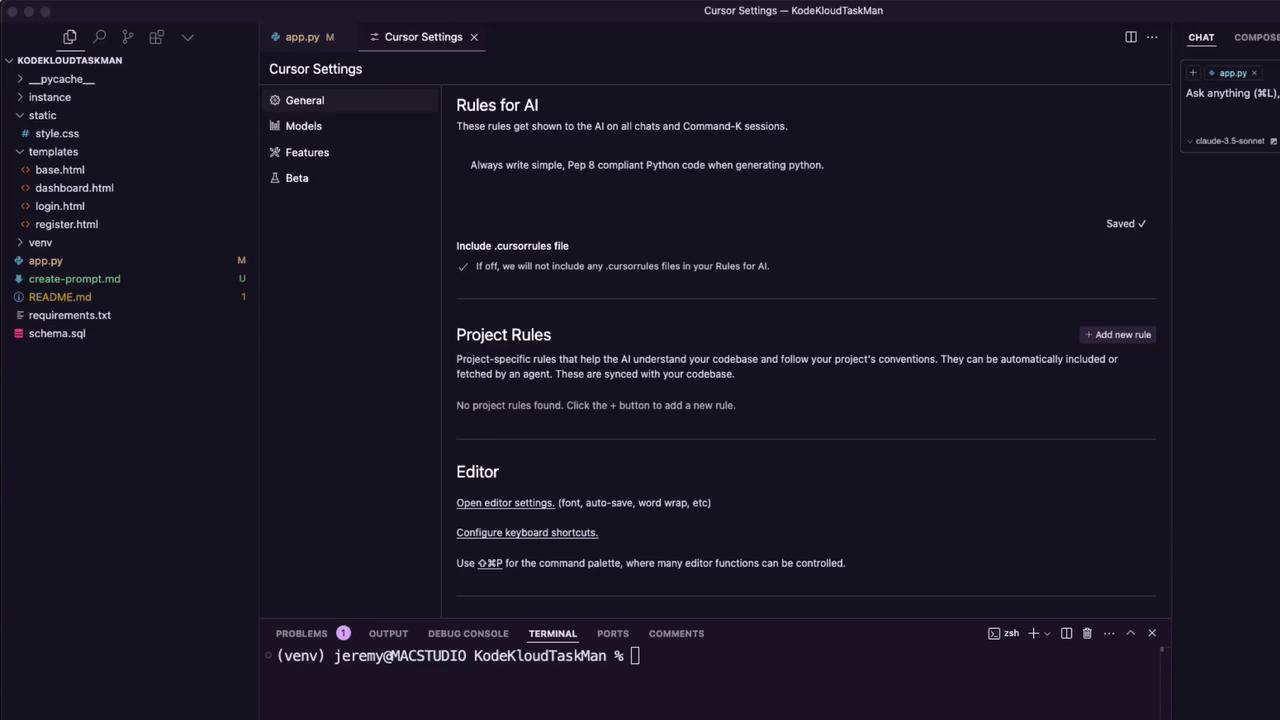
The image shows a code editor interface with a file directory on the left and a "Cursor Settings" panel on the right, displaying rules for AI and project settings. The terminal at the bottom shows a command prompt.
Example .cursor-rules:

Feature Toggles

Enable or disable Cursor IDE features according to your workflow:
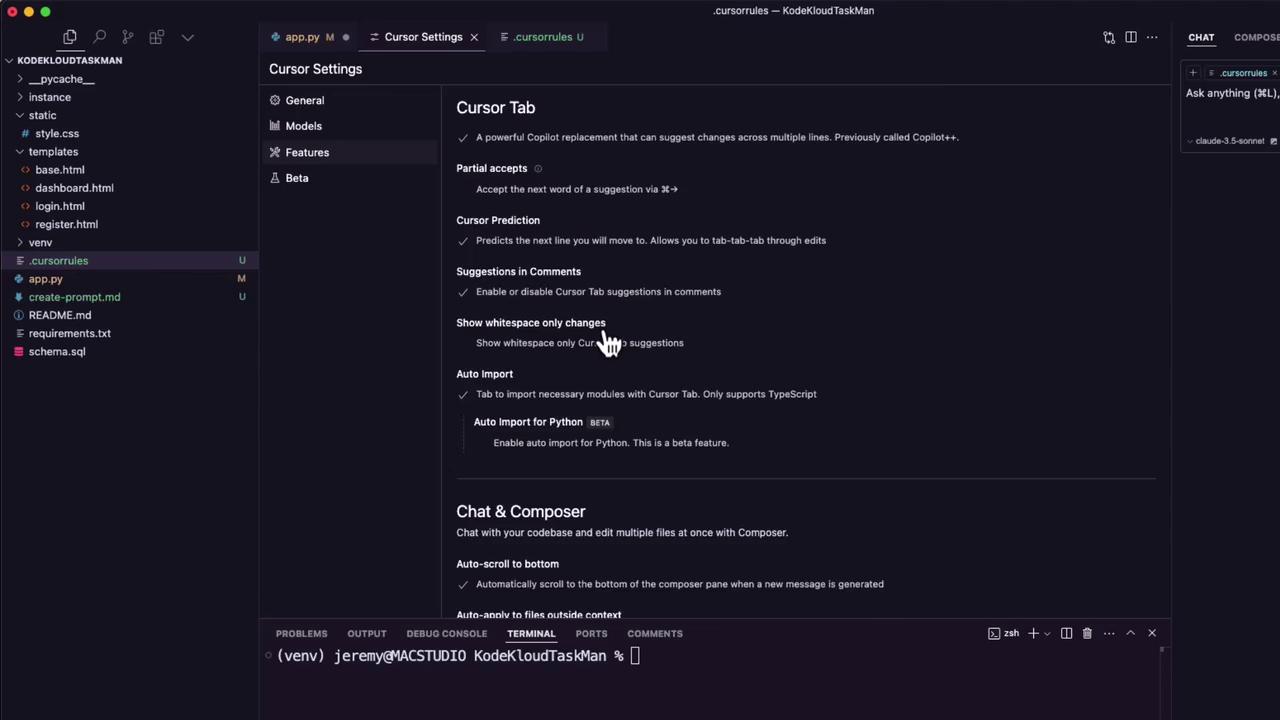
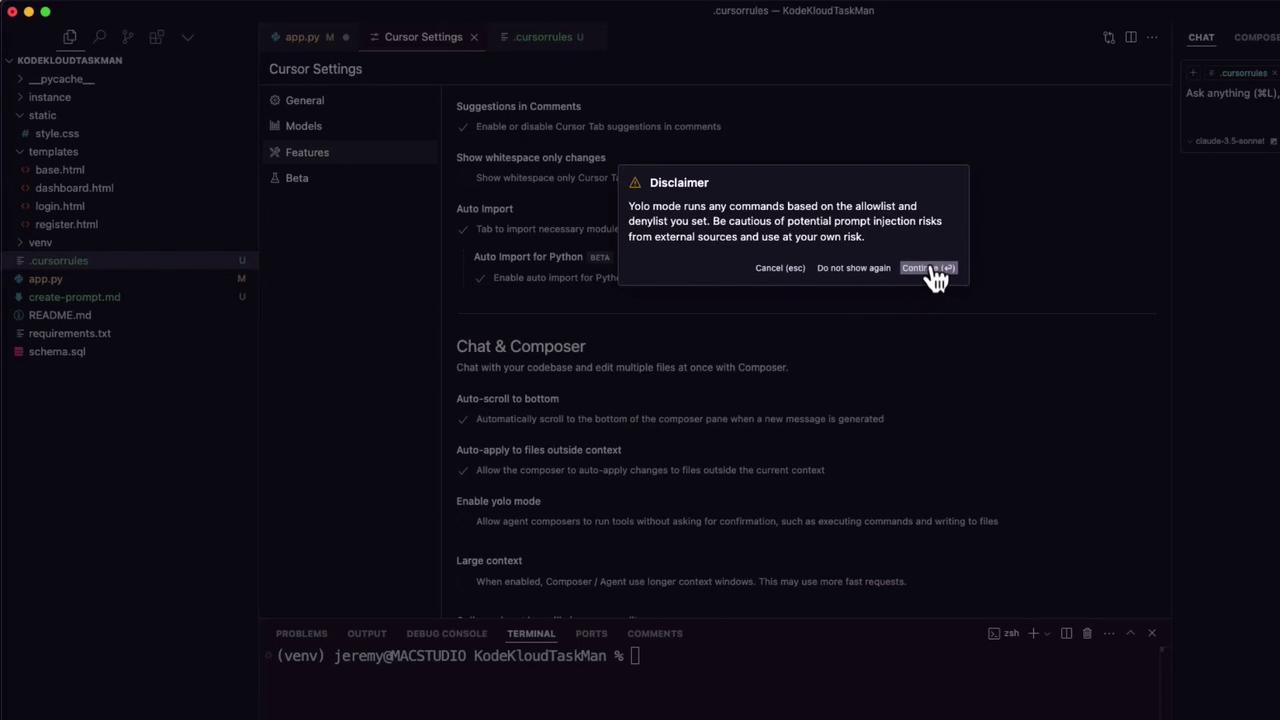
The image shows a code editor interface with a file directory on the left and "Cursor Settings" options in the center. The terminal is visible at the bottom, and a chat panel is on the right.
The image shows a code editor interface with a "Cursor Settings" menu open, displaying options for features and a disclaimer about "Yolo mode." A file directory is visible on the left side.
Keep your API keys secure. Do not commit them to public repositories.

AI Models and API Keys

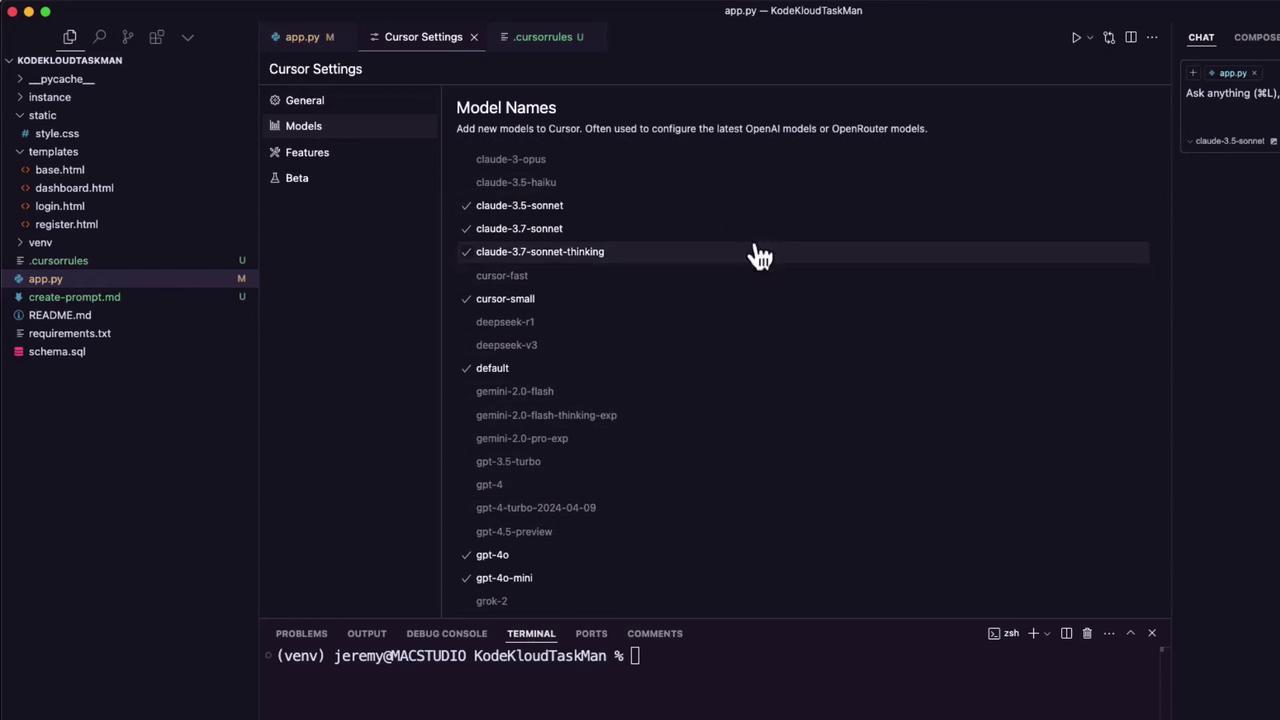
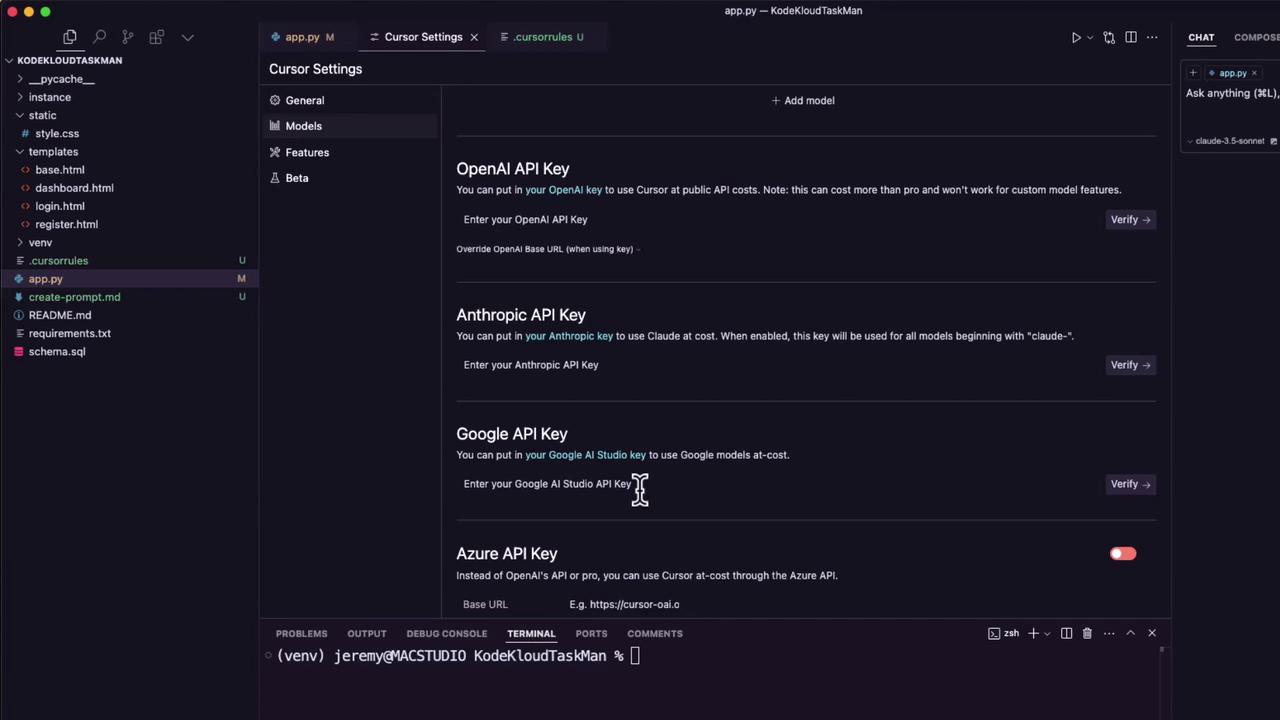
Under Models, select your preferred AI backend. To unlock premium capabilities, add API keys for:
  • OpenAI
  • Anthropic
  • Google Cloud AI
  • Azure AI
The image shows a code editor interface with a file directory on the left and a "Cursor Settings" panel on the right, displaying a list of model names. The terminal is visible at the bottom.
The image shows a code editor interface with a file directory on the left and a "Cursor Settings" panel on the right, displaying options for entering various API keys.

Beta Features

Join the cutting edge by toggling beta features for early access to new AI capabilities.
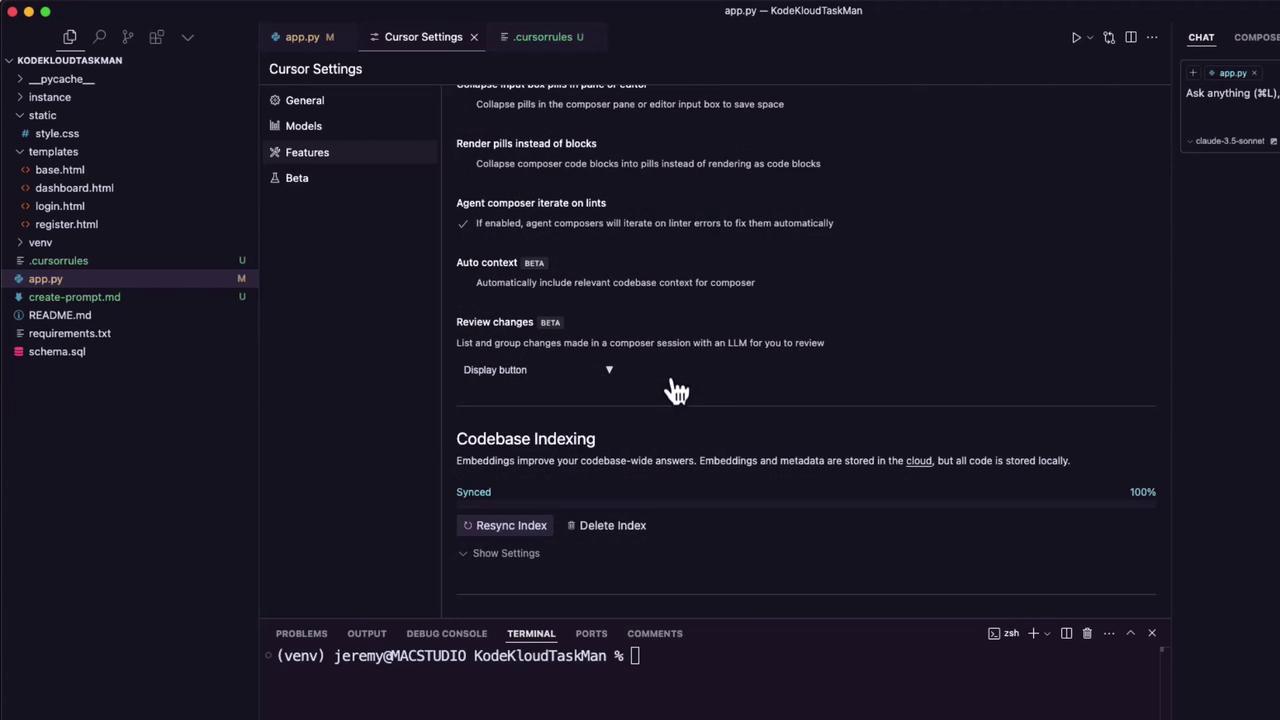
The image shows a code editor interface with a file directory on the left and "Cursor Settings" options in the center. The terminal is visible at the bottom, displaying a command prompt.

Next Steps

Now that you’ve configured Cursor’s auto-imports and personalized your IDE, proceed to explore advanced prompt engineering and delve deeper into Cursor’s AI-driven development workflow.

Watch Video