This guide covers installing Docker on Windows, verifying the installation, and running Linux and Windows containers.
Welcome to this comprehensive guide on using Docker on Windows. In this lesson, you’ll learn how to install Docker for Windows, verify the installation, and run both Linux and Windows containers. Follow along to set up your environment and start containerizing your applications effortlessly.
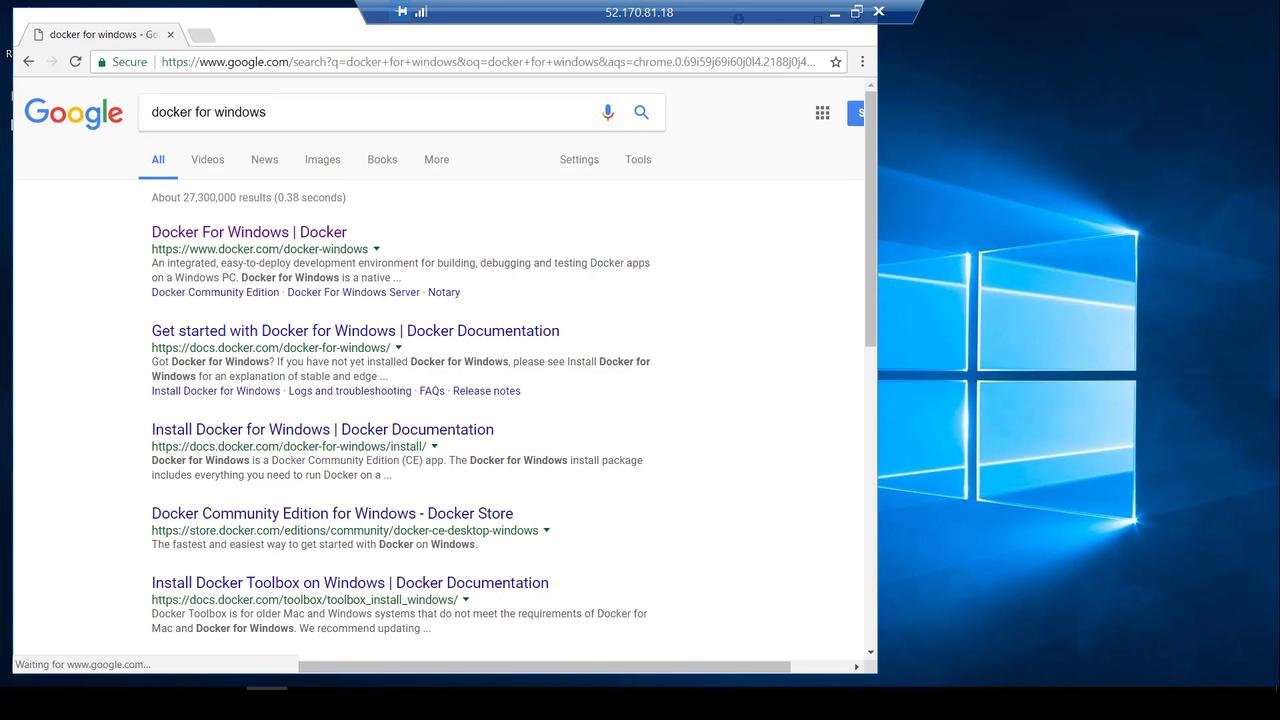
Begin by logging into your Windows Server 2016 system and opening a web browser. Search for “Docker for Windows.” The top result should direct you to the Docker Store download page.
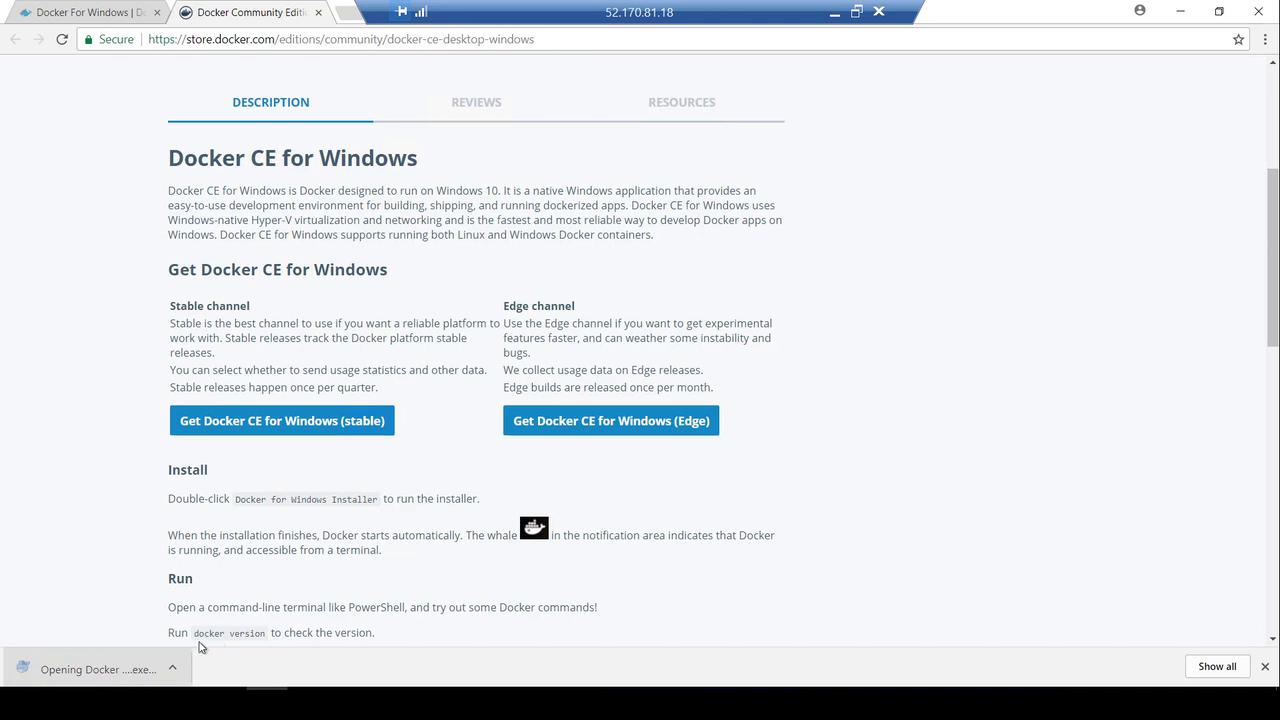
Click on the download link labeled Get Docker CE for Windows to initiate the download. Once the download completes, execute the installation package. During the installation process, Docker automatically downloads additional dependencies from the internet and continues with the setup.
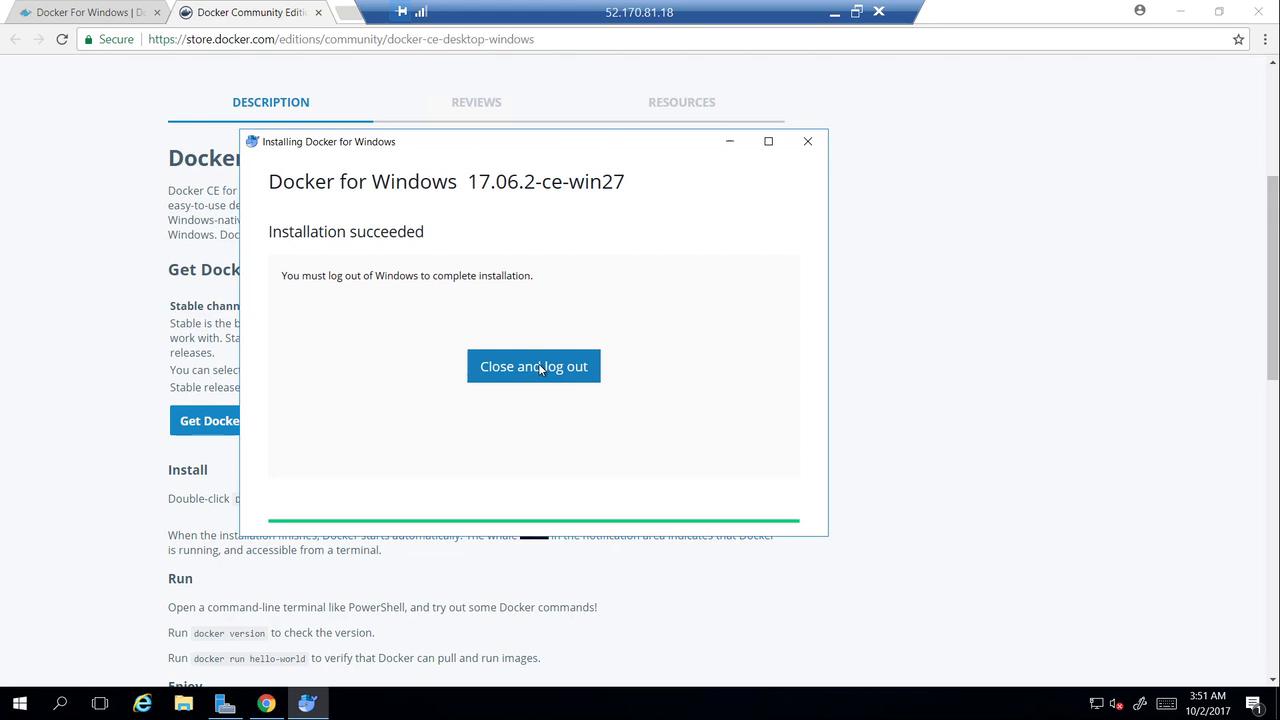
After the installation process finishes, a confirmation message appears instructing you to log out to complete the installation.
Click Close and then log out. After logging back into your system, you will notice a new “Docker for Windows” shortcut on your desktop. Click the shortcut to launch Docker. In the bottom right corner, Docker will start up.
Docker for Windows depends on the Hyper-V feature. If you have not enabled Hyper-V, you will receive a warning. Click OK to enable Hyper-V; this will automatically restart your computer.
Once your computer restarts and you log in again, allow Docker to continue starting up. Open a command prompt to verify that Docker is running properly.
To confirm your installation, run the following command in a command prompt:
C:\Users\mmumshad>docker versionClient: Version: 17.06.2-ce API version: 1.30 Go version: go1.8.3 Git commit: cec0b72 Built: Tue Sep 5 19:57:19 2017 OS/Arch: windows/amd64error during connect: Get http://%2F.%2Fpipe%2Fdocker_engine/v1.30/version: open //./pipe/docker_engine: The system cannot find the file specified. In the default daemon configuration on Windows, the docker client must be run elevated to connect. This error may also indicate that the docker daemon is not running.
Initially, you might encounter an error stating the Docker daemon is not found. This is because the service needs a bit more time to start. Once Docker is running (as indicated by a notification in the bottom right corner), re-run the command:
C:\Users\mmumshad>docker versionClient: Version: 17.06.2-ce API version: 1.30 Go version: go1.8.3 Git commit: cec0b7b Built: Tue Sep 5 19:57:19 2017 OS/Arch: windows/amd64Server: Version: 17.06.2-ce API version: 1.30 (minimum version 1.12) Go version: go1.8.3 Git commit: cec0b7b Built: Tue Sep 5 19:59:19 2017 OS/Arch: linux/amd64 Experimental: true
Notice that while the client operates on Windows, the server section indicates a Linux OS. This is because Docker for Windows deploys a lightweight Linux virtual machine via Hyper-V to run Linux containers.
Validate your installation by running the hello-world container. This command pulls the “hello-world” image from Docker Hub and executes it inside the Linux virtual machine:
C:\Users\mmumshad>docker run hello-world
The output confirms that Docker is functioning correctly:
Hello from Docker!This message shows that your installation appears to be working correctly.To generate this message, Docker took the following steps:1. The Docker client contacted the Docker daemon.2. The Docker daemon pulled the "hello-world" image from the Docker Hub.3. The Docker daemon created a new container from that image which runs the executable that produces the output you are currently reading.4. The Docker daemon streamed that output to the Docker client, which sent it to your terminal.To try something more ambitious, you can run an Ubuntu container with:$ docker run -it ubuntu bash
You can also start an interactive Ubuntu container with:
C:\Users\mmumshad>docker run -it ubuntu bash
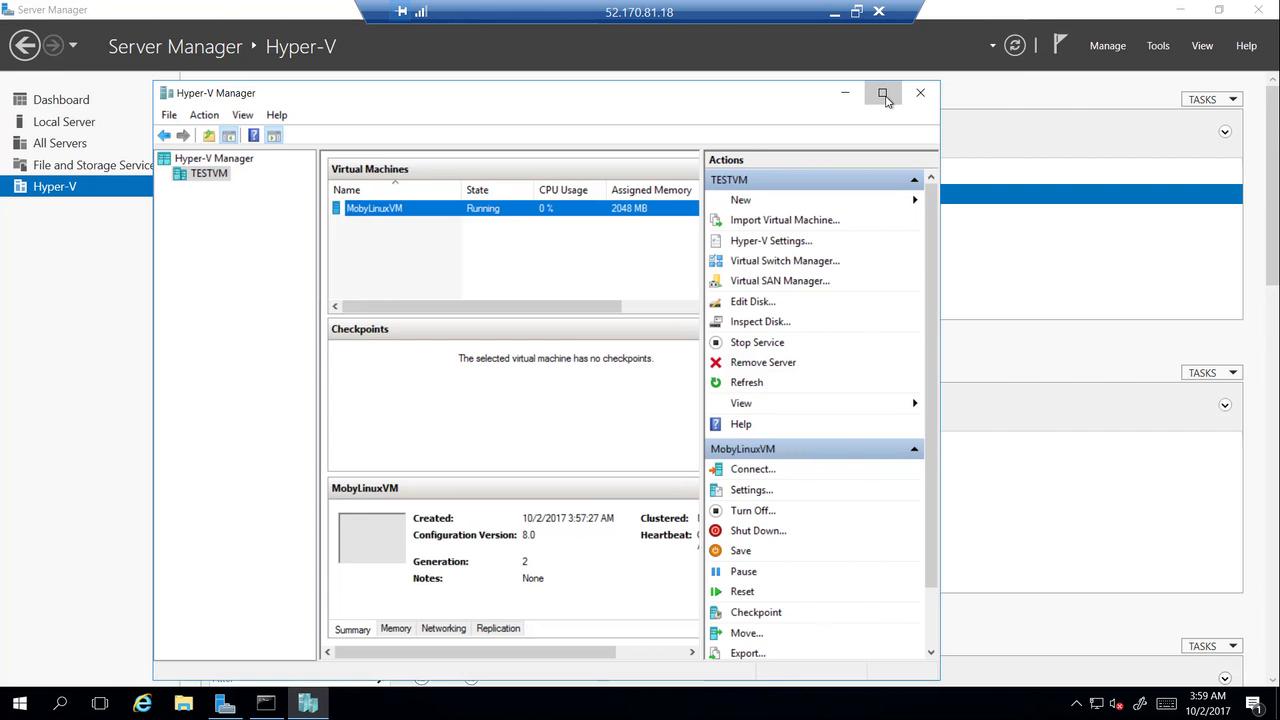
This confirms that Linux containers are running on your Windows machine through the Linux VM provided by Hyper-V.To inspect the Hyper-V deployment, open the Server Manager and navigate to Hyper-V. You should see a test virtual machine, which represents the Linux VM running Docker.
Right-click the test VM and select Hyper-V Manager to view additional details.
Windows Server 2016 and Windows 10 Professional allow you to run Windows-based containers. To switch from Linux to Windows containers:
Right-click the Docker icon in the system tray.
Select Switch to Windows containers.
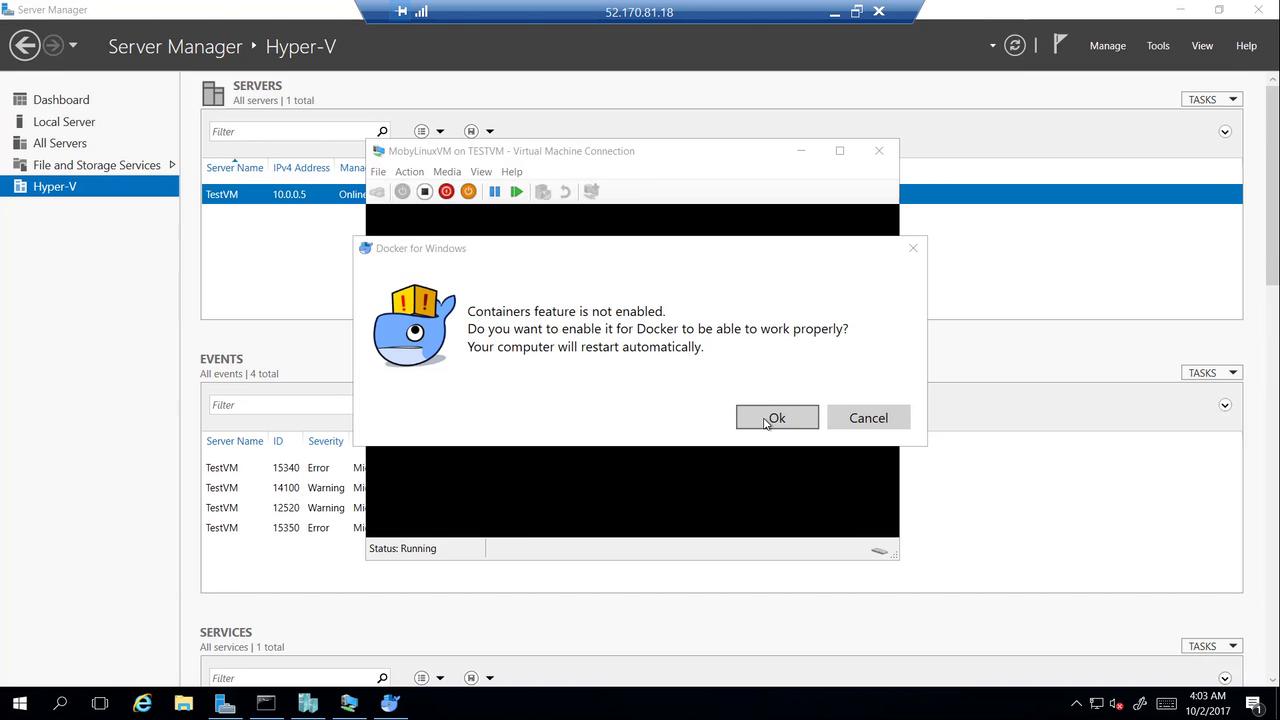
A notification will signal that the Containers feature is not enabled. On Windows Server 2016, this feature is built-in, but if it’s disabled, clicking OK will enable it and restart your computer.
After restarting, open a command prompt again and execute the docker version command to verify that both the client and server are now running Windows:
Test your Windows container setup by running the hello-world container once more:
C:\Users\mmumshad>docker run hello-world
Because Windows-based images are generally larger than Linux images, the download and start-up may take a little longer. Once the image is downloaded and executed, you’ll see a success message confirming Docker is working with Windows containers. The output may also include an example command to run a Windows Server container:
PS C:\> docker run -it microsoft/windowsservercore powershell
This command starts a Windows Server Core container with a PowerShell prompt. You can use this image as a basis for building custom application images for Windows.To display a list of all running and stopped containers, use the following command:
C:\Users\mmumshad>docker ps -aCONTAINER ID IMAGE COMMAND CREATED STATUS5246101d669d2 microsoft/windowsservercore powershell 10/2/2017 4:15 AM Up 15 secondsacb175d6c39e microsoft/windowsservercore powershell 10/2/2017 4:15 AM Exited (0) 3 minutes ago69d970fec569 microsoft/windowsservercore powershell 10/2/2017 4:15 AM Up 2 minutes
This guide demonstrated the complete process of installing Docker for Windows, verifying the installation, and running both Linux and Windows containers. With Docker set up on your Windows machine, you are ready to explore containerized application development. For further reading: