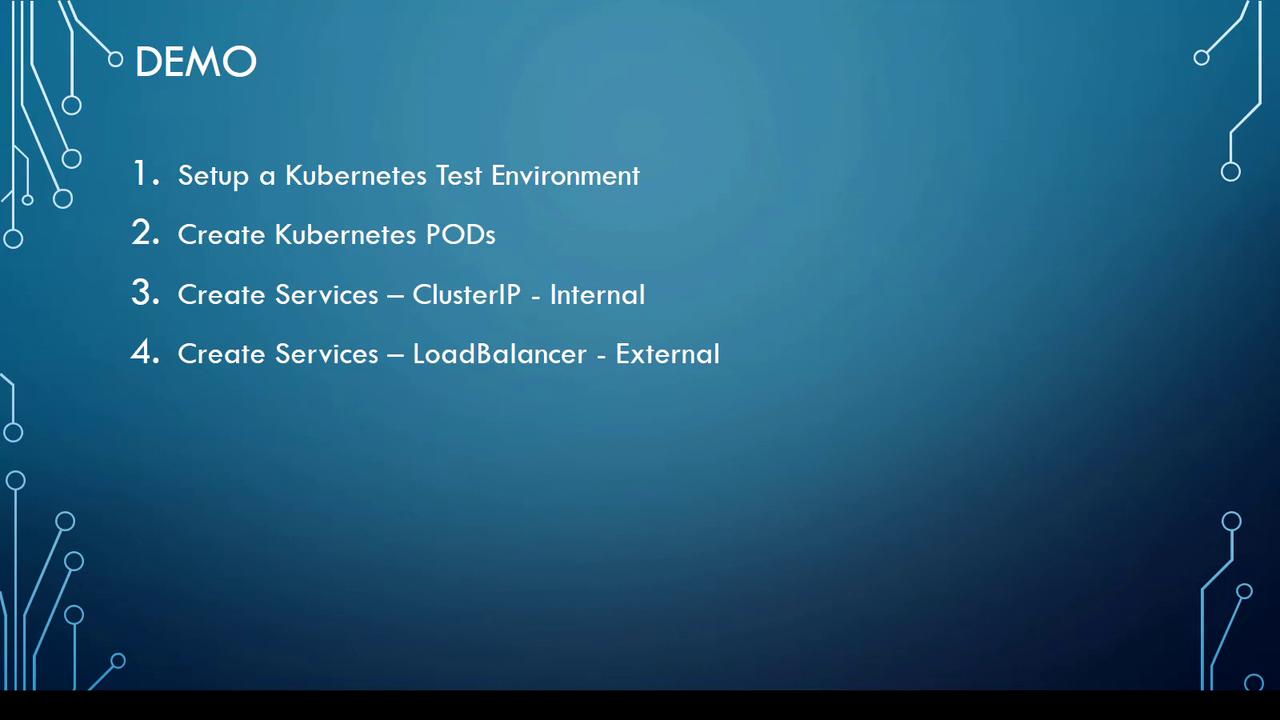
This article provides a step-by-step guide to setting up a Kubernetes test environment using PlayWithK8s.com for experimenting without infrastructure.
Welcome to this comprehensive lesson on setting up a Kubernetes test environment using PlayWithK8s.com. In this guide, you’ll quickly learn how to experiment with Kubernetes without needing your own infrastructure or a public cloud account by following a step-by-step procedure similar to our previous demos, with environment-specific adjustments.
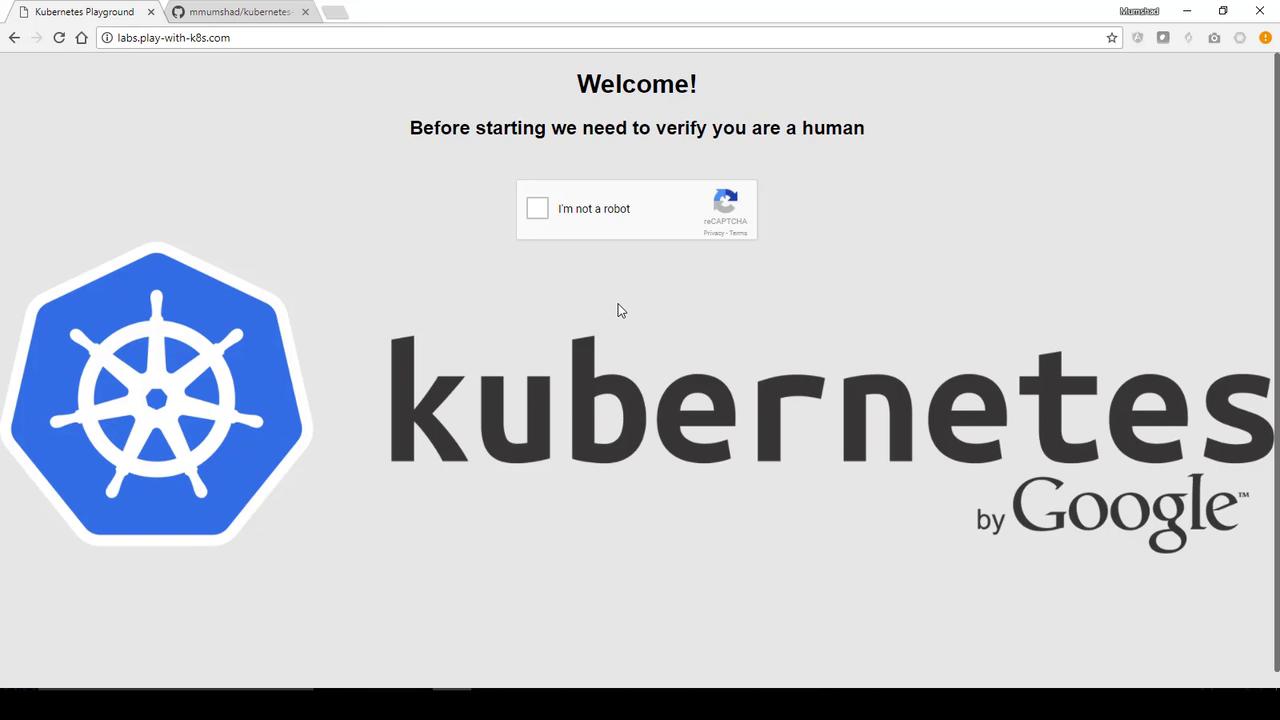
When you navigate to PlayWithK8s.com, you’ll get free access to Kubernetes clusters with sessions lasting four hours. Simply click on “Add New Instance” to provision a cluster instance and begin your tests immediately.
Once logged in, you’ll notice a session timer counting down from four hours. This environment is ideal for quick tests and experiments.
Begin by initializing your Kubernetes cluster using the provided YAML definition files from previous demos. Execute the following commands on your provisioned instance:
After executing these commands, you should see output similar to the snippet below:
[apiclient] All control plane components are healthy after 36.501139 seconds[token] Using token: 0f5aa8.4abec8c7a16185d[apiconfig] Created RBAC rules[addons] Applied essential addon: kube-proxy[addons] Applied essential addon: kube-dnsYour Kubernetes master has initialized successfully!To start using your cluster, you need to run (as a regular user):mkdir -p $HOME/.kubesudo cp -i /etc/kubernetes/admin.conf $HOME/.kube/configsudo chown $(id -u):$(id -g) $HOME/.kube/configYou should now deploy a pod network to the cluster.Run "kubectl apply -f [podnetwork].yaml" with one of the options listed at:http://kubernetes.io/docs/admin/addons/You can now join any number of machines by running the following on each node as root:kubeadm join --token 0f5aa8.4abec8c7a16185d 10.0.63.4:6443
The second command sets up the networking for your cluster. In this demo, we’ll skip the optional deployment of the Kubernetes Dashboard. Once your master node is running and networking is configured, you are ready to deploy your application.
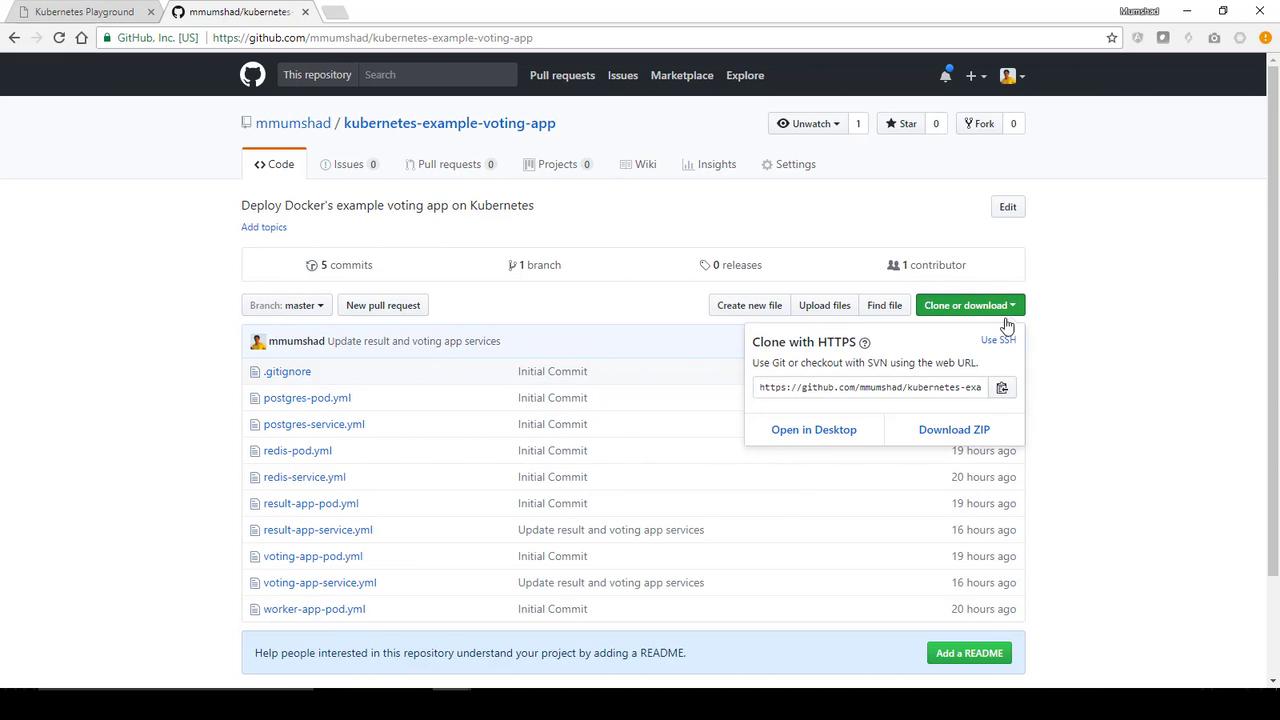
Next, clone our GitHub repository containing the Kubernetes YAML files for a sample voting application. First, ensure that Git is installed on your instance:
Deploy additional components required by the voting app, including Redis, Postgres, the worker, and the result app pods, along with their corresponding services. Execute the following commands one after another:
Once all pods are Running, check that the services are created:
kubectl get services
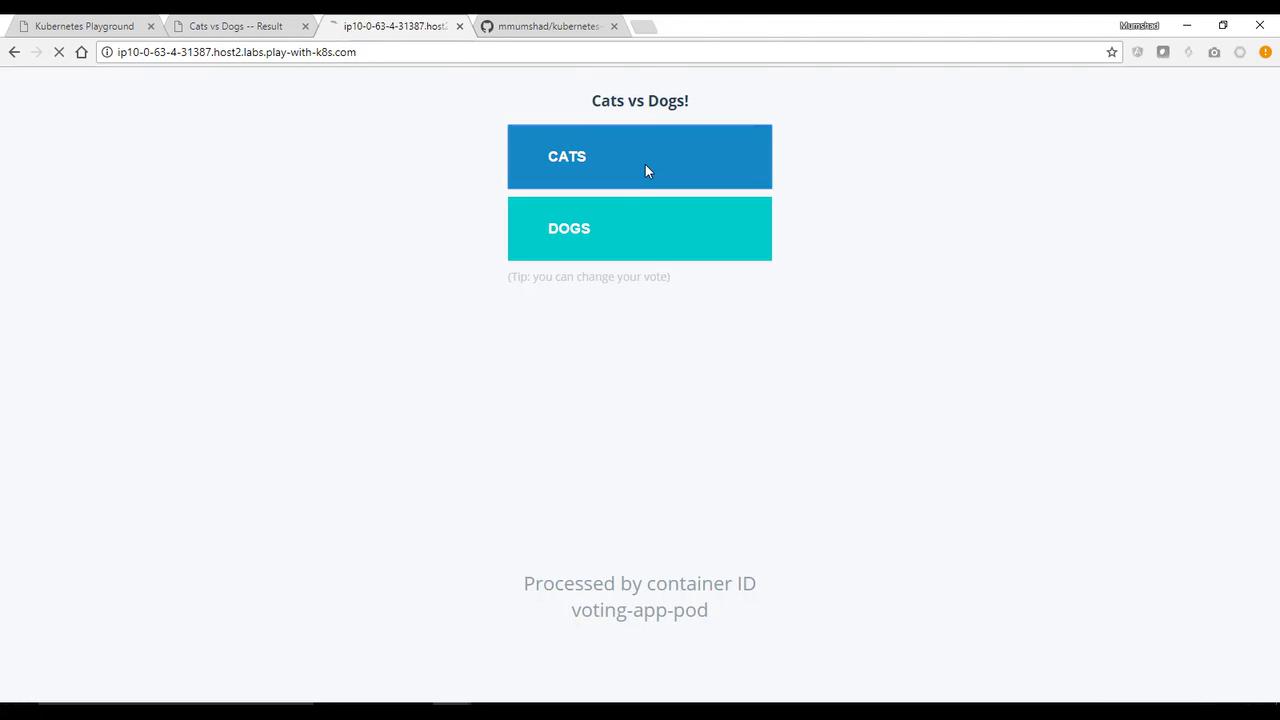
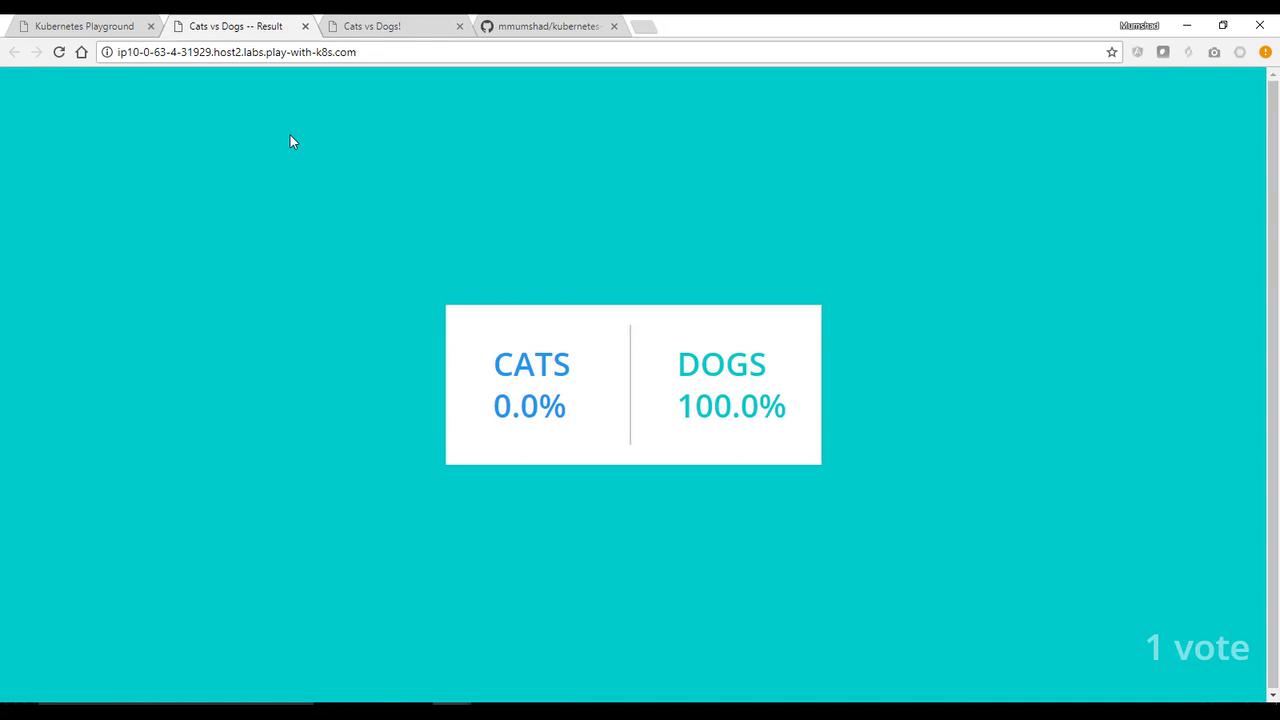
Access the voting application via the external link. The interface should display the current vote counts (initially 50-50, before any votes are cast). Casting a vote (e.g., selecting “CATS” or “DOGS”) will update the results as the services communicate.
Instead of deploying resources individually, you can deploy all YAML files from the repository at once. Execute the following command from within the repository directory:
kubectl create -f .
This command initiates all pods and services. Verify the deployment using:
Thank you for following this demo on deploying an application using PlayWithK8s.com. We hope you found this guide helpful, and we look forward to supporting your next Kubernetes adventure.