

- Table creation and primary key design
- Capacity modes and auto scaling
- Adding and querying items (Console + PartiQL)
- Monitoring, backups/replication, and cleanup
Step 1 — Create the table and choose a primary key
Open the DynamoDB service in the AWS Console and create a new table namedorders. The most important design decision is choosing the primary key. This controls how efficiently you can retrieve items.
For this demo:
- Partition key:
customerId(String) — use this to fetch all orders for a specific customer. - Sort key:
orderId(String) — ensures each order for a given customer is unique and enables range queries.

Primary key tips:
- Use a single partition key when every item is unique (e.g., profile records).
- Use a composite key (partition + sort) when multiple related items share the same partition (e.g., orders for a customer).
- Design keys based on access patterns — table design is driven by how you will query the data.
Capacity mode, table class, and advanced options
You can accept defaults or click Customize to review:- Table class:
StandardorStandard-Infrequent Access(for less frequently accessed data). - Capacity mode:
On-demand(pay-per-request) orProvisioned(pre-allocated RCUs/WCUs). - Encryption at rest and deletion protection.
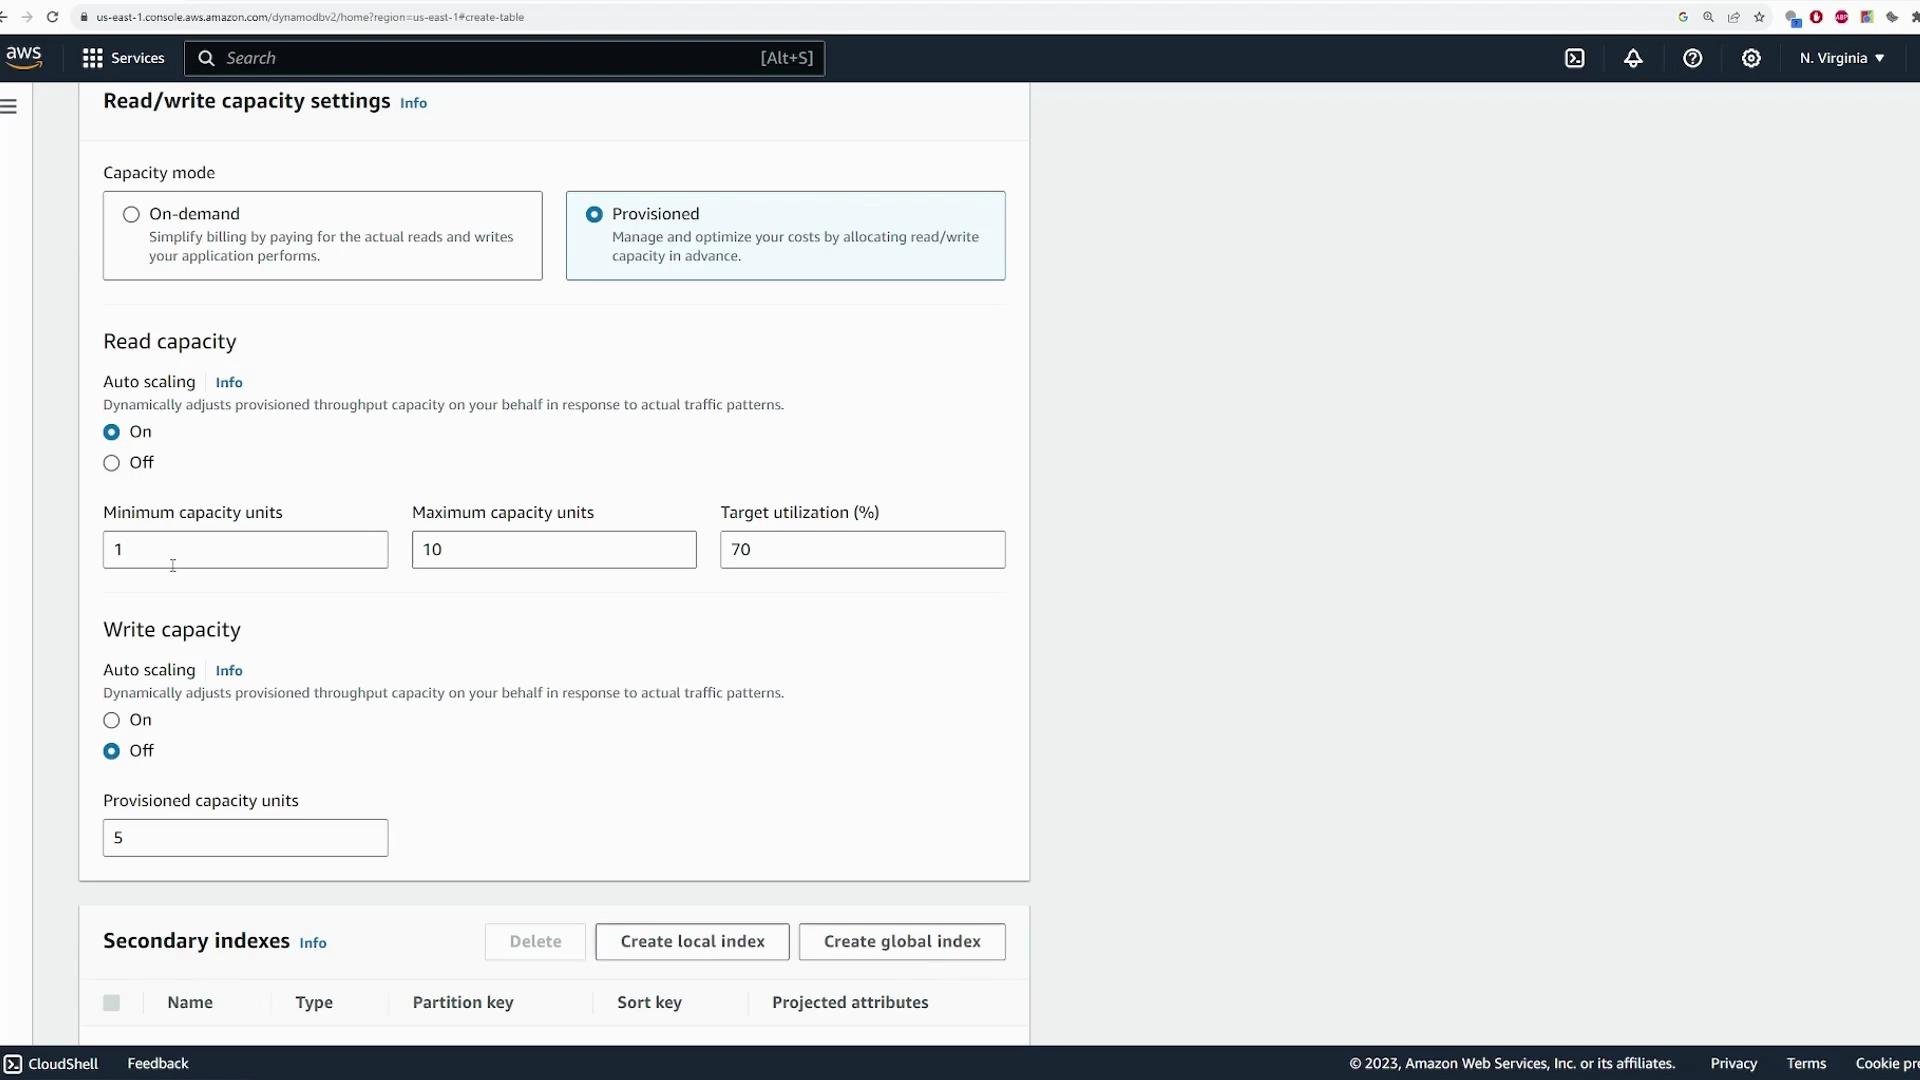
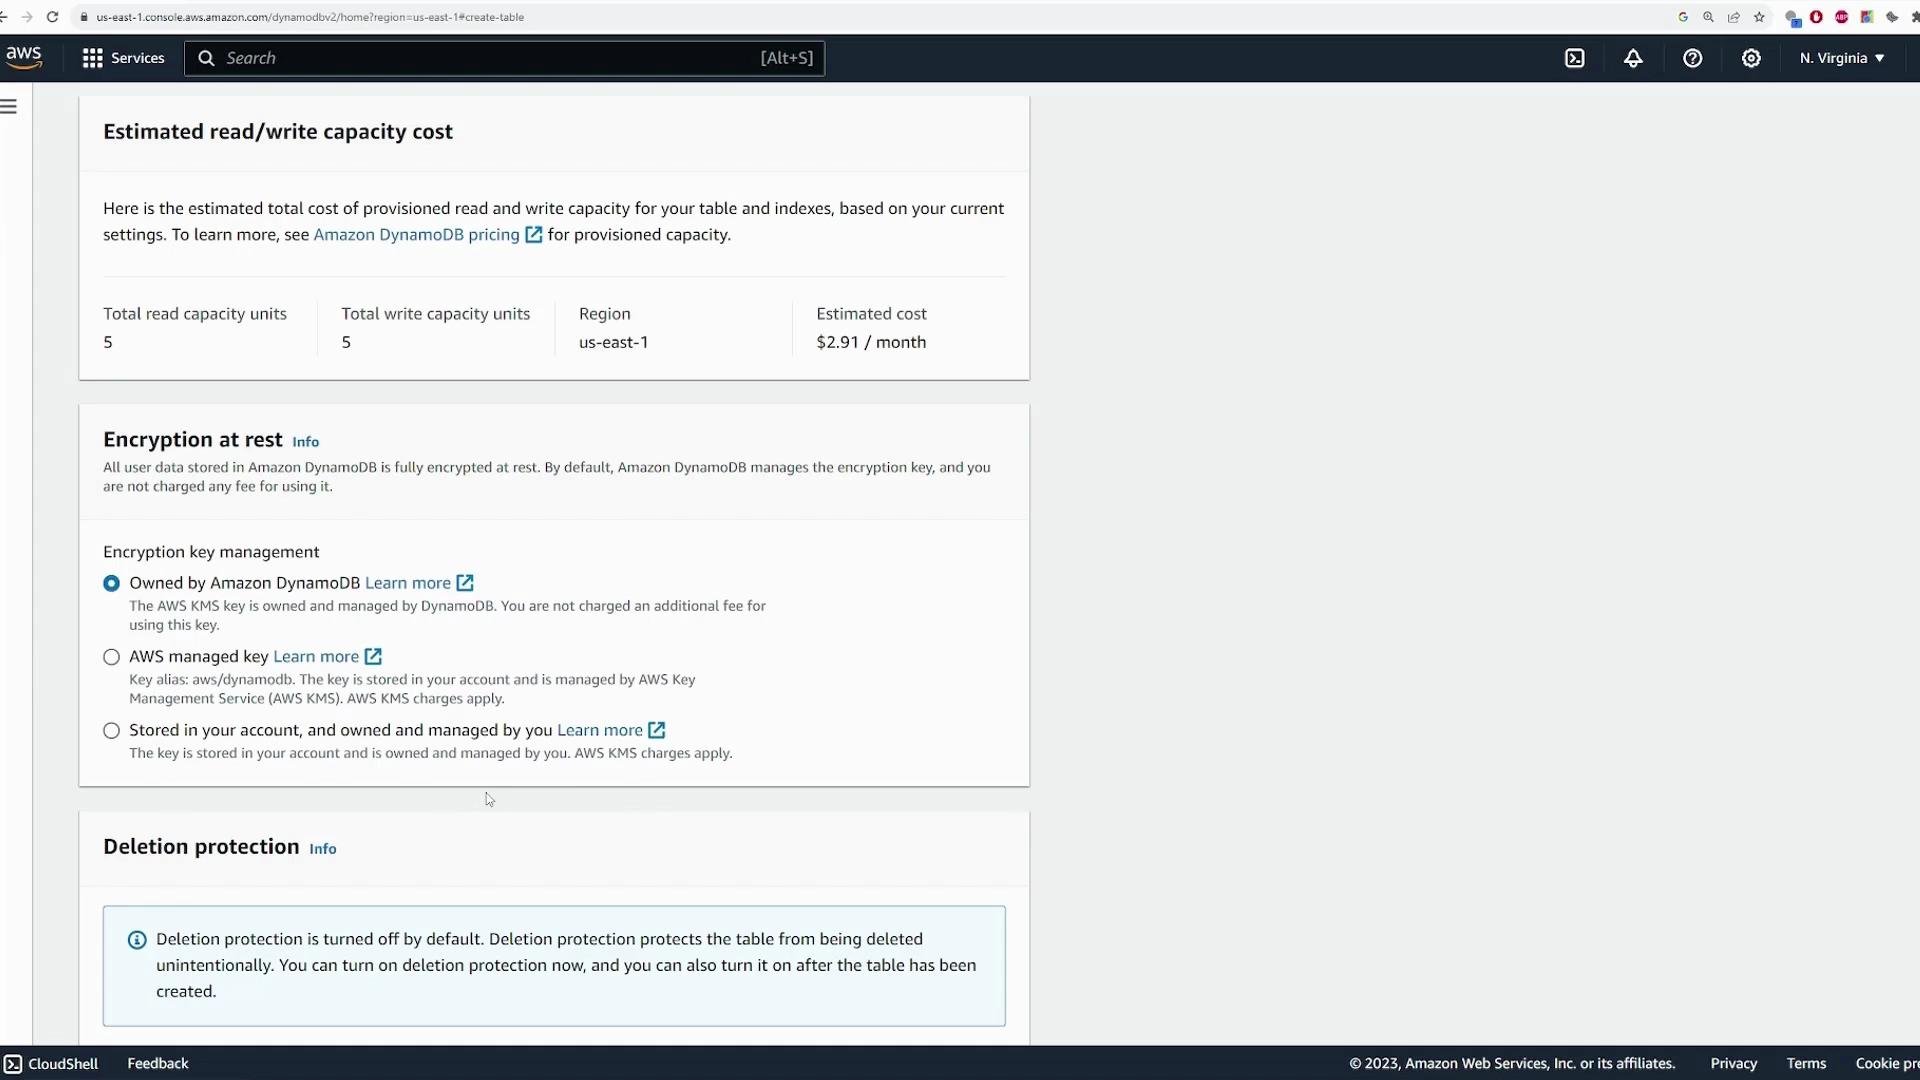
Active. Once active, open the table to inspect configuration and metrics.
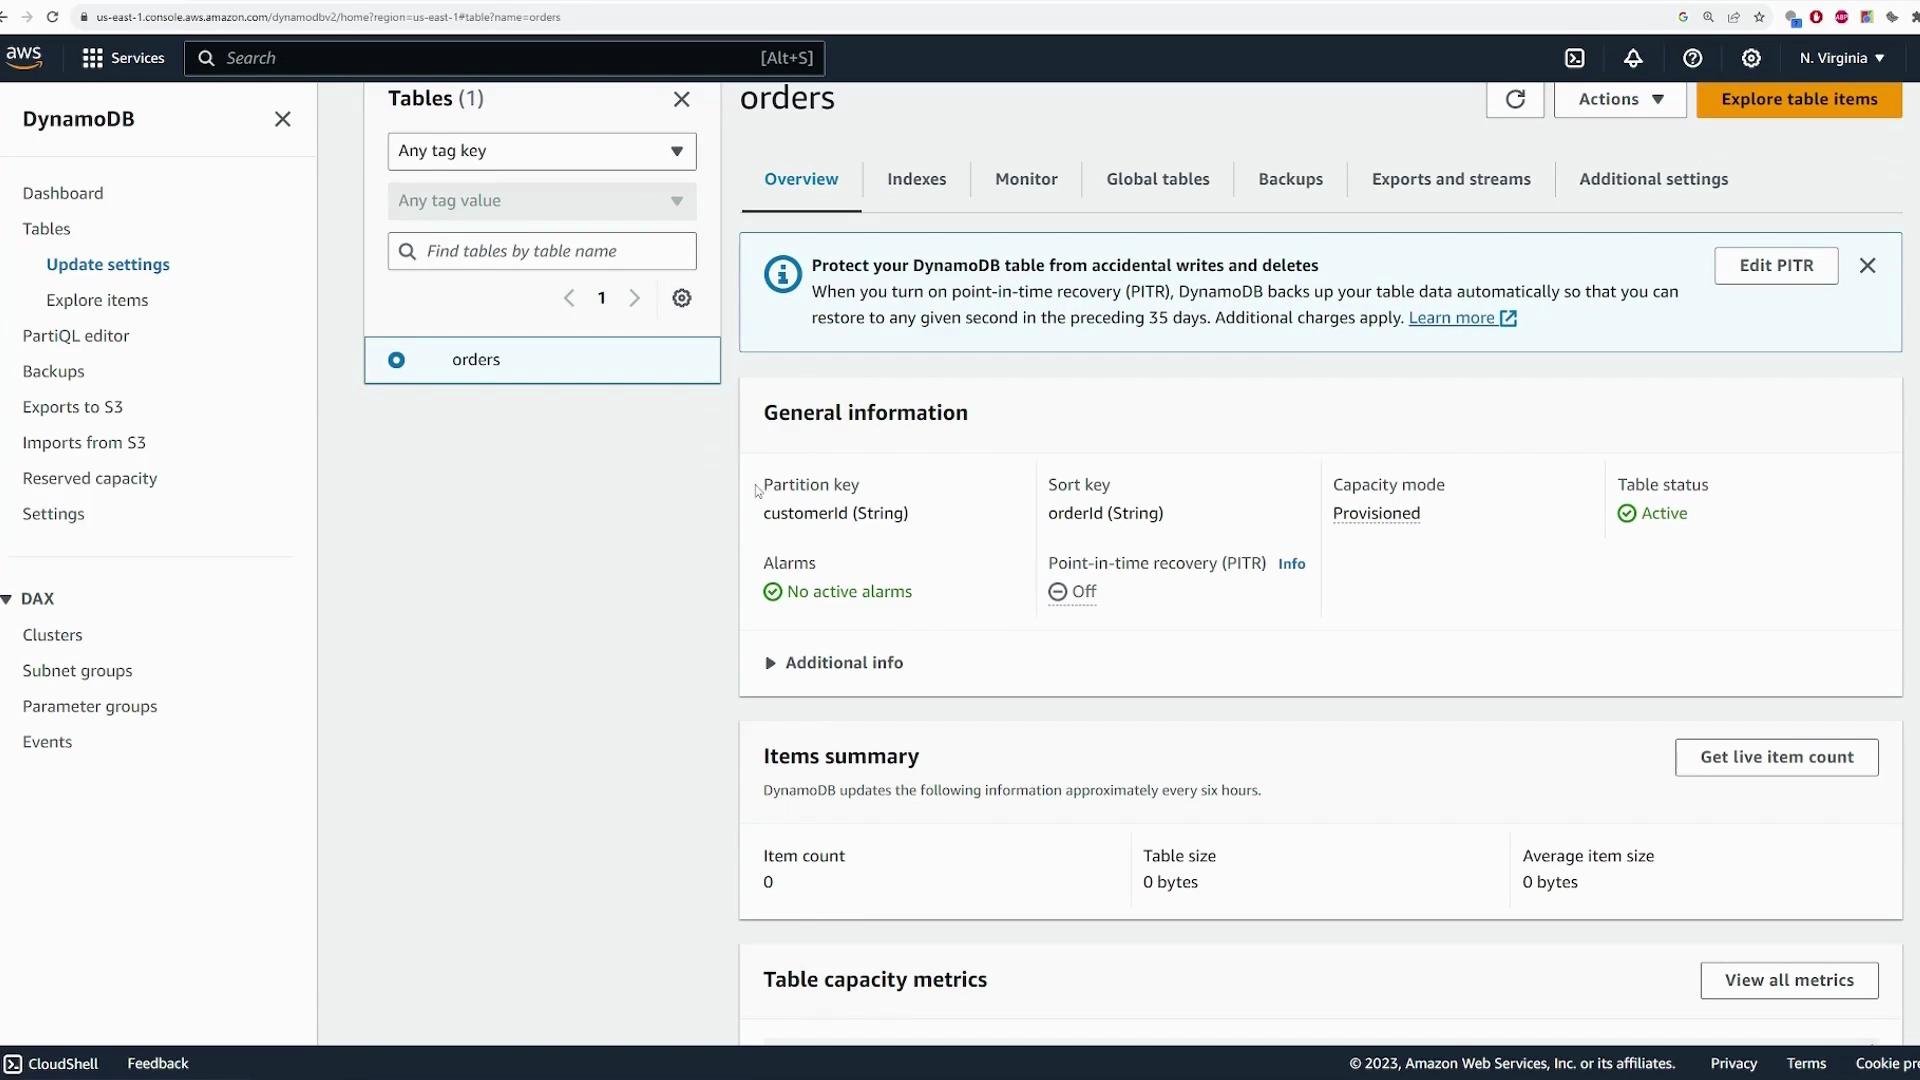
- Primary key schema (
customerId,orderId) - Table status (
Active) - Item count, table size, average item size
- Capacity metrics and summary information
Indexes, monitoring, and replication
To support additional access patterns, create Global Secondary Indexes (GSIs) or Local Secondary Indexes (LSIs) from the Indexes tab.

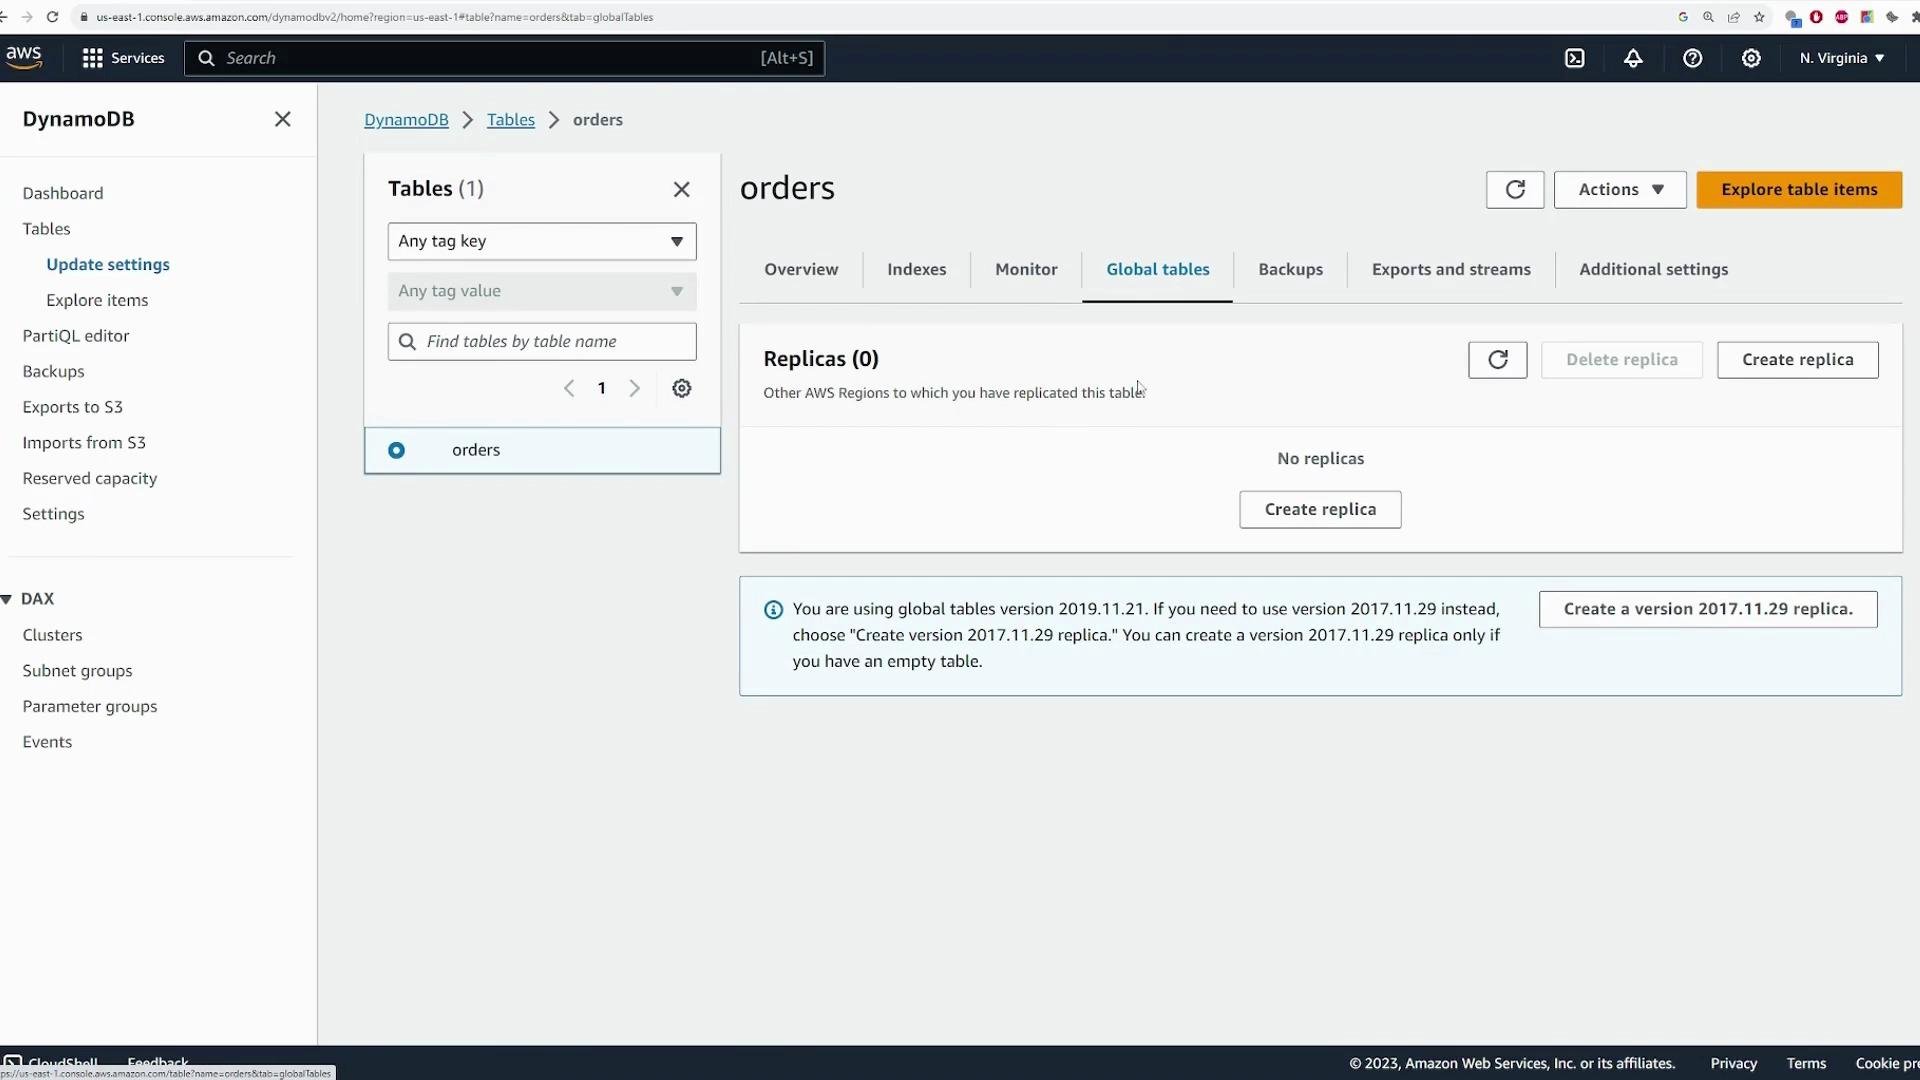

Step 2 — Insert sample items via the Console
Open Explore table items to run Scans or Queries and to inspect item data. For production use prefer the AWS SDK or AWS CLI, but the Console is useful for quick tests.

CUST-1 use:
customerId = "CUST-1"
KeyConditionExpression on the sort key (e.g., range queries on orderId) or a FilterExpression for non-key attributes (e.g., price > 60). Important: filter expressions are applied after the read and do not reduce the read capacity units consumed by the underlying query.
Example (Console):
- Query partition key
customerId = "CUST-1" - Add FilterExpression:
price > 60Result: both items forCUST-1are read, but only the item withprice = 100is returned.
PartiQL: a SQL-like option
DynamoDB supports PartiQL — a SQL-compatible language that maps to DynamoDB operations. PartiQL is useful for users familiar with SQL, but the same DynamoDB access patterns and limits still apply.
- Select all orders for a customer:
SELECT * FROM "orders" WHERE "customerId" = 'CUST-1'
- Filter by price (note: this still maps to DynamoDB reads/filters):
SELECT * FROM "orders" WHERE "customerId" = 'CUST-1' AND "price" > 60
Step 3 — Monitor, then delete the table
After running reads/writes, check the Monitor tab to view actual read/write metrics, throttles, and latency trends. When you finish the demo, delete the table to avoid ongoing charges:- Select the table → Delete → confirm.

Deleting a table is irreversible and removes all data. Consider enabling deletion protection or creating a backup if you need to retain data before deletion.
Quick reference table
Additional resources
- DynamoDB Developer Guide: https://docs.aws.amazon.com/amazondynamodb/latest/developerguide/
- PartiQL reference: https://docs.aws.amazon.com/amazondynamodb/latest/developerguide/ql-reference.html
- AWS CLI: https://aws.amazon.com/cli/
- AWS SDKs & Tools: https://aws.amazon.com/tools/
- CloudWatch: https://aws.amazon.com/cloudwatch/
- S3 (export target): https://aws.amazon.com/s3/
- Kinesis: https://aws.amazon.com/kinesis/
Key takeaways:
- Choose a primary key that matches your read/write access patterns (partition key for customer queries; add a sort key for multiple items per customer).
- Prefer Query over Scan to reduce costs and improve performance.
- Choose capacity mode based on traffic predictability; use Provisioned mode with auto scaling for predictable workloads.
- PartiQL offers SQL-like convenience but maps to the same DynamoDB operations and limits.