Uploading custom models to the Ollama Model Registry simplifies sharing and version control for your team, similar to using Docker Hub for container images.
Distributing Modelfiles for every update can be cumbersome. By uploading custom models to the Ollama Model Registry, your team can pull the latest version directly—just like using Docker Hub for container images.In this tutorial, we’ll cover how to:
NAME ID SIZE MODIFIEDharris:latest 267a012ab49f 2.0 GB 5 days agophi3:latest 4f2222927938 2.2 GB 5 days agollama3.2:latest a80c4f17acd5 2.0 GB 6 days ago
Next, create a tagged copy under your Ollama username:
ollama copy harris your_username/harris:latest
Replace your_username with your actual Ollama account name. Verify the new entry:
ollama ls
Expected result:
NAME ID SIZE MODIFIEDyour_username/harris:latest 267a012ab49f 2.0 GB just nowharris:latest 267a012ab49f 2.0 GB 5 days agophi3:latest 4f2222927938 2.2 GB 5 days agollama3.2:latest 2.0 GB 6 days ago
Push the tagged model to make it available on Ollama:
ollama push your_username/harris:latest
Sample output:
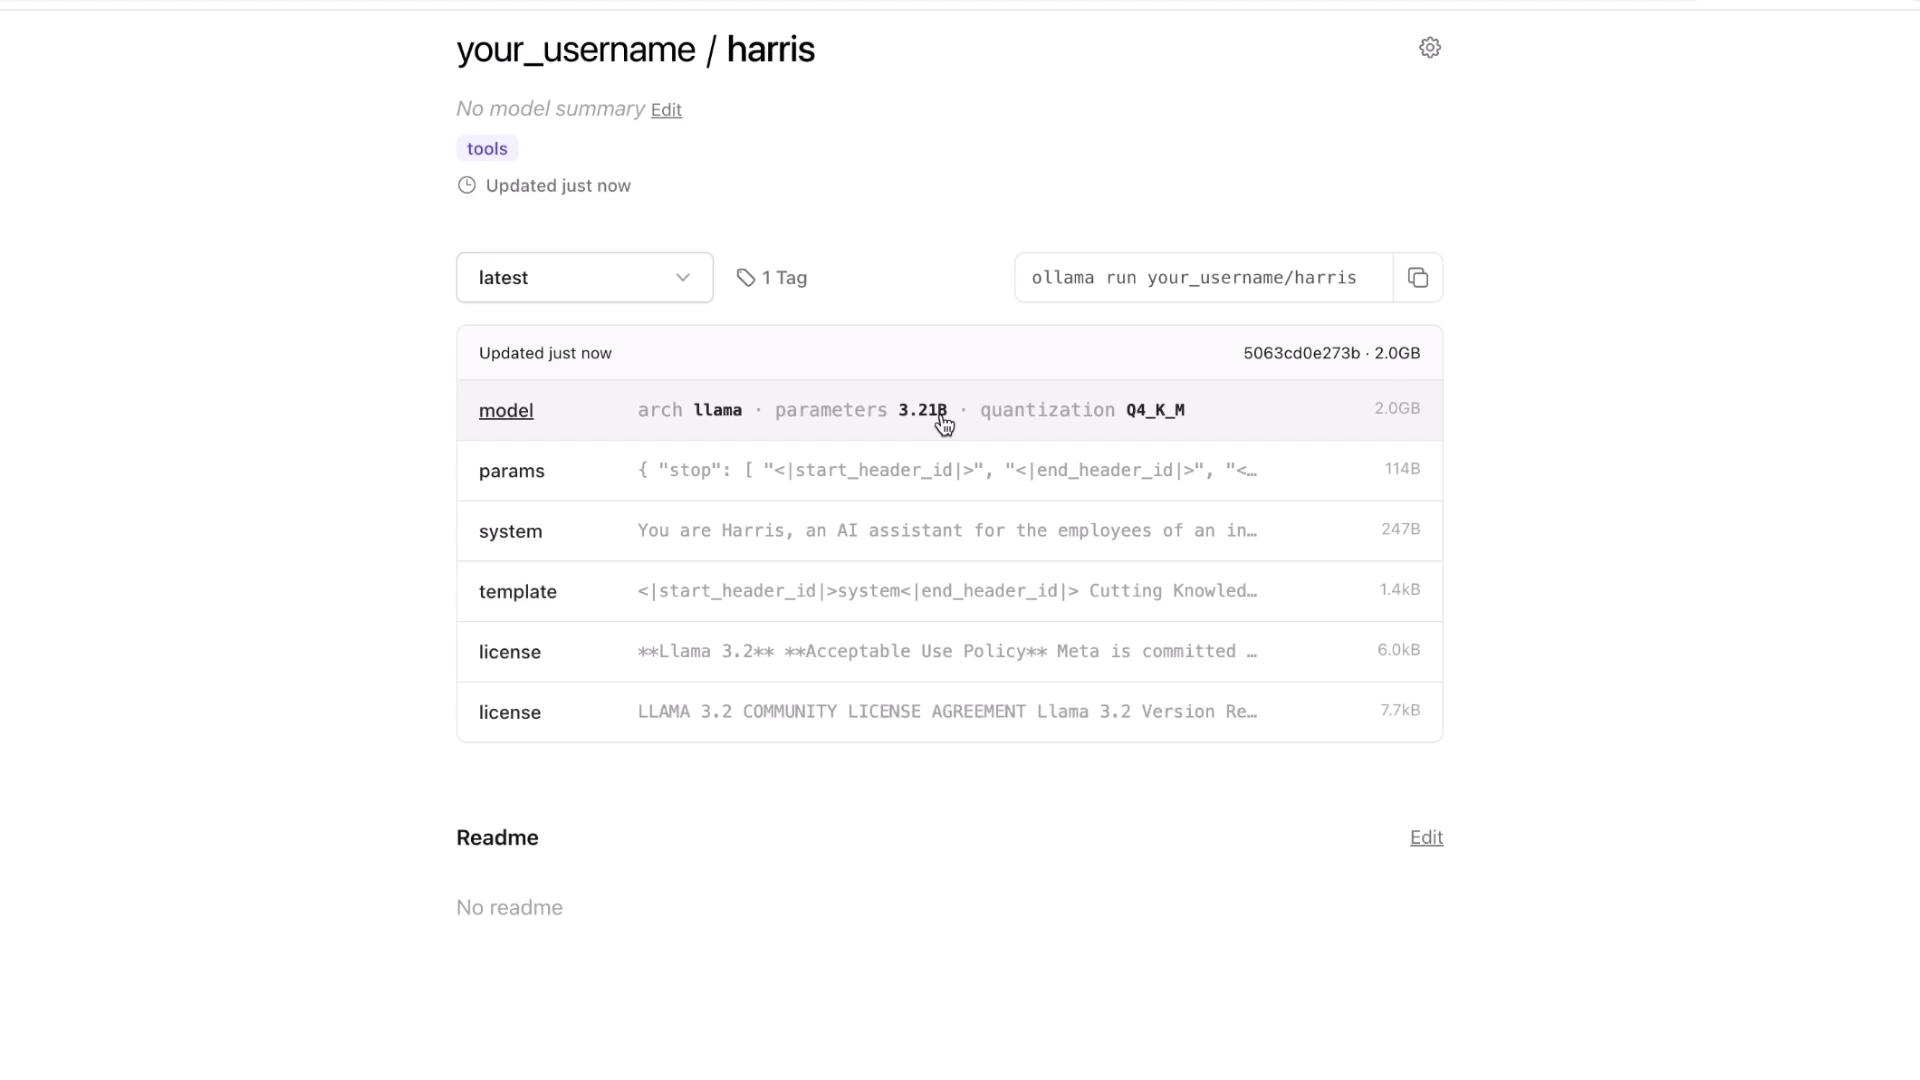
retrieving manifestpushing dd5aaa3fc5ff... 100%pushing 966de95ca8a6... 100%...pushing manifestsuccessYou can find your model at:https://ollama.com/your_username/harris
Visit the URL to view details such as architecture, parameter count, quantization, and any custom system instructions.
Uploading custom models to the Ollama Model Registry simplifies sharing, version control, and collaboration. Experiment with tagging, pushing, and pulling your own models to integrate this workflow into your development process.