Recap
We’ve already covered:- Customizing existing models with a
Modelfiledefinition - Building a new model using the
ollama createcommand
Why Use a Model Registry?
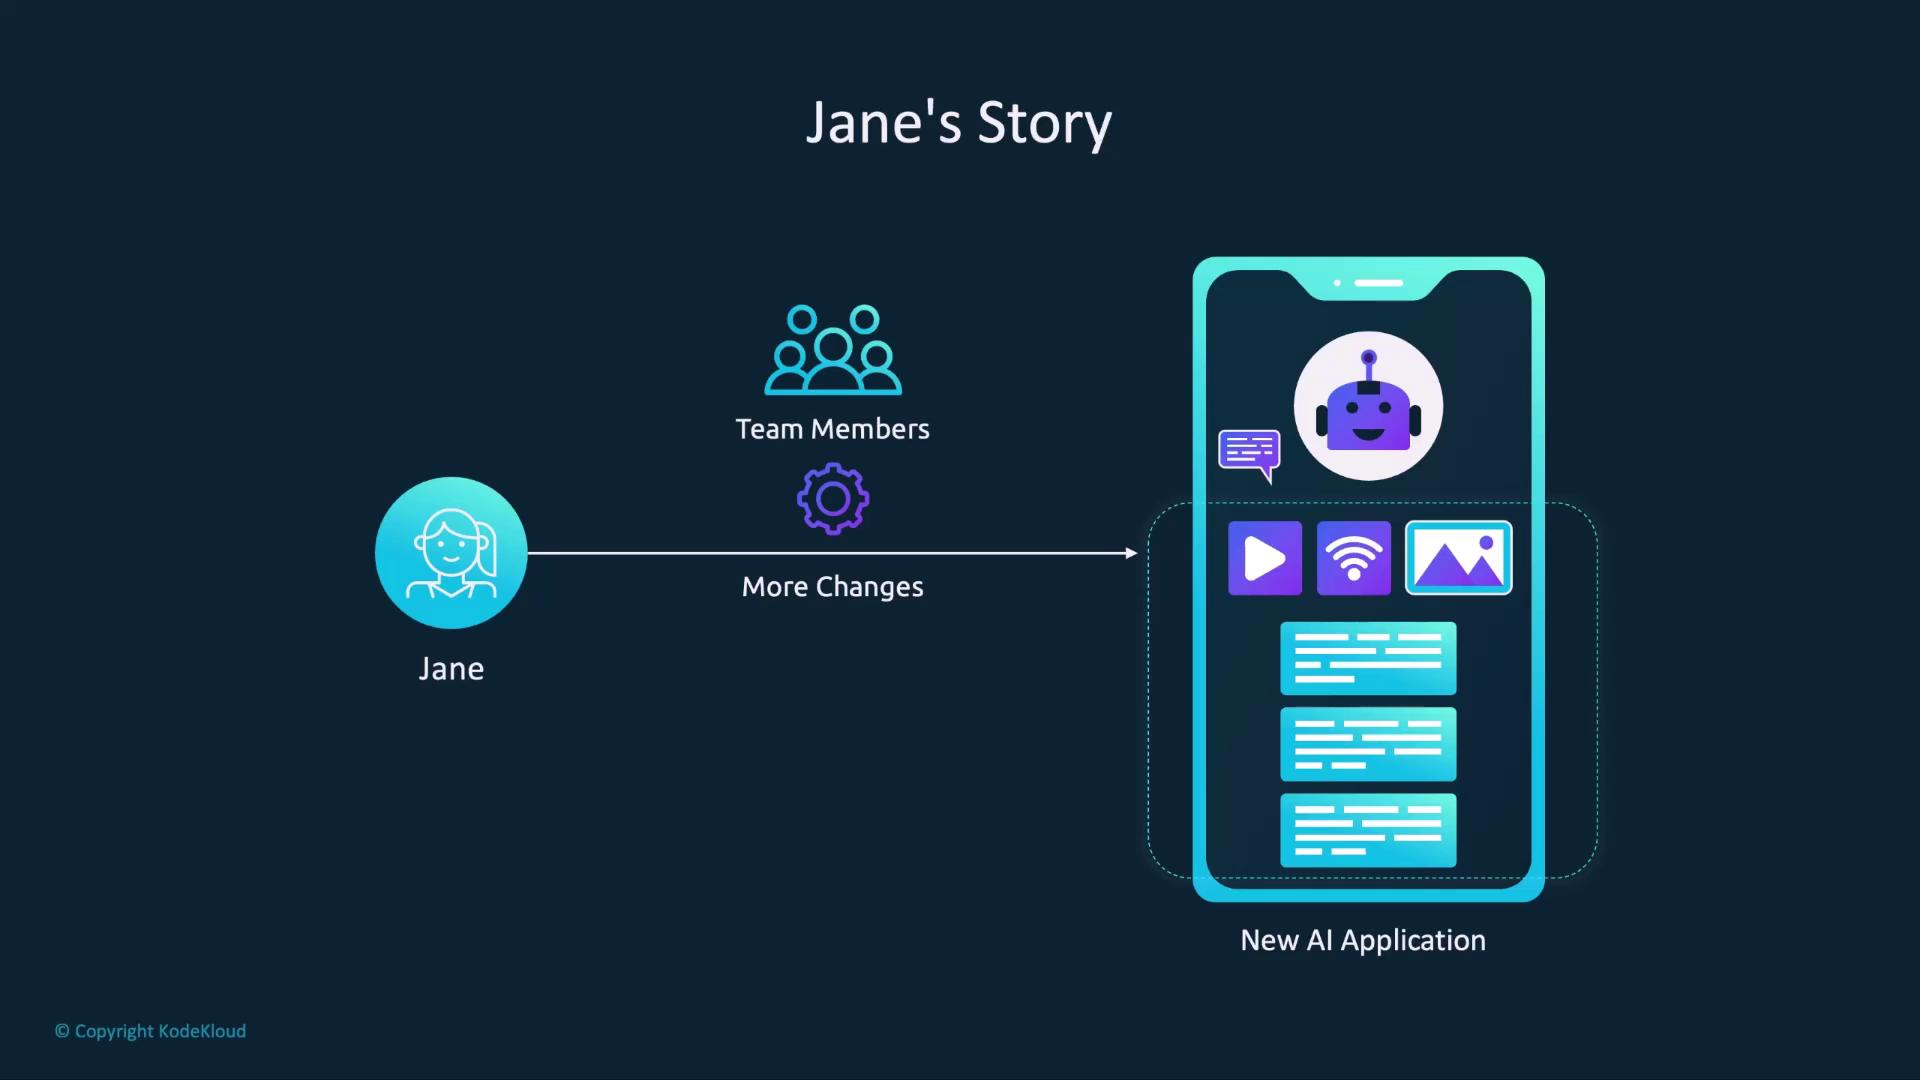
Imagine Jane, an AI developer, has fine-tuned a model for her application. Distributing the rawModelfile means each teammate must pull and rebuild the model locally every time there’s an update—error prone and time-consuming:
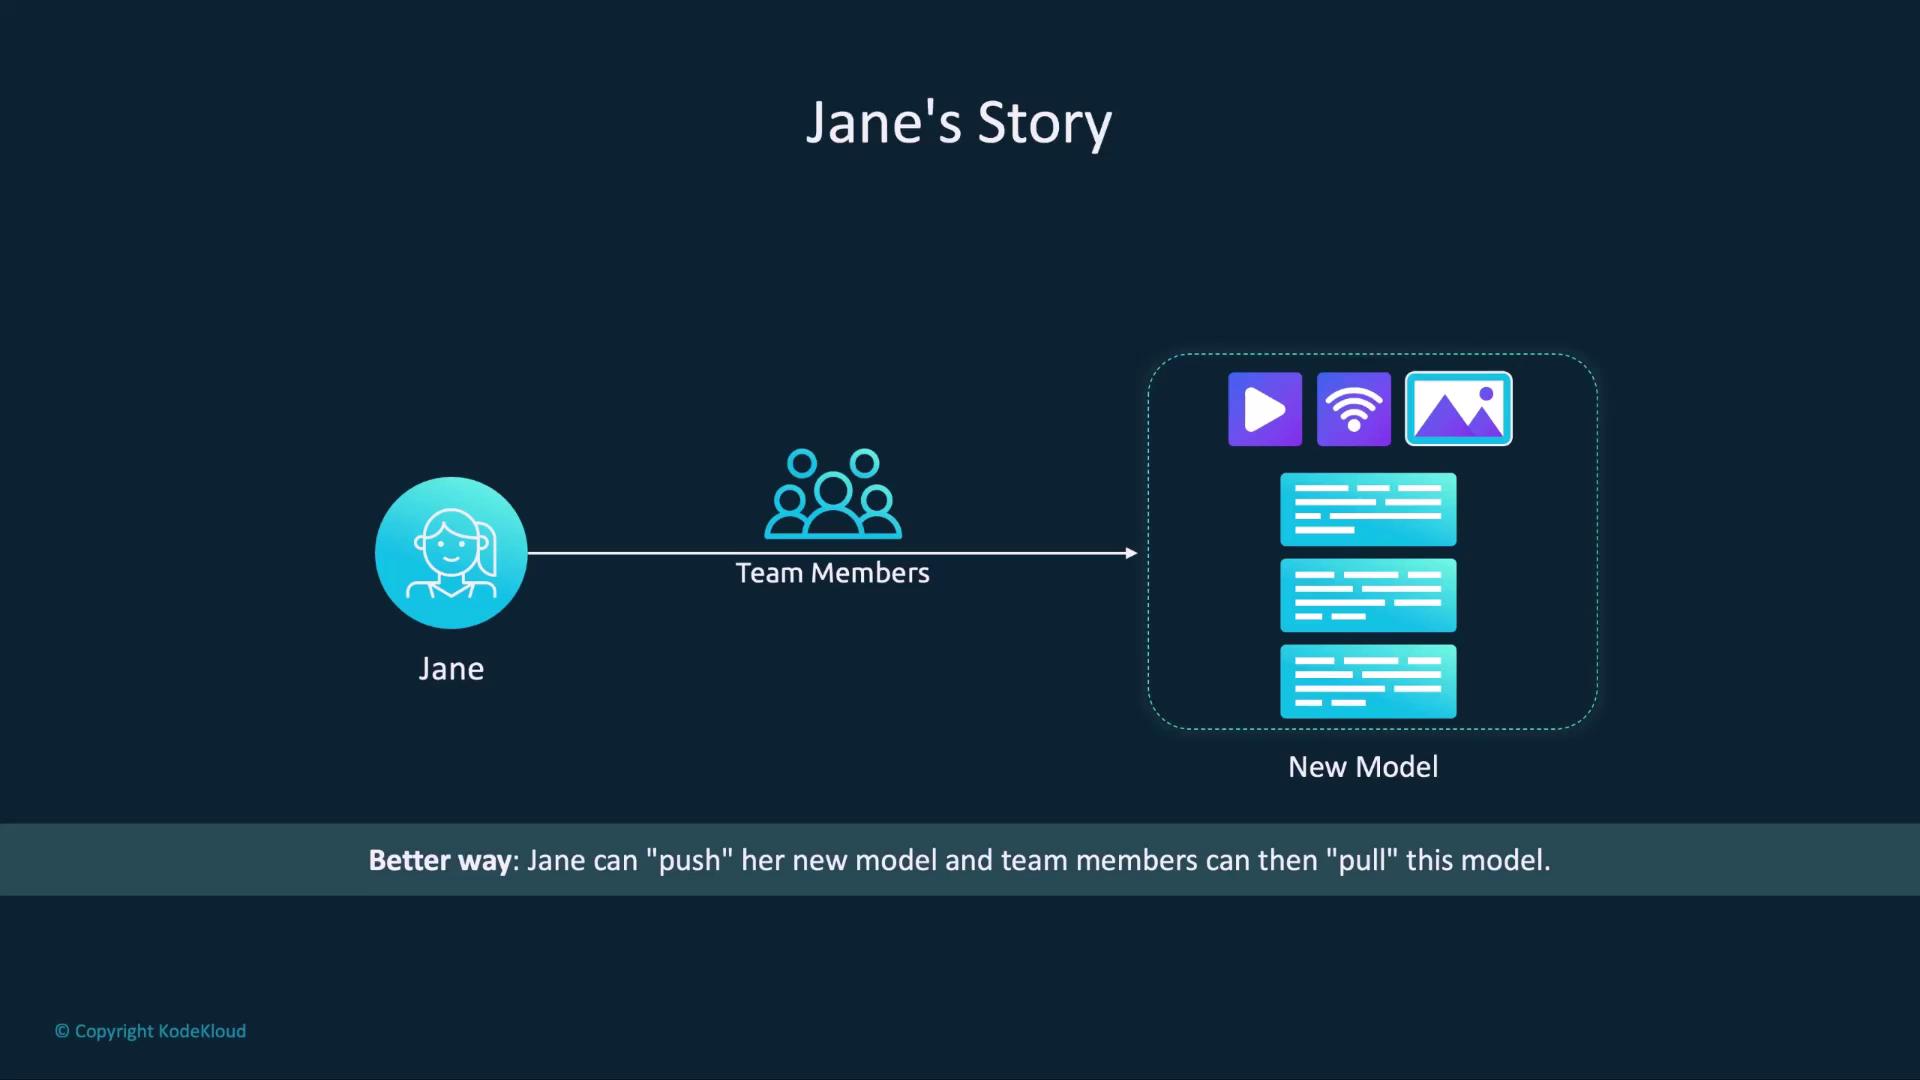
Just push updates once, and everyone can pull the latest version:
Publishing Your Model
Follow these steps to upload and share your custom model on Ollama:-
Create an Ollama Account
Sign up at ollama.com and verify your email. You’ll use this account to push and manage models. -
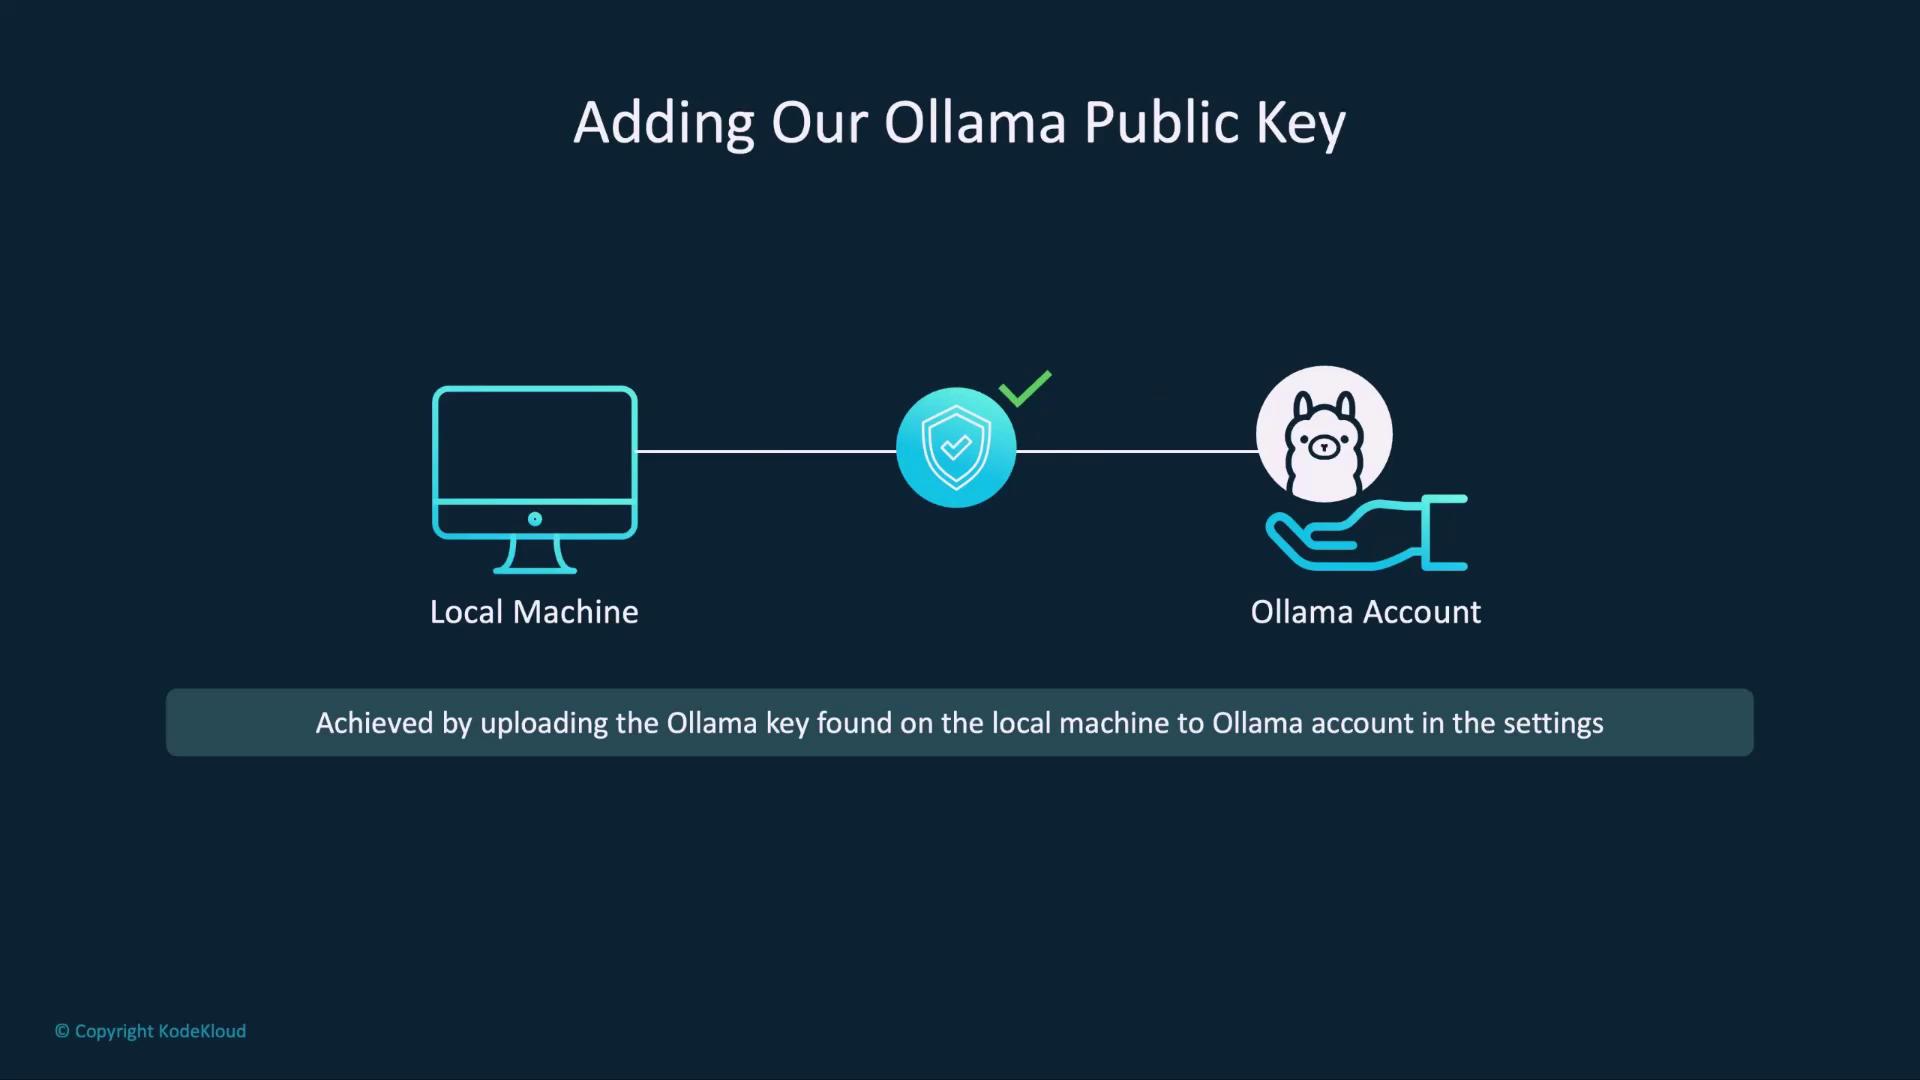
Configure Your SSH Public Key
Ollama uses SSH keys to authenticate model uploads. Locate or generate your public key and add it to your account settings.Platform Default Public Key Path macOS ~/.ollama/id_ed25519.pubLinux ~/.ollama/id_ed25519.pubWindows C:\Users\<username>\.ollama\id_ed25519.pub
If you don’t have an SSH key pair yet, generate one with:
-
Tag Your Model for Your Namespace
Prefix your local model name with your Ollama username:
Make sure to replace
your_username with your actual Ollama username to avoid naming conflicts.-
Push the Model to the Registry
Upload your tagged model: -
View and Run Your Published Model
Open your model’s page to see details like architecture, parameters, and license—similar to Llama 3.2 and other public models. You’ll also find theollama runcommand to pull and launch the model locally:

Modelfile can be published with: