1. Navigate to Storage Accounts
- Sign in at portal.azure.com to reach the Azure dashboard.
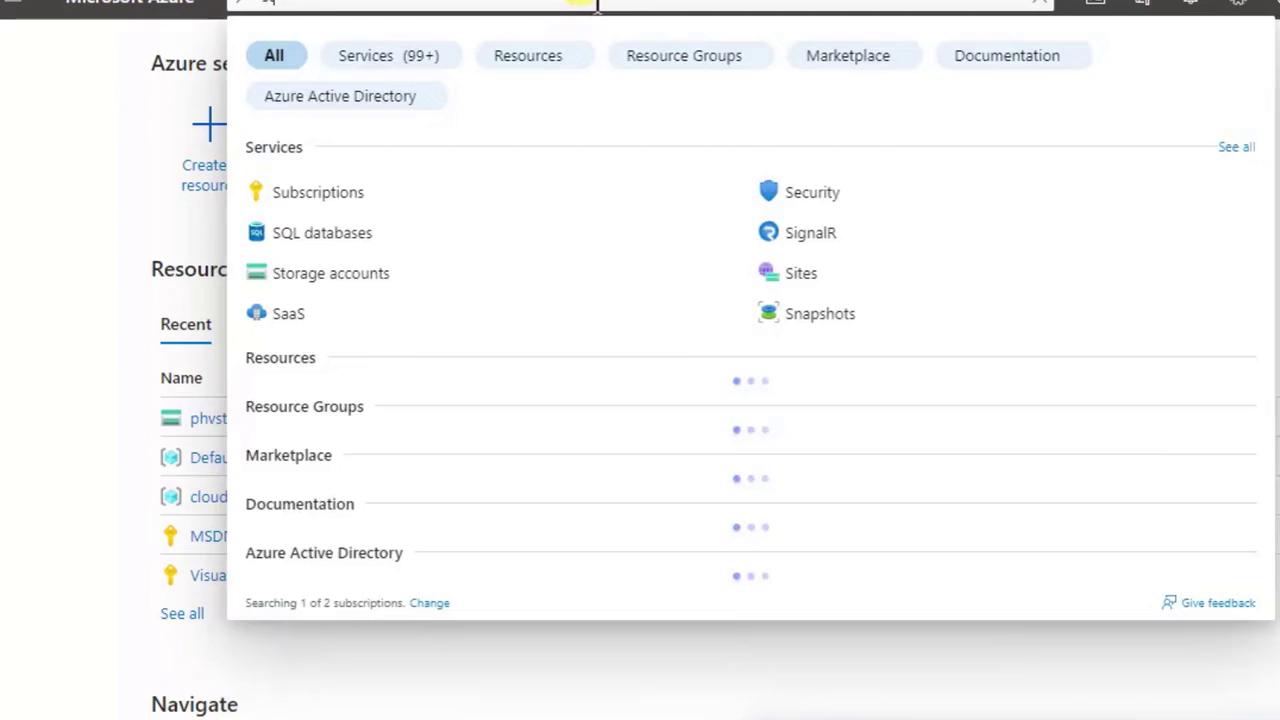
- Use the Search bar at the top instead of scrolling through the left-hand menu.
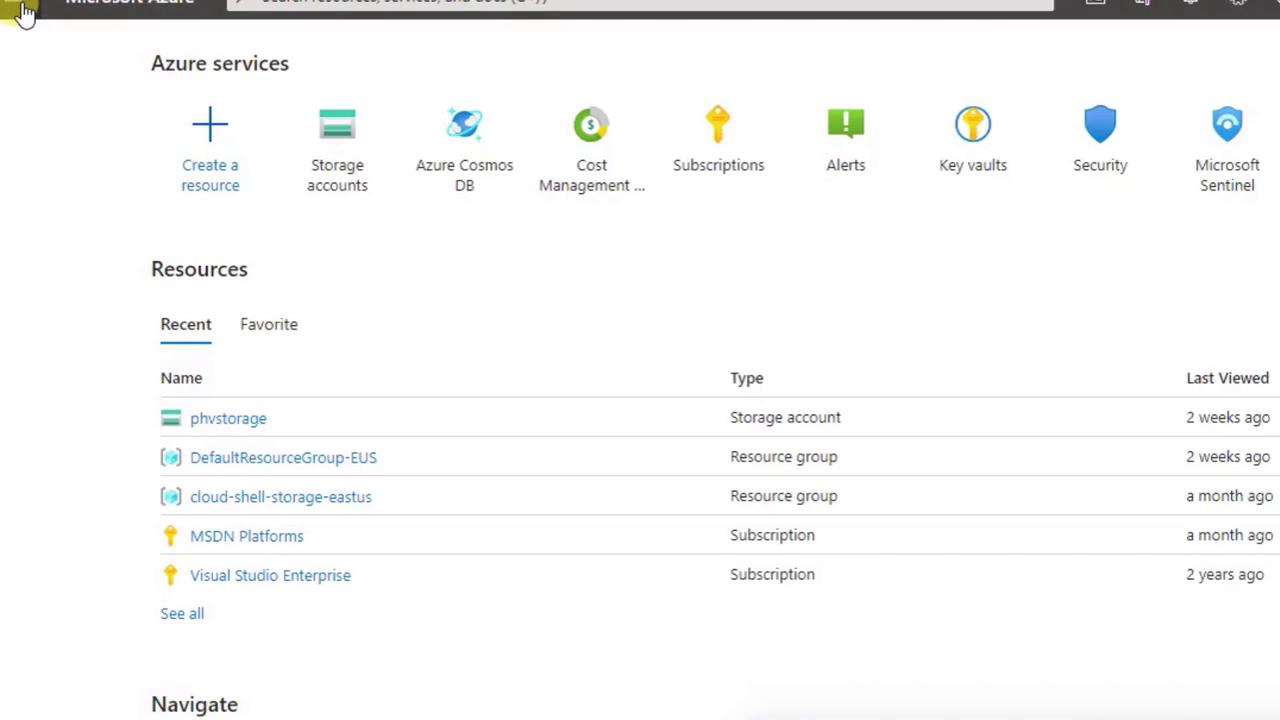
- Type Storage accounts and select it from the dropdown.
2. Launch the Creation Wizard
- In the Storage Accounts blade, click + Create (or New) to open the multi-step wizard.
- You’ll see tabs across the top (Basics, Networking, Data Protection, etc.) and a Review + create button at the bottom.
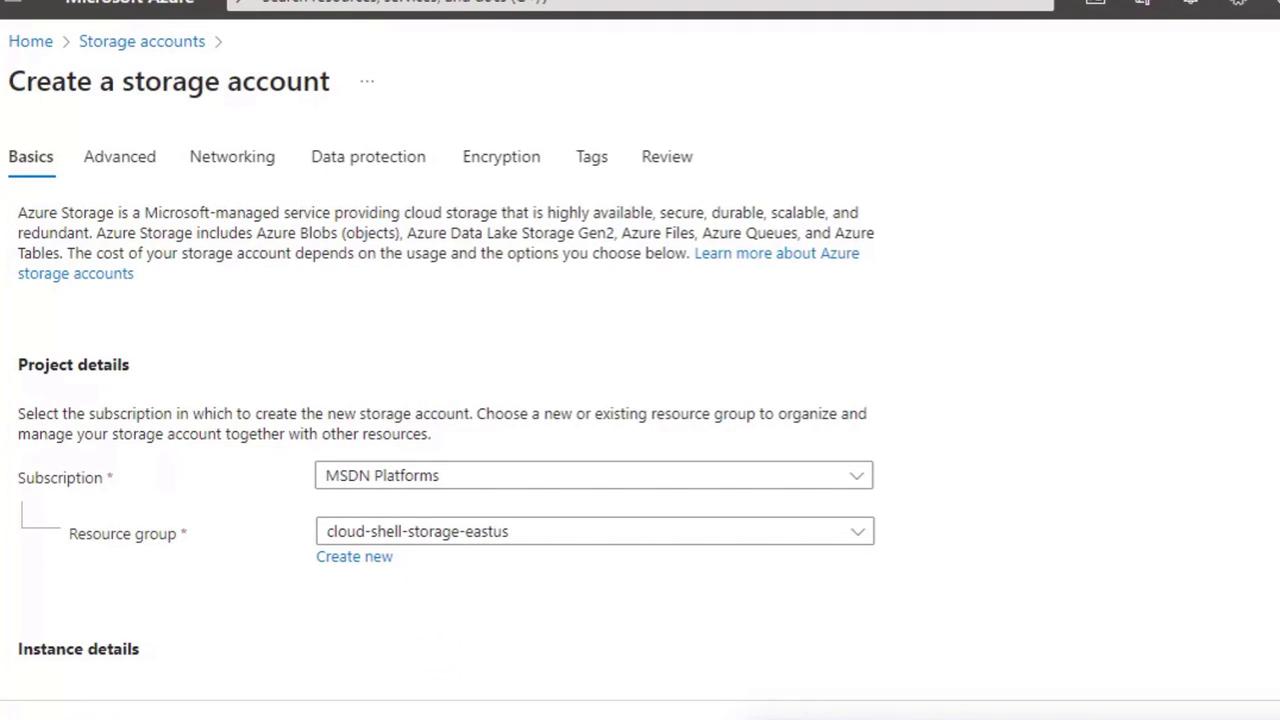
Most demos only require filling out the Basics tab—the other tabs use recommended defaults.
3. Complete the Basics Tab
Populate these four required fields:| Field | Description |
|---|---|
| Subscription | Choose the Azure subscription for billing. |
| Resource Group | Select an existing resource group or create a new one for organizing related resources. |
| Storage Account Name | Must be globally unique, lowercase letters and numbers only, no spaces. |
| Region | The Azure datacenter location. Azure also assigns a paired region for geo-redundancy. |
Your storage account name forms part of the service URL (
<name>.blob.core.windows.net). If the chosen name is taken, append a unique suffix (e.g., your initials or date).4. Select Performance and Redundancy Options
| Option | Choices | Use Case |
|---|---|---|
| Performance | Standard (cost-effective) Premium (low latency) | Standard for general workloads; Premium for I/O-intensive. |
| Redundancy | Locally-redundant (LRS) Geo-redundant (GRS) Read-access geo-redundant (RA-GRS) | LRS for single-region protection; GRS for cross-region. |
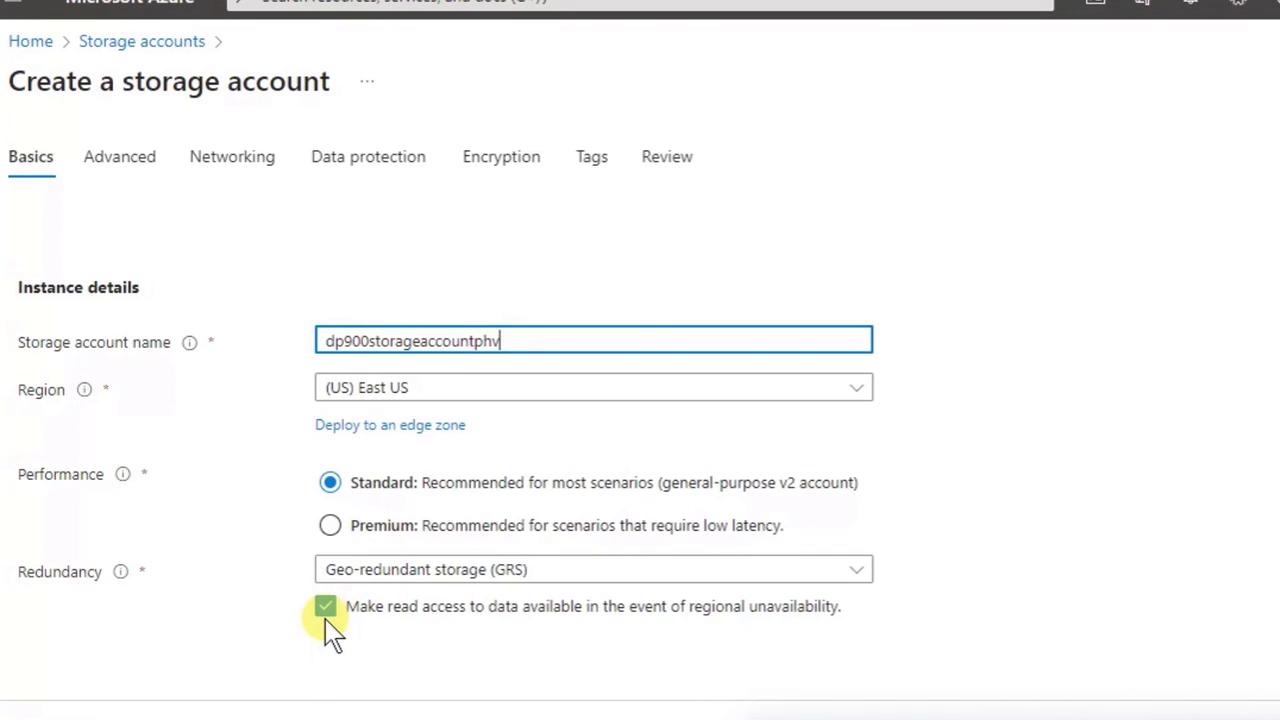
- Performance: Standard
- Redundancy: Geo-redundant storage (GRS)
5. Review + Create
- Click Review + create.
- The portal validates your configuration.
- Click Create to start deployment.
6. Explore Your New Storage Account
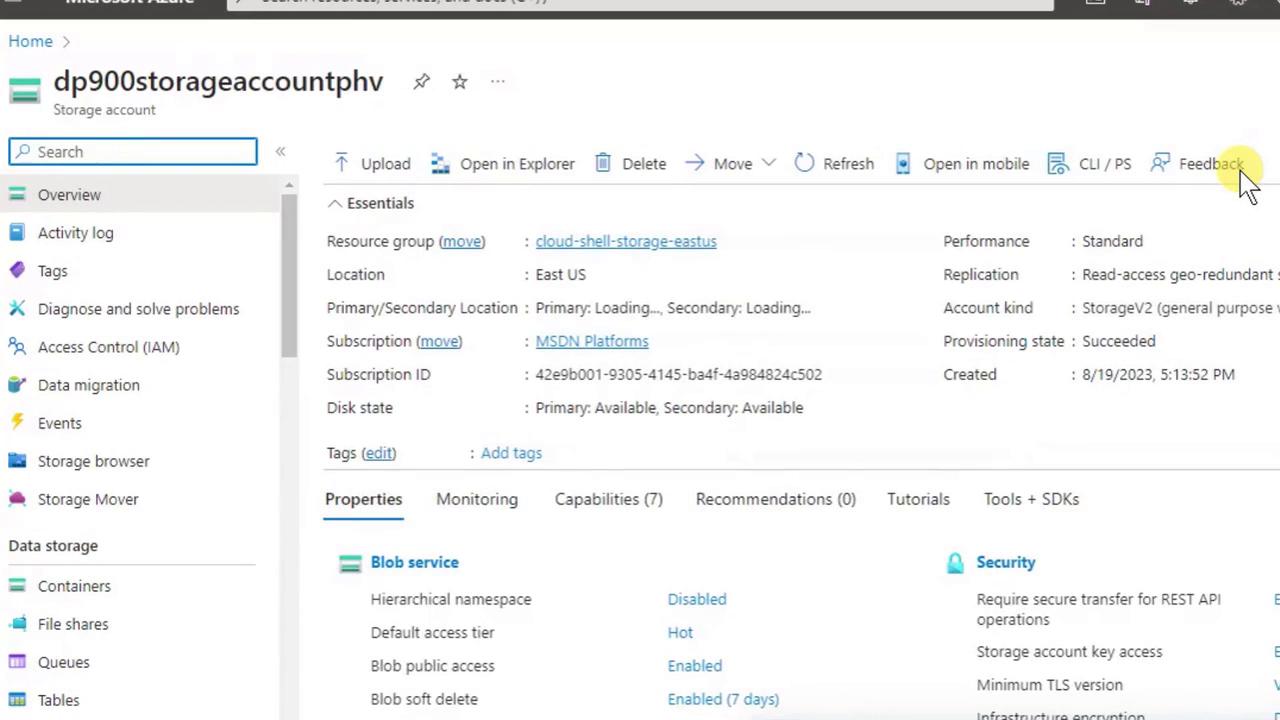
- View Containers (Blob storage) and File shares (SMB file storage)
- Check essentials like resource group, subscription, and region
- Upload data or delete the account
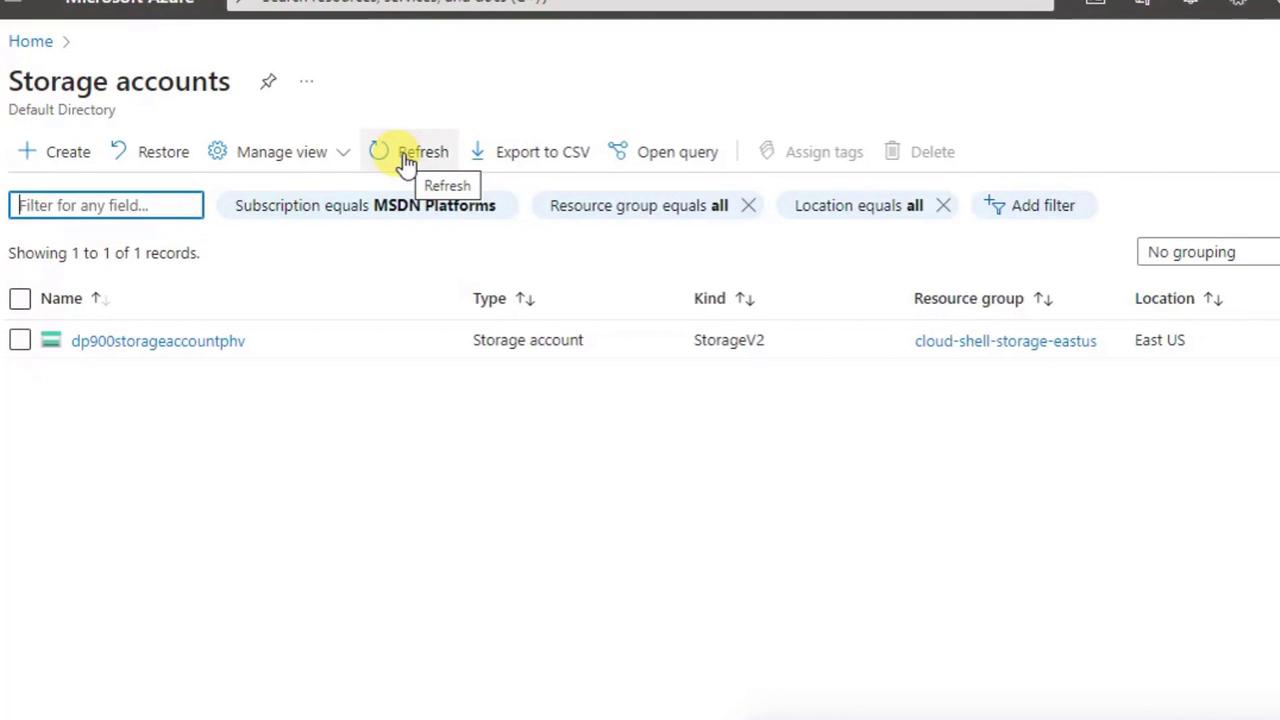
7. List All Storage Accounts
- Search again for Storage accounts.
- Confirm the correct Subscription filter is applied.
- Click Refresh if your new account isn’t visible immediately.