1. Search for Azure SQL Database
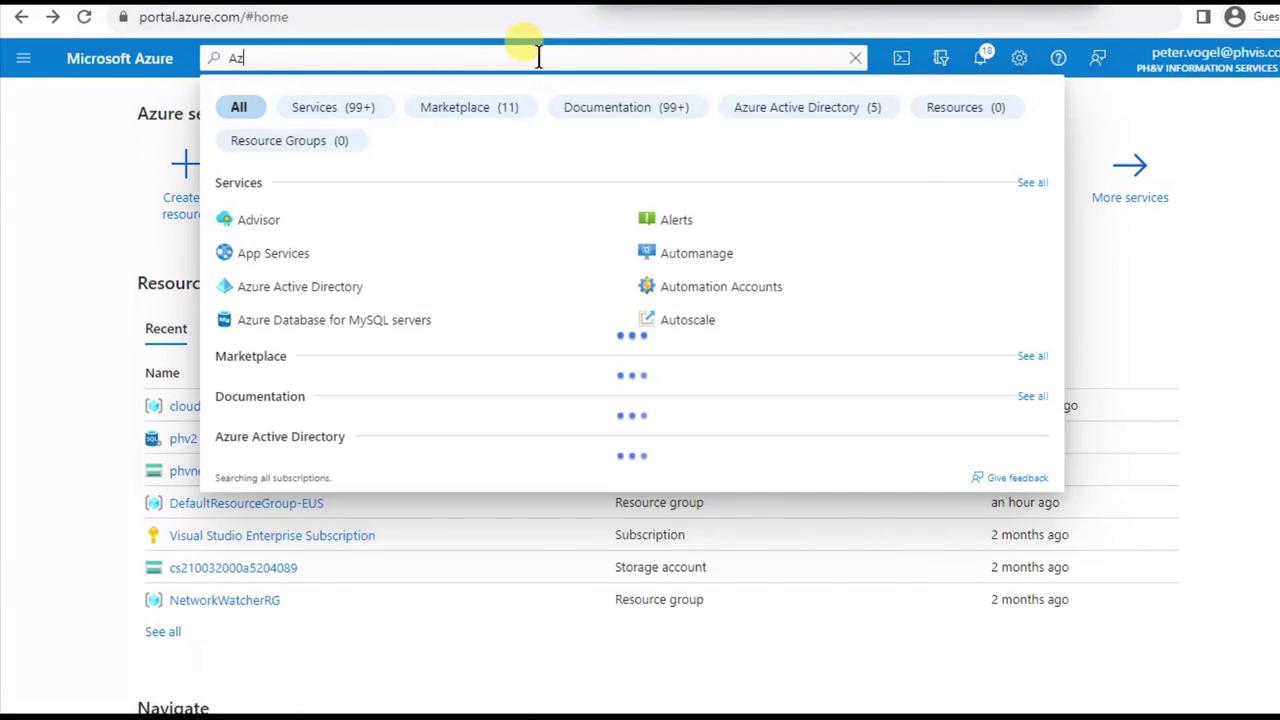
- Sign in to the Azure portal.
- Use the global search bar to find Azure SQL Database.
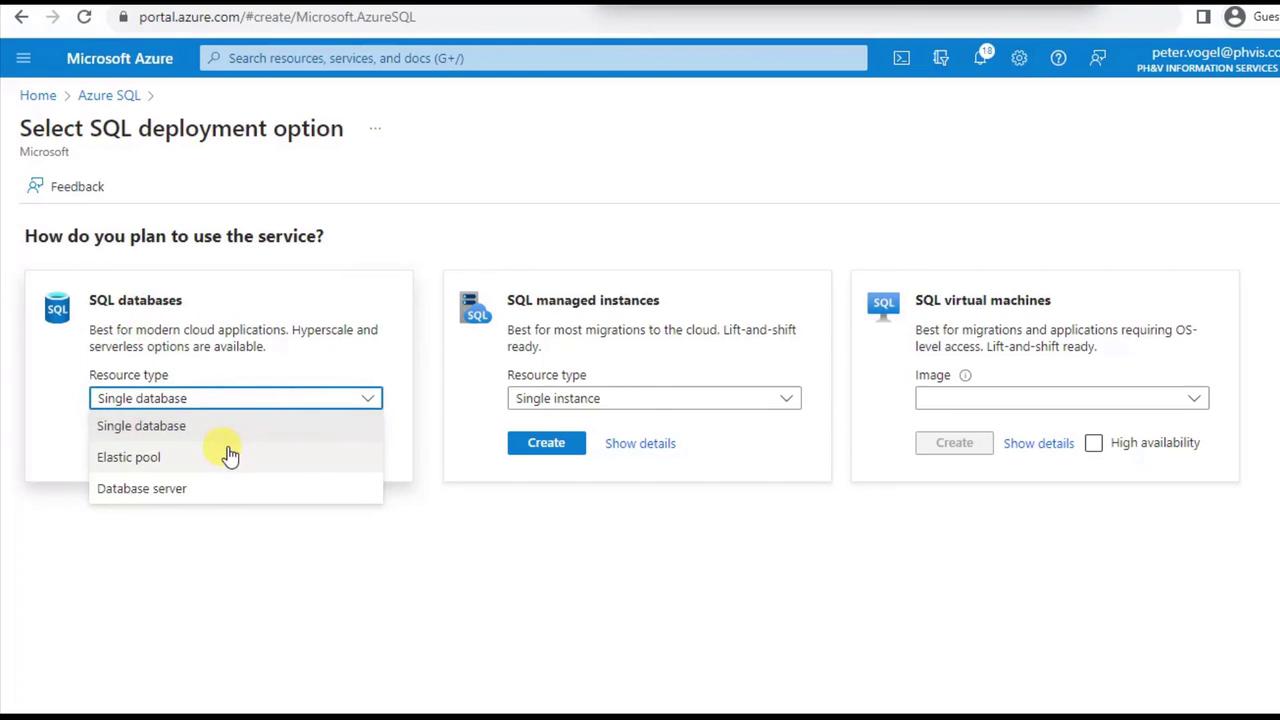
2. Choose a Deployment Model
On the Azure SQL Database overview page, click Create and then Azure SQL Database. You’ll see deployment options such as:| Deployment Option | Description | Best For |
|---|---|---|
| Single database | A standalone database on its own server | Isolated workloads or development tests |
| Elastic pool | Multiple databases sharing compute and I/O | Cost-efficient scaling for many databases |
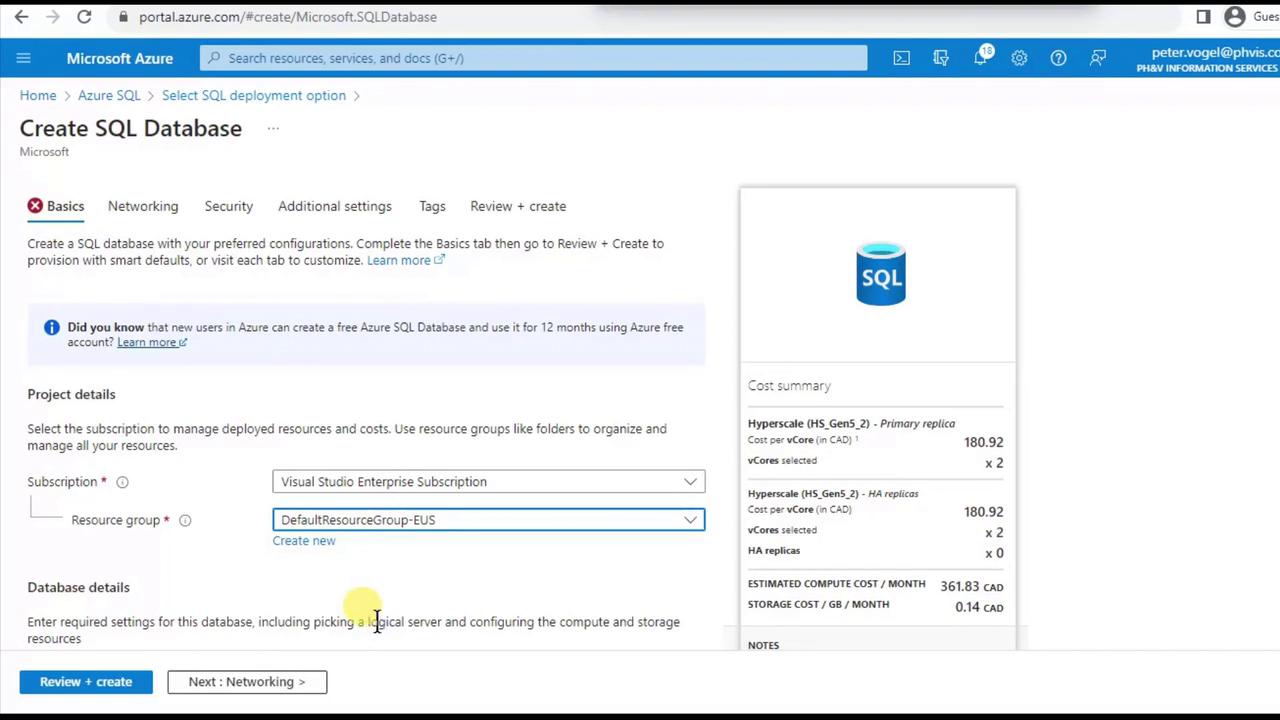
3. Configure Database Basics
On the Basics tab, fill in:- Subscription: Your Azure subscription.
- Resource group: Create new or select existing.
- Database name: Must be unique (e.g.,
PHVAZ). - Server: Choose an existing server or create a new one.
3.1 Set Up a New SQL Server
If you need a new logical server:- Click Create new under Server.
- Enter a Server name (all lowercase).
- Pick a Location (region).
- Choose Authentication method (SQL or Azure AD).
- Set the Server admin login and Password—store these securely!
Server names must be lowercase and globally unique as they form part of your connection endpoint (e.g.,
phvnewserver.database.windows.net).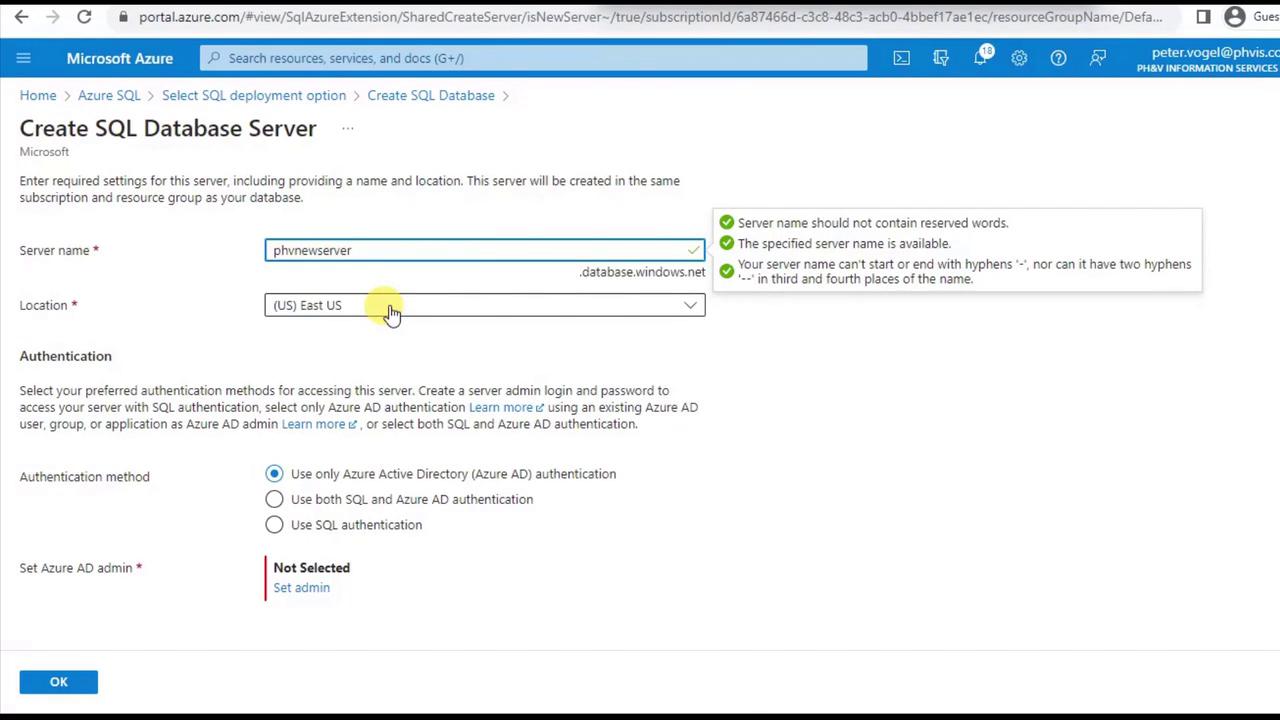
phv2), simply select it from the dropdown.
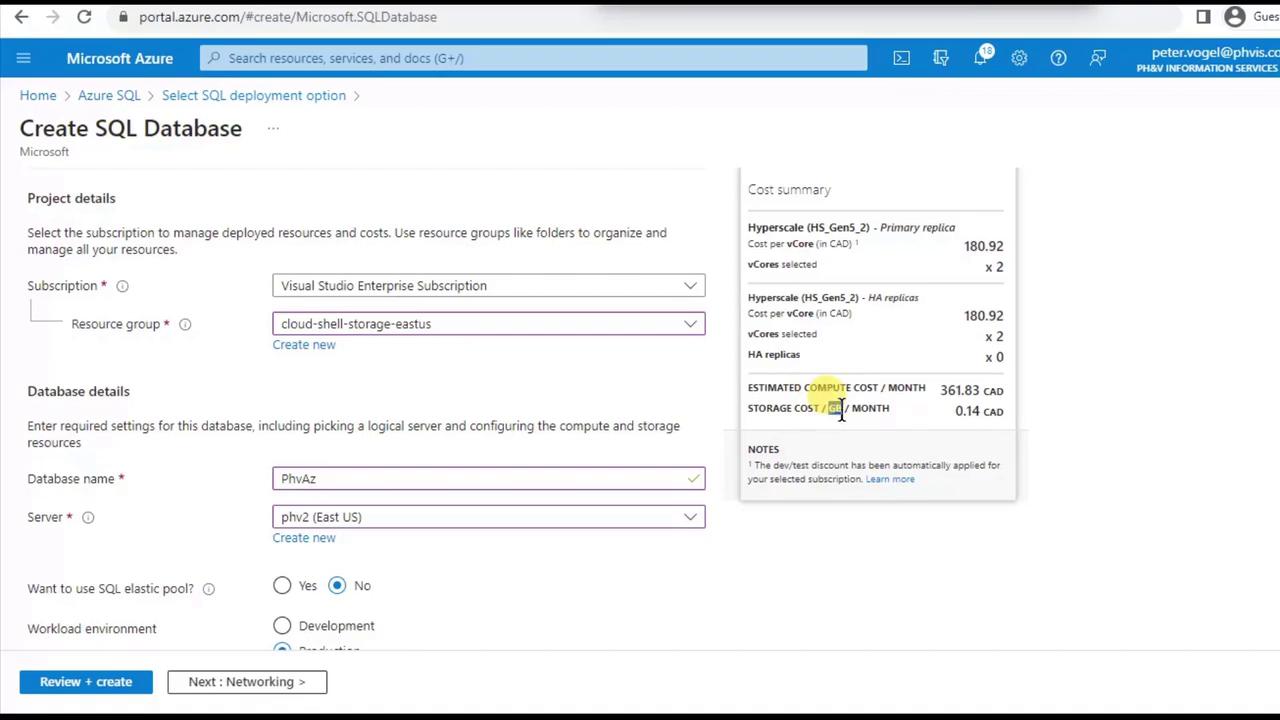
4. Optimize Compute Tier and Cost
By default, Azure suggests a production-grade compute tier. For development or labs, switch to Dev/Test to save costs (e.g., ~$6.50 CAD/month). You can also pause the database when it’s not in use.| Tier | Estimated Cost | Ideal For |
|---|---|---|
| Production | Higher performance | Business-critical needs |
| Dev/Test | Budget-friendly | Development and testing |
5. Configure Networking
Switch to the Networking tab and click Add current client IP address. This creates a firewall rule to allow your machine to connect.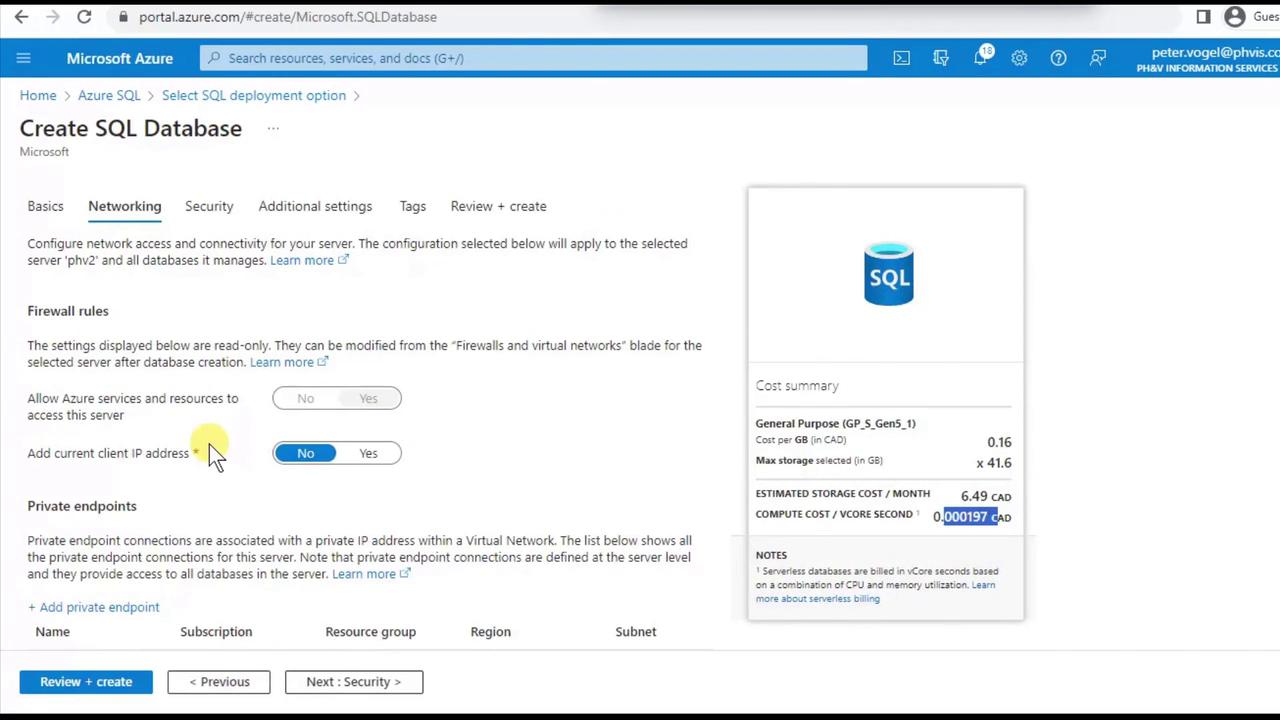
Opening the firewall to all Azure services or 0.0.0.0/0 can expose your database. Limit rules to specific IP ranges whenever possible.
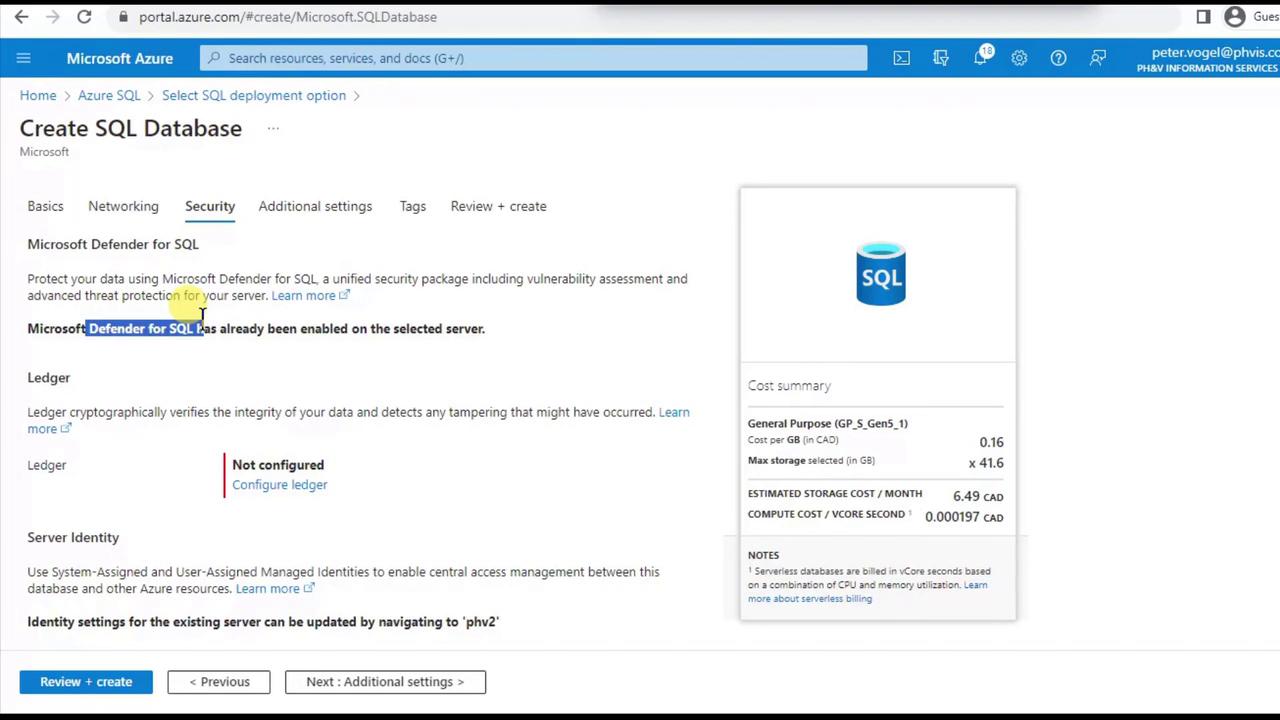
6. Enable Security Features
Under Security, consider enabling:- Microsoft Defender for SQL: Threat detection and alerts.
- Ledger: Immutable, cryptographically verifiable transaction logs.
7. Provision Sample Data
In Additional settings, select Sample to load the AdventureWorksLT schema and data. This is perfect for demos and labs.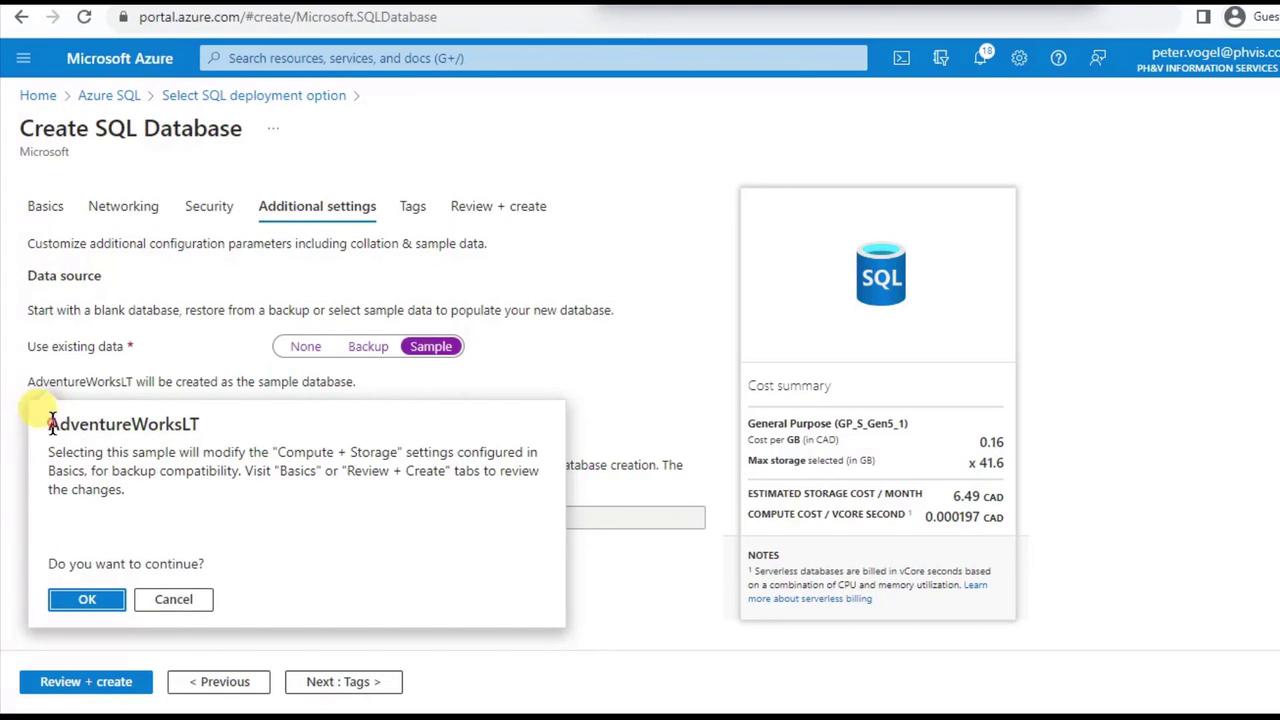
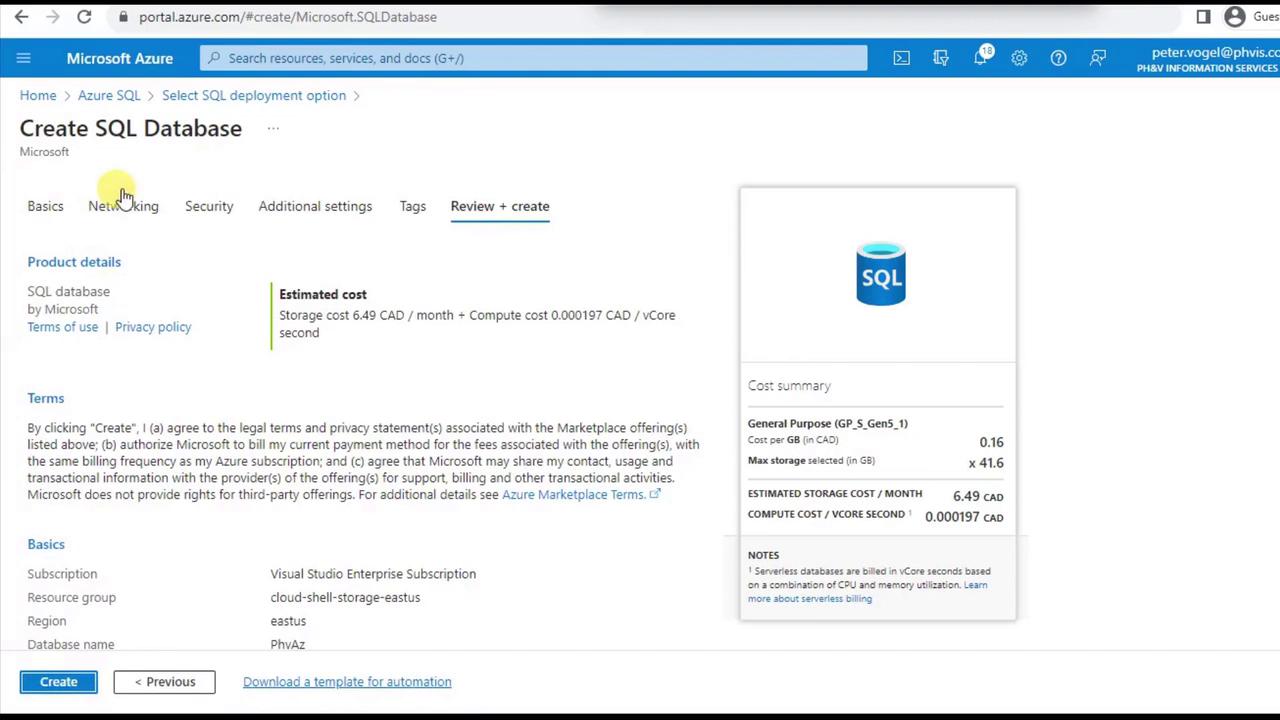
8. Review and Deploy
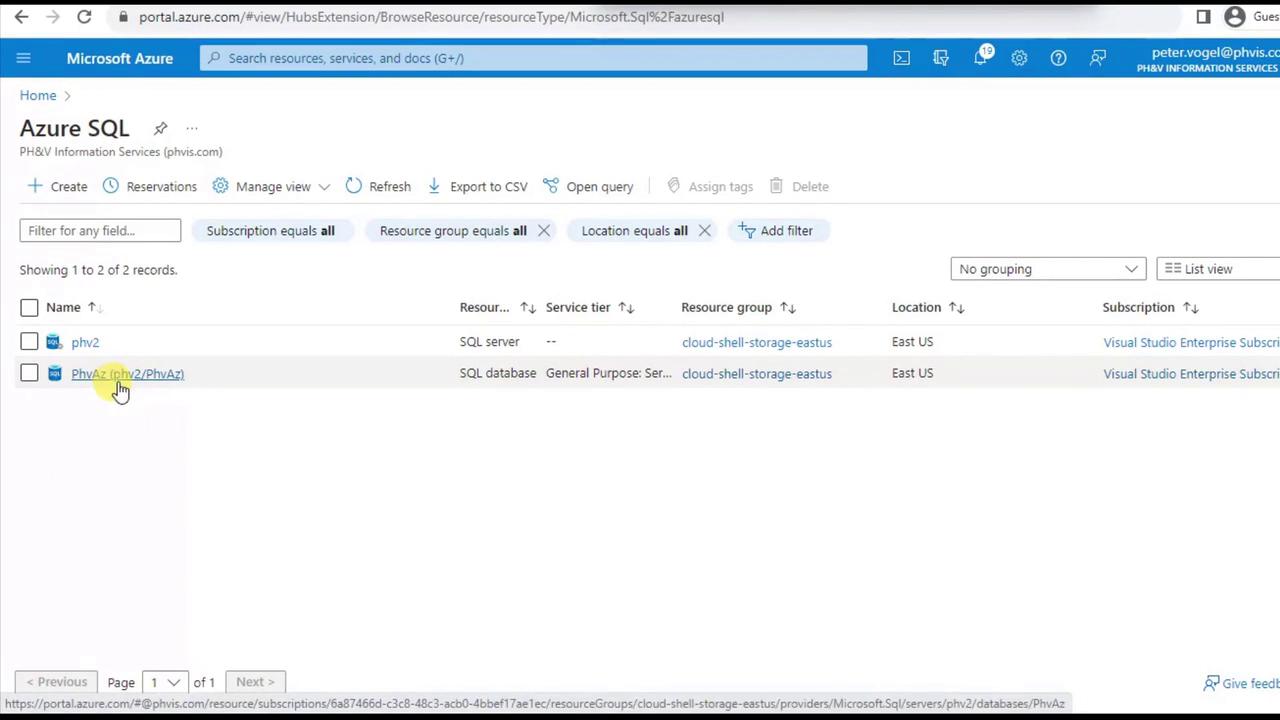
Click Review + create, verify your configuration, then hit Create. Deployment usually takes a few minutes.9. Verify Your Deployment
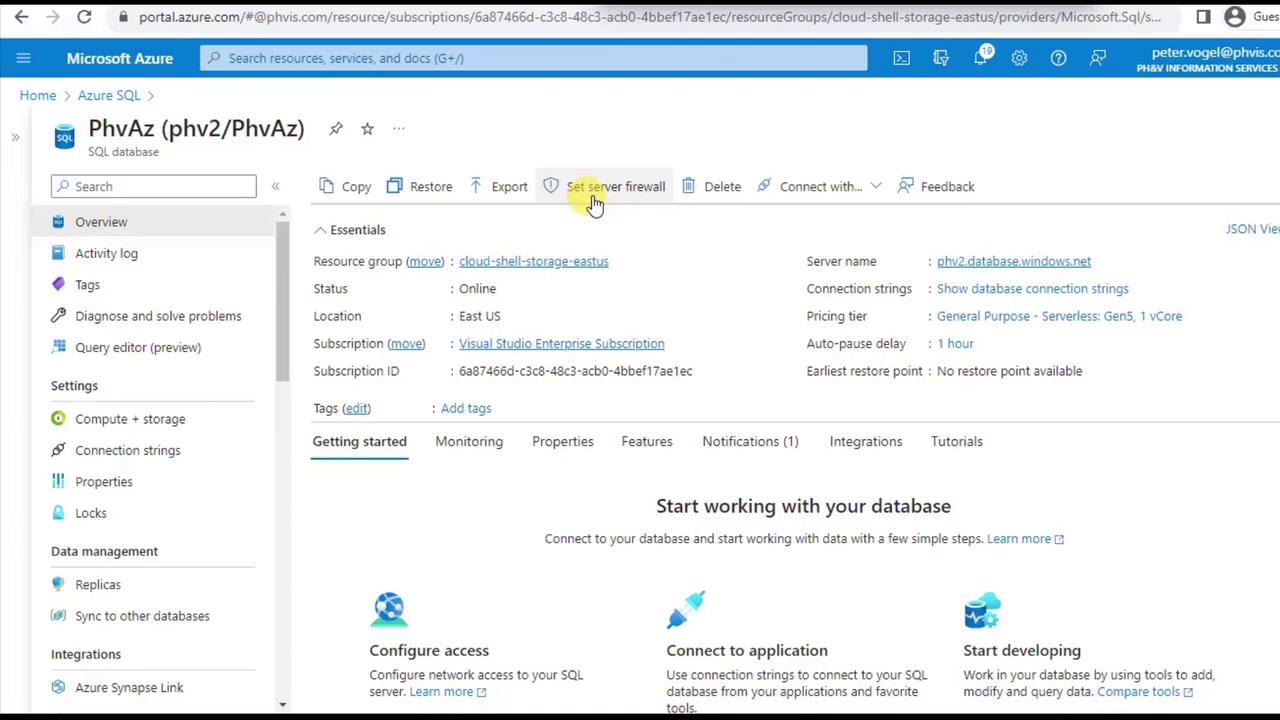
Once the deployment succeeds, go to Azure SQL Databases to see your new database (PHVAZ) on server PHV2.
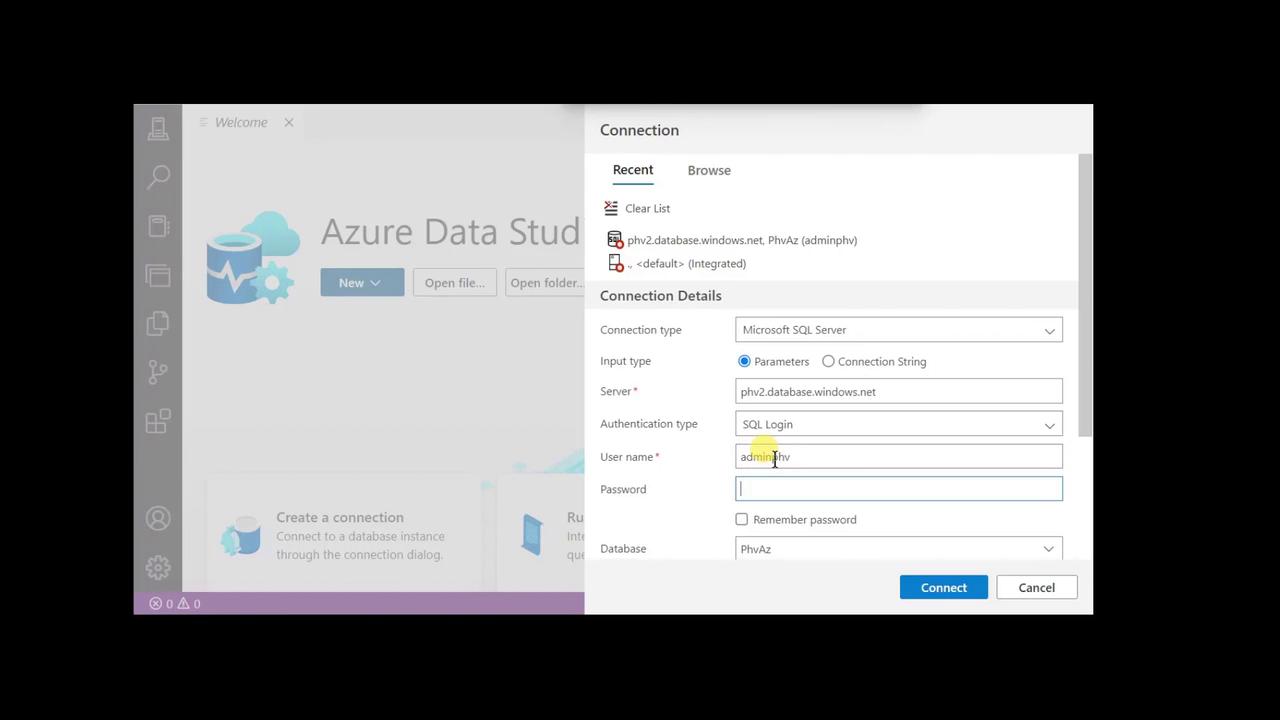
10. Connect with Azure Data Studio
Azure provides several management tools: For this demo, launch Azure Data Studio.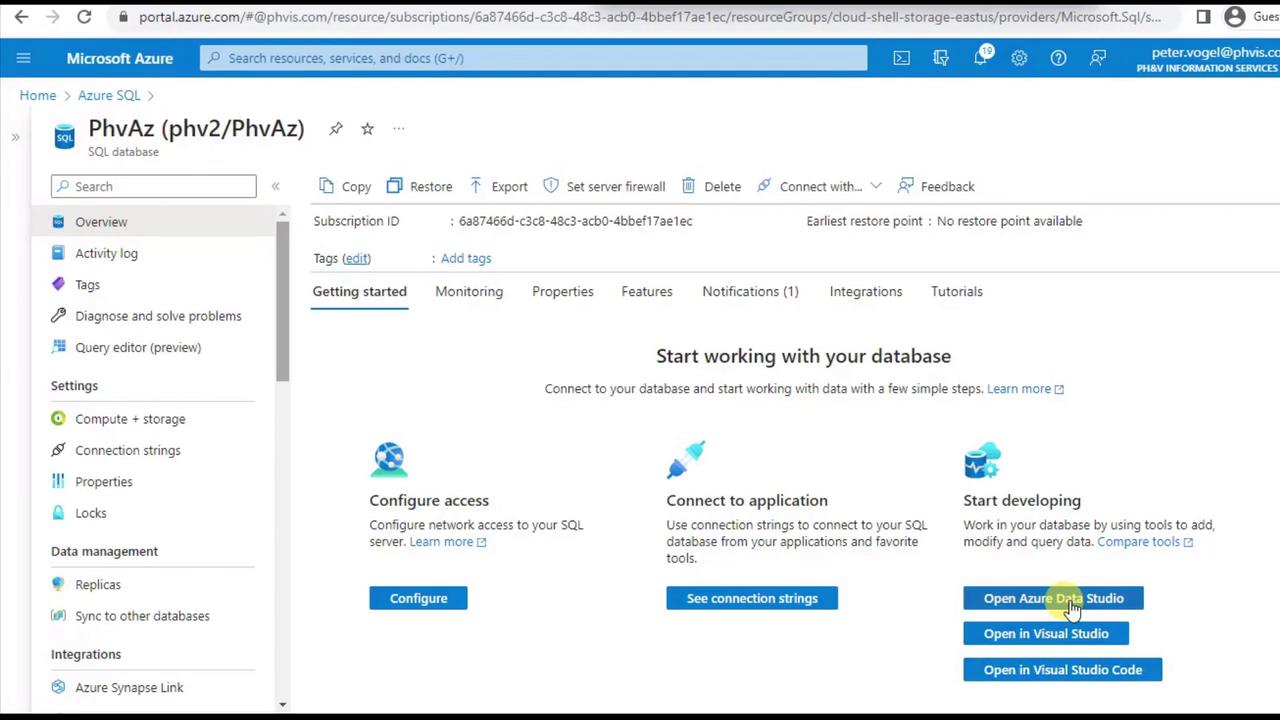
- Click New Connection.
- Enter Server:
phv2.database.windows.net. - Choose SQL Login and enter your admin credentials.
- Click Connect.
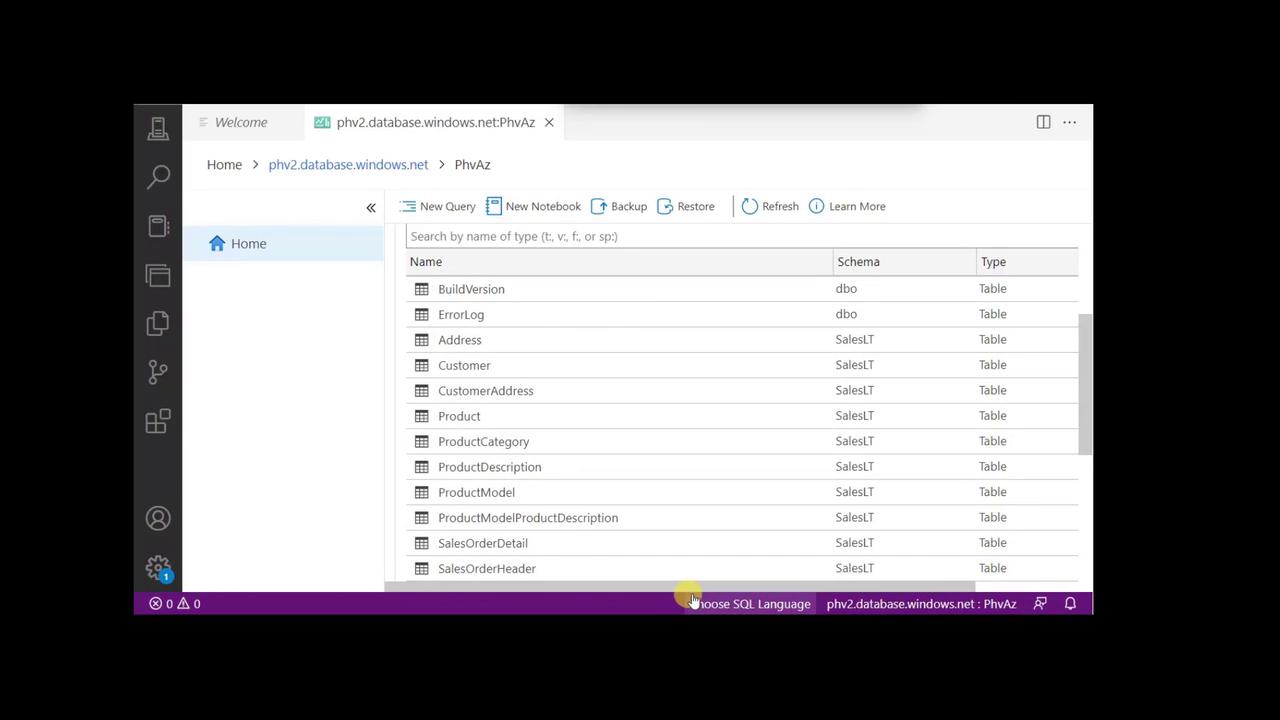
Congratulations! You’ve successfully created an Azure SQL Database, configured networking and security, loaded sample data, and connected with Azure Data Studio. Next, consider building Power BI reports or integrating this database with your applications.