

Prerequisites
- Git installed on your machine
- Homebrew (macOS), Chocolatey (Windows), or another package manager
- A modern code editor (we’ll use Visual Studio Code)
1. Clone and Install Emscripten via Git
Visit the official Emscripten site for full details: https://emscripten.orgAfter cloning, install and activate the latest SDK release, then configure your shell environment:This step ensures you have the required compiler, linker, and runtime env set up.
2. Install Emscripten via Package Manager
Emscripten is also available through popular package managers: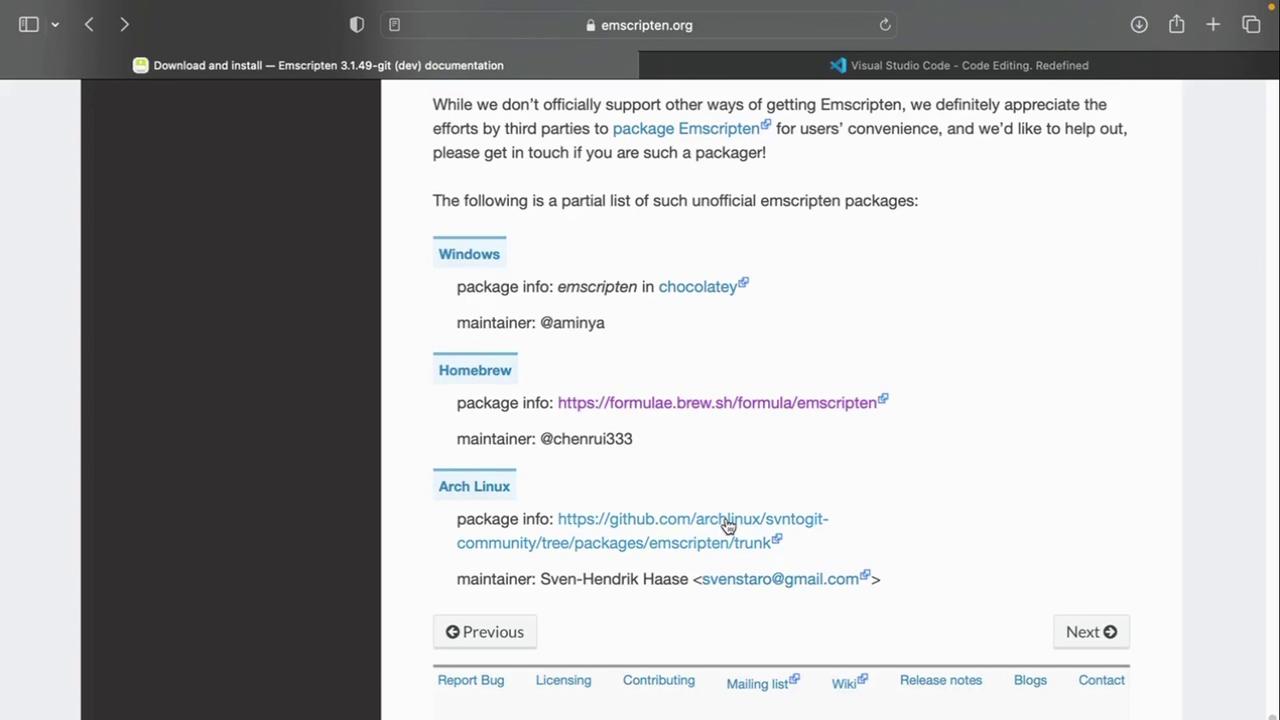
3. Verify Your Installation
After installation, confirm the Emscripten compiler is accessible:4. Choose Your Code Editor
We recommend using Visual Studio Code for WebAssembly development: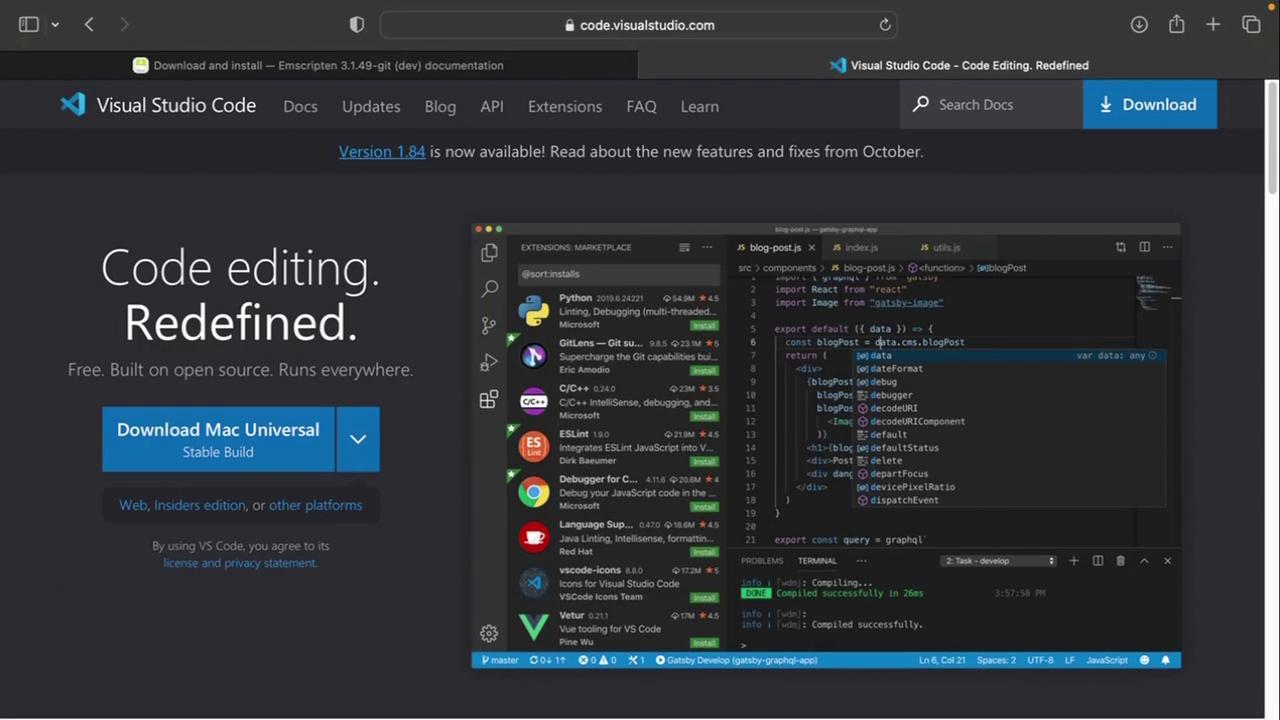
- Download and install VS Code.
- Add extensions like “ESLint,” “Prettier,” and “WebAssembly Toolkit” for syntax support.
5. Create Your WASM Project Folder
Organize your demos and examples in a dedicated directory:WASM, you can start adding C/C++, Rust, or AssemblyScript source files to compile into .wasm.