

- A working Python script that calls the chat API and prints the assistant reply.
- A short pattern you can reuse: create client → build messages → send request → read response → append to history.
- Python 3.7+
- pip available on your PATH
- Access to the OpenAI-compatible base URL and API key (in the exercise environment these are provided by CodeKeys)
agent.py and add the imports and a client object. The OpenAI client holds the connection settings (base URL and API key) and performs API calls.
Recommended: read credentials from environment variables so they are not committed to source control:
base_url and api_key. Never commit your API keys to source control.
Store sensitive credentials (API keys, base URLs) in environment variables or a secrets manager. Do not hardcode them in source files.
messages list (the conversation history), call client.chat.completions.create, and print the assistant content. This example includes a system message to control tone and a user question:
messages so the model responds in the context you provide. The system message (role: "system") sets the model’s persona or behavior before any user messages arrive.
Conversation memory (short back-and-forth)
To continue a multi-turn conversation, append the assistant reply to messages and include your next user prompt. Each API call sends the full history, which is how the model retains context.
- Create the client once at the top of your file.
- Start
messageswith asystemprompt that sets tone/behavior. - Send user messages as
role: "user". - Append assistant replies to
messagesafter each call. - Avoid hardcoding secrets; use env vars or a secrets manager.
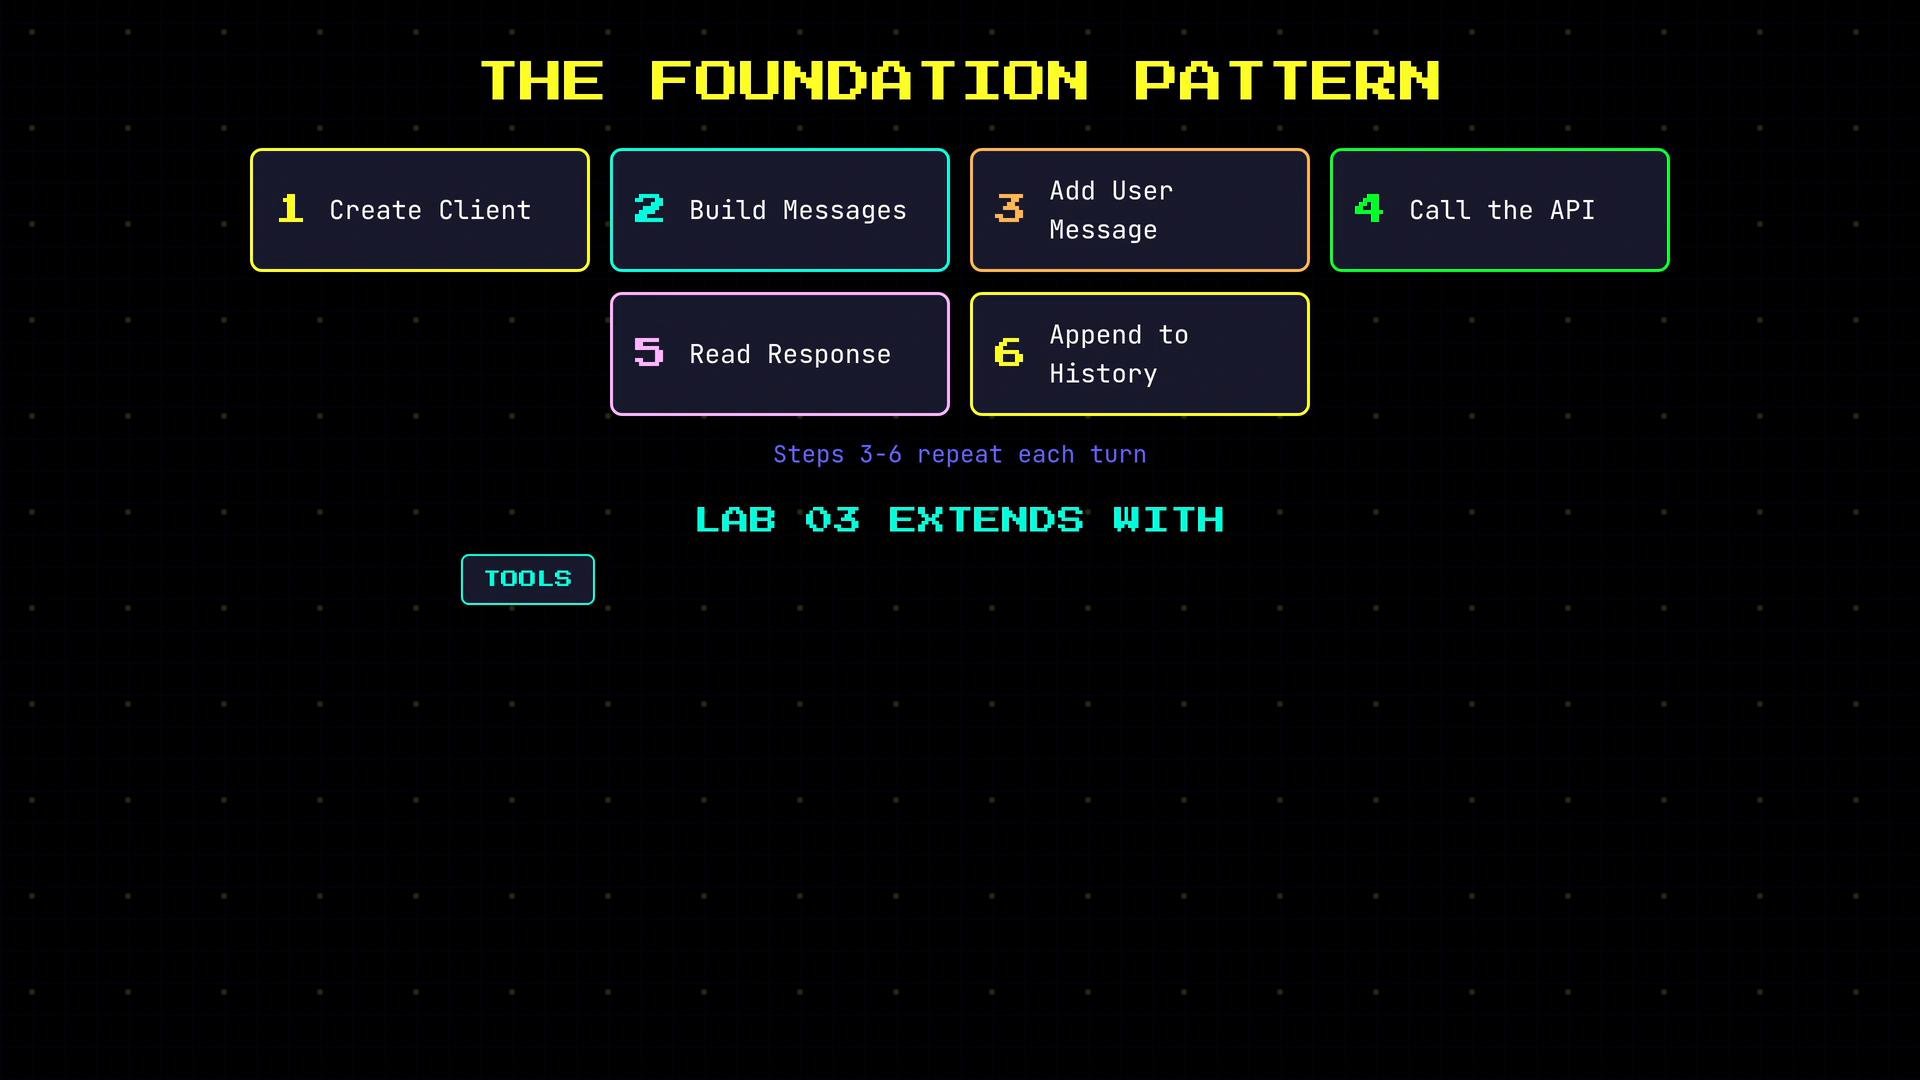
messages list (start with the system message), add the user message, call the API, read the response, and append it to history so the model remembers context on the next call. A subsequent lab builds on this by adding tools, wrapping the flow in an agent loop, executing tools, and handling errors.
References
- OpenAI Python SDK: https://github.com/openai/openai-python