Key Features
Azure App Services supports a broad range of programming languages including .NET, .NET Core, Java, Ruby, Node.js, PHP, and Python. This versatility makes it an ideal platform for developers working in diverse environments. The service integrates natively with Azure DevOps, GitHub, and Docker Hub, streamlining continuous deployment workflows. In addition, the platform supports both manual and automatic scaling, ensuring that your application maintains high availability and responsiveness across Microsoft-managed data centers worldwide.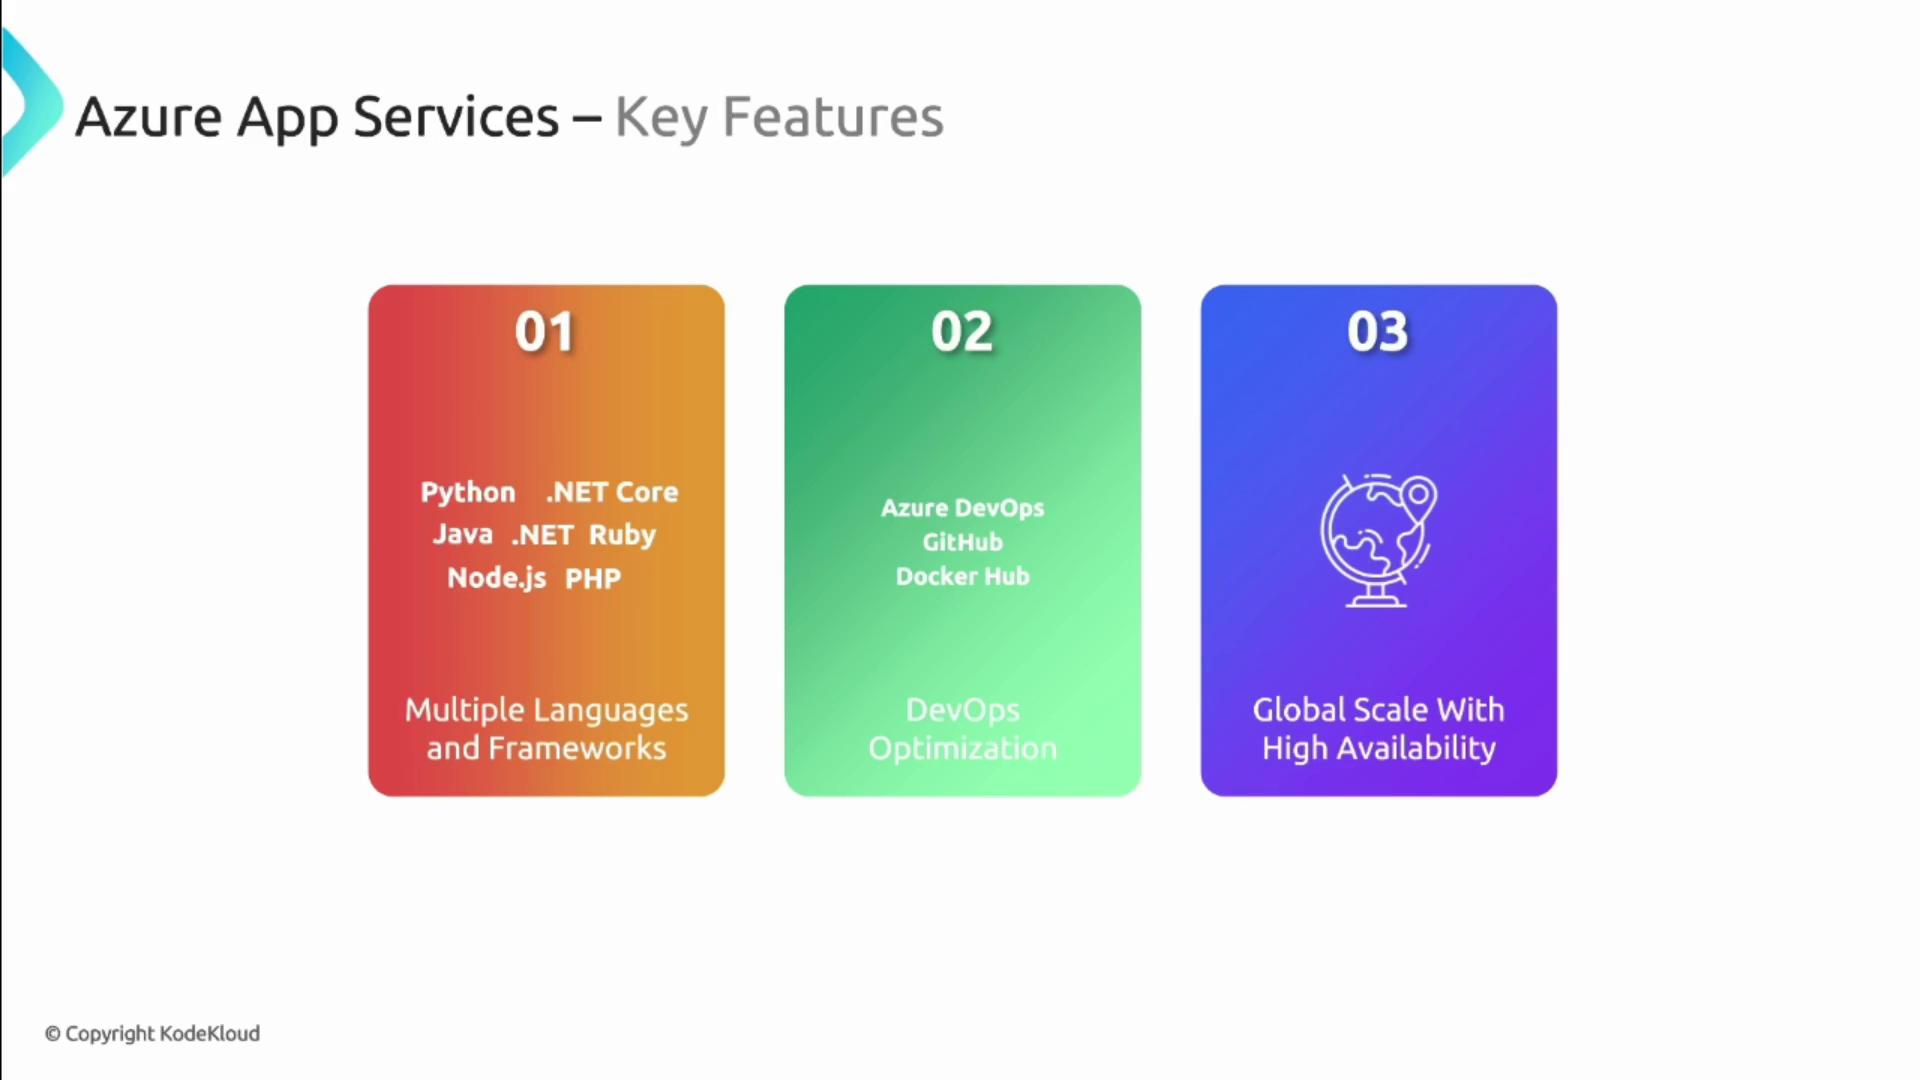
Benefits
Ease of Use
Azure App Service operates as a Platform as a Service (PaaS), abstracting the underlying complexities typical of Virtual Machines (IaaS). With automatic patching, maintenance, and infrastructure management, developers can concentrate on coding and innovation rather than system administration.Using Azure App Services significantly reduces the operational overhead associated with managing servers, enabling faster development and deployment cycles.
Integrated Services
The platform easily integrates with various Azure services such as Azure SQL Database and Azure Managed Instances, offering secure authentication and enhanced data management capabilities. This interconnected ecosystem enables you to build robust applications that are both scalable and secure.Use Cases
Azure App Services caters to a wide array of applications—from web apps and mobile backends to RESTful APIs. Its powerful and flexible environment is specifically designed to address the diverse requirements of modern developers.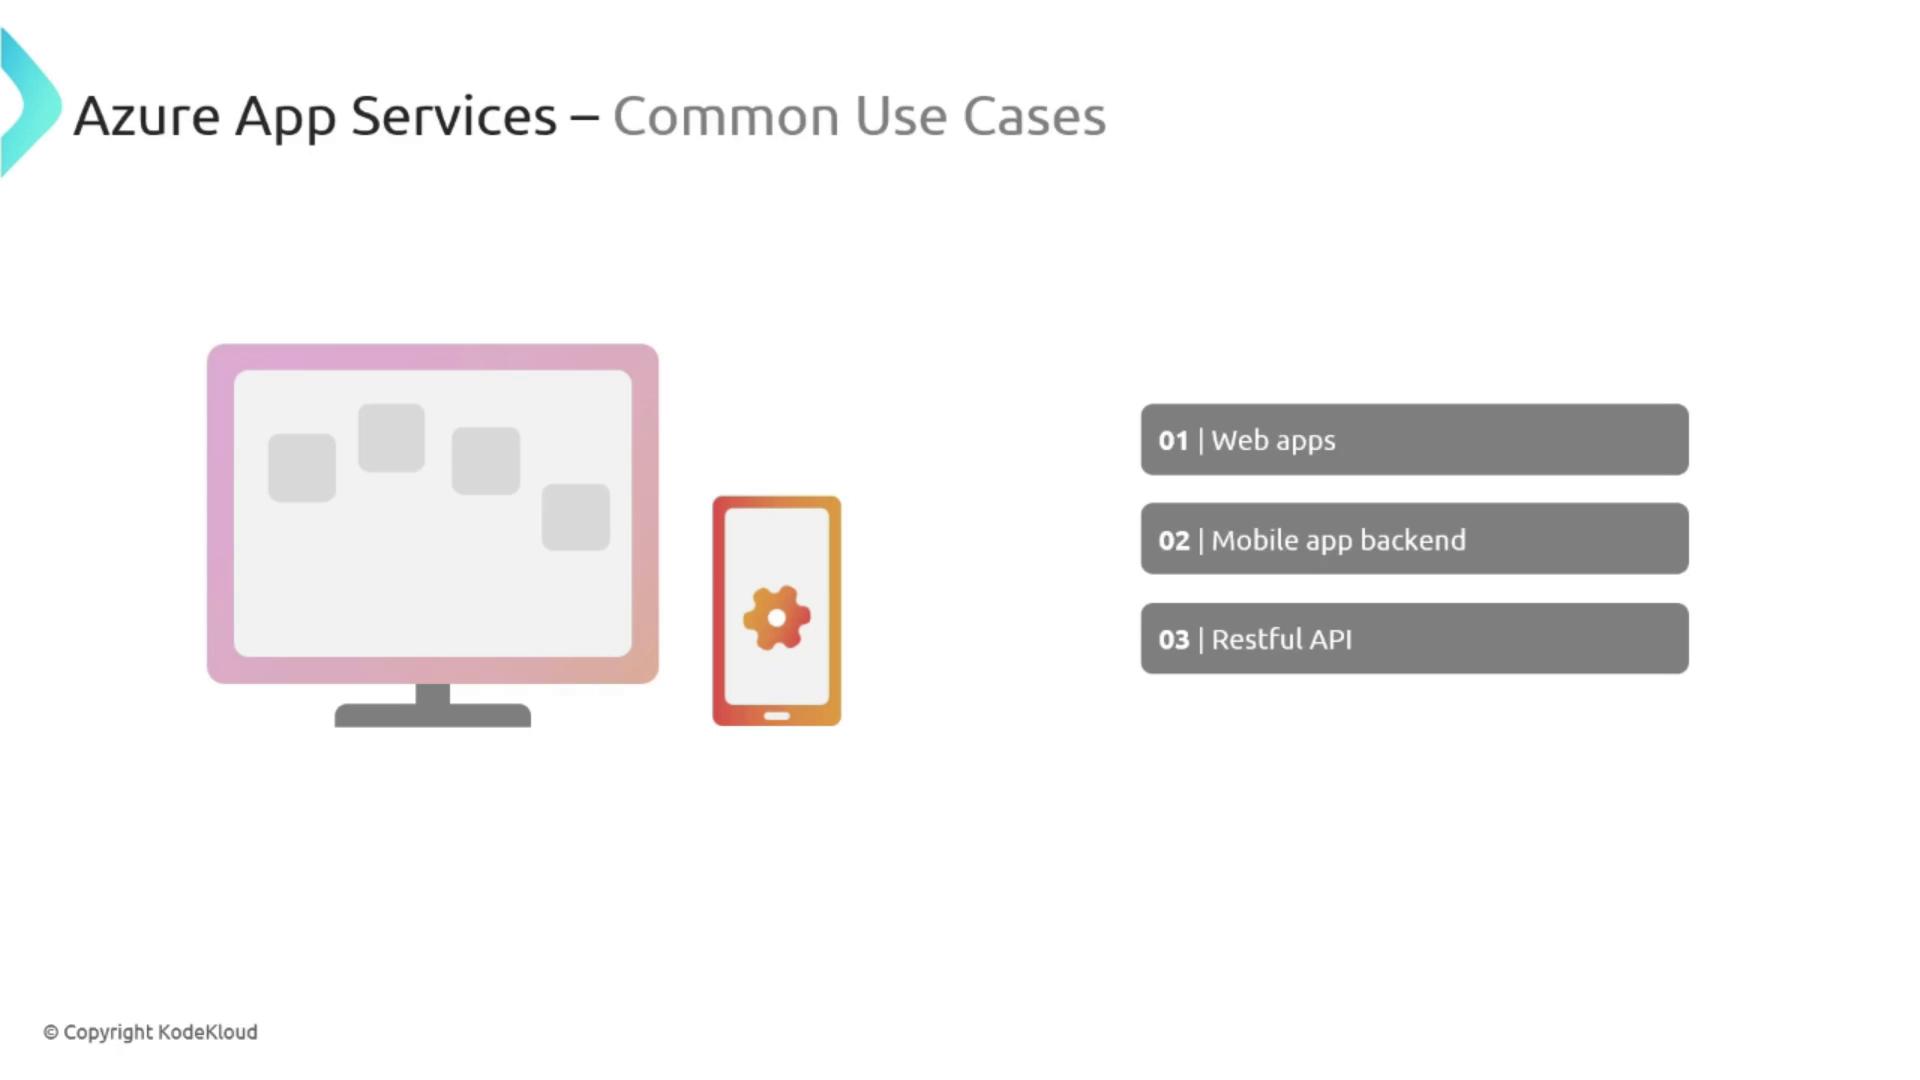
Creating an App Service in the Azure Portal
In this section, we guide you through the process of creating an App Service using the Azure Portal:- Log into the Azure Portal: Enter your credentials and search for “Azure App Services.”
- Create a New Web App: Click on “Create” and then select “Web App.”
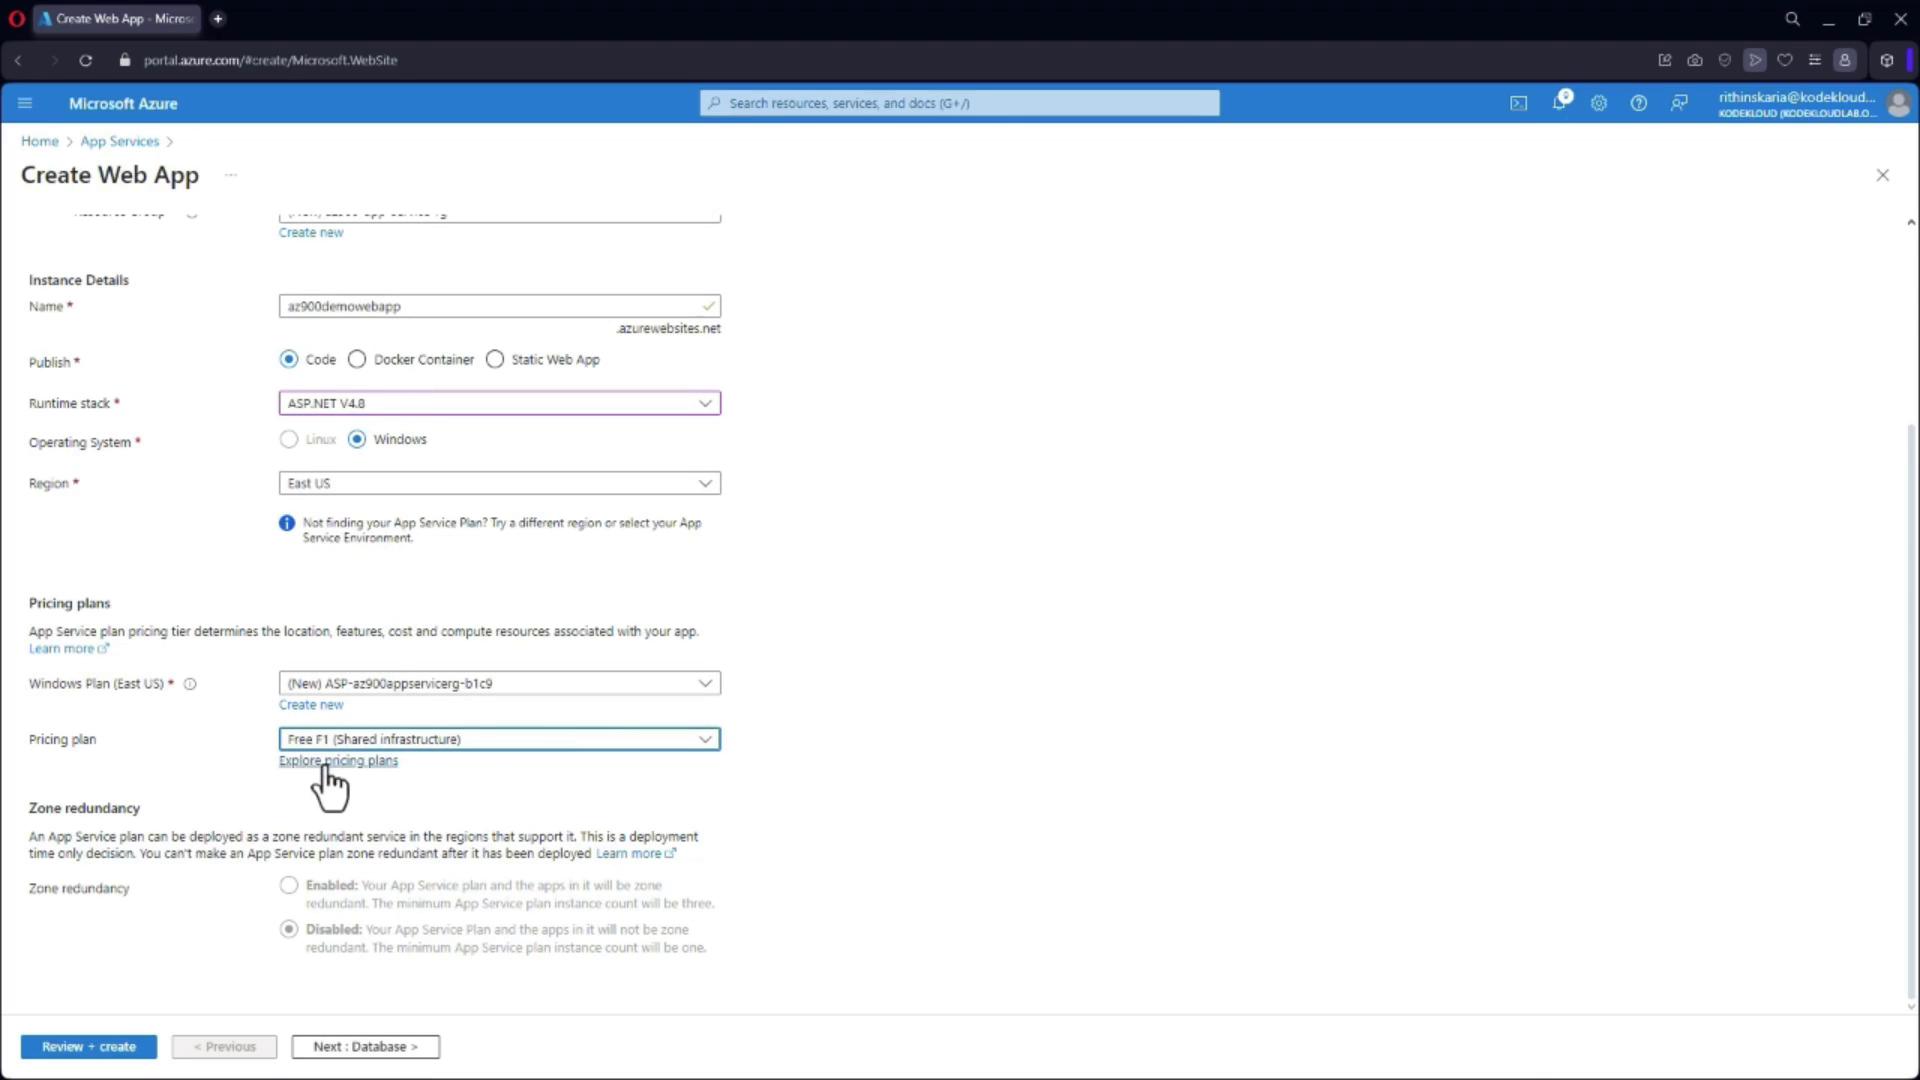
- Configure Basic Settings:
- Choose your subscription and create a new resource group (e.g., “AZ-900 App Service RG”).
- Enter a unique name for your web application (e.g., “AZ-900 Demo Web App”). This unique name forms part of your azurewebsites.net domain.
- Select the Application Stack:
Unlike Virtual Machines where you must manually install and configure the runtime environment, App Service allows you to select the required stack effortlessly. - Choose Deployment Region and Pricing Plan:
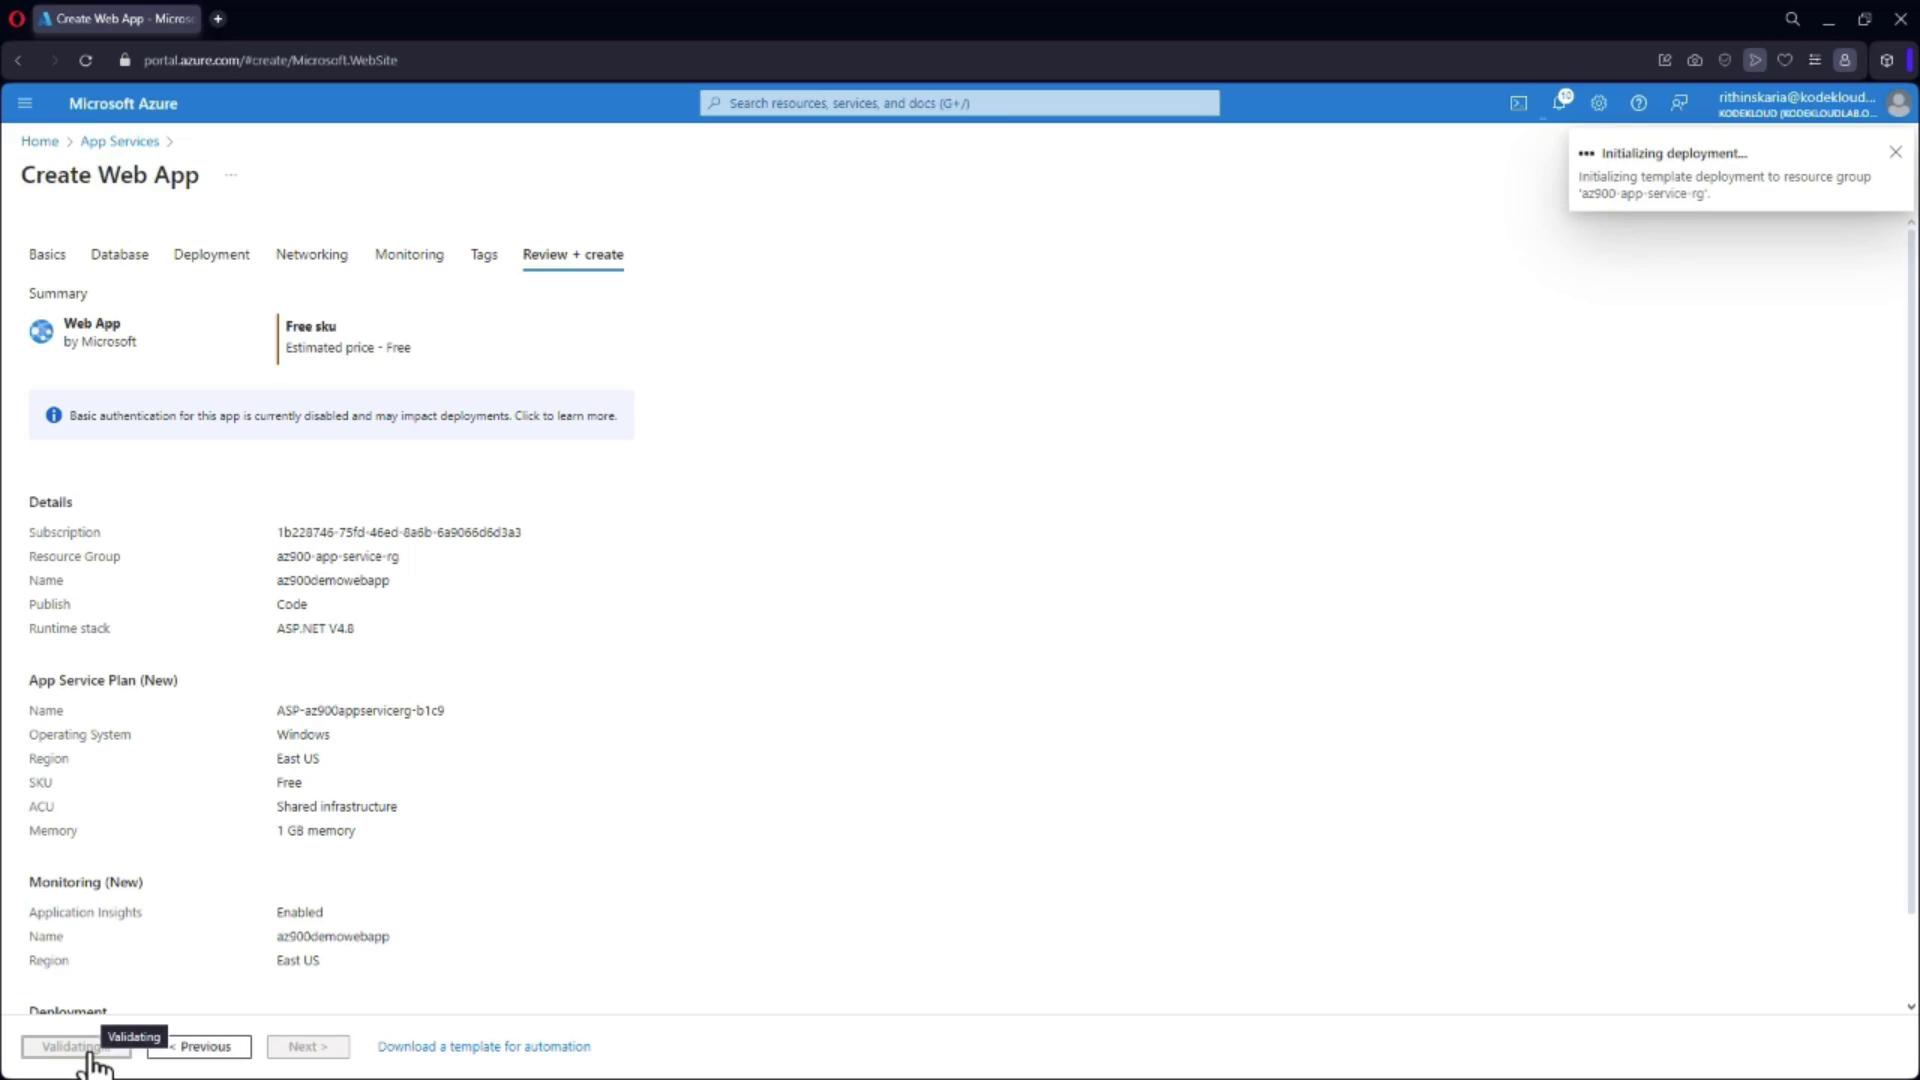
Select a region for deployment and choose an appropriate pricing plan. For learning or testing purposes, the free plan is often sufficient. - Create the App Service:
After configuring these settings, click on “Create” to deploy your new web application.
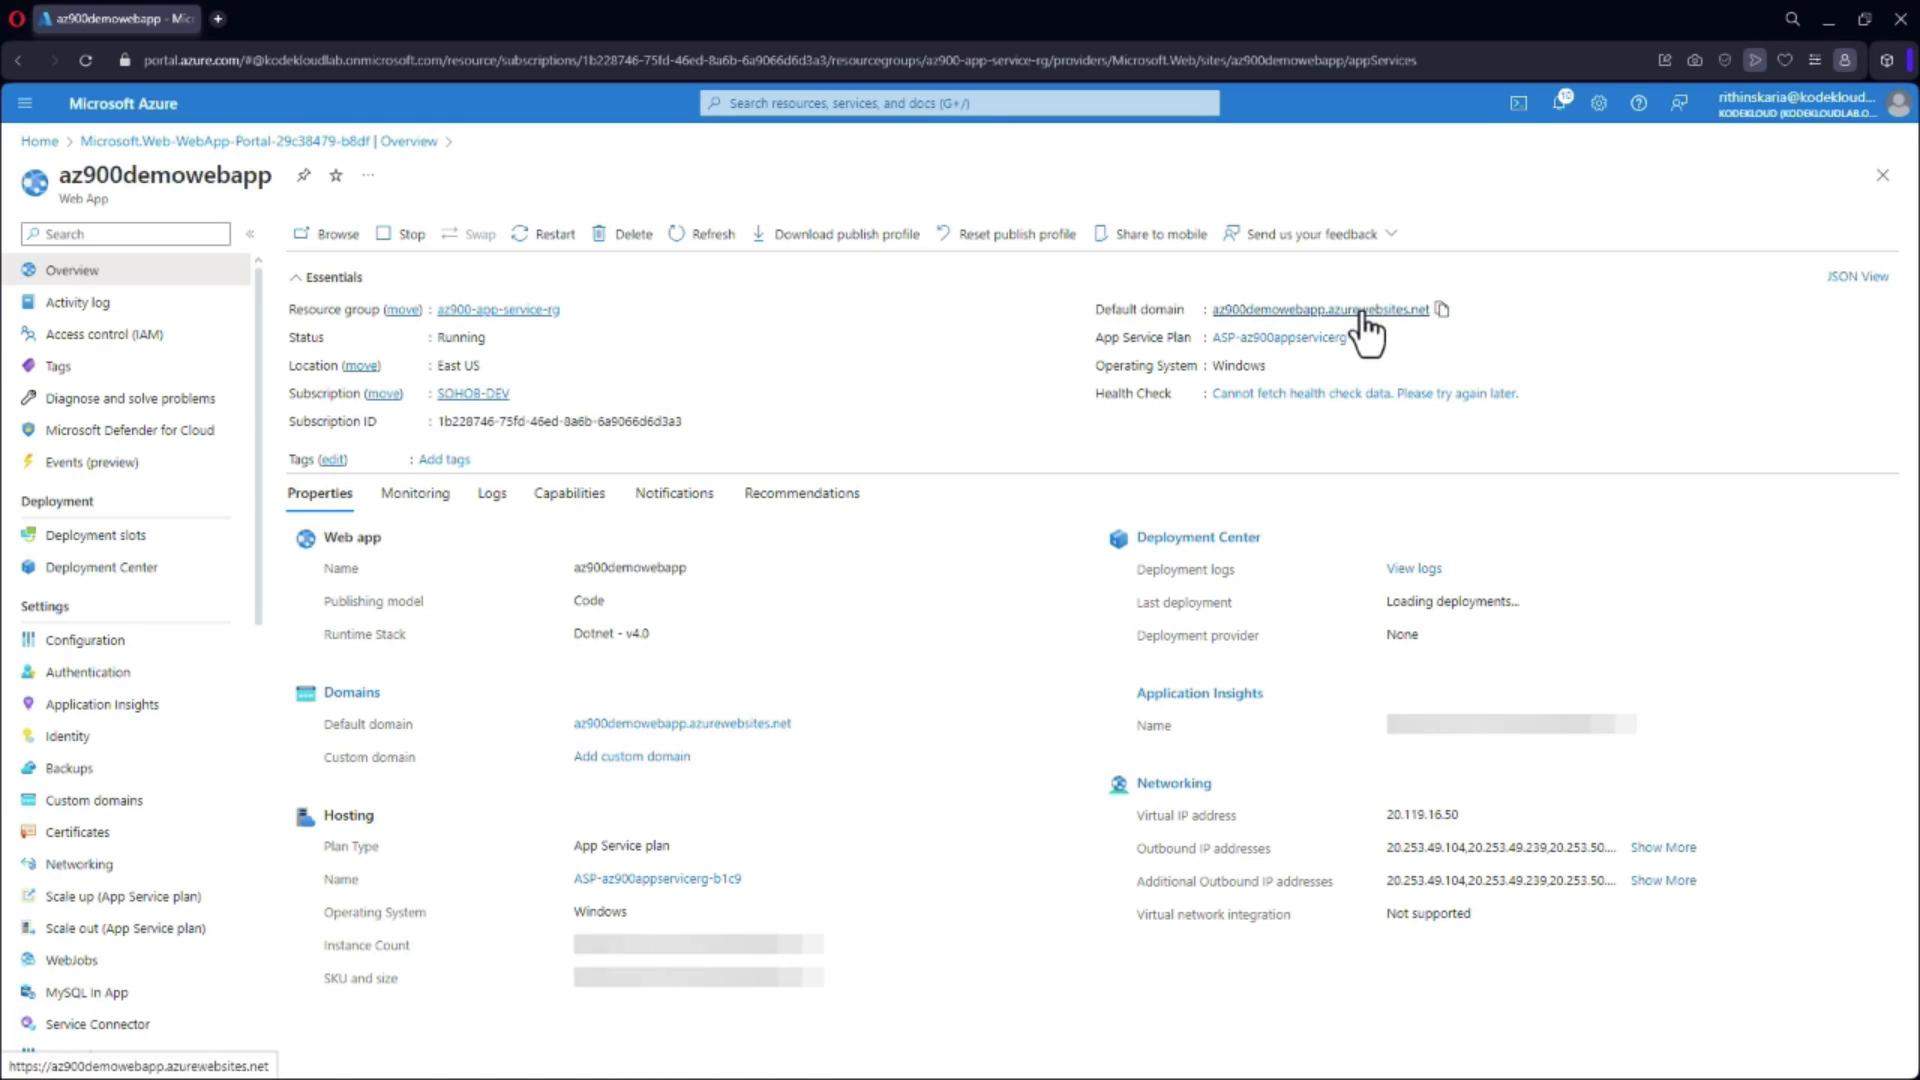
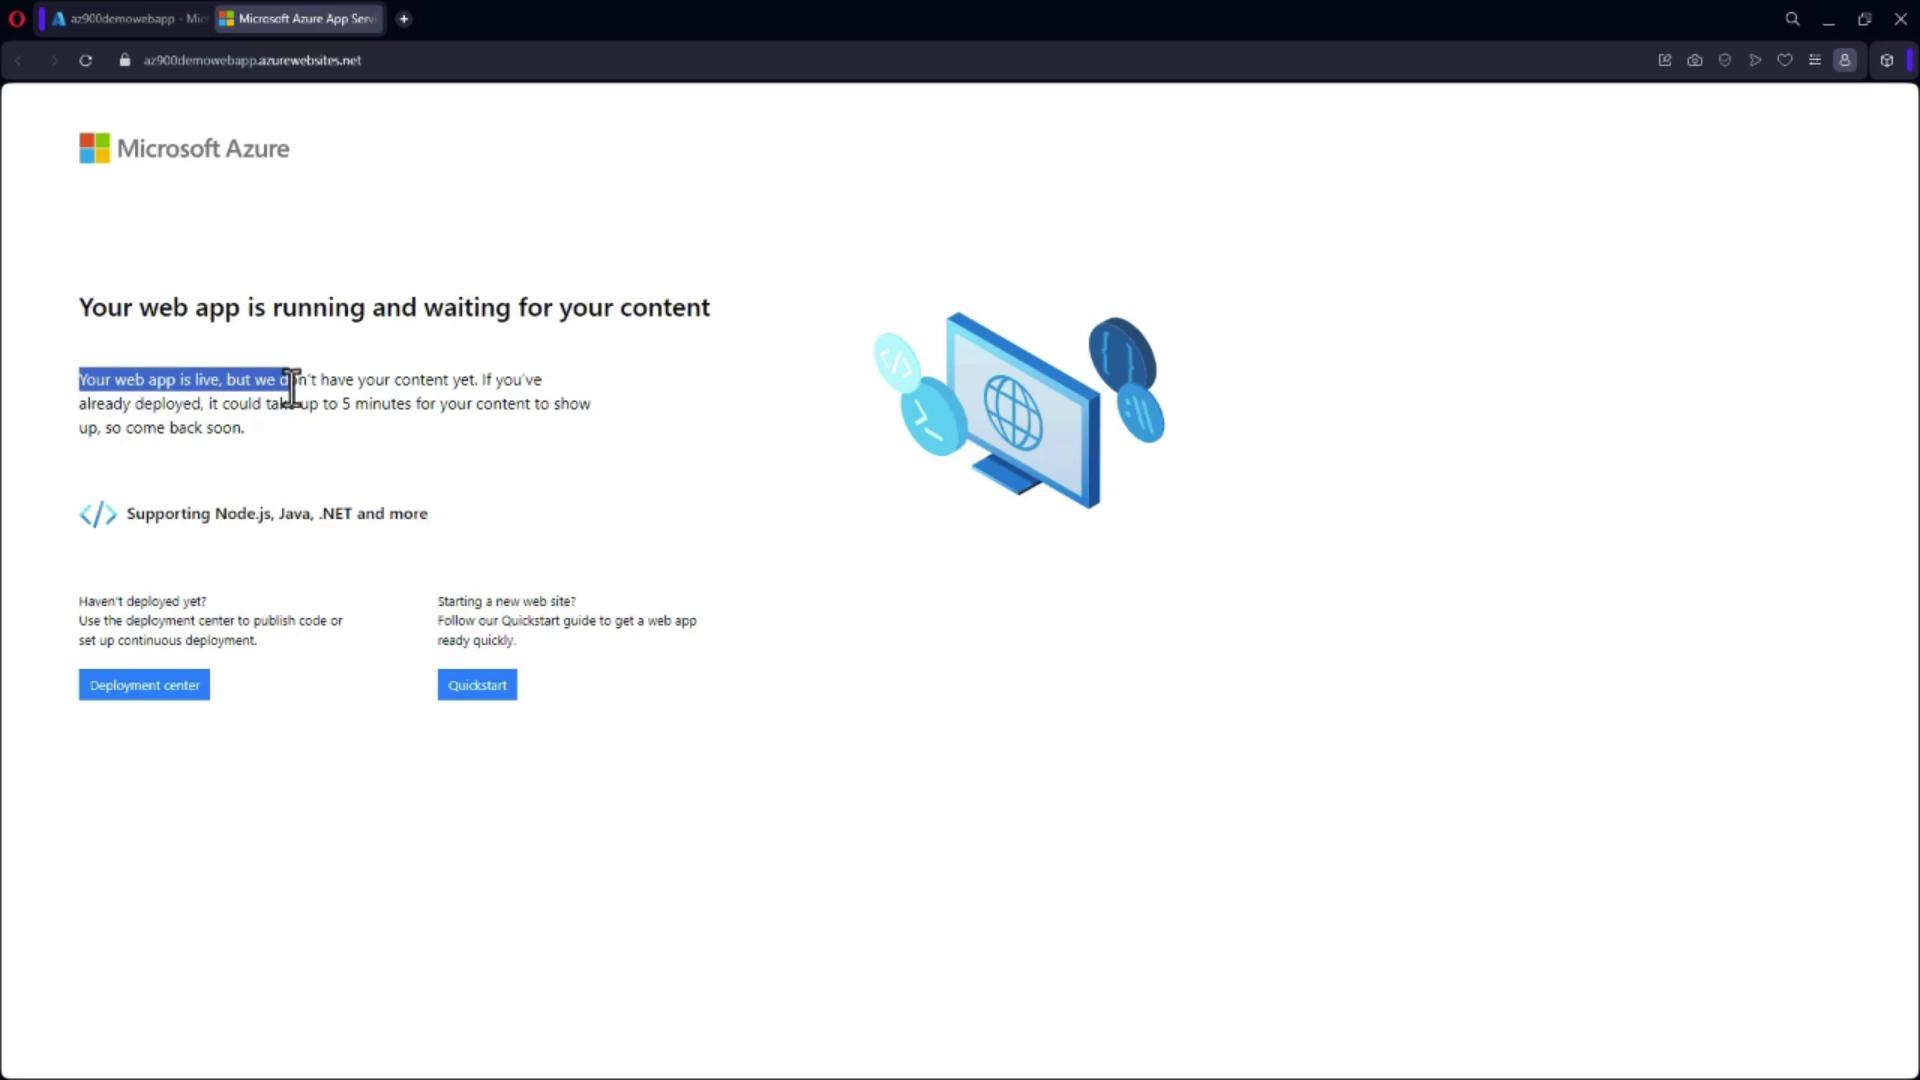
Accessing Your Web App
Once the deployment is complete:- Click “Go to Resource” to visit your newly created web app.
- A unique URL will be provided, which you can use to view your live application.