Key Features
Event-Driven Architecture
Azure Functions is built on an event-driven model where your code reacts to triggers such as HTTP requests, database changes, and queue messages. This design ensures your applications are responsive and scalable in real time.Multi-Language Support
Azure Functions supports a variety of programming languages including C#, JavaScript, Java, Python, and PowerShell. This flexibility lets you choose the language that best meets your project needs.Integration Capabilities
Seamless integration is at the core of Azure Functions. It easily connects with other Azure services and external systems, enabling you to build a cohesive, end-to-end application ecosystem.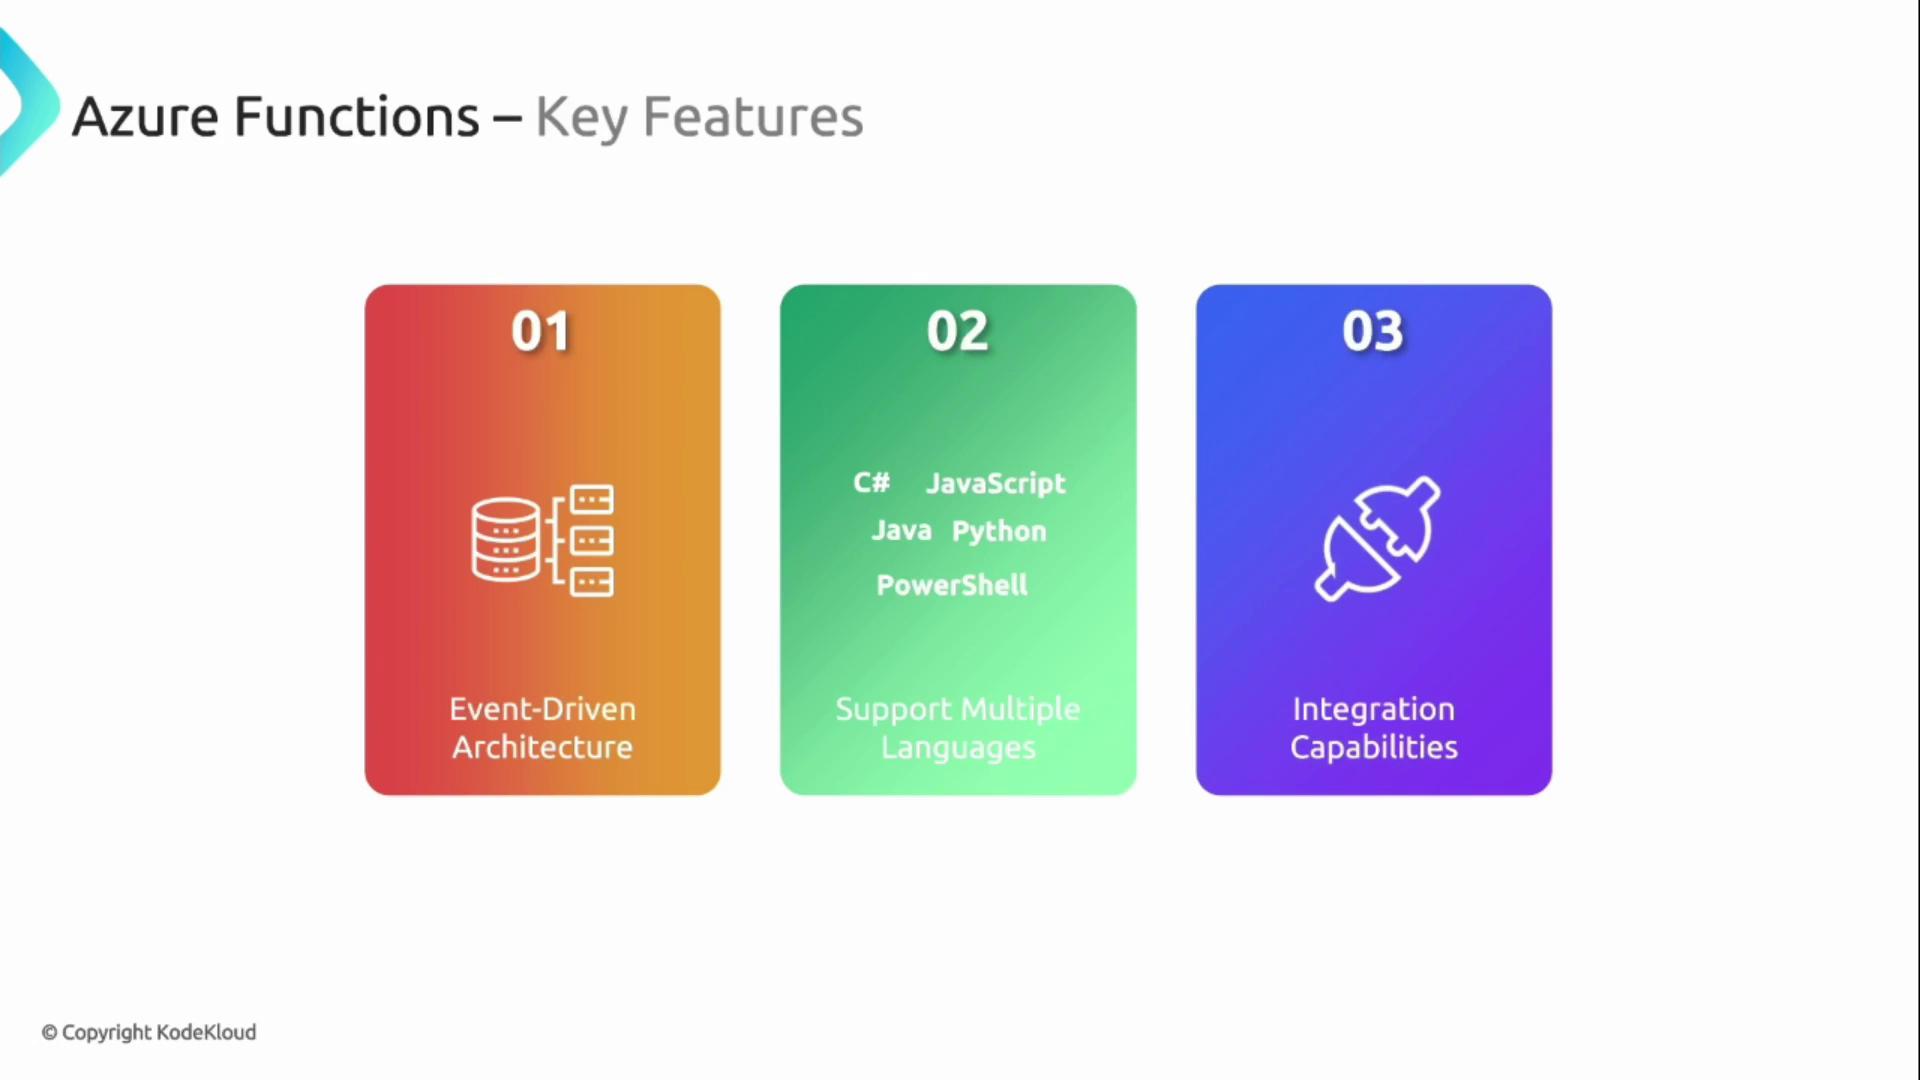
Benefits
Scalability
Azure Functions automatically adjusts compute resources to handle varying loads, ensuring that your application remains efficient and responsive regardless of demand.Pay-Per-Execution
With the pay-per-execution model, you pay only for the compute time that your code runs. This means you only incur costs when your function is active, leading to significant savings.Fully Managed Platform
Azure Functions is a fully managed service, often referred to as a Platform as a Service (PaaS) or Functions-as-a-Service (FaaS). This abstraction of the underlying infrastructure frees you from server management tasks.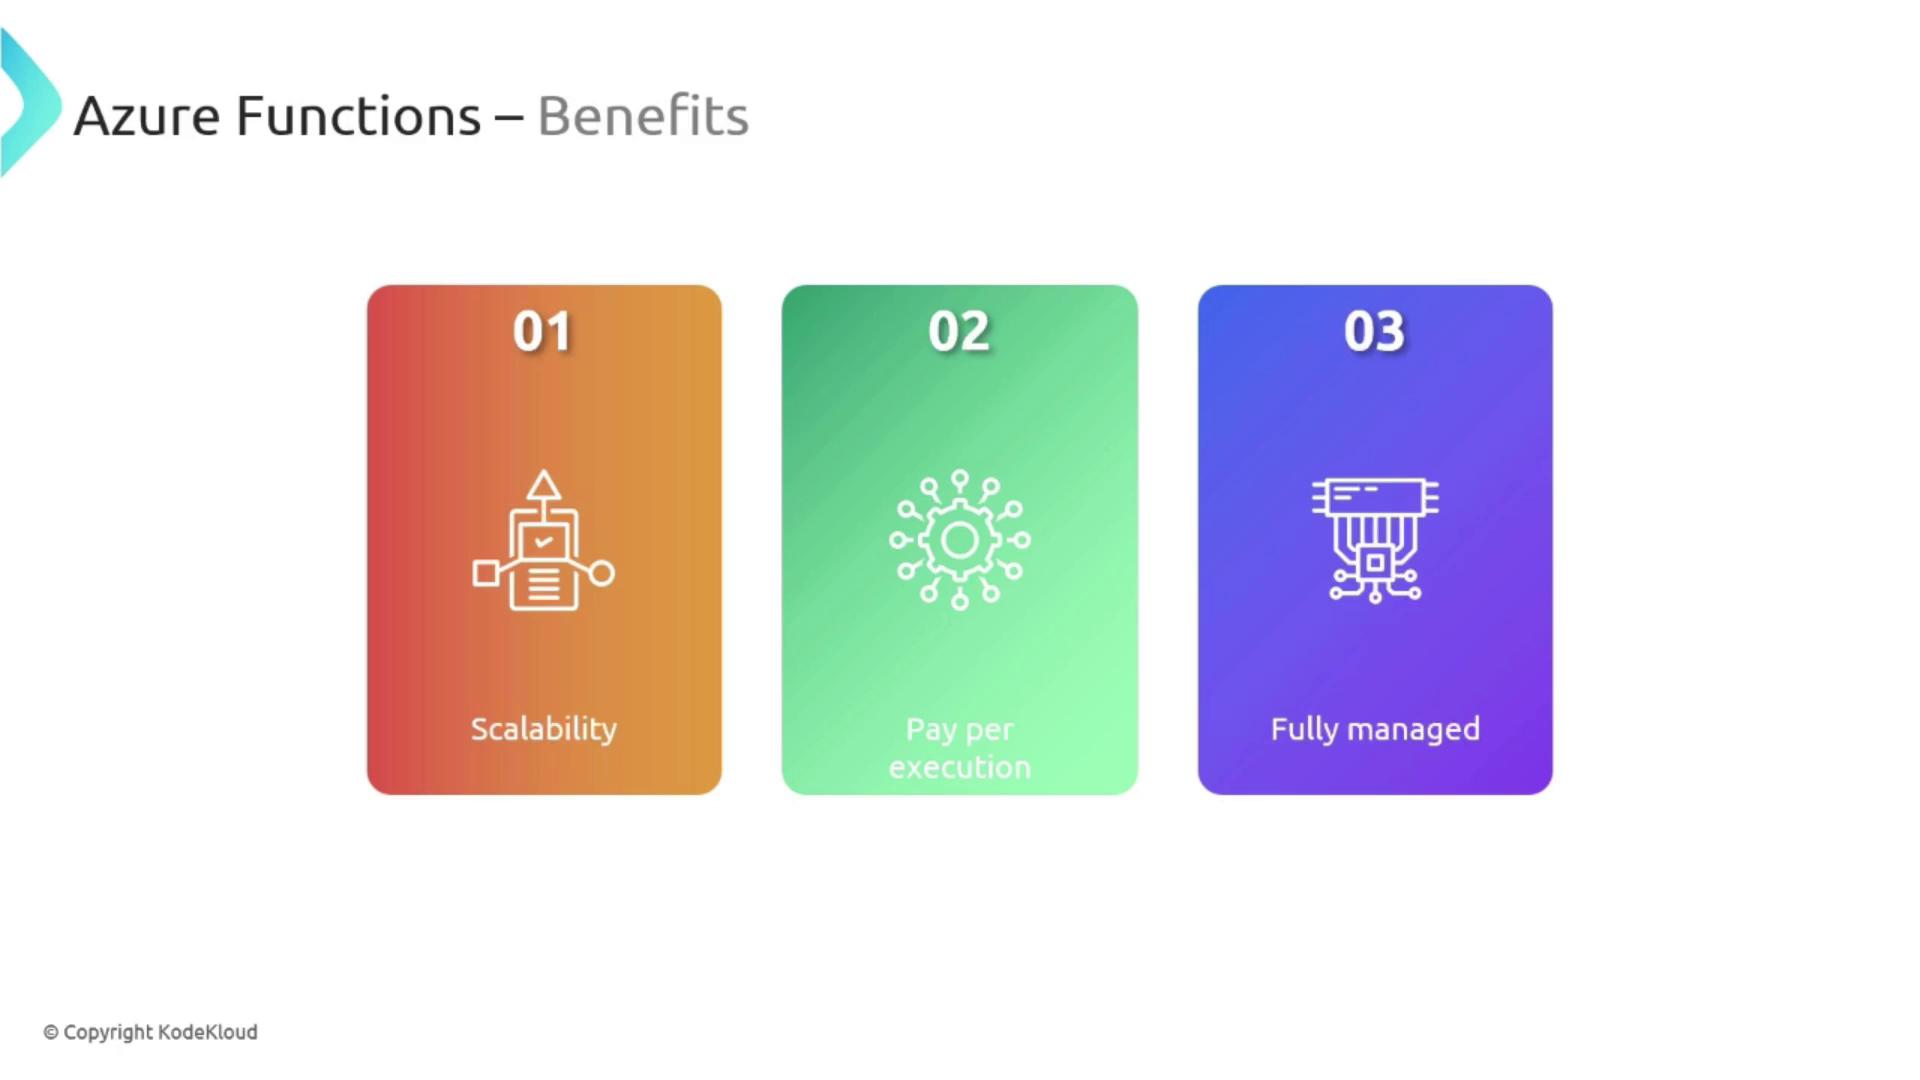
Common Use Cases
Azure Functions is highly versatile. It is suitable for various tasks such as processing orders, managing IoT data streams, automating workflows, and building APIs.Creating a Function App in Azure Portal
Follow these steps to create a new Function App within the Azure Portal:- Sign in to the Azure Portal and search for “Function App”.
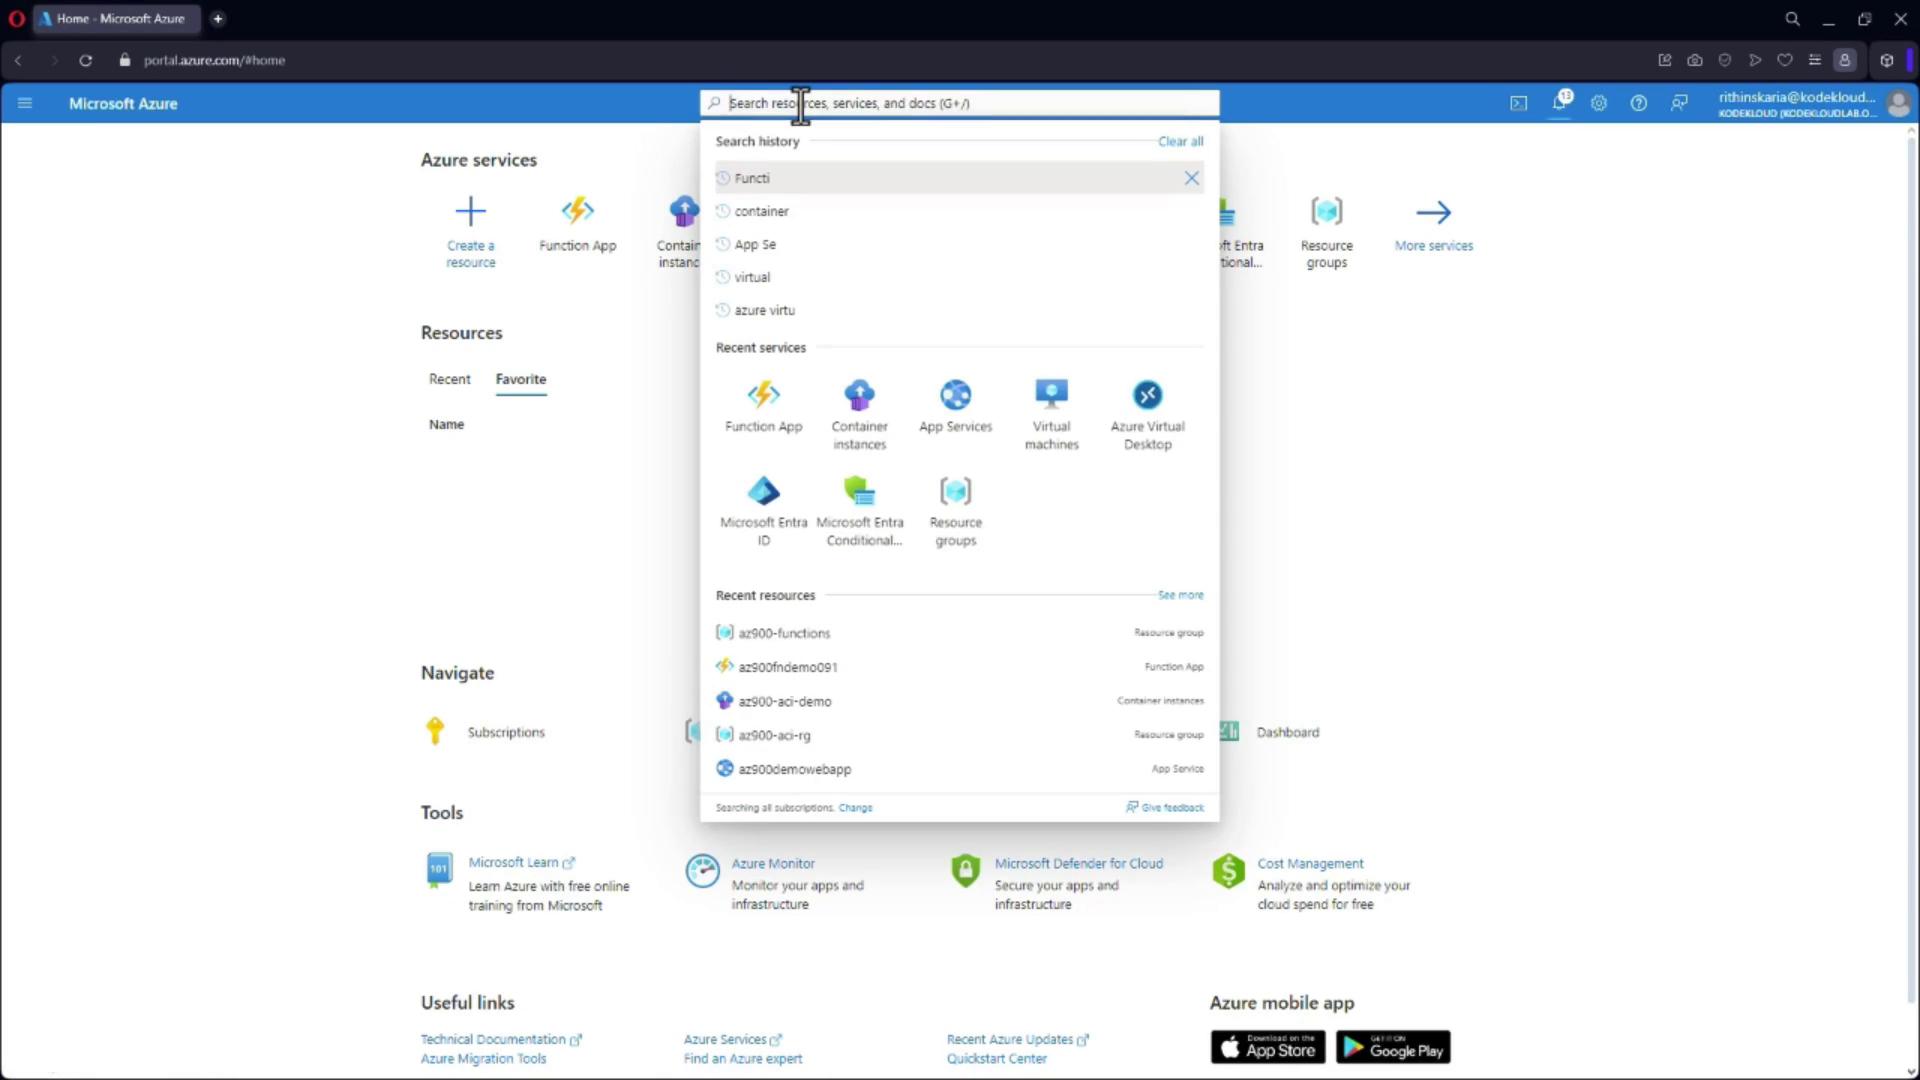
- Select the Function App option and choose to create a new Azure Function App.
-
Create a New Resource Group:
For example, use “AZ900-function-rg”. Then, choose a unique name for your Function App, which will be registered under azurewebsites.net.

-
Configure Your Function App:
Enter a unique name (e.g., “AZ900-function-demo” with random numbers appended), select the runtime stack (e.g., .NET Core), set the region to East US, and choose the consumption-based model to pay only when an event is triggered. -
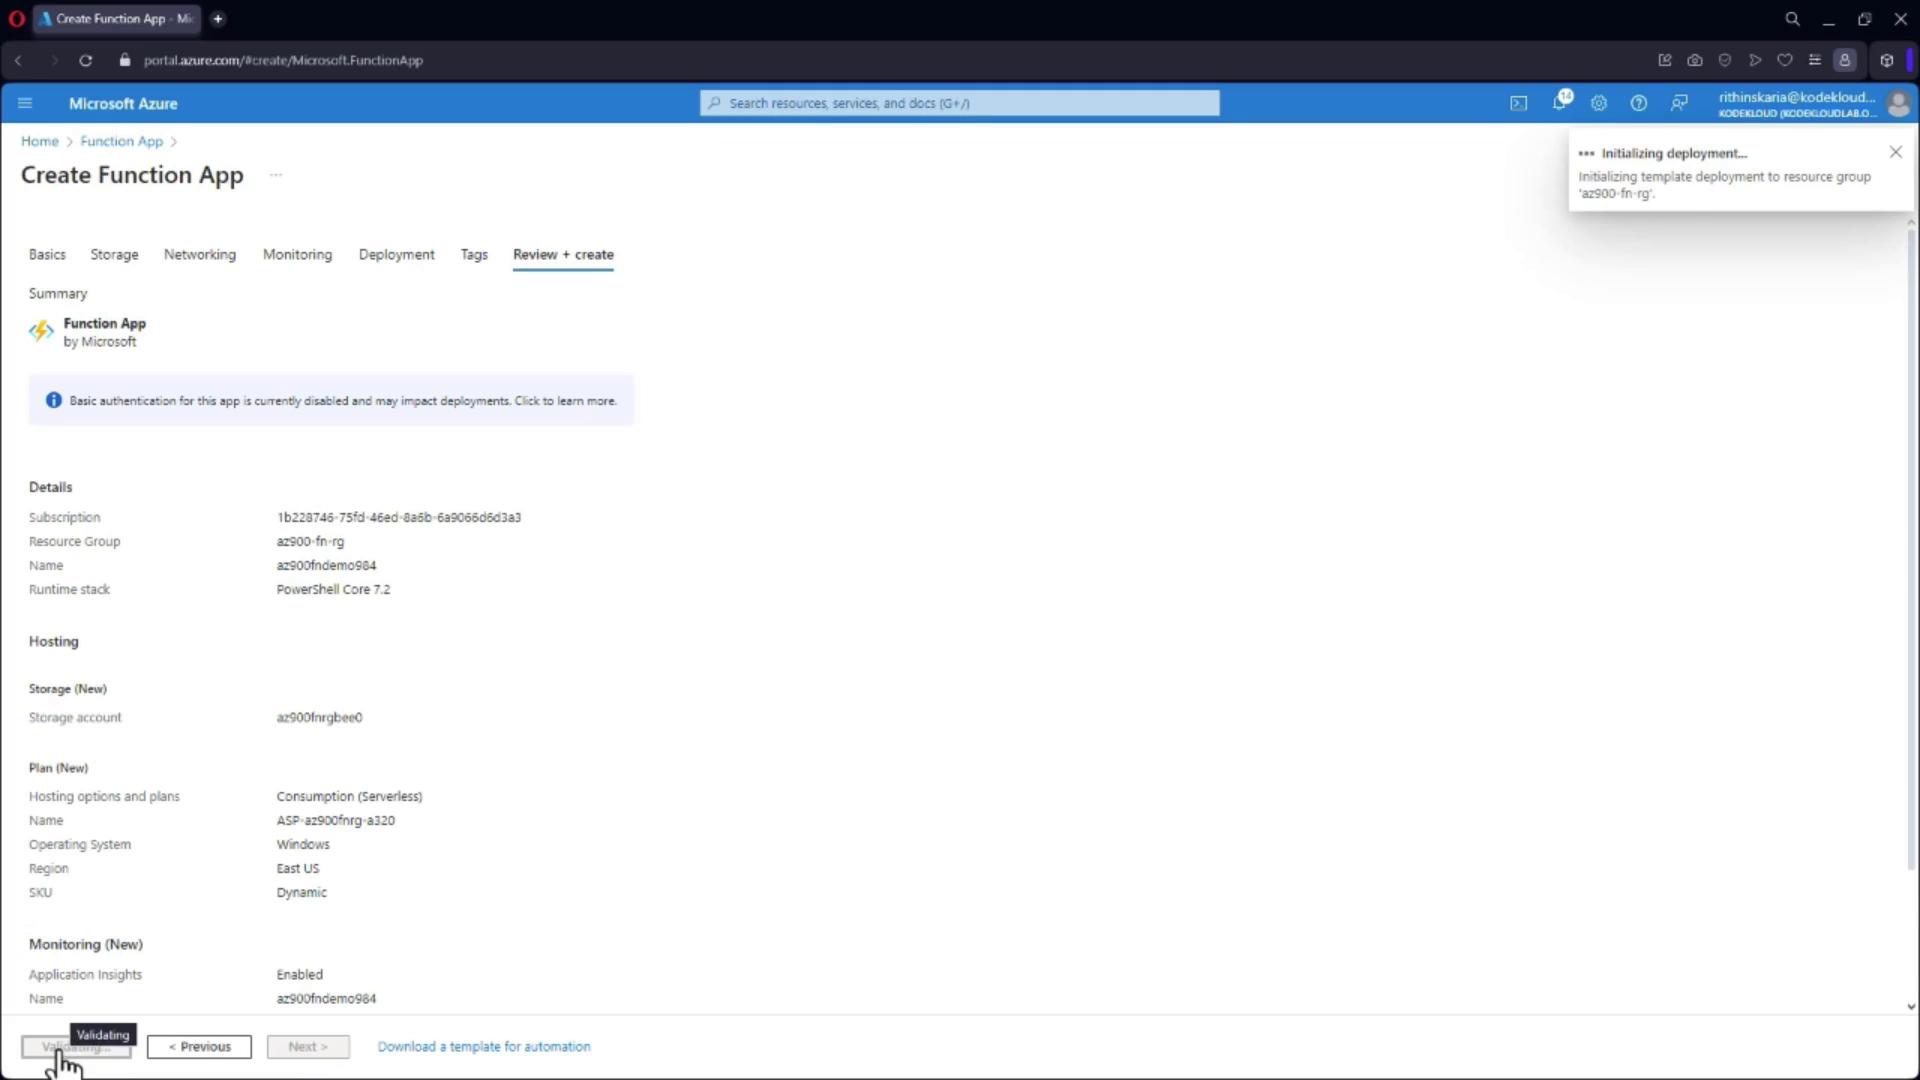
Review and Create:
Click on “Review and create” and wait for the validation to complete. Once validated, create your Function App.
Creating Your First Function
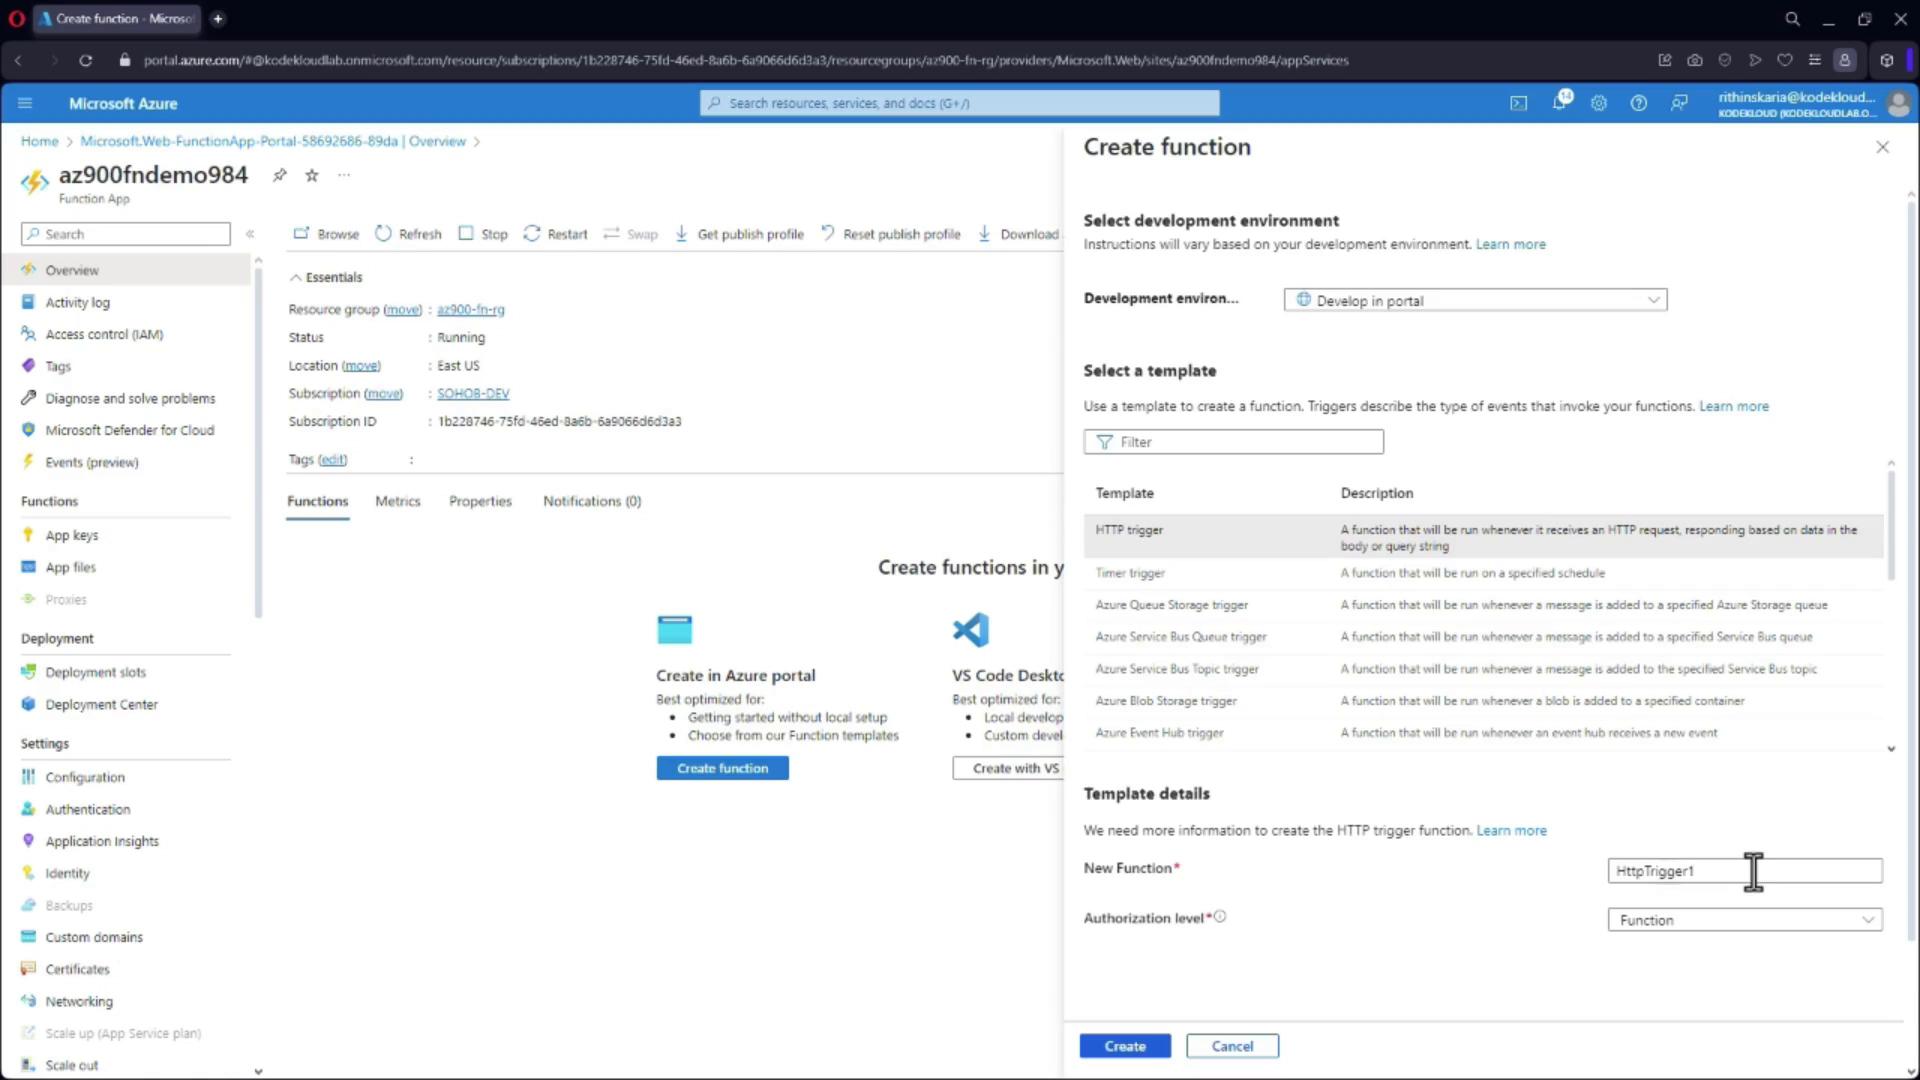
After deploying your Function App, follow these steps to create your first function:- Navigate to Your Function App and Click “Create Function”:
-
Select a Trigger:
For example, choose the HTTP trigger and name your function (e.g., “trigger”).
-
Review the Base Code:
Azure provides default code which you can modify as needed. Click on “Create” to proceed with the base code. -
Edit Your Function Code:
Go to the “Code + Test” section to examine and make changes to your function’s code.
If you prefer PowerShell, here is an example of an HTTP-triggered function. It checks for a “name” parameter in the URL query string or the request body and returns a personalized greeting if provided:
- Test Your Function:
Click on “Get Function URL” to copy the URL, then paste it into your browser with?Name=Samappended to see the message “Hello, Sam. This HTTP triggered function executed successfully.” If no name is provided, the function will prompt you to pass a name.