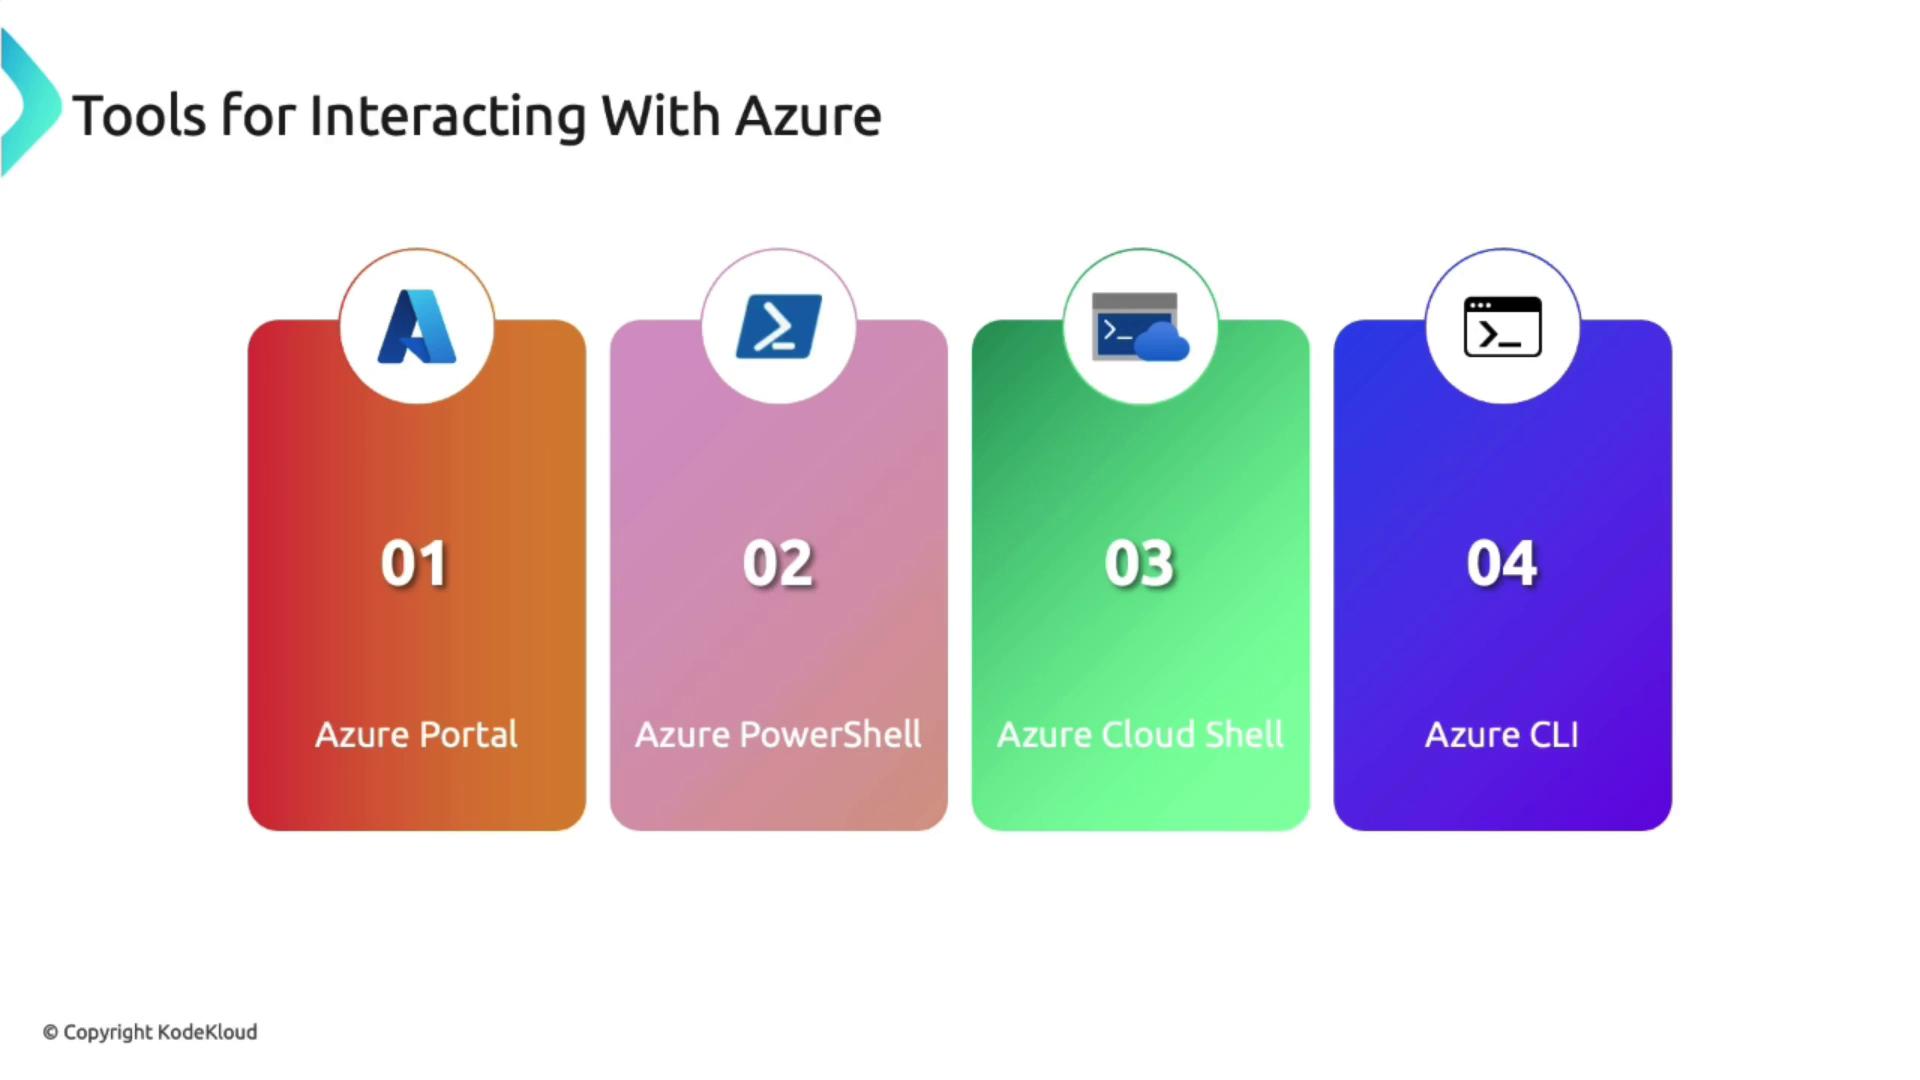
Overview of Azure Interaction Tools
Azure provides multiple ways to interact with its resources:- Azure Portal – A web-based graphical interface.
- Azure PowerShell – A module with cmdlets to manage Azure resources via the command line.
- Azure Cloud Shell – A browser-accessible shell pre-configured with the necessary tools.
- Azure CLI – A cross-platform command-line tool ideal for automation and scripting.
Azure Portal
The Azure Portal is a user-friendly, web-based interface for managing Azure services. It enables you to effortlessly create, manage, and monitor a wide range of resources—from simple web apps to complex cloud deployments.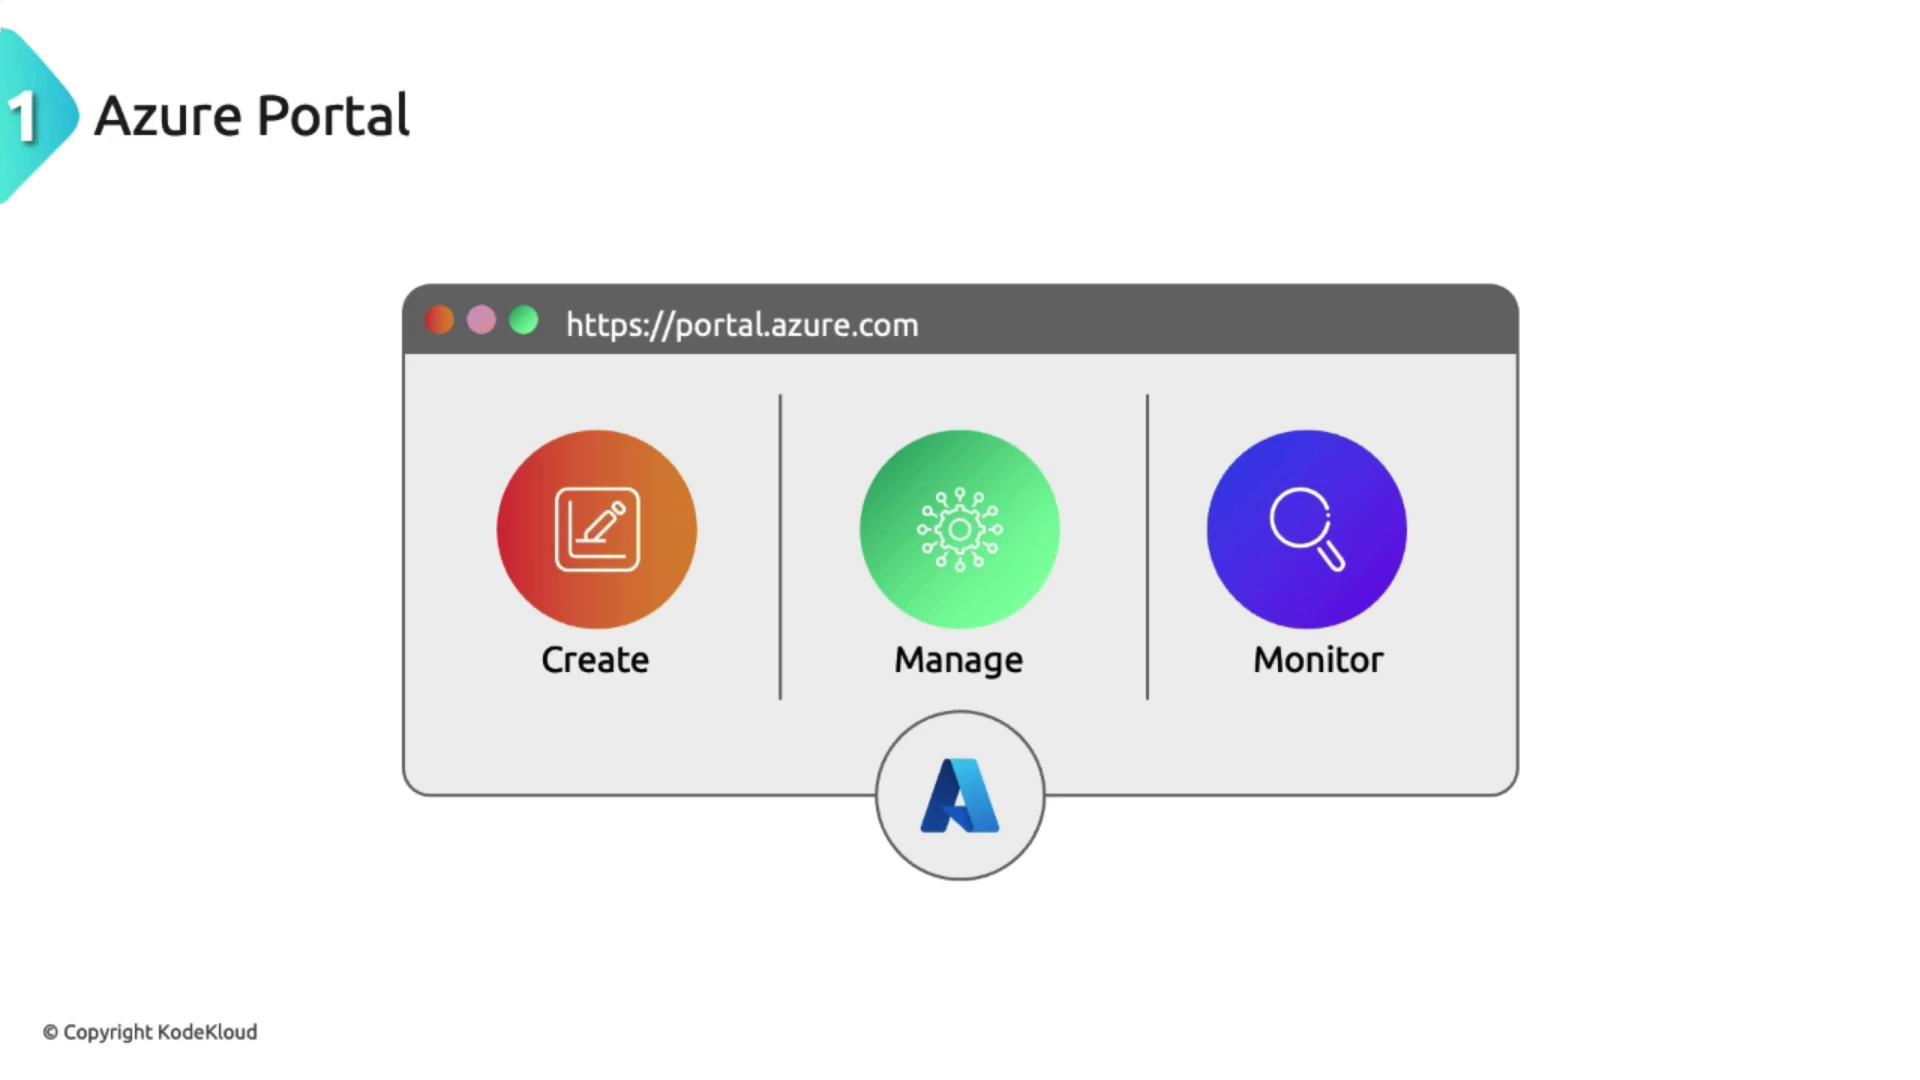
Azure PowerShell
Azure PowerShell provides a robust set of cmdlets that allow you to manage your Azure resources directly from the command line. It is especially useful for automating repetitive or complex tasks. Below is an example of creating a Storage Account using Azure PowerShell:This command creates a new storage account and is ideal for repeated deployments.
Azure Cloud Shell
Azure Cloud Shell is a browser-accessible shell that comes pre-configured with essential Azure tools. It eliminates the need for local installations, providing a ready-to-use environment for managing your resources.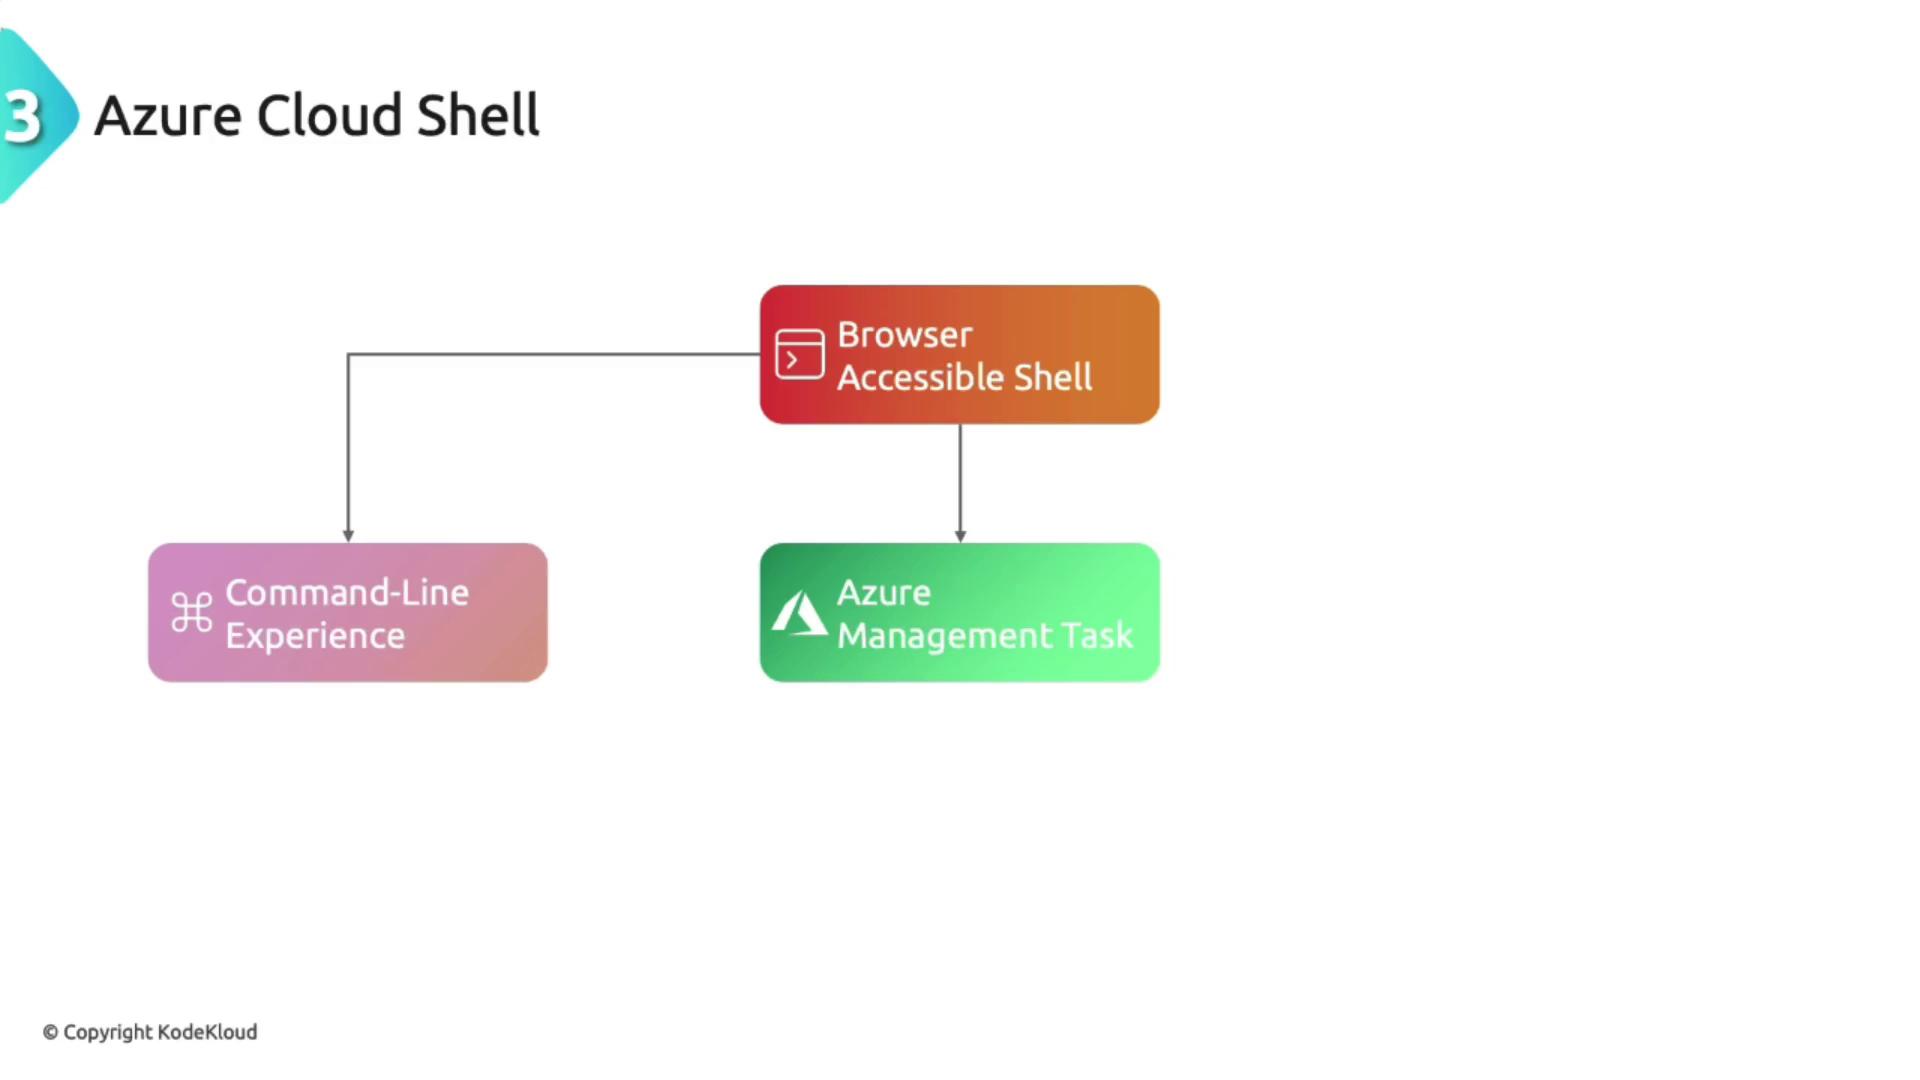
Azure CLI
Azure CLI is a versatile command-line tool that functions across Linux, Windows, and macOS. It is particularly popular among users with a Linux background or those who prefer a bash-like environment, though its cross-platform support makes it an excellent choice for any operating system. Here is an example of creating a Storage Account using Azure CLI:
Choosing the Right Tool
The best tool for interacting with Azure depends on your workflow, operating system, and preference for a graphical interface or command-line automation. Consider the following:- Graphical vs. Command-Line: The Azure Portal provides an excellent visual experience for individual or simple deployments. For deploying multiple Virtual Machines or executing complex tasks, automation with PowerShell or Azure CLI is more effective.
- Operating System Considerations: While both Azure PowerShell and Azure CLI work on Linux, Windows, and macOS, users comfortable with bash will likely prefer Azure CLI, whereas those familiar with Windows might lean towards PowerShell.
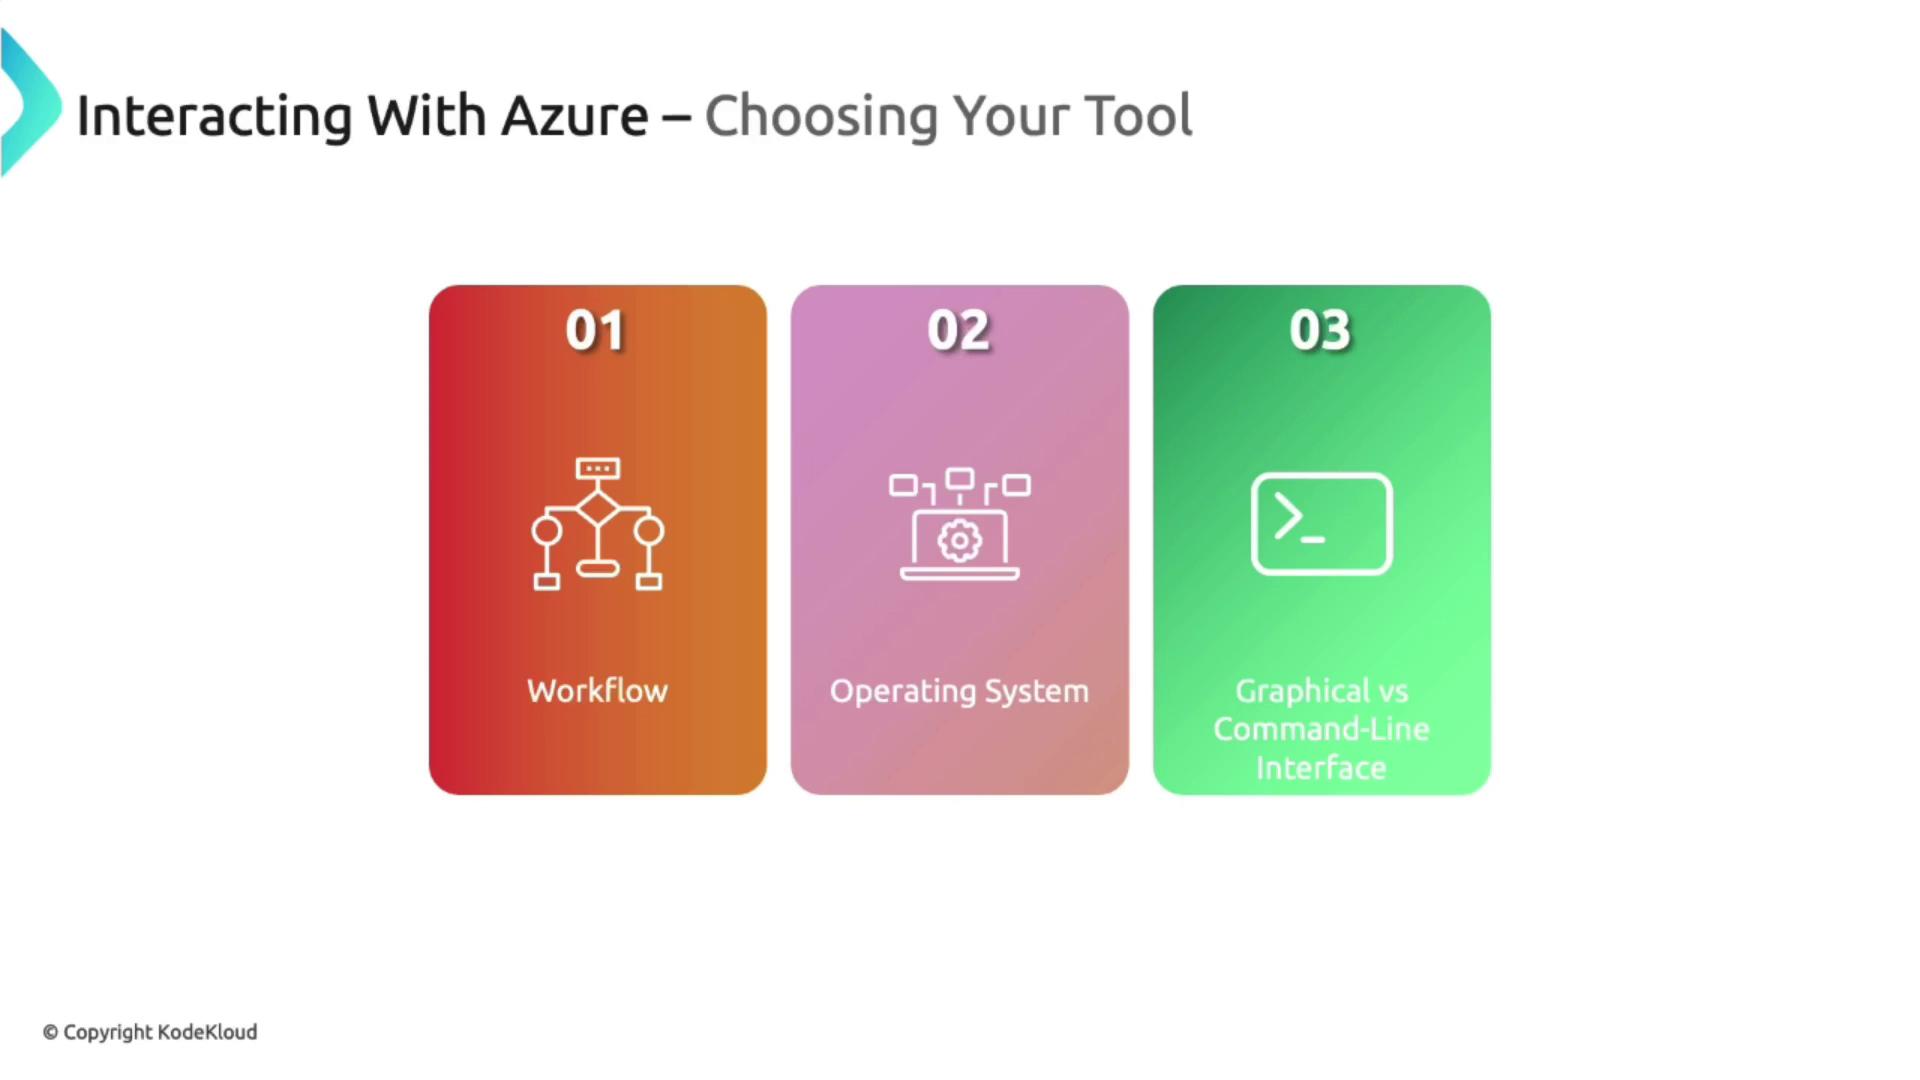
For quick demonstrations, the Azure Portal is ideal. When dealing with complex scenarios or repetitive tasks, consider using scripting with PowerShell, Azure CLI, or other Infrastructure as Code tools like Bicep or ARM templates.
Best Practices
- Azure Portal: Ideal for key tasks and visual monitoring.
- Azure PowerShell and Azure CLI: Best used for automating and streamlining deployments.
- Azure Cloud Shell: Convenient for on-the-go management since it requires no local installation; it automatically configures Azure CLI and PowerShell and links to a persistent storage account.
Demonstration of Tools
Installing Azure PowerShell
Before you begin, ensure you have PowerShell installed. Windows usually comes with it pre-installed, while macOS and Linux users need to install PowerShell manually. To install the Azure PowerShell module, run:Installing Azure CLI on macOS
MacOS users can install Azure CLI using Homebrew:Logging into Azure with PowerShell
Open PowerShell (using the command-line tool “pwsh”) and run the following command to log in via device authentication:Creating a Resource Group and Storage Account with Azure PowerShell
After logging in, list your resource groups and create a new one. For example, to create a resource group named “ps-demo” in the East US region, execute the appropriate command. The output will display various details similar to:Logging into Azure with Azure CLI
To log in using Azure CLI with device authentication, run: