Pre-signed URLs are a powerful feature of Amazon S3 that allow you to grant time-limited access to private objects without changing your bucket’s ACL or policy. This walkthrough explains how to:
Create an S3 bucket with secure default settings
Upload and verify objects
Generate pre-signed URLs via the AWS Management Console
Demonstrate permission boundaries with a restricted IAM user
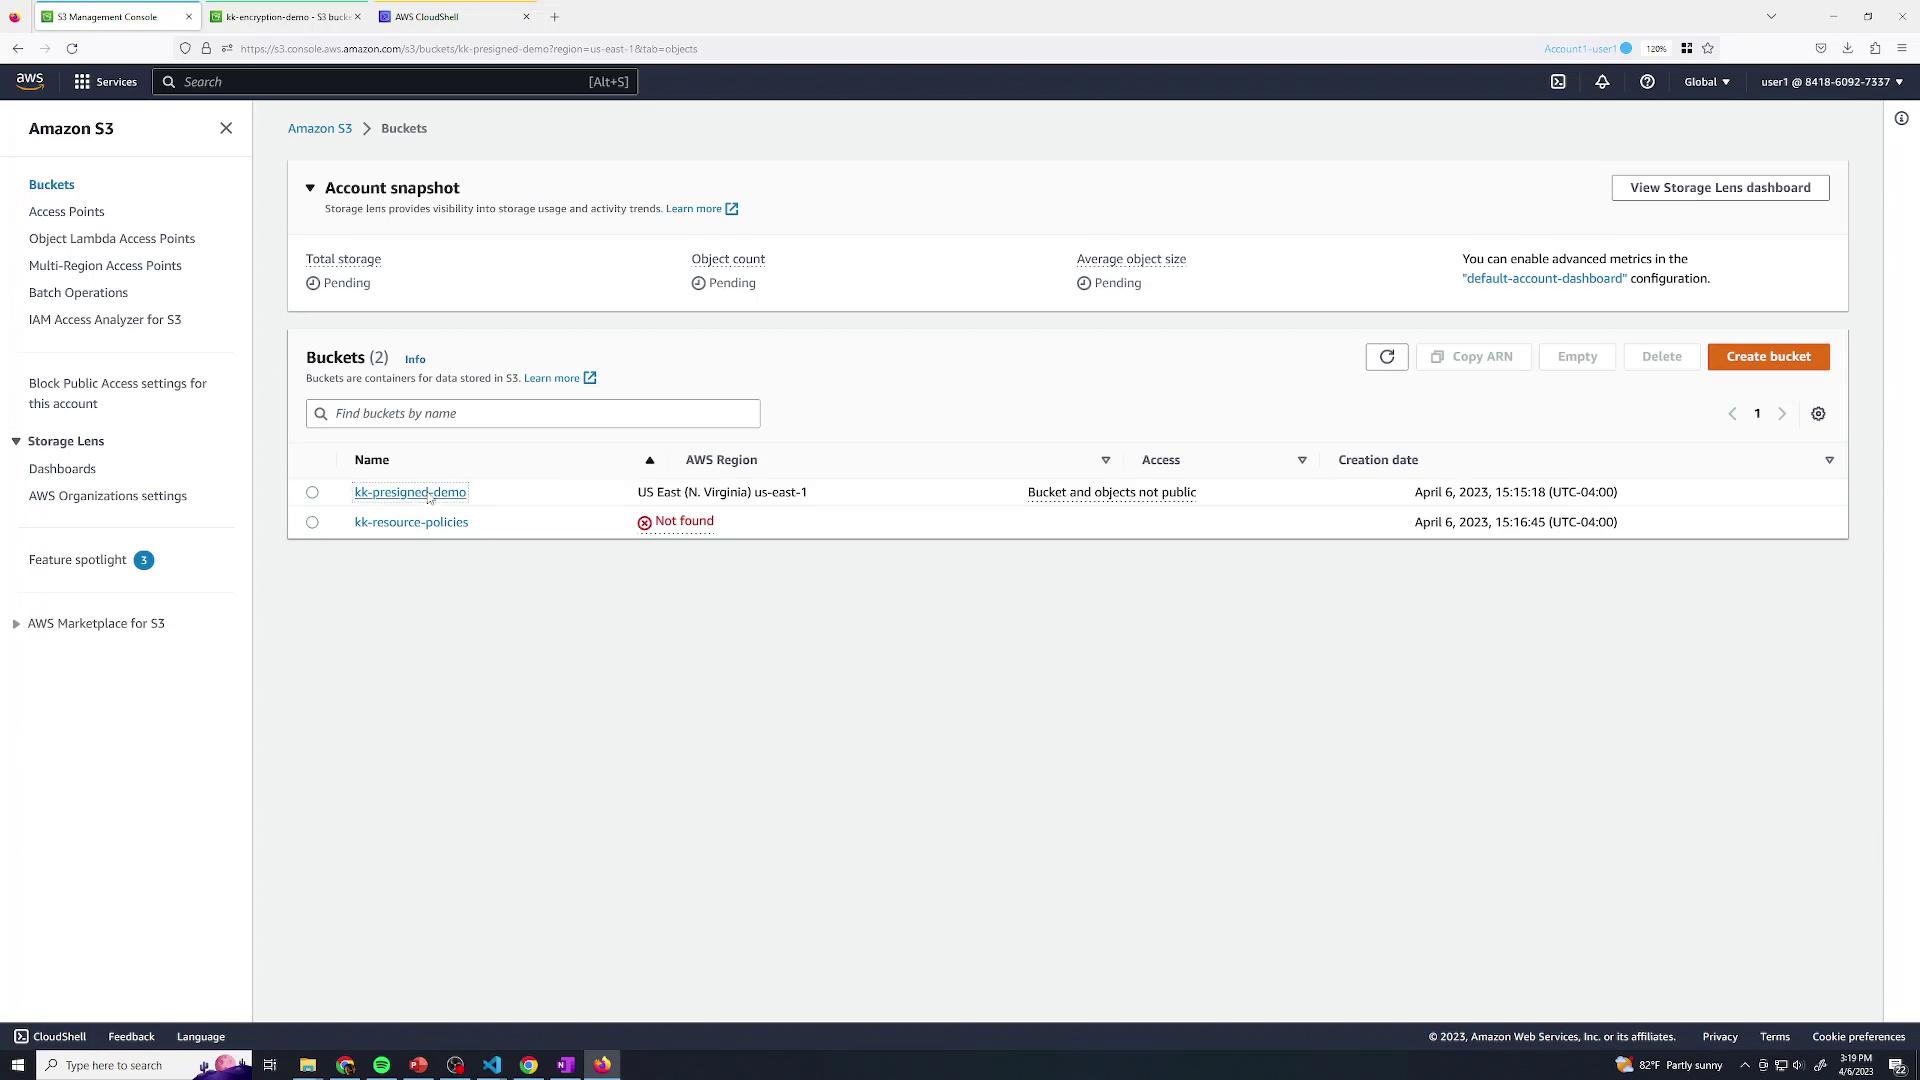
1. Create an S3 Bucket Start by creating a new S3 bucket using default settings:
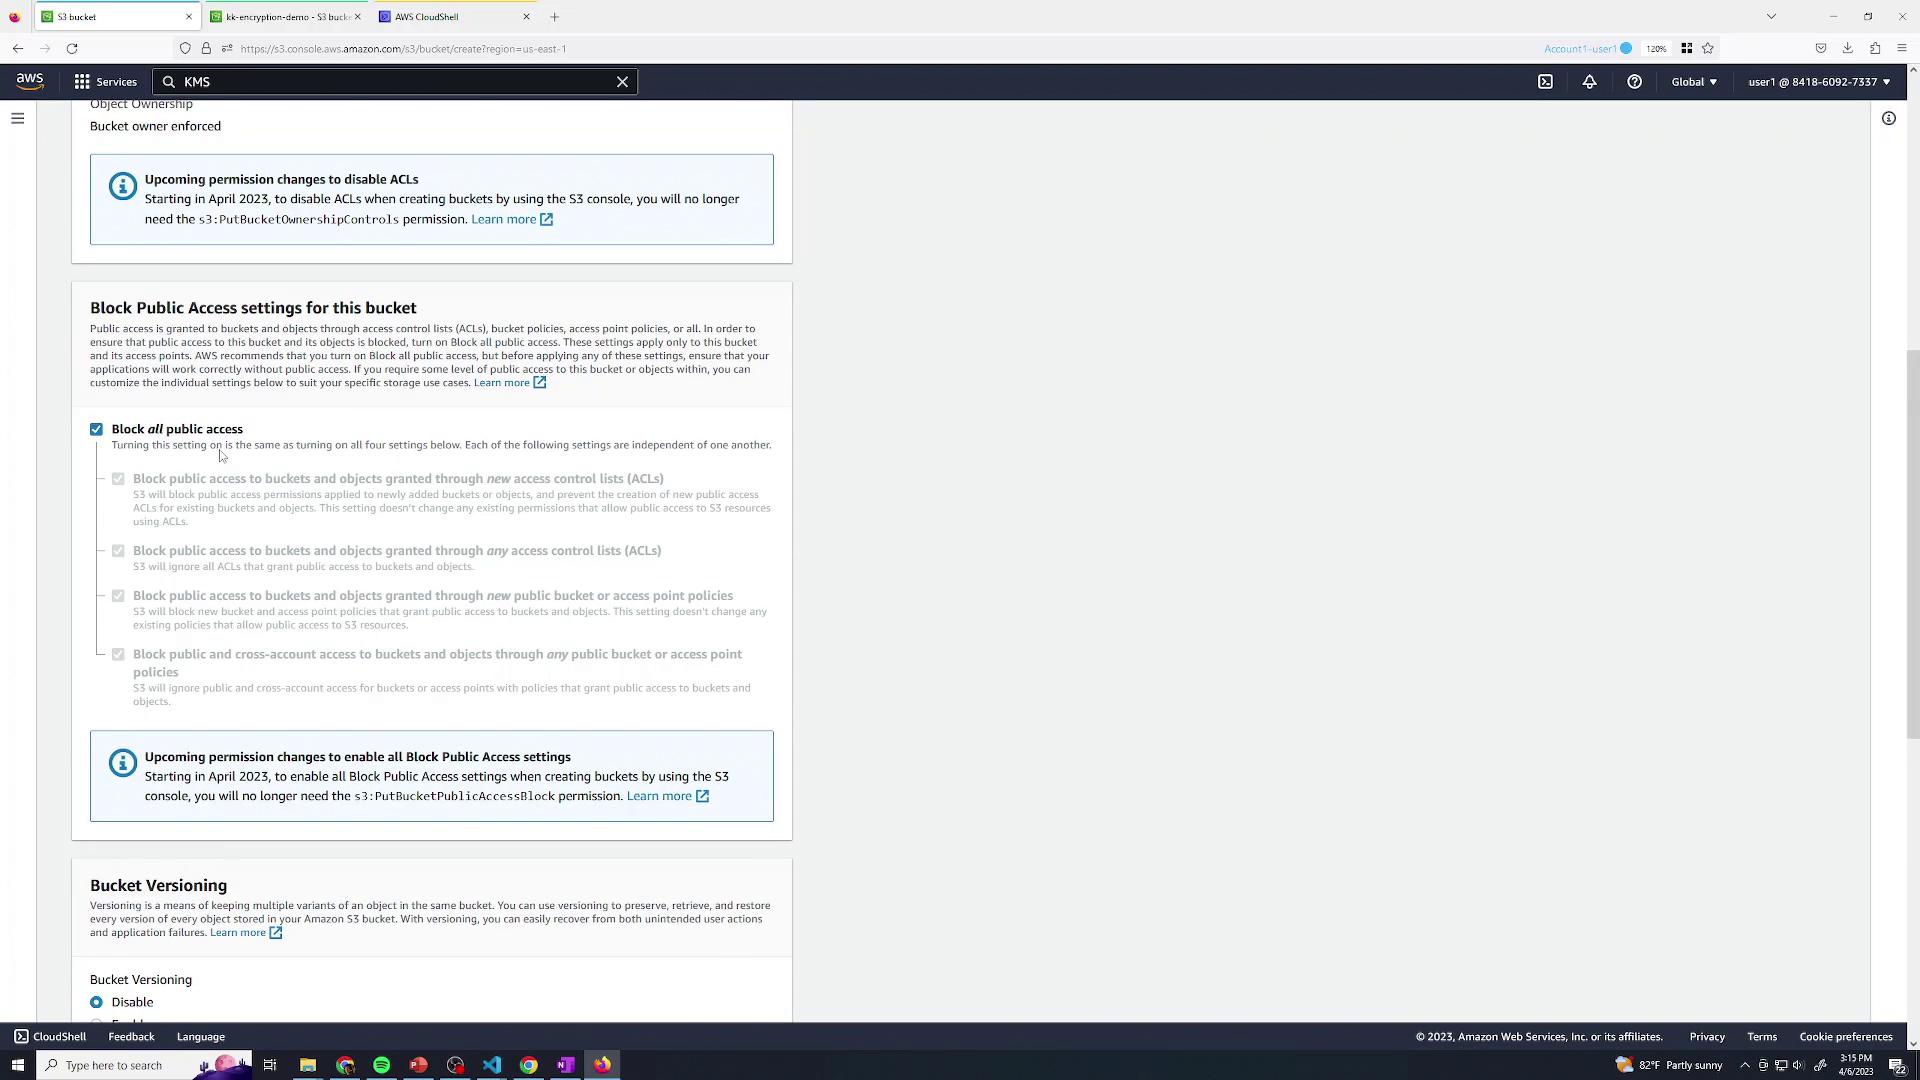
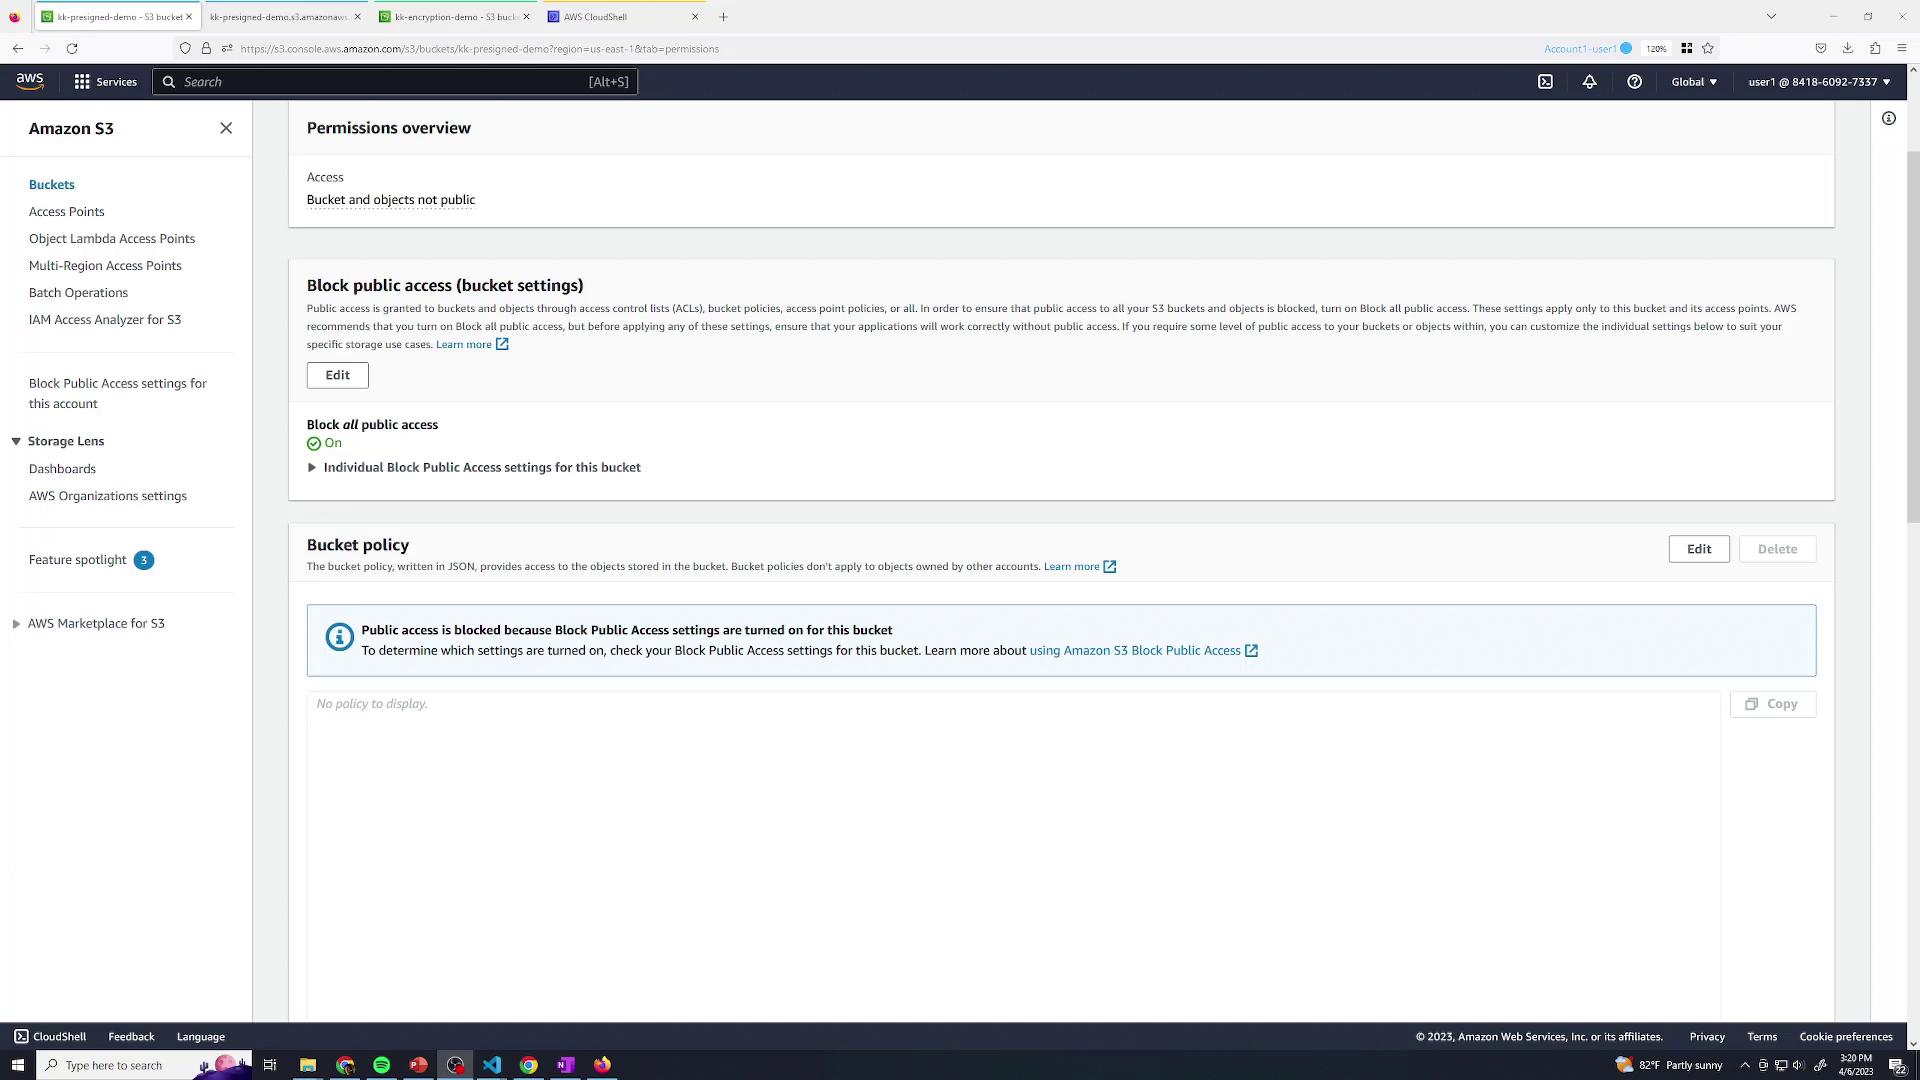
Ensure all options remain at their defaults and block public access for enhanced security:
By blocking public access and relying on IAM, you safeguard your data against unintended exposure.
At this point, only your AWS account (root user or explicitly granted IAM identities) can access the bucket.
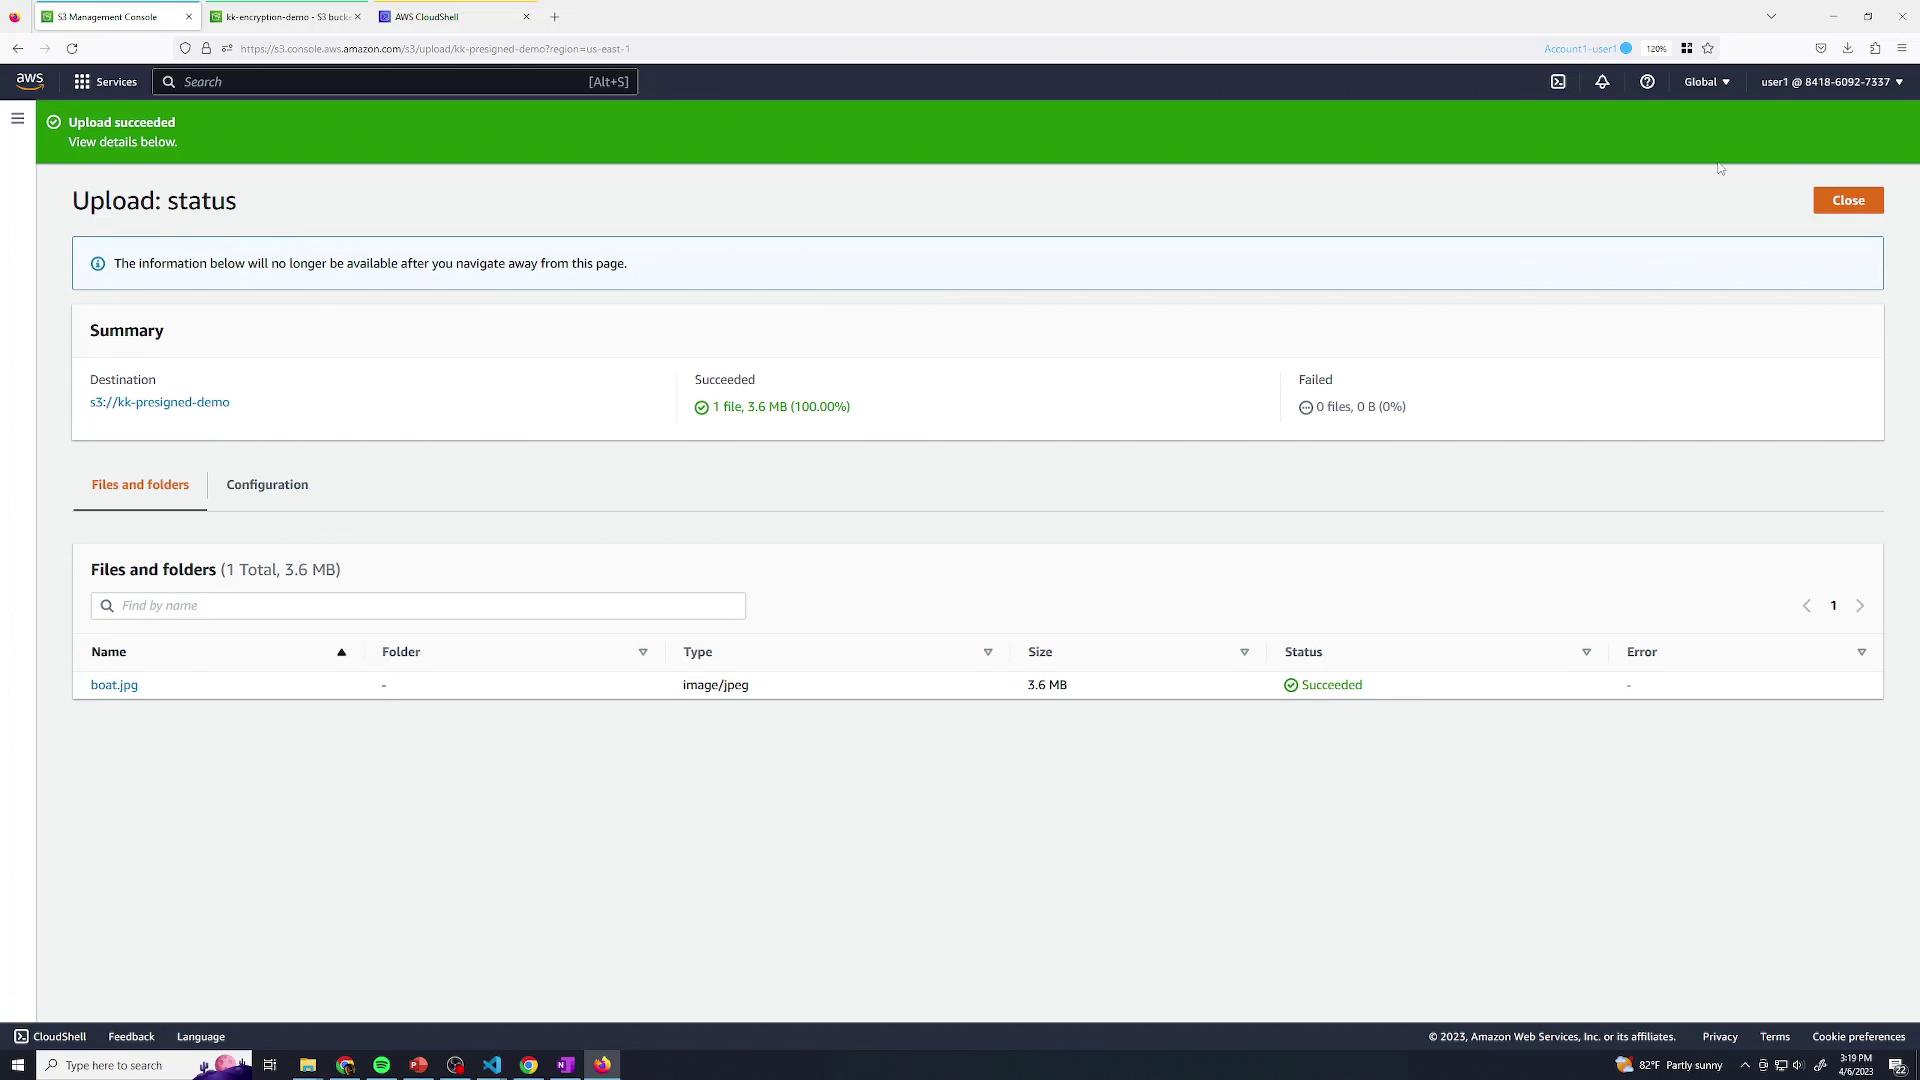
2. Upload an Object Next, upload a test file (e.g., boat.jpg) to your bucket:
After initiating the upload, watch for the completion notification:
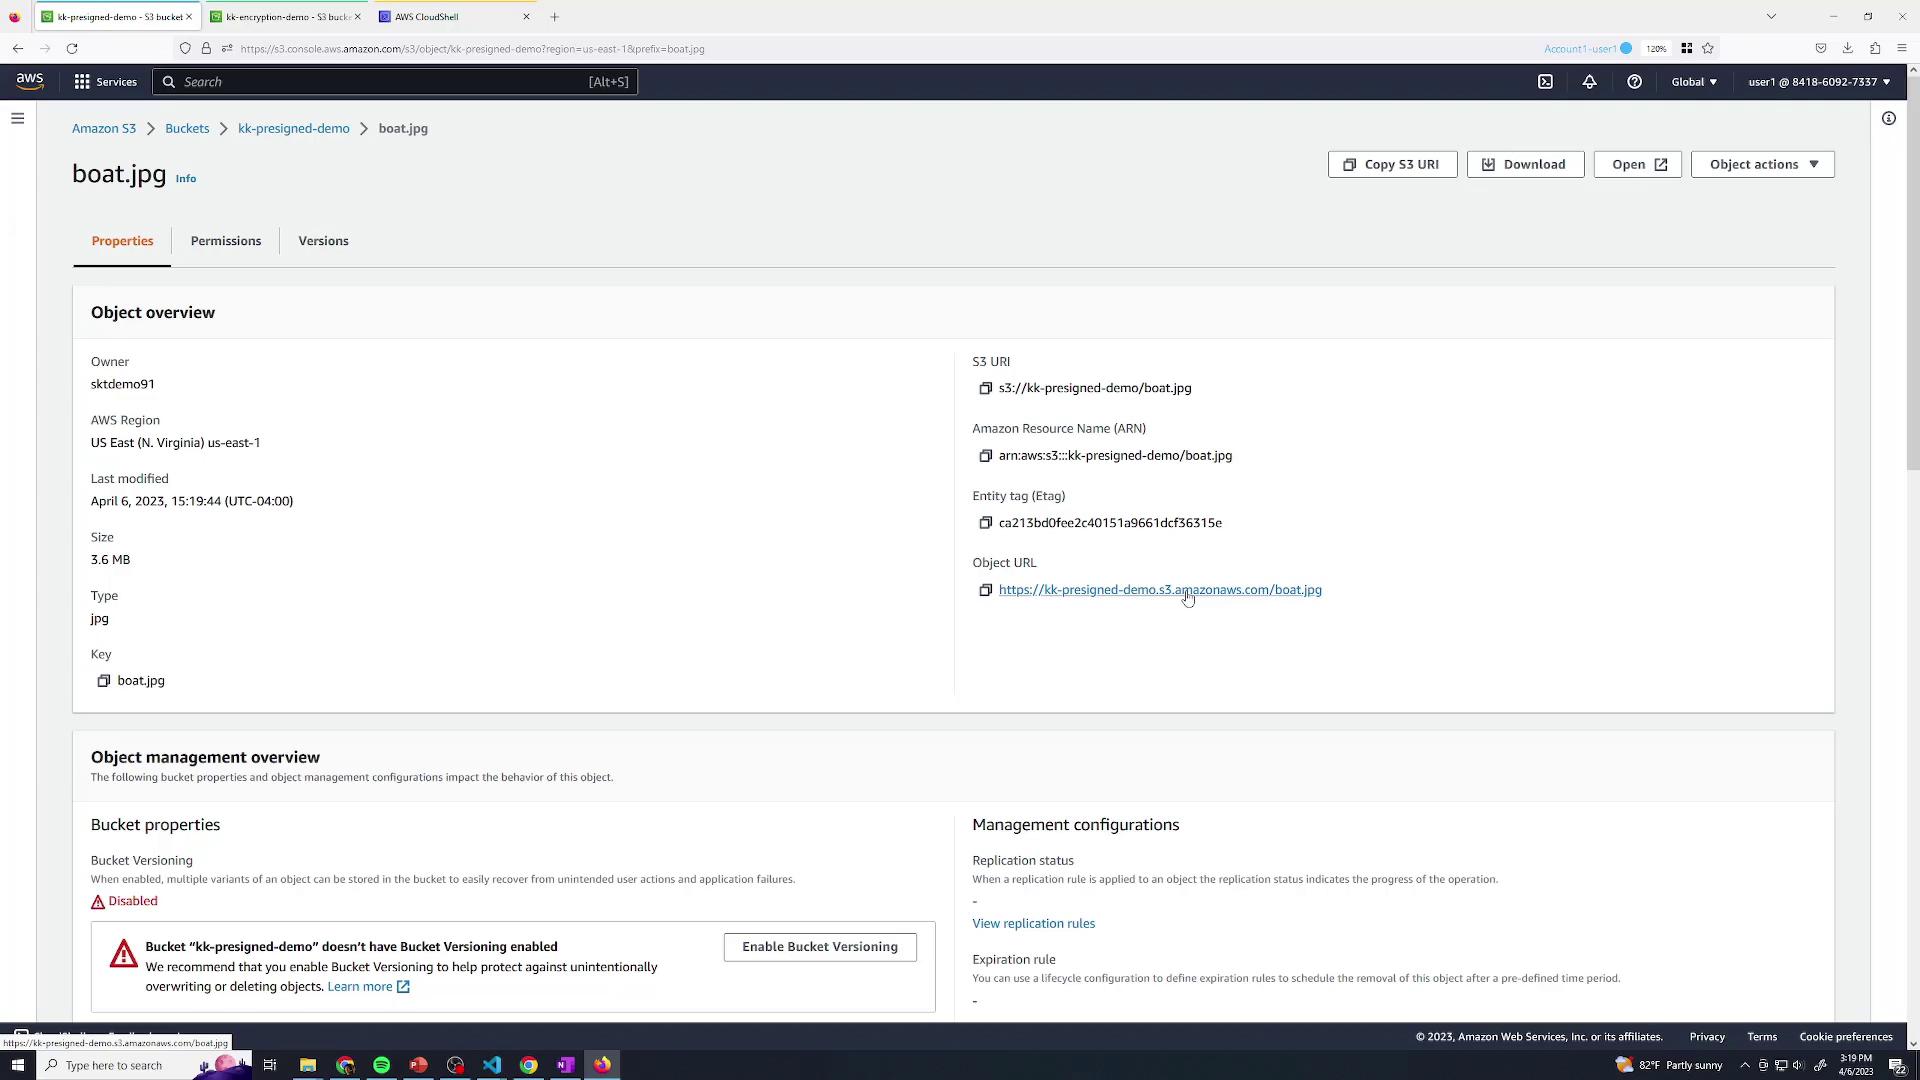
You can view the object details as an authenticated user:
If you open the S3 URL in a private browser session, you’ll see an Access Denied error since the object is private.
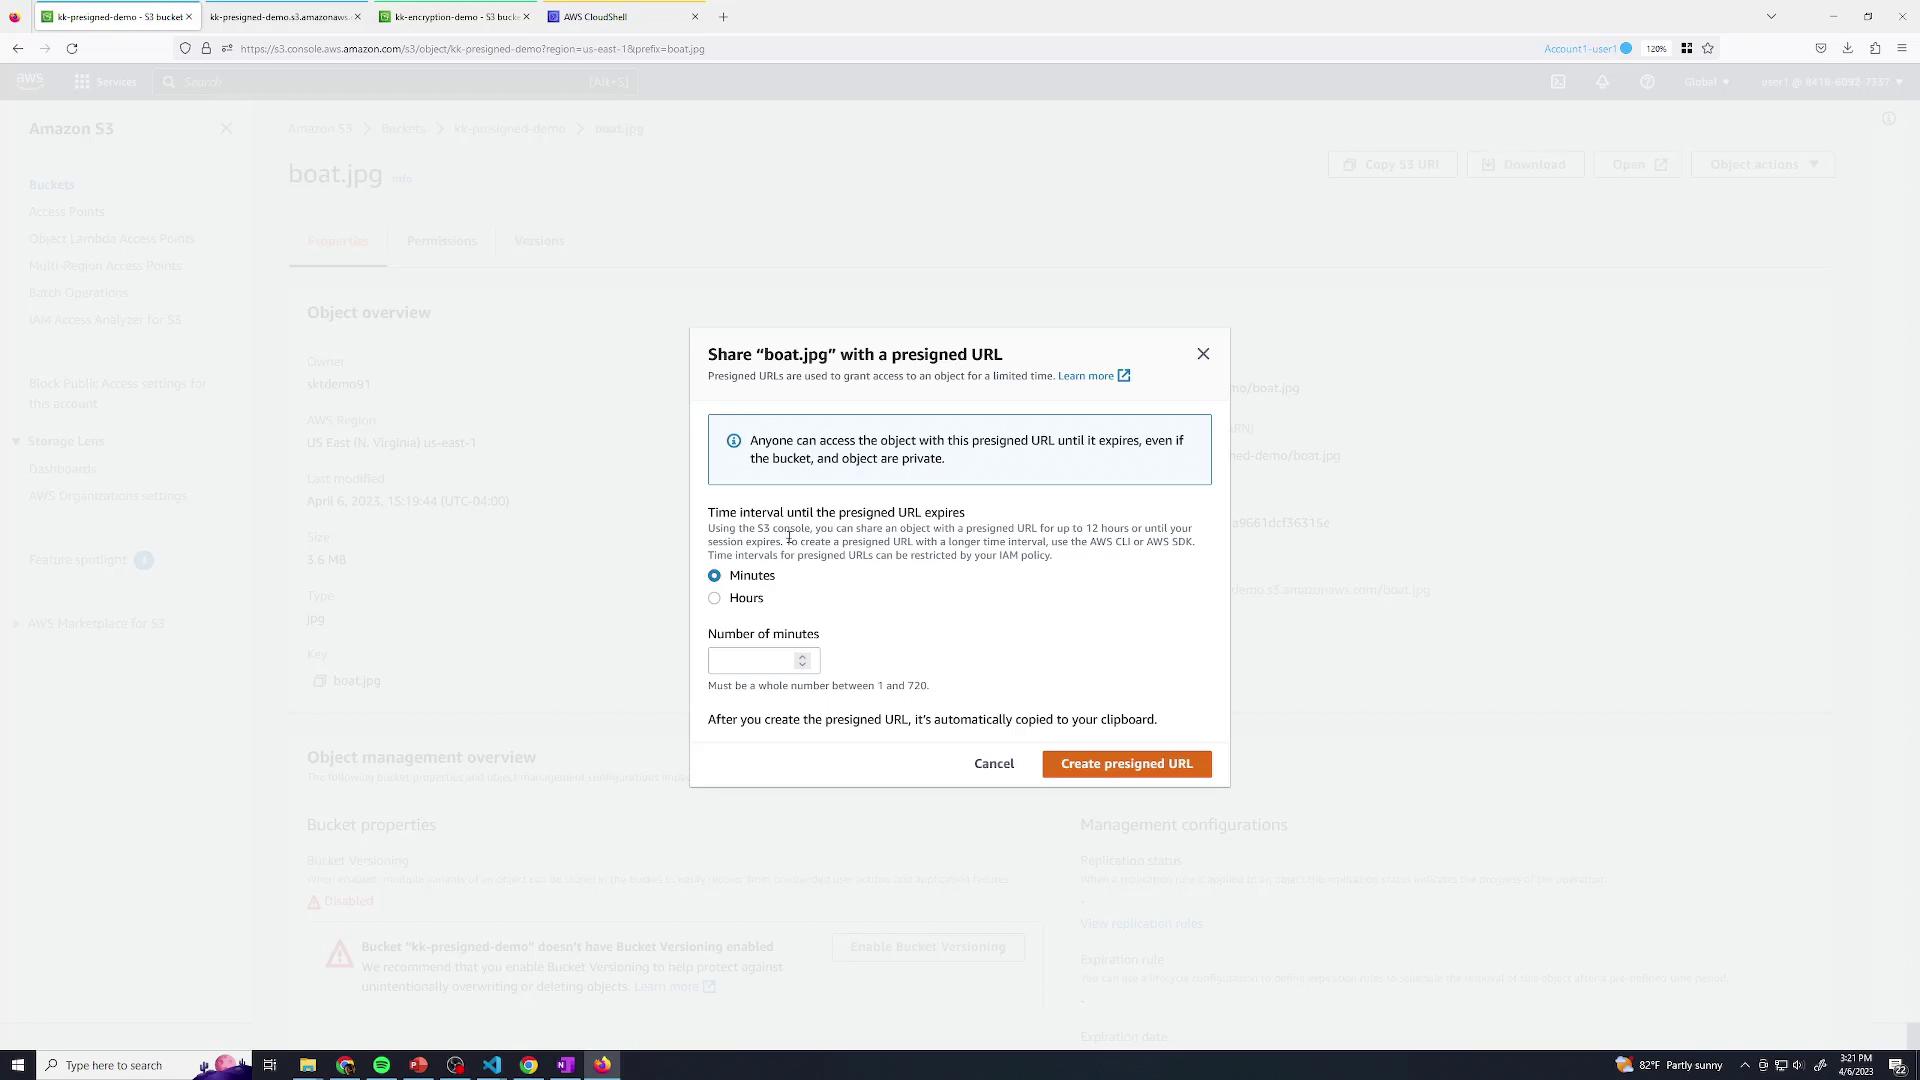
3. Generate a Pre-Signed URL via AWS Console To share your object temporarily without altering bucket policies, generate a pre-signed URL:
Open the object’s detail page and click Share with a pre-signed URL :
In the sharing dialog, set an expiration (e.g., 30 minutes) and click Create pre-signed URL :
The generated URL is automatically copied to your clipboard. Any user with this link can retrieve boat.jpg until it expires.
While the Console is great for one-off sharing, production workflows typically use the AWS SDK or AWS CLI to programmatically issue pre-signed URLs.
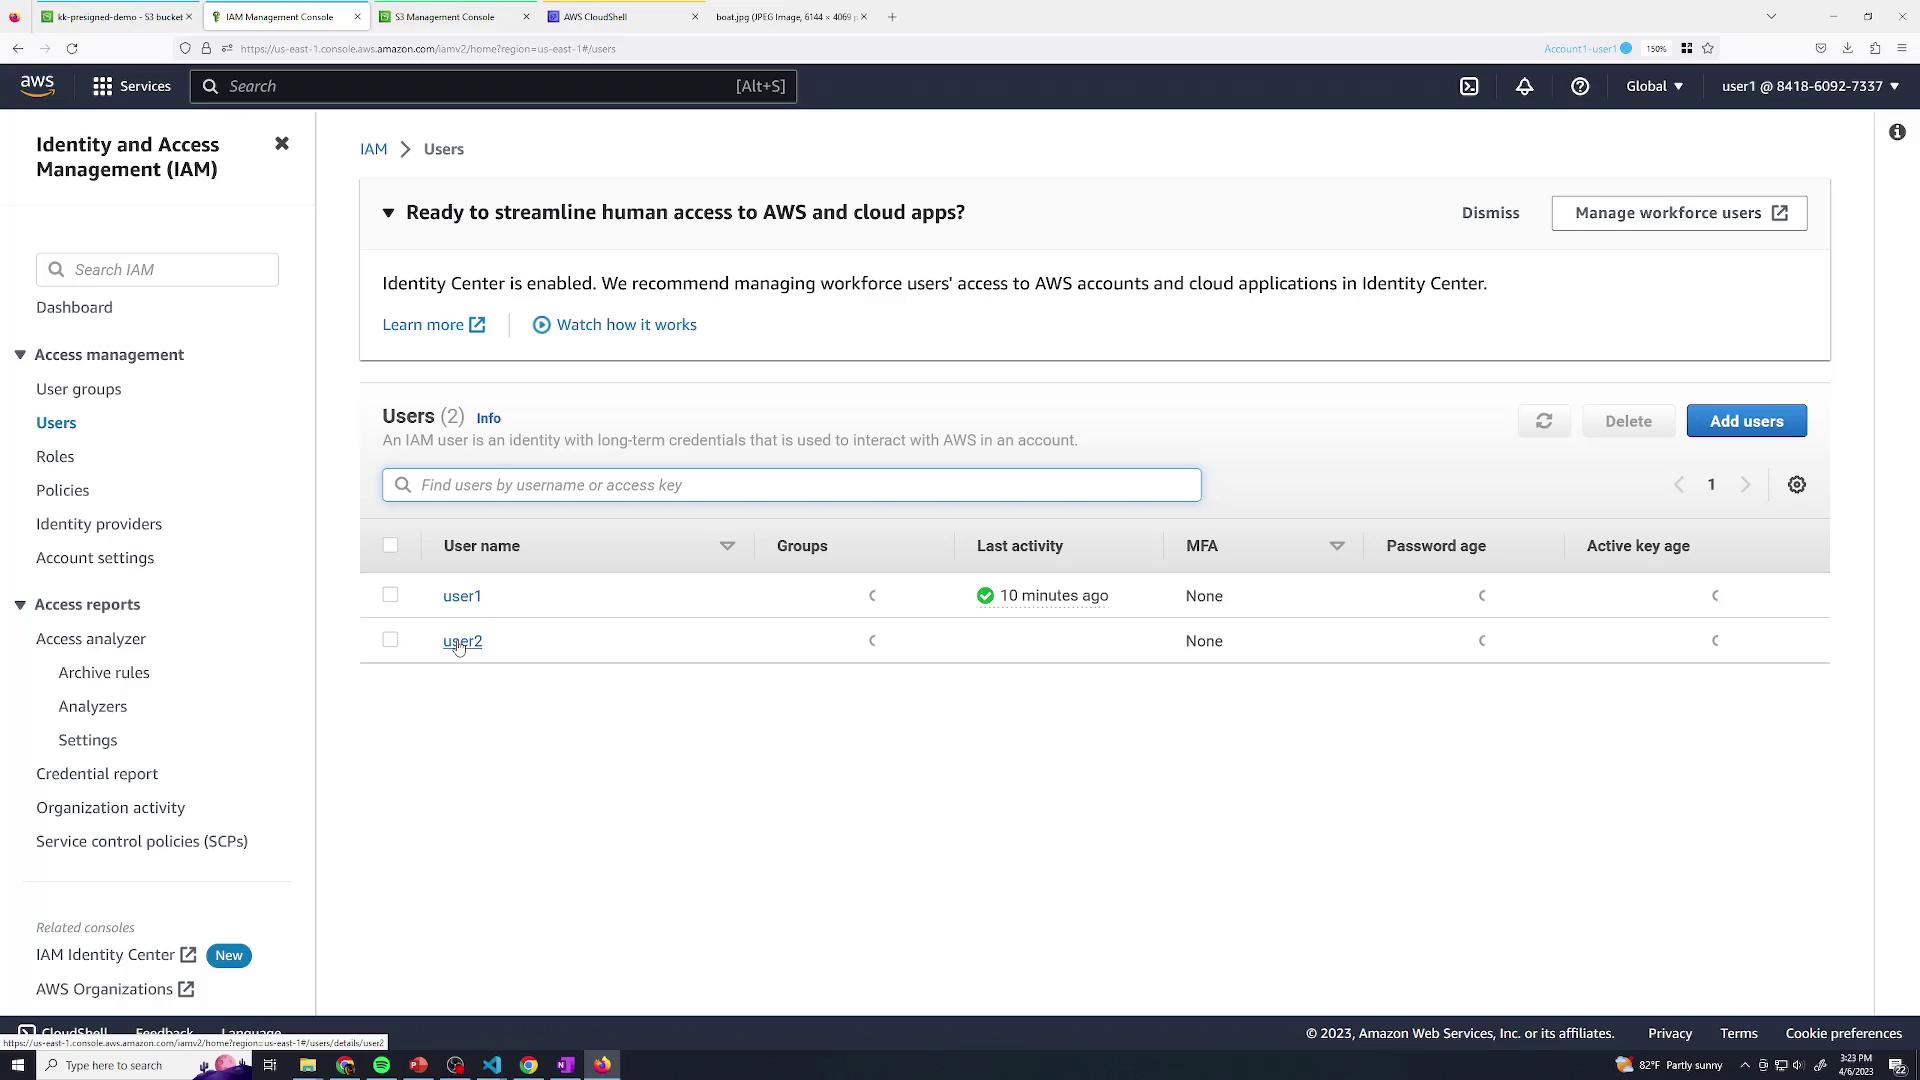
4. Permission Demo with a Restricted IAM User Let’s illustrate how IAM policies affect pre-signed URLs. We have a user named user2 who only has permissions to list buckets:
Below is the policy attached to user2 :
{ "Version" : "2012-10-17" , "Statement" : [ { "Sid" : "VisualEditor" , "Effect" : "Allow" , "Action" : [ "s3:ListAllMyBuckets" , "s3:ListBucket" ], "Resource" : "*" } ] }
Action Allowed Description s3:ListAllMyBuckets View all buckets in the account s3:ListBucket List objects within a bucket
Since user2 lacks s3:GetObject, they receive an Access Denied error when directly accessing boat.jpg:
< Error > < Code > AccessDenied </ Code > < Message > Access Denied </ Message > < RequestId > AHK7JSNDOI93/Y4/RequestId </ RequestId > < HostId > ABN4lmOqPyYoV2StMdc9DlyhwFJxl.XoDAp1LhYgoKC8W0 </ HostId > </ Error >
If user2 generates a pre-signed URL (30-minute expiration) and an anonymous user tries to use it, they encounter the same Access Denied response:
< Error > < Code > AccessDenied </ Code > < Message > Access Denied </ Message > < RequestId > 5648S6RRMZ5F1S5T </ RequestId > < HostId > 1gXiuD2vm6W7cG7iWcRjdmxisz7sj6FtH8D9ArtnX3i2hdyg42IRzBTrFe0Zmg= </ HostId > </ Error >
A pre-signed URL inherits the creator’s IAM permissions. To allow download, the issuer must have s3:GetObject.
5. Conclusion Amazon S3 pre-signed URLs offer a secure way to grant temporary, explicit access to private objects without exposing your entire bucket. They respect existing IAM and bucket policies, ensuring your data remains protected.
Links and References