1. Create Source and Destination Buckets
- Open the Amazon S3 console and click Create bucket.
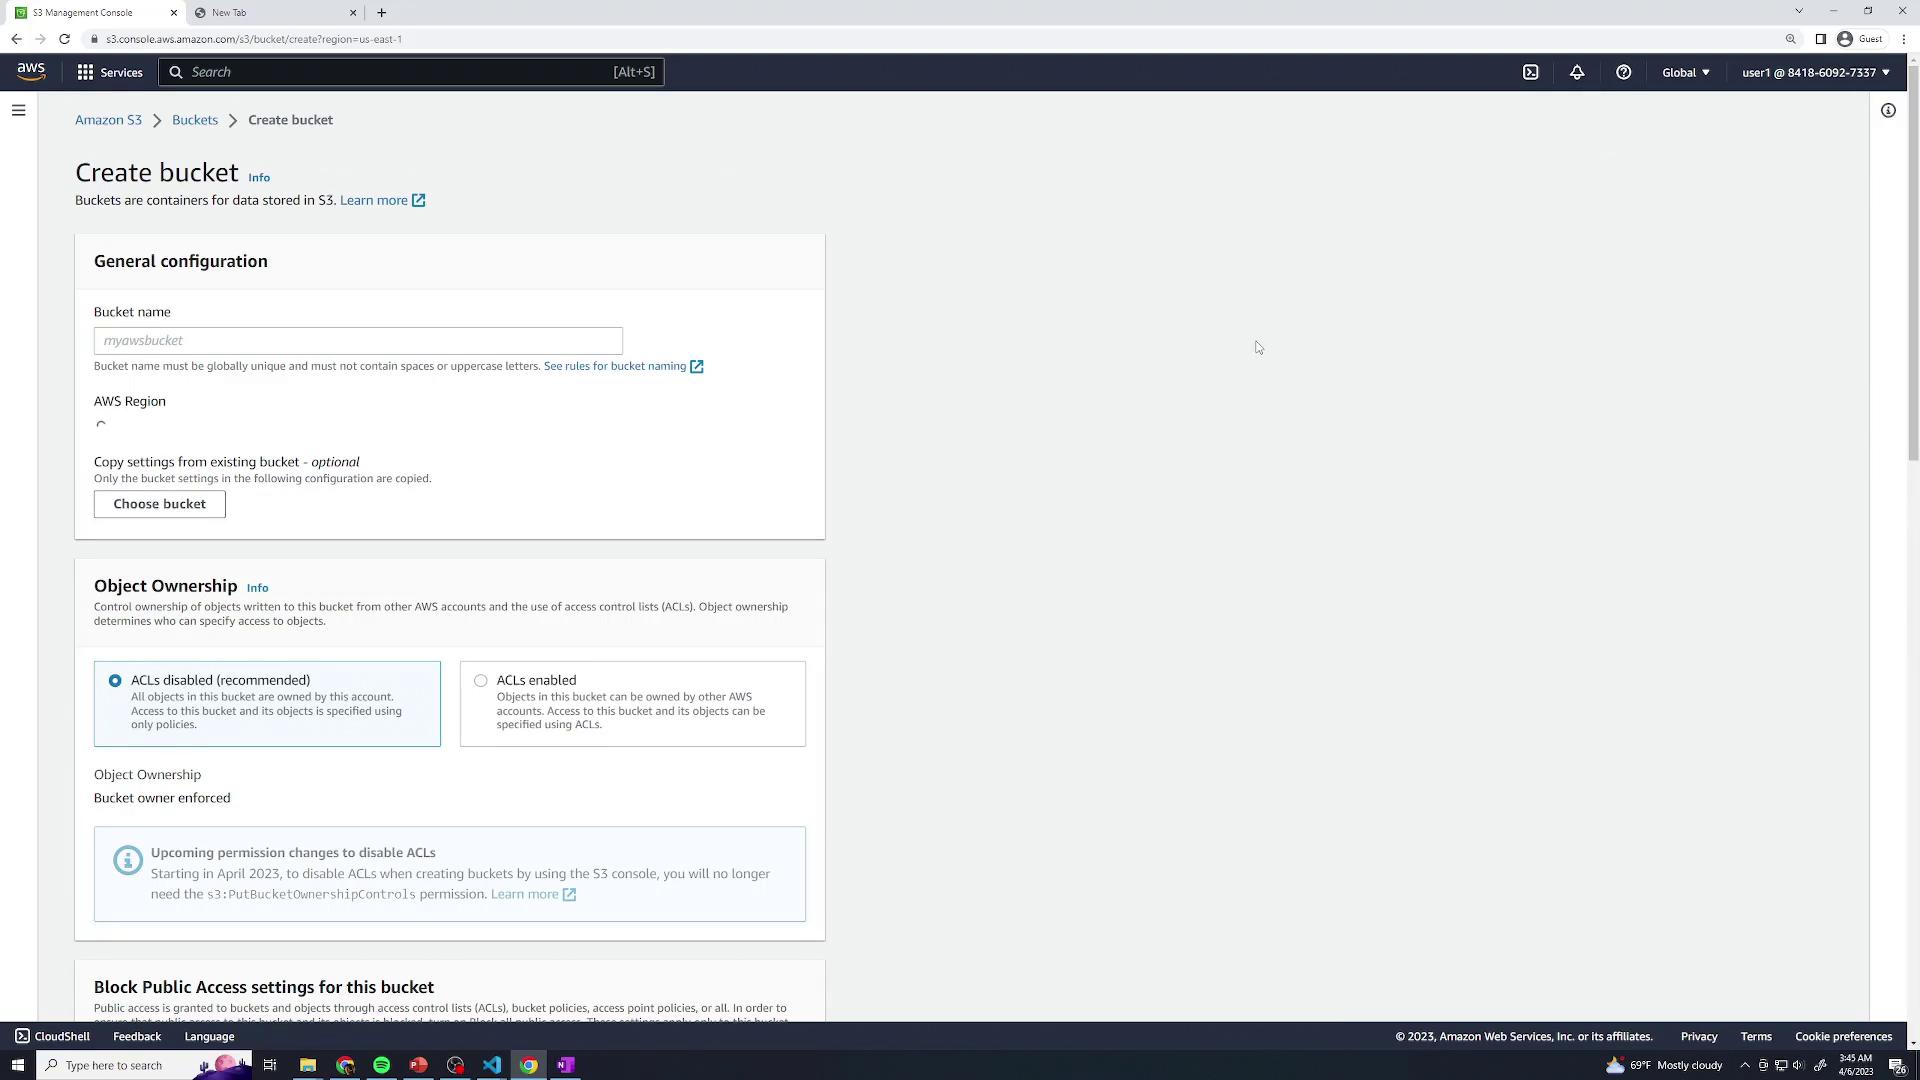
- Name your buckets and choose regions:
| Bucket Name | Region | Purpose |
|---|---|---|
| kk-repl-source | US East (N. Virginia) | Source |
| kk-repl-destination | US West (Oregon) | Destination |
- After creating both, you should see them listed:
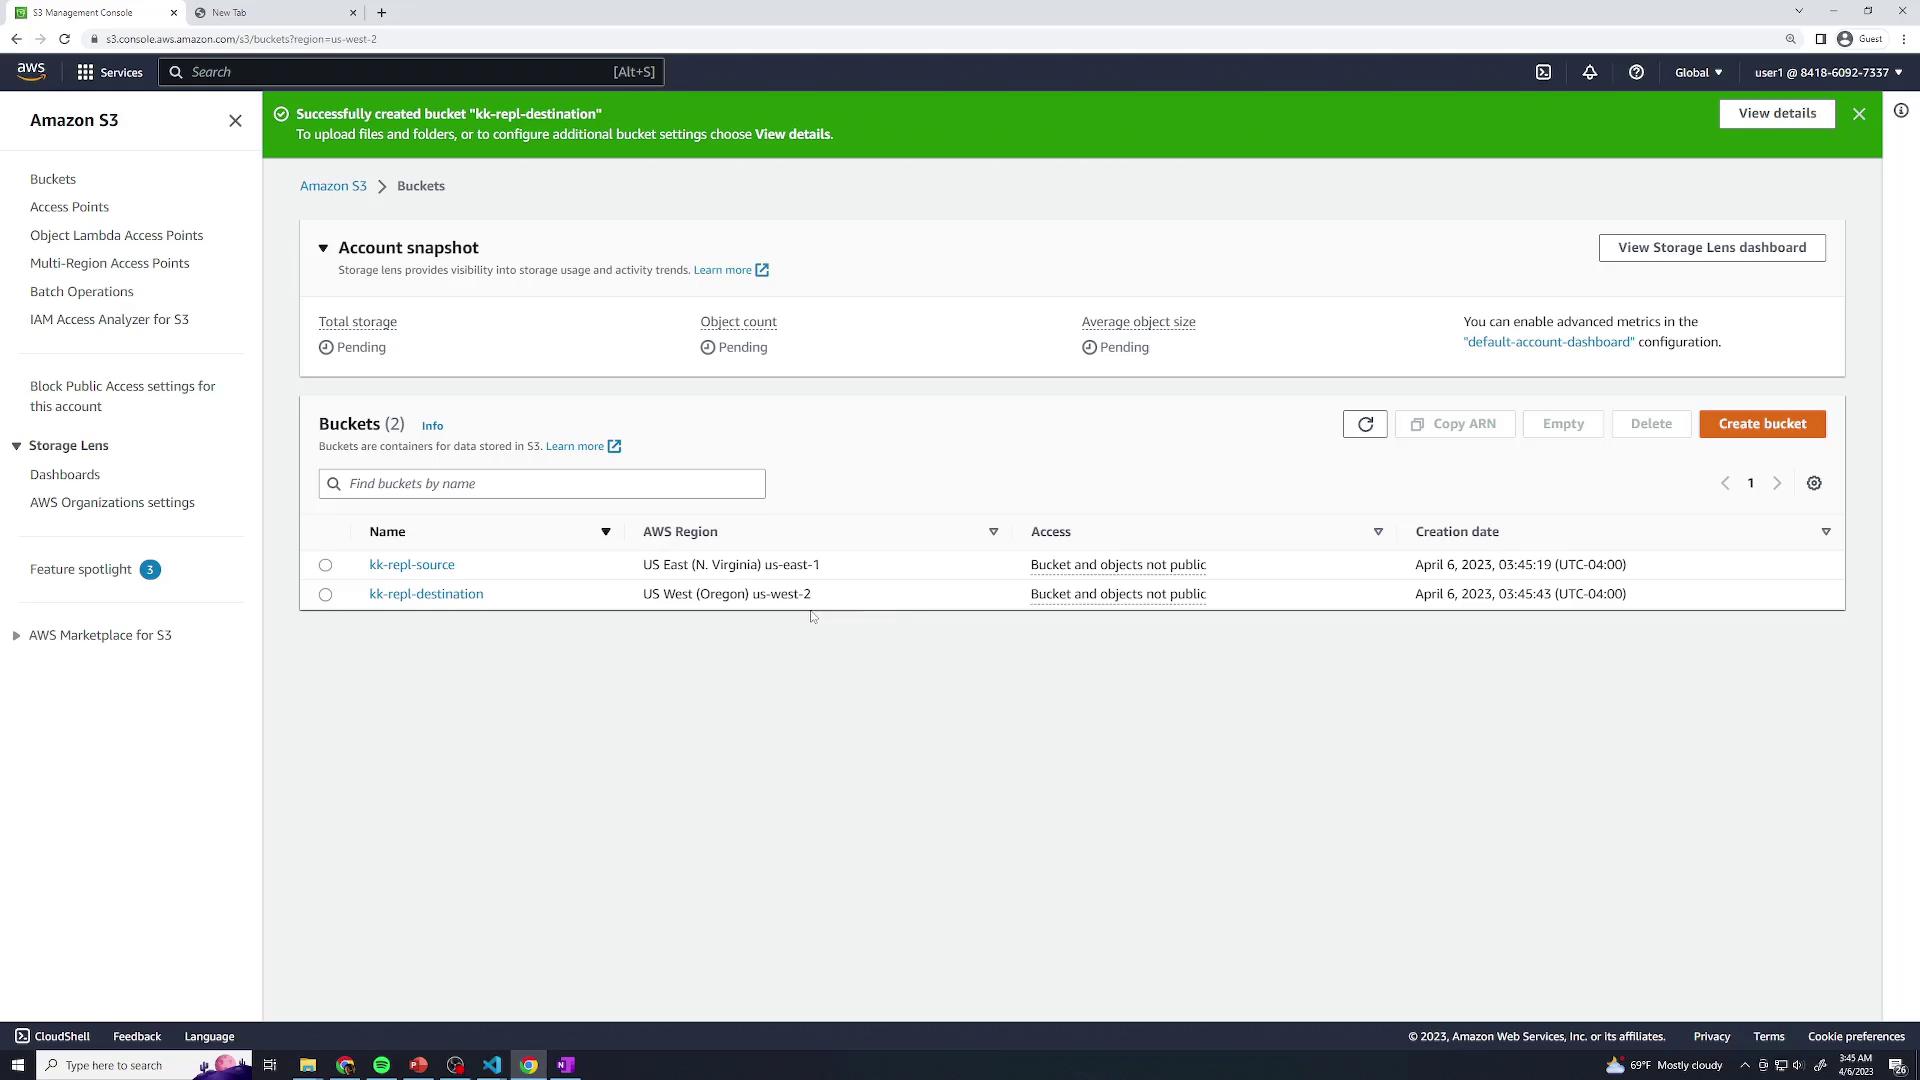
Bucket names must be globally unique and comply with DNS naming conventions.
2. Configure the Replication Rule
- In the source bucket, select the Management tab and then Replication rules. Click Create replication rule.
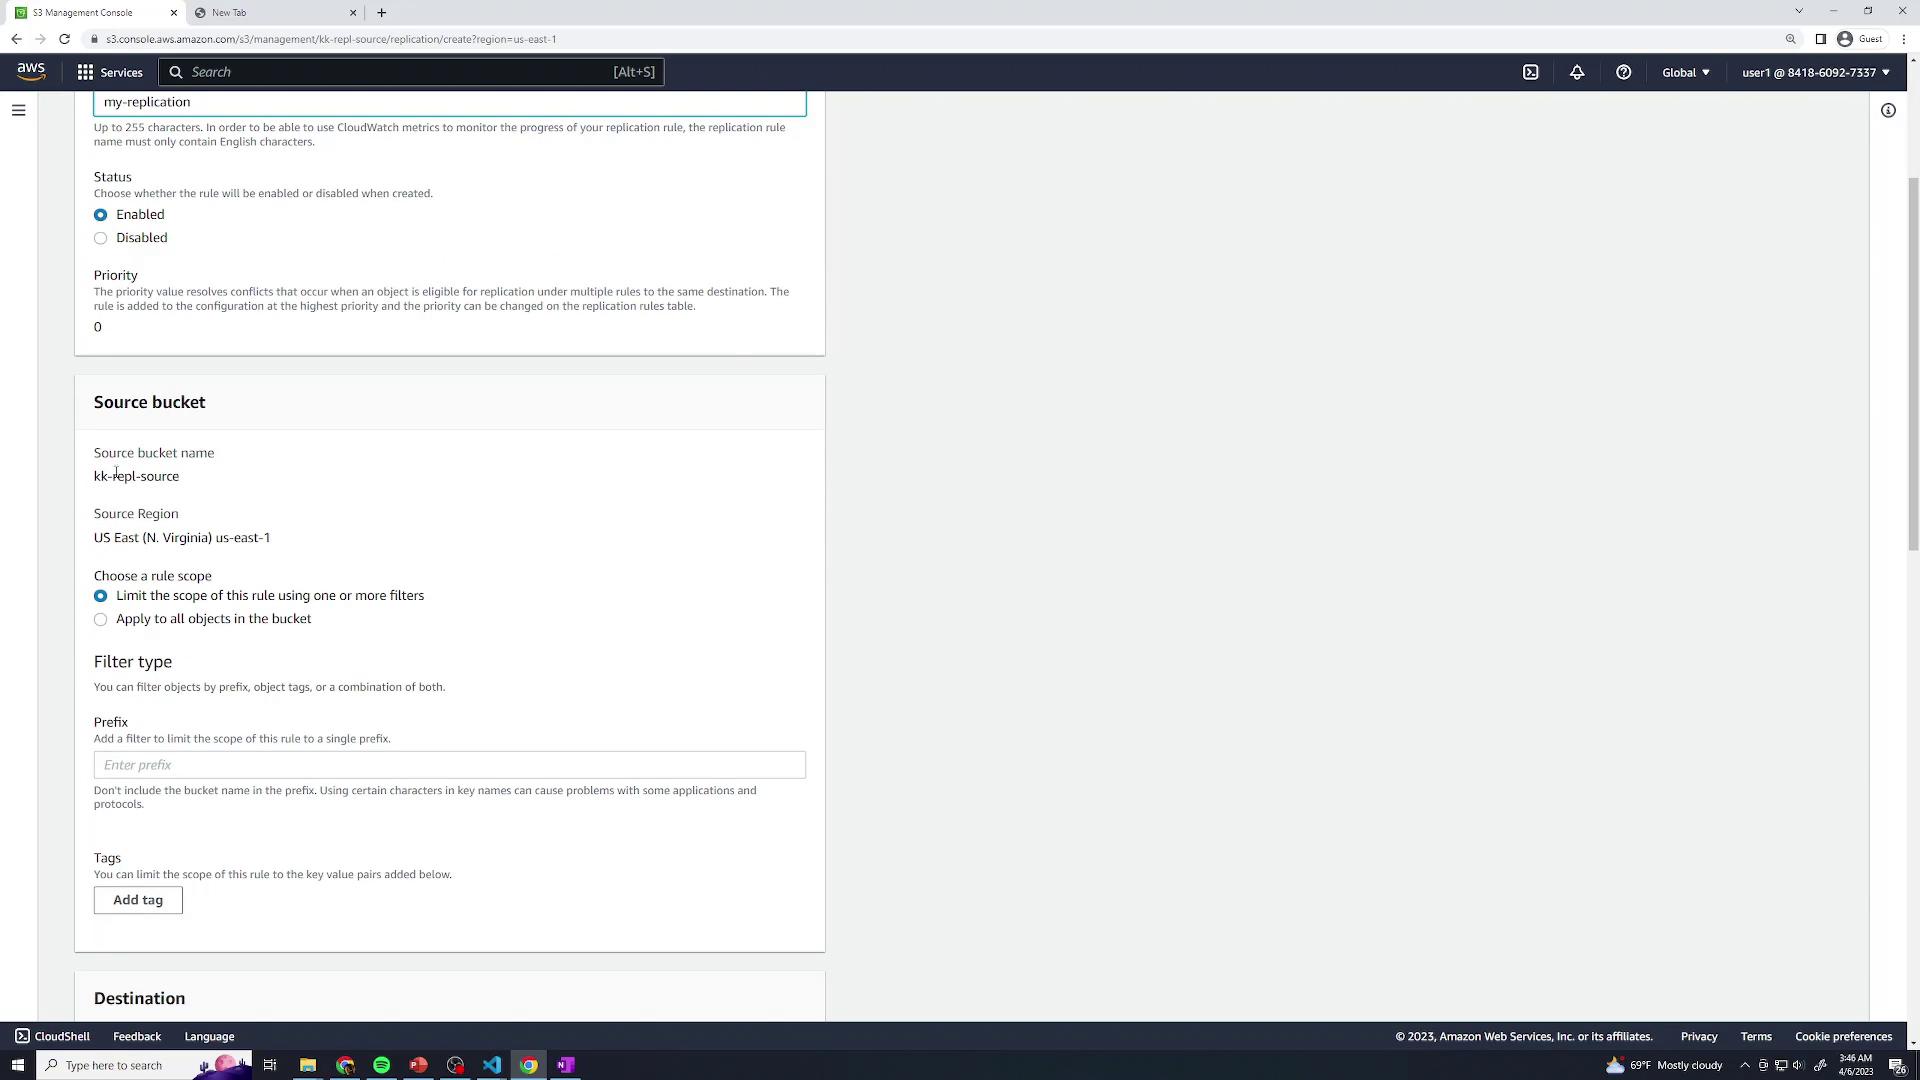
- Enter a name (e.g., MyReplication) and enable the rule. Set the rule scope to Entire bucket so all objects replicate.
-
Under Destination, click Browse and choose
kk-repl-destination.
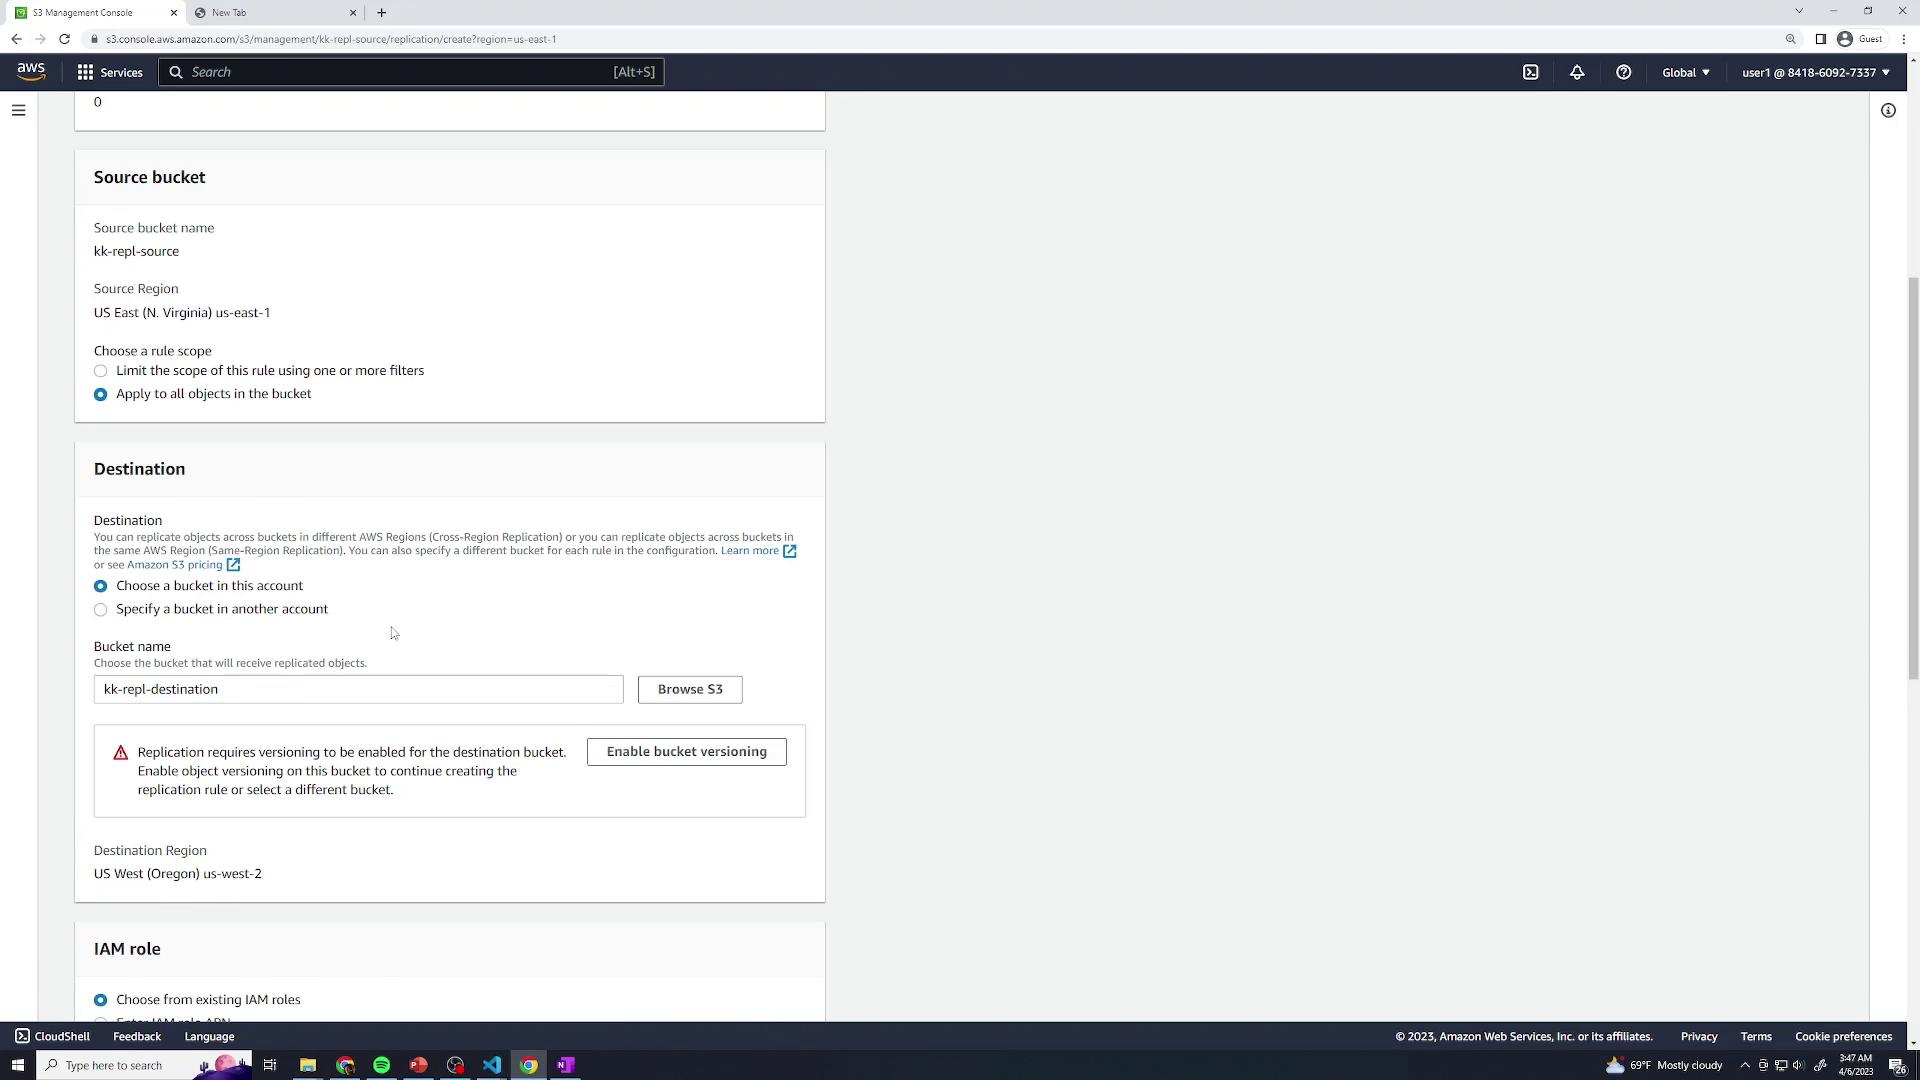
- If versioning is not enabled on either bucket, follow the console prompts to turn it on.
Objects uploaded before versioning is enabled will not be replicated.
- Under IAM role, choose Create new role. Leave the destination storage class at its default unless you need a different class.
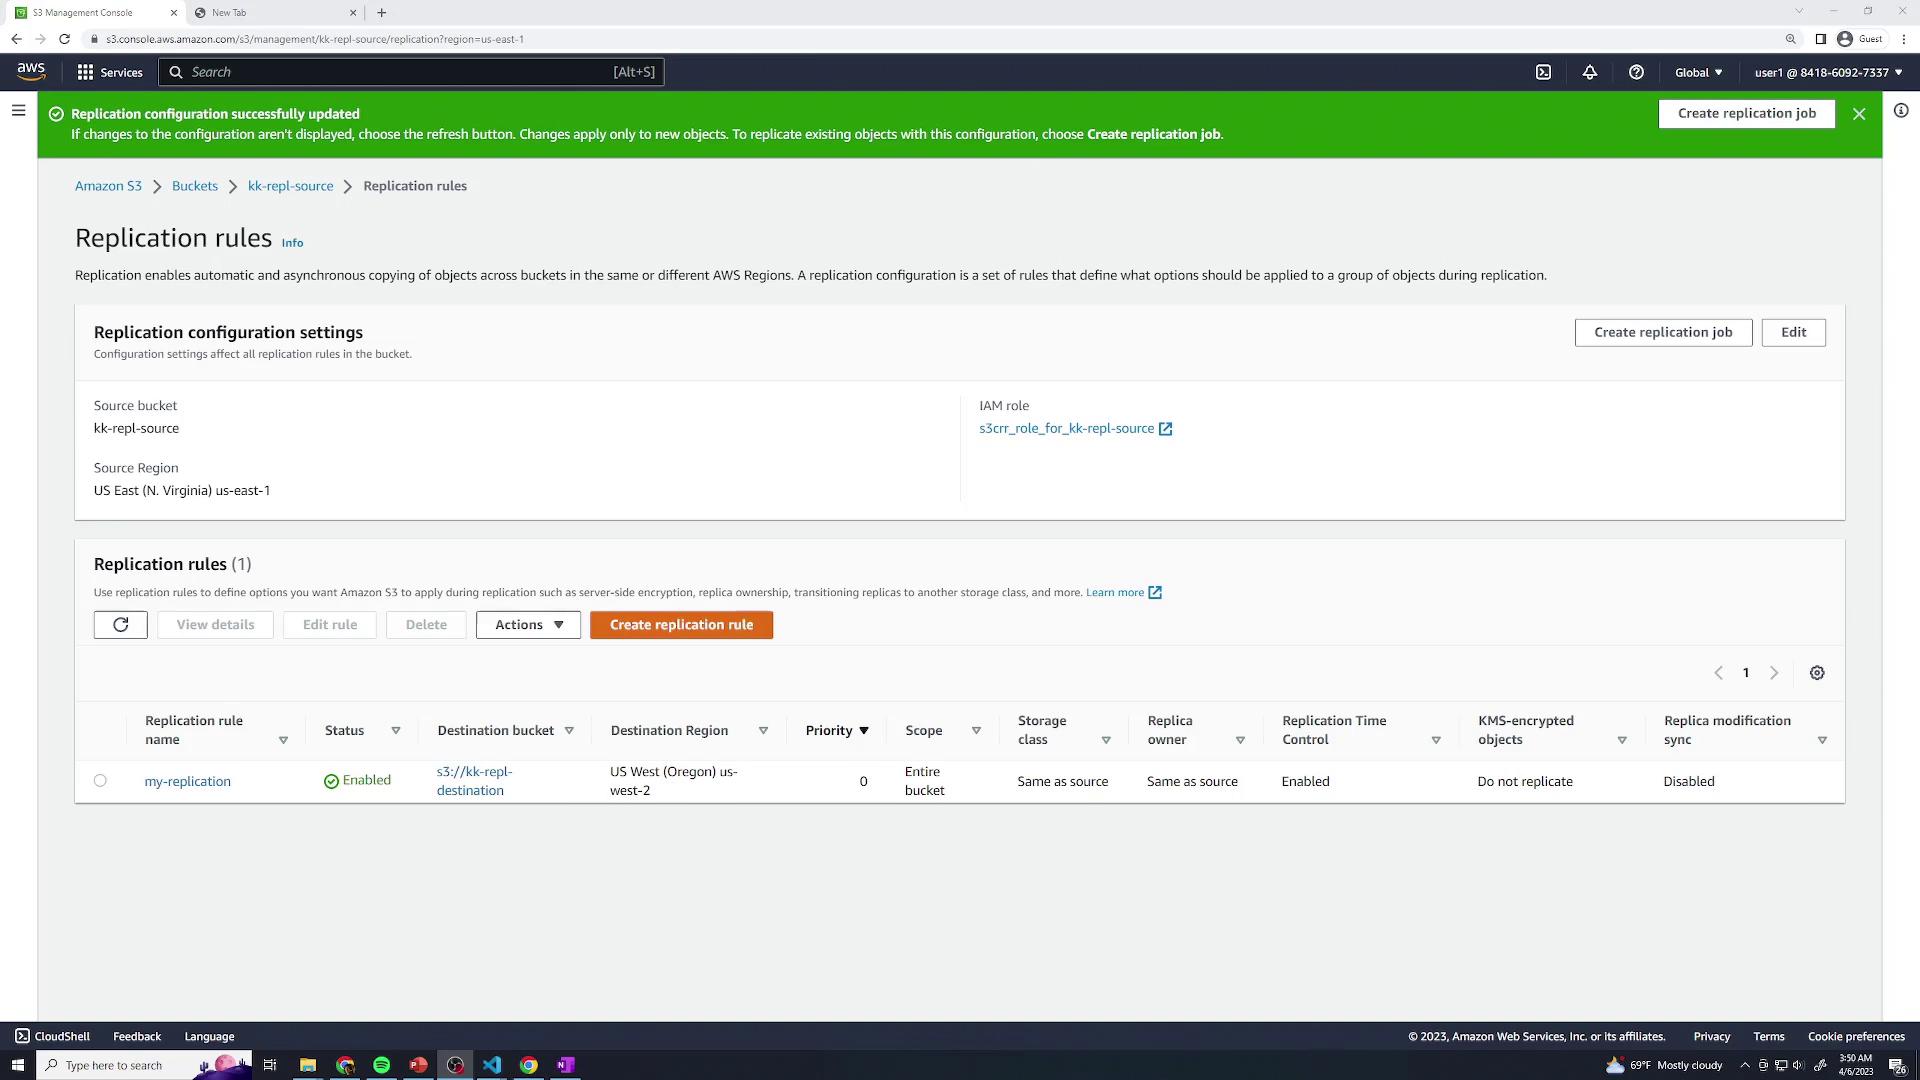
- On the replication settings page, enable Replication Time Control (RTC) to guarantee replication within 15 minutes. You can also opt to replicate delete markers or metadata. Click Save.

- Your new rule will now appear in the list:
3. Review the IAM Role
The console created an IAM role (for example,role-for-kk-repl-source) with the policies needed for replication. To inspect:
- Go to the IAM console and click Roles.
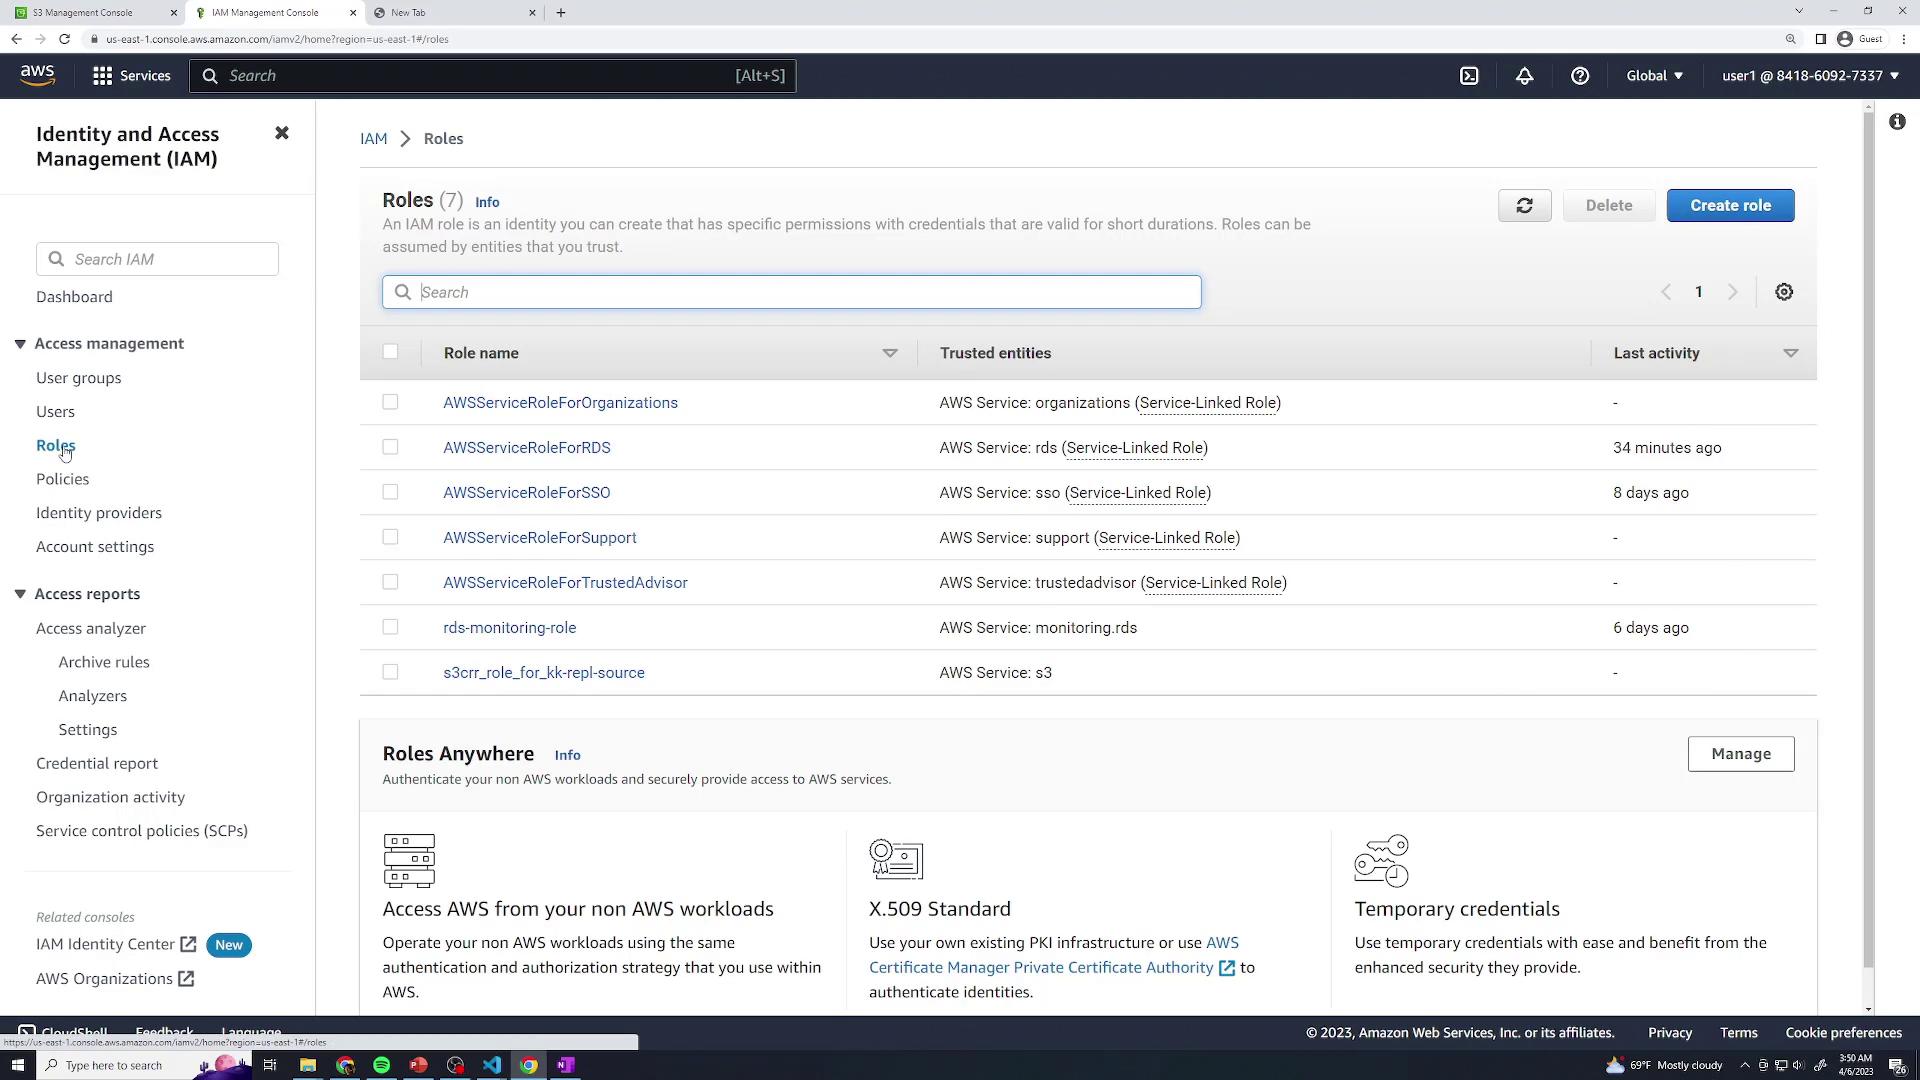
- Select the replication role and review its attached policy:
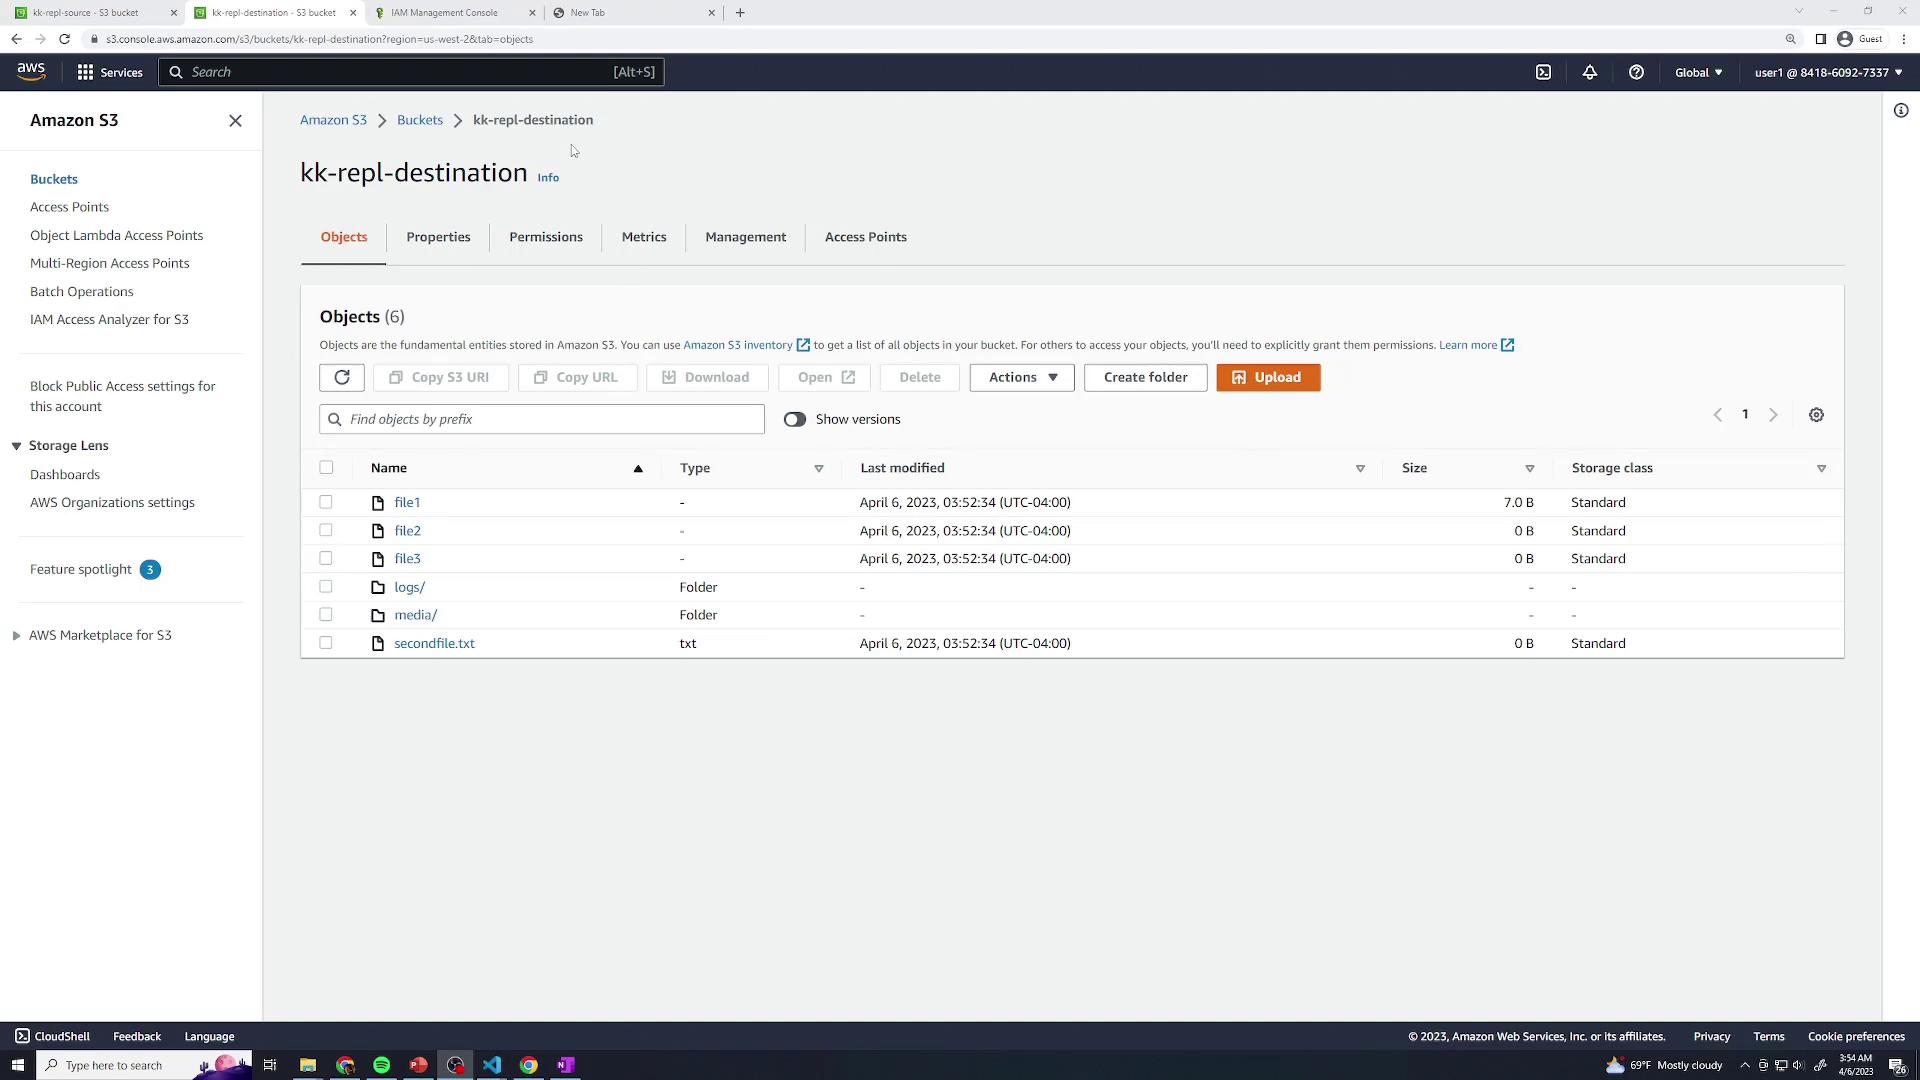
4. Test Replication
- Upload a few files to the source bucket (
kk-repl-source). - In another tab, open the destination bucket (
kk-repl-destination) and verify that the objects appear within 15 minutes.