

- Users in the same AWS account
- Anonymous (public) users
- Users in a different AWS account
- Blue: Account 1, User 1 (Bucket Owner)
- Green: Account 1, User 2
- Yellow: Account 2, User Admin
Test Environment
1. Create the S3 Bucket (User 1)
- In the Blue tab, open the AWS S3 Console.
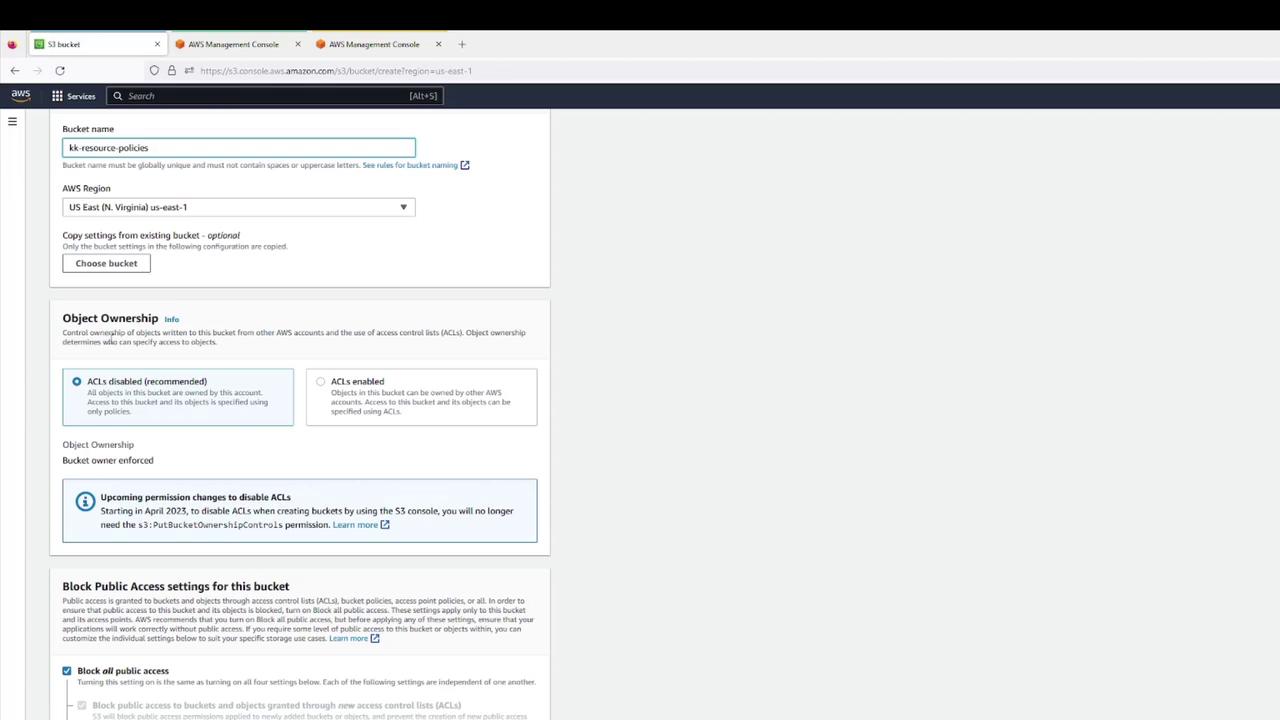
- Click Create bucket and configure:
- Bucket name:
kk-resource-policies - Region: your choice
- Object Ownership: Bucket owner preferred
- Block all public access: Enabled
- Versioning: Disabled
- Bucket name:
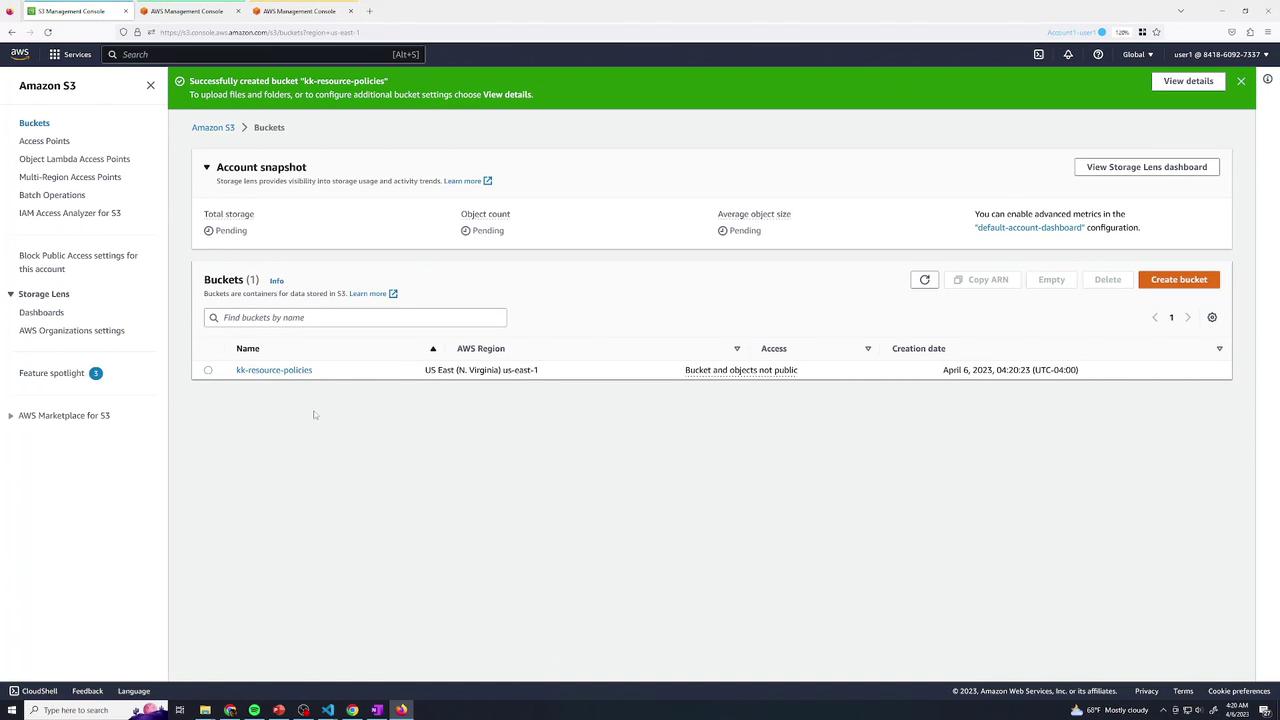
- Confirm creation.
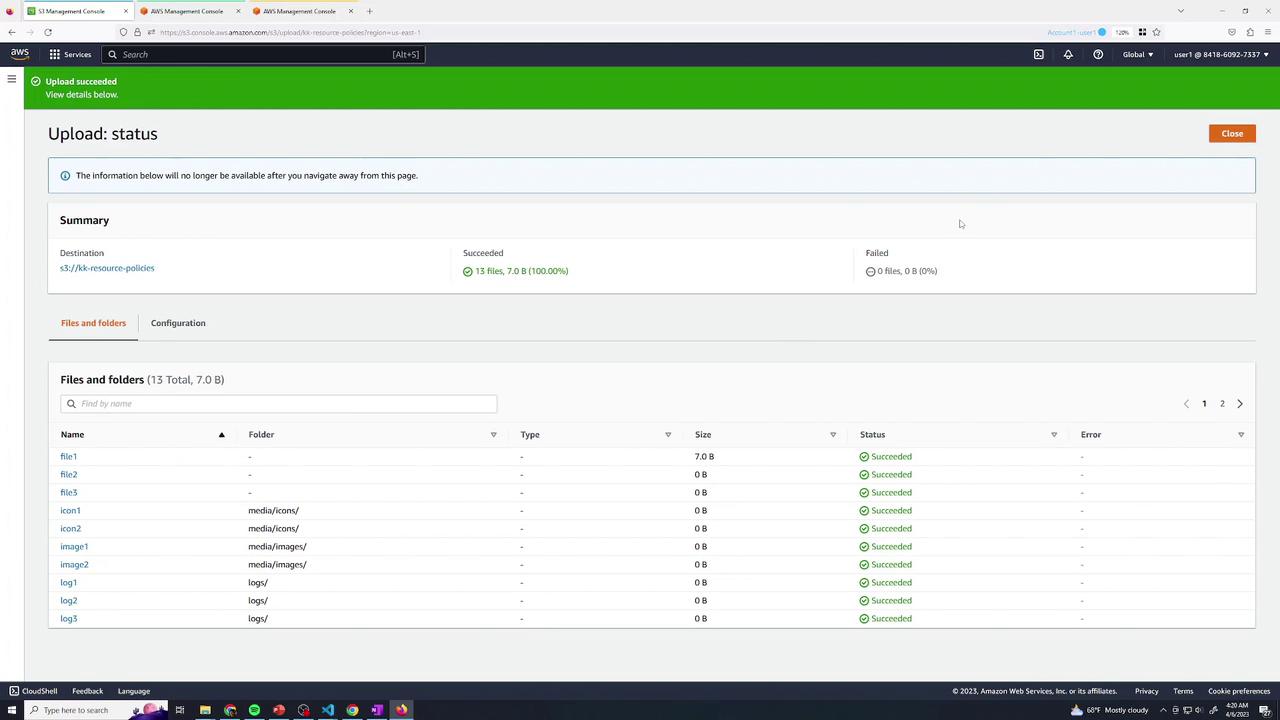
- Upload a set of files (e.g., text & log files).
- Verify all objects are listed:
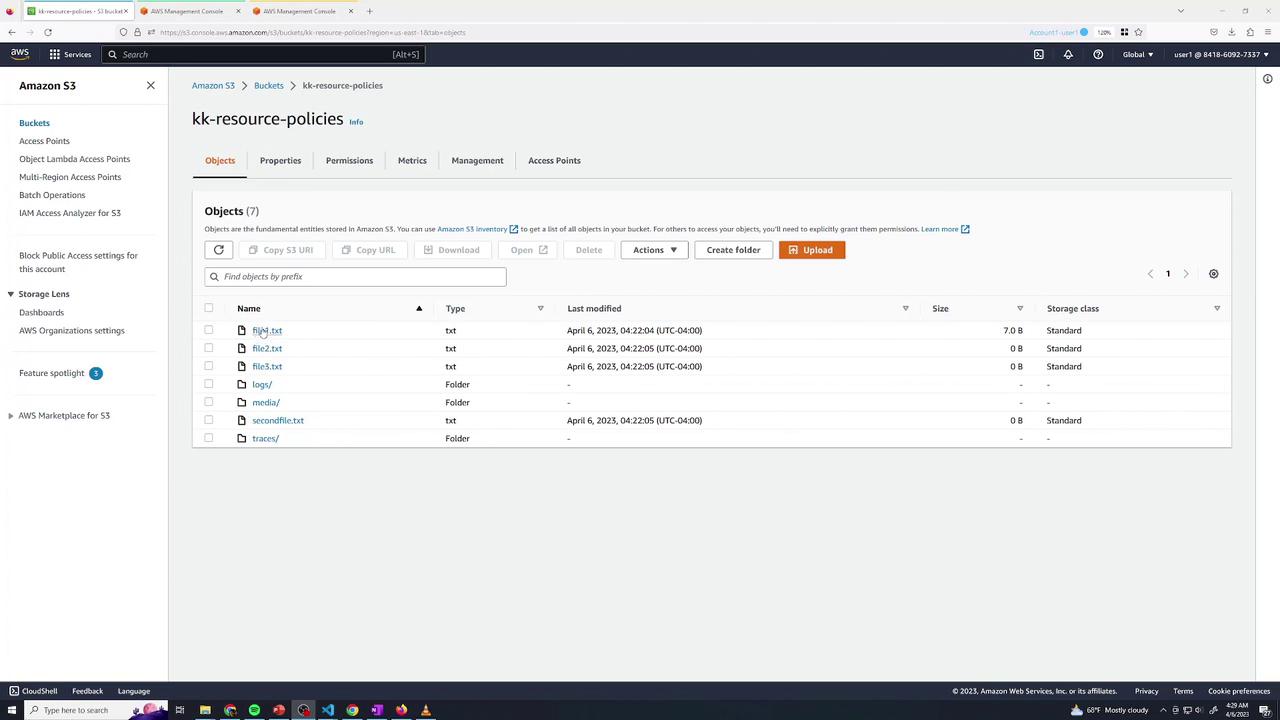
- Listing and “Open” via console (authenticated) works.
- Public URL returns AccessDenied:
2. Baseline IAM Permissions for User 2
Switch to the Green tab. User 2 currently has only list permissions:file1.txt returns AccessDenied.
3. Grant User 2 Read Access to logs/
Return to Blue (User 1) and edit the bucket policy under Permissions → Bucket Policy. Add:Test Read Access
In Green, openlogs/log1 → download succeeds.
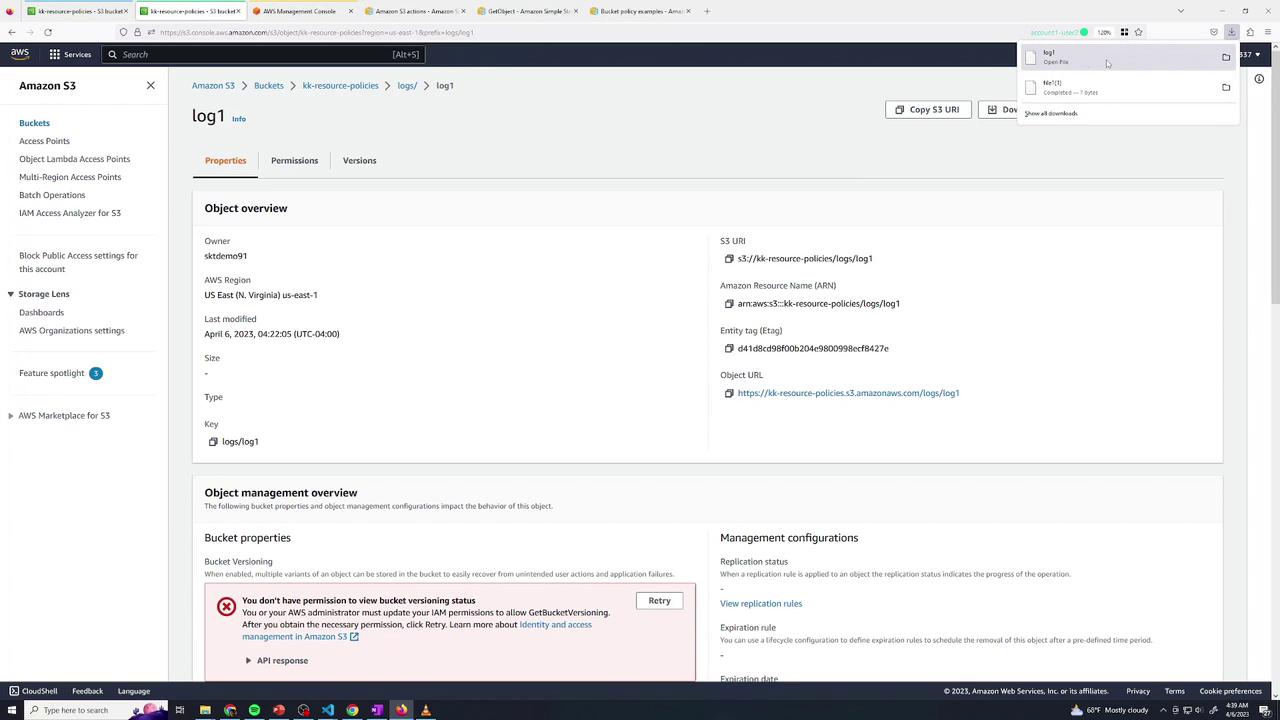
file1.txt (outside logs/) still yields AccessDenied:
4. Grant User 2 Delete Access in traces/
Back in Blue, append another statement:- Deleting
traces/trace1→ Success - Deleting
file1.txt→ AccessDenied
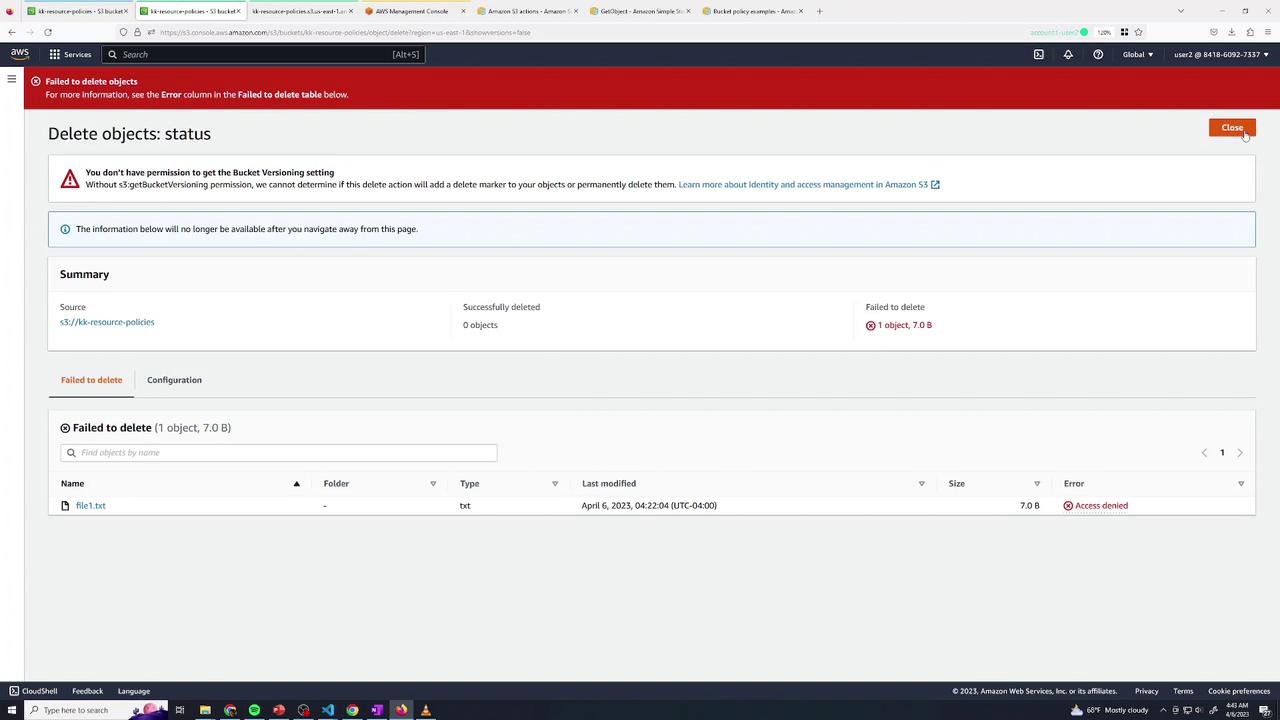
5. Combining Multiple Actions
You can merge permissions when they apply to the same resource path:Ensure that all listed actions in one statement target the same ARN pattern.
6. Allow Public Read Access to media/
To expose only themedia/ prefix publicly:
- In Permissions, disable “Block public access” (if enforced).
- Add:
media/ is publicly readable.
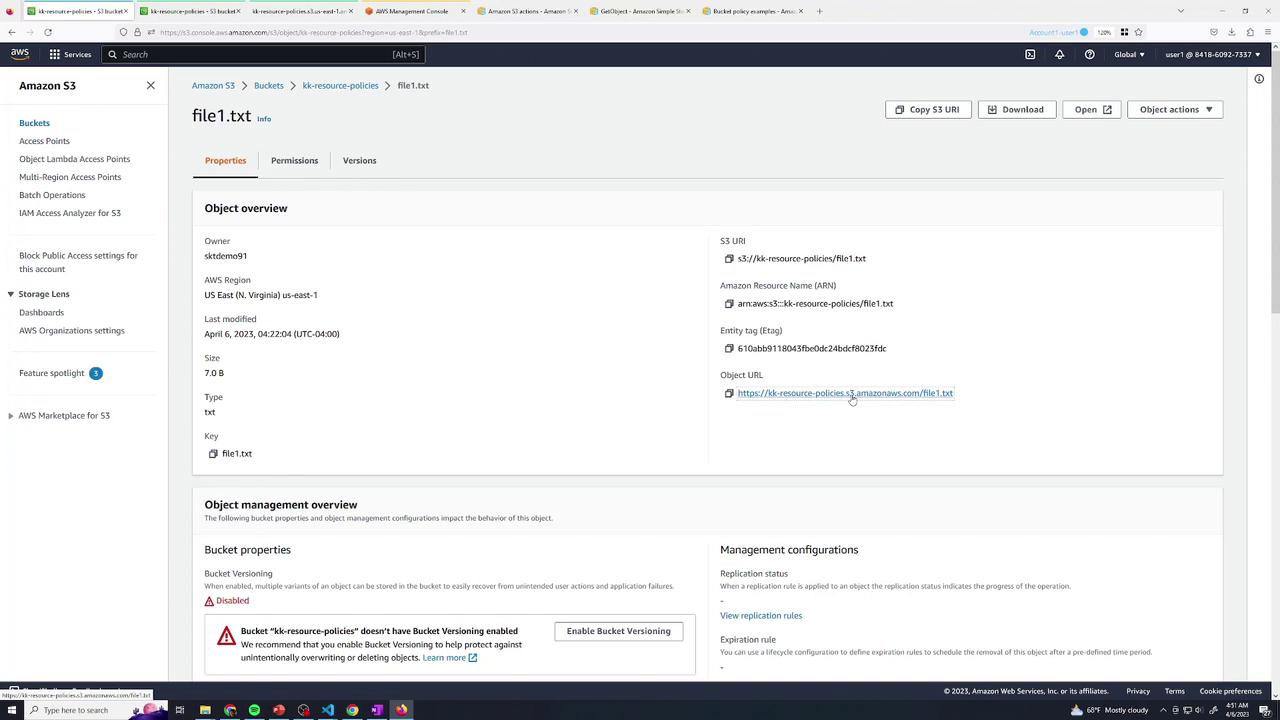
7. Grant Cross-Account Access (Account 2)
In Yellow (Account 2, User Admin), test listing:Summary
You’ve now configured a private S3 bucket and applied these resource policy patterns:
With these techniques—granular read, delete, public, and cross-account—you can enforce precise access control over your S3 data.