

- Inspecting your current Deployment and Service
- Scaling the Deployment to 5 replicas
- Hitting the 30-pod per-node limit
- Examining Namespaces and system pods
1. Inspect the current Deployment and Service
Before scaling, verify your application’s replica count and external endpoint.2. Scale to 5 replicas
Increase your Deployment to five pods:Validate load balancing
Open three incognito browser windows and navigate to your Service’s public IP. You should see traffic routed to different pods: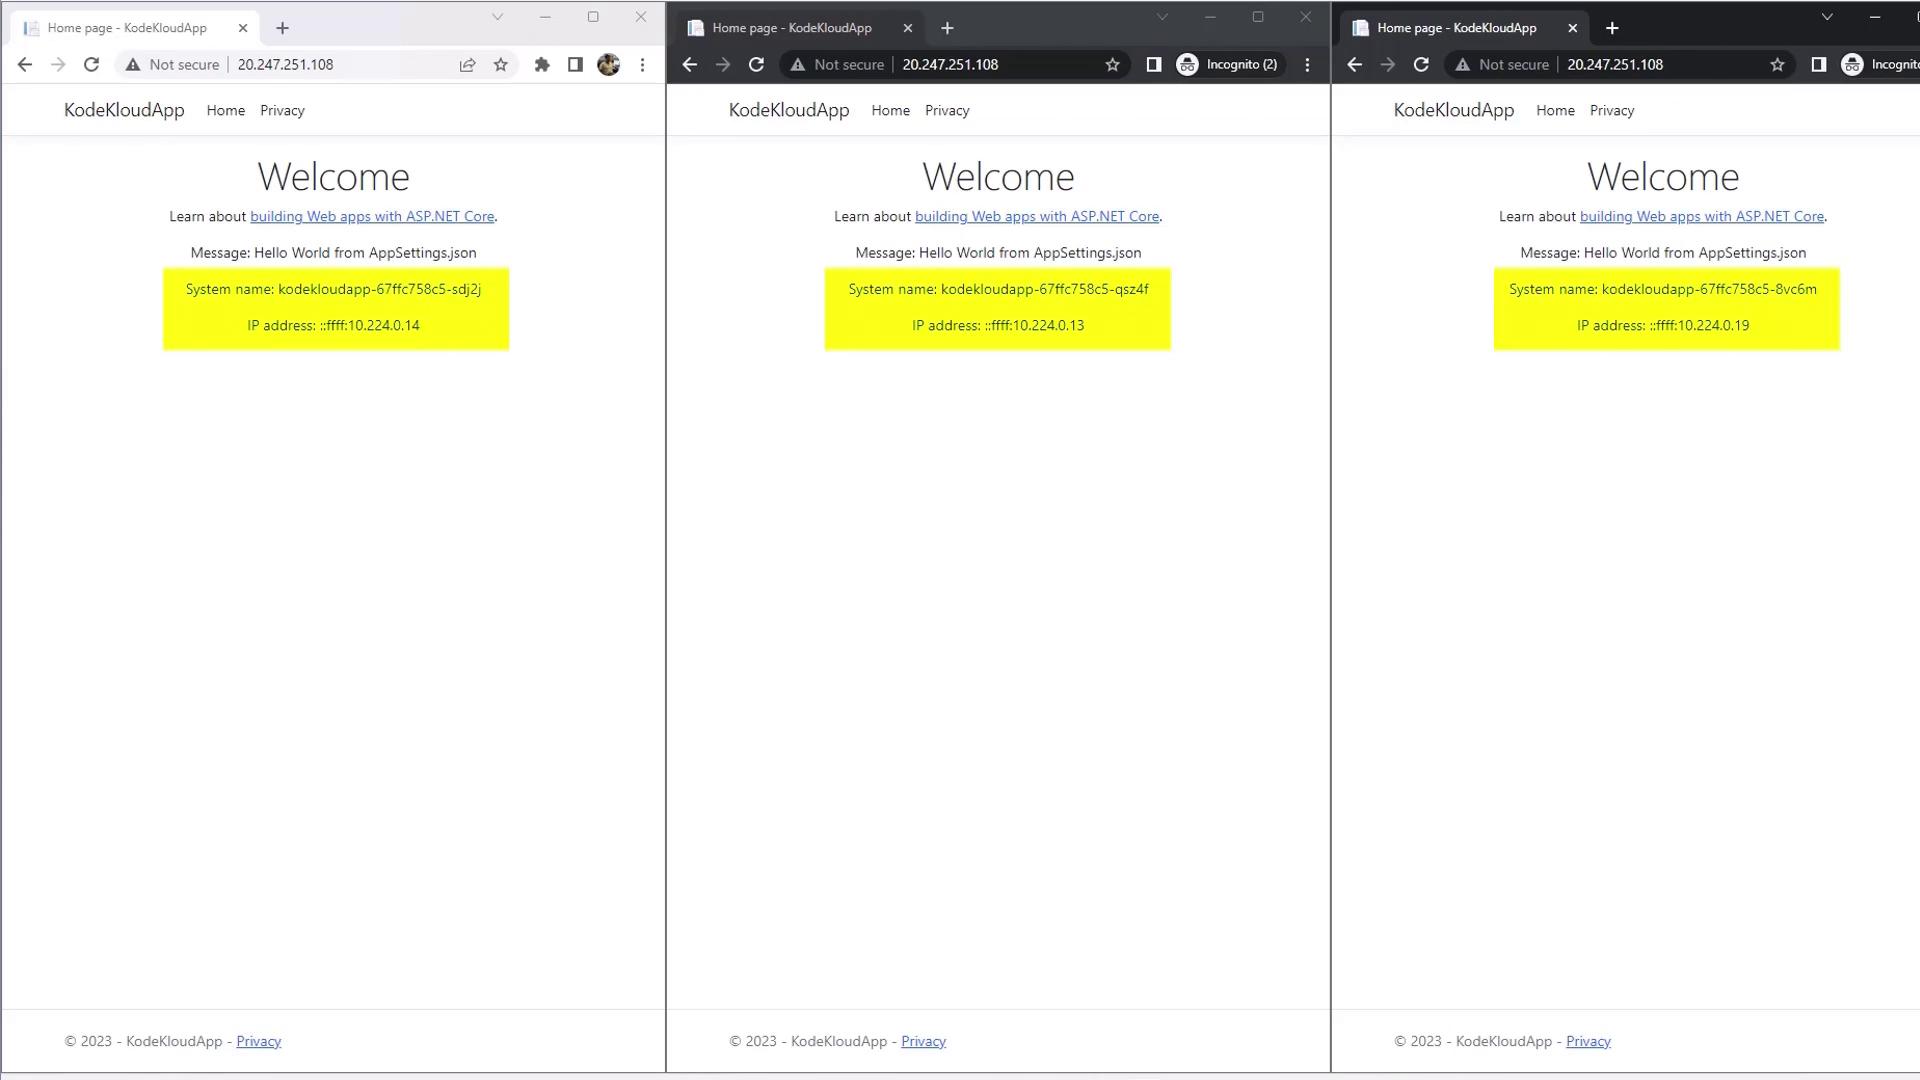
3. Scale to the pod limit (30 replicas)
When you created the AKS cluster, you configured Azure CNI with a maximum of 30 pods per node. Let’s push the Deployment to that limit:Pending:
Filter non-running pods
List pods that aren’t in theRunning phase:
Inspect pod scheduling events
Describe one pending pod to see why it isn’t scheduled:4. Namespaces and system pods
AKS uses several namespaces to isolate workloads. System pods inkube-system count toward your per-node limit.
Namespace overview
Azure CNI assigns IPs from your VNet based on the
--max-pods setting at cluster creation. You cannot change this limit post-creation.Next steps
To work around the per-node pod limit, consider:- Deploying multiple node pools with different
--max-podssettings - Switching to Kubenet or Azure CNI Overlay networks
- Splitting workloads across separate namespaces and node pools