Overview of ArgoCD and Okta Integration
First, refer to the ArgoCD documentation on user management to review the supported third-party IDPs, including Okta. In this example, we use Okta with SAML configured through the DEX connector. The documentation provides a detailed guide on creating an Okta application and configuring it within ArgoCD.
Creating an Application in Okta
1. Access the Okta Admin Dashboard
Log in to your Okta trial account. In the admin space, you can create users, groups, and configure an application for ArgoCD integration.2. Adding Users and Groups
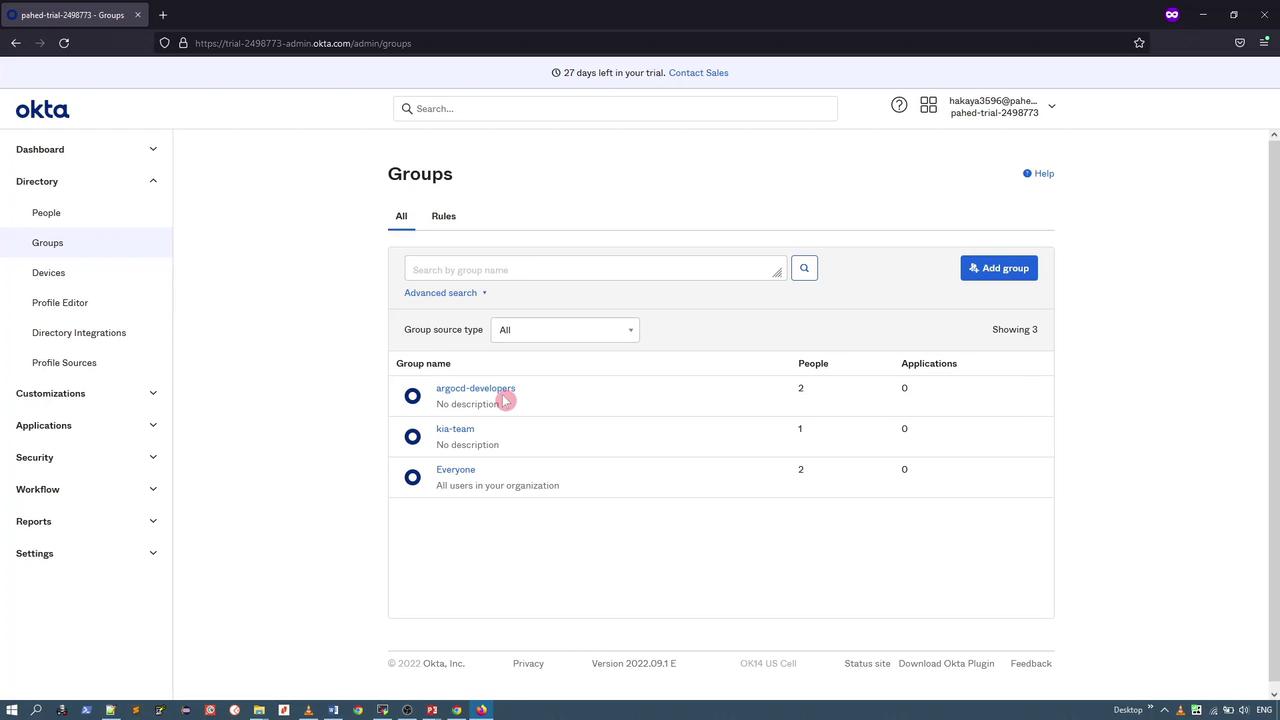
Start by creating a set of users (e.g., “Alice” and “John”) using dummy data for demonstration purposes. Next, add these users to a group such as ArgoCD Developers Group.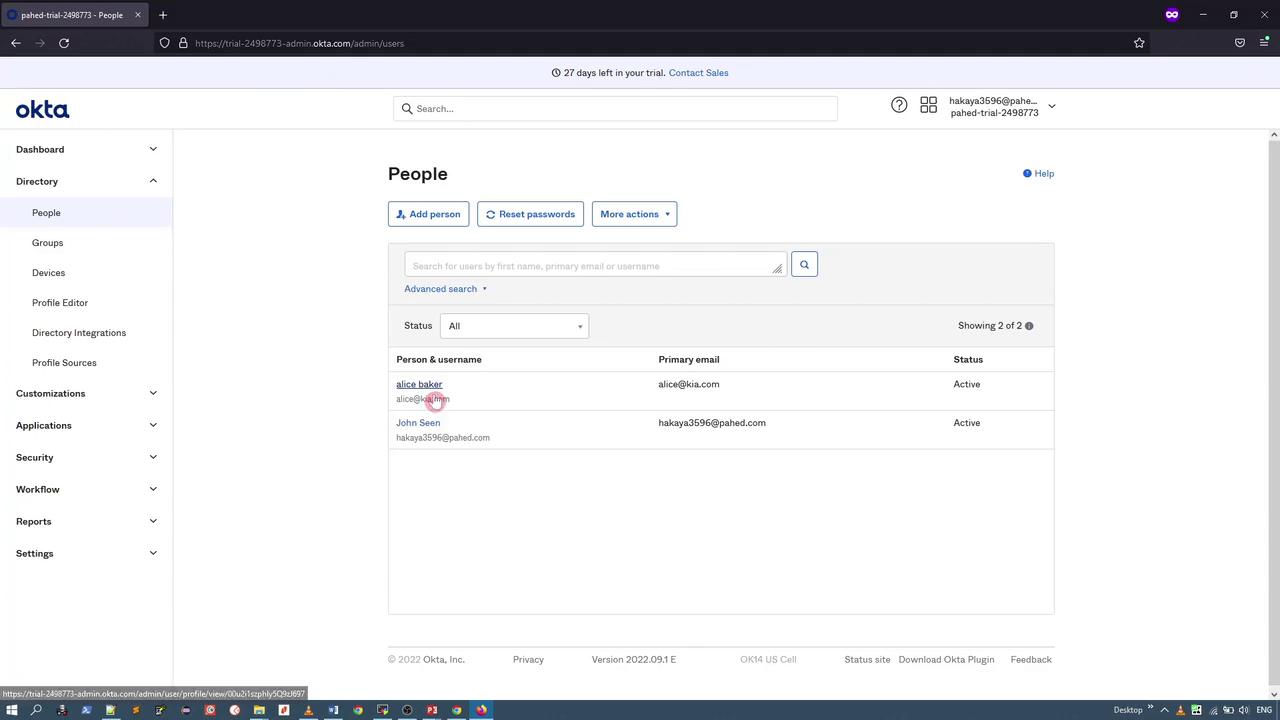
3. Creating the Okta Application
In the Okta admin console, navigate to the Applications section and create a new app integration. Select SAML 2.0 as the sign-on method.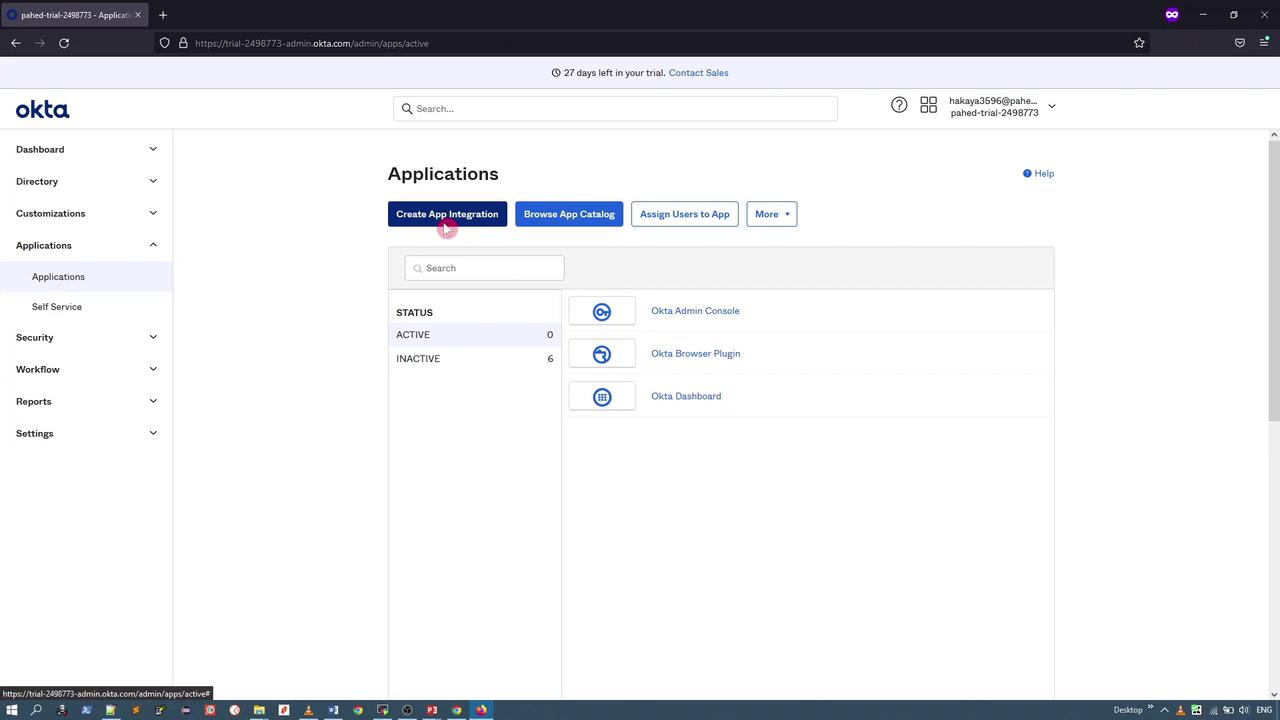
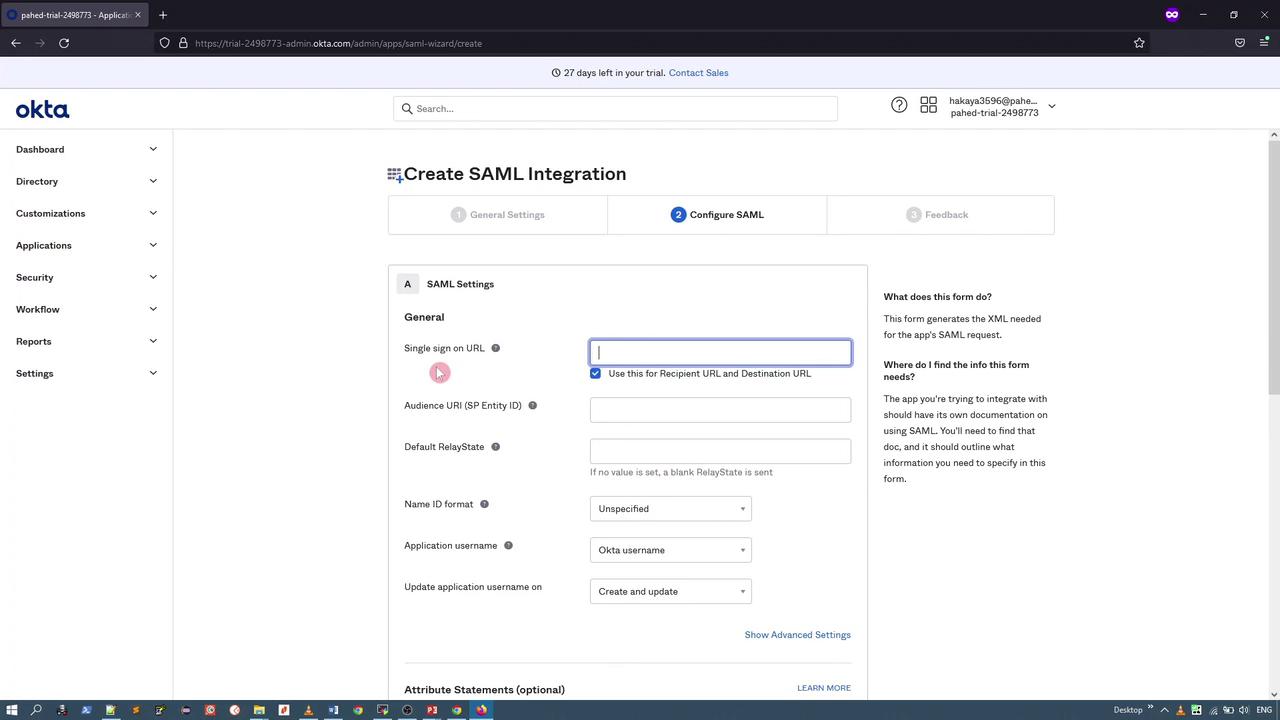
4. Configure SAML Settings in Okta
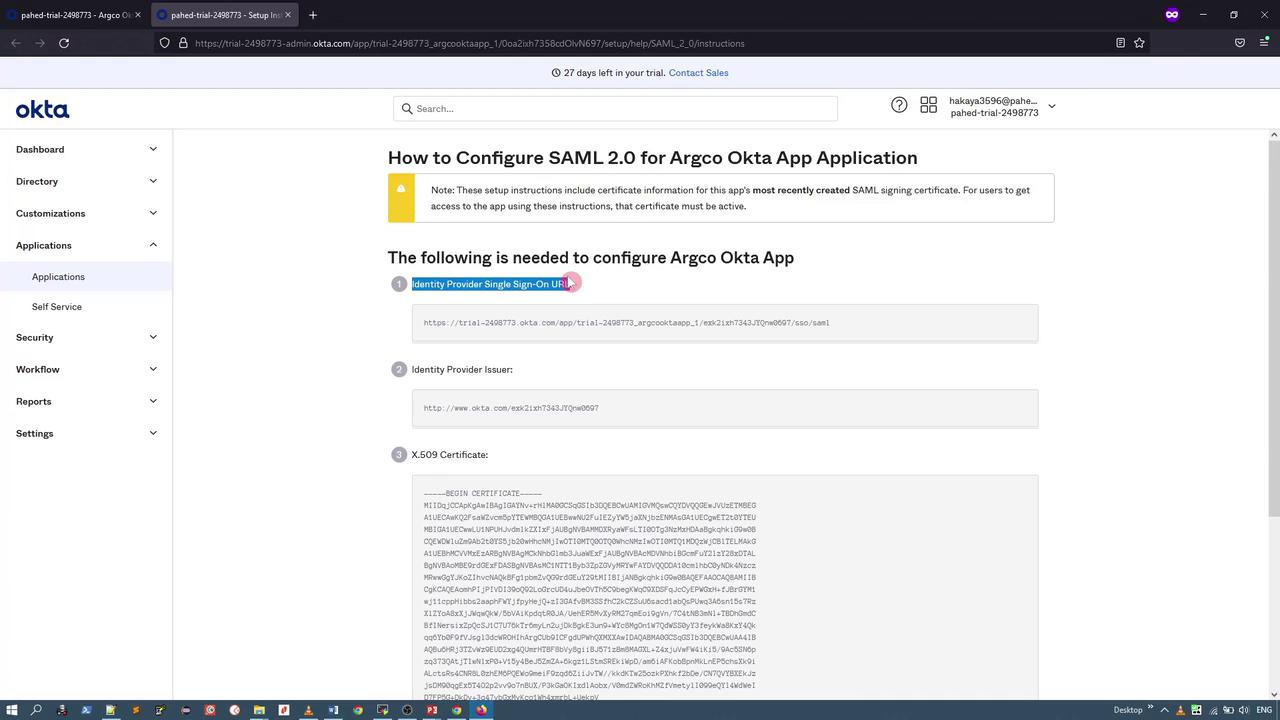
When prompted, configure the SAML settings with the following details:-
Single Sign-On URL: Set this to point to your ArgoCD server’s DEX endpoint. For instance, if your ArgoCD URL is
https://argocd.example.com, the SSO URL should be: - Audience URI: Use the same URL as above.
-
Attribute Statements:
- Username Attribute:
user.email - Group Attribute: Use a filter like
argocd-(to capture groups starting with this string).
- Username Attribute:

5. Finalize the Application Setup
Complete the configuration by selecting the appropriate customer type (for example, “Okta customer” with an internal application) and click “Finish.” Before moving forward, assign the ArgoCD Developers Group to this application.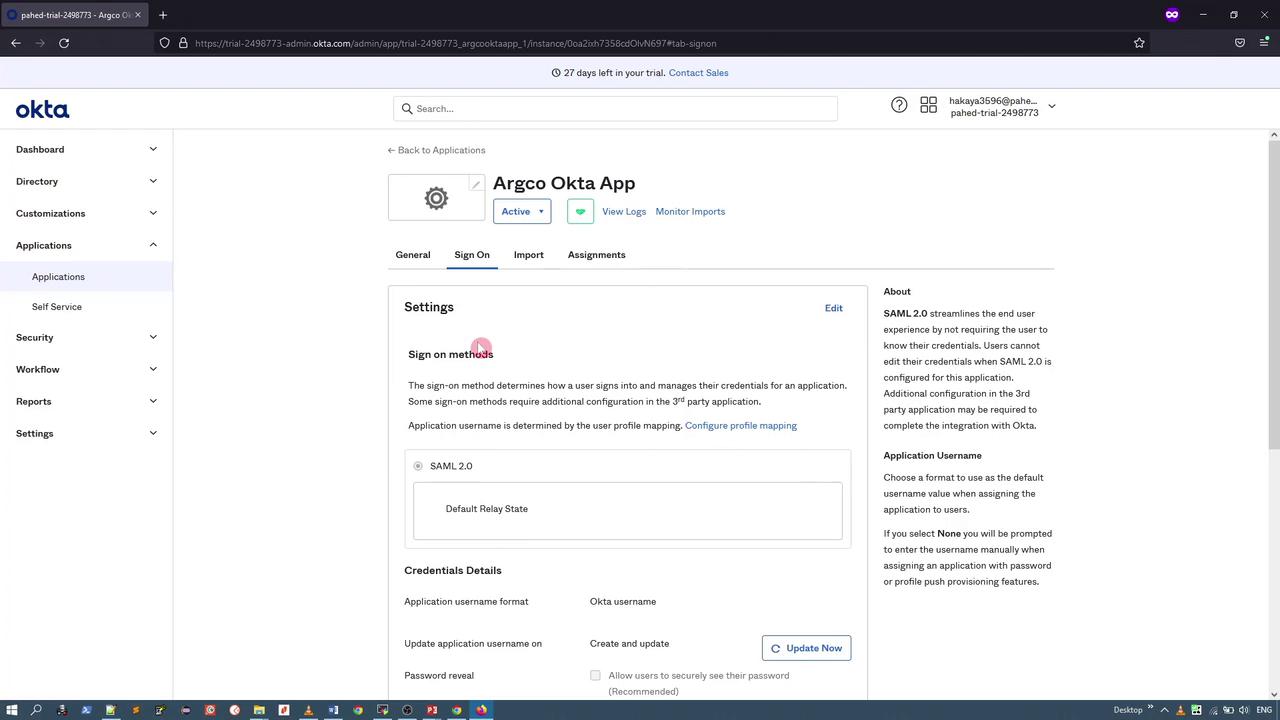
Configuring ArgoCD with Okta
Update your ArgoCD ConfigMap with both your server URL and the custom DEX connector configuration for Okta.1. Add the ArgoCD Server URL
In your ConfigMap, add the URL for your ArgoCD server:2. Configure the DEX Connector for Okta
Below is an example configuration for the Okta SAML connector. Note that you must provide eithercaData (Base64-encoded certificate data) or ca (a path to the certificate file), but not both. If you experience issues with the redirect URL, consider omitting it.
caData field.
3. Generating the Base64 Certificate
Generate the Base64 version of your certificate without new lines using the following command in a Linux environment:caData field.
4. Example Final ArgoCD ConfigMap
Below is a complete example of an updated ConfigMap:5. Testing the Integration
After updating the ConfigMap, refresh the ArgoCD UI. A new login option for Okta should appear. Click the Okta login option and you will be redirected to the Okta login page.Logging in with Okta and Verifying Groups
Follow these steps after clicking the Okta login option:1. Okta Login
Enter your Okta username (email) and complete any required multi-factor authentication processes based on your Okta settings.2. Group Verification
After a successful login, your username will appear as the email address from Okta, and if group data is configured, it will be displayed as well. By default, without specific policies, new users might only have read-only permissions.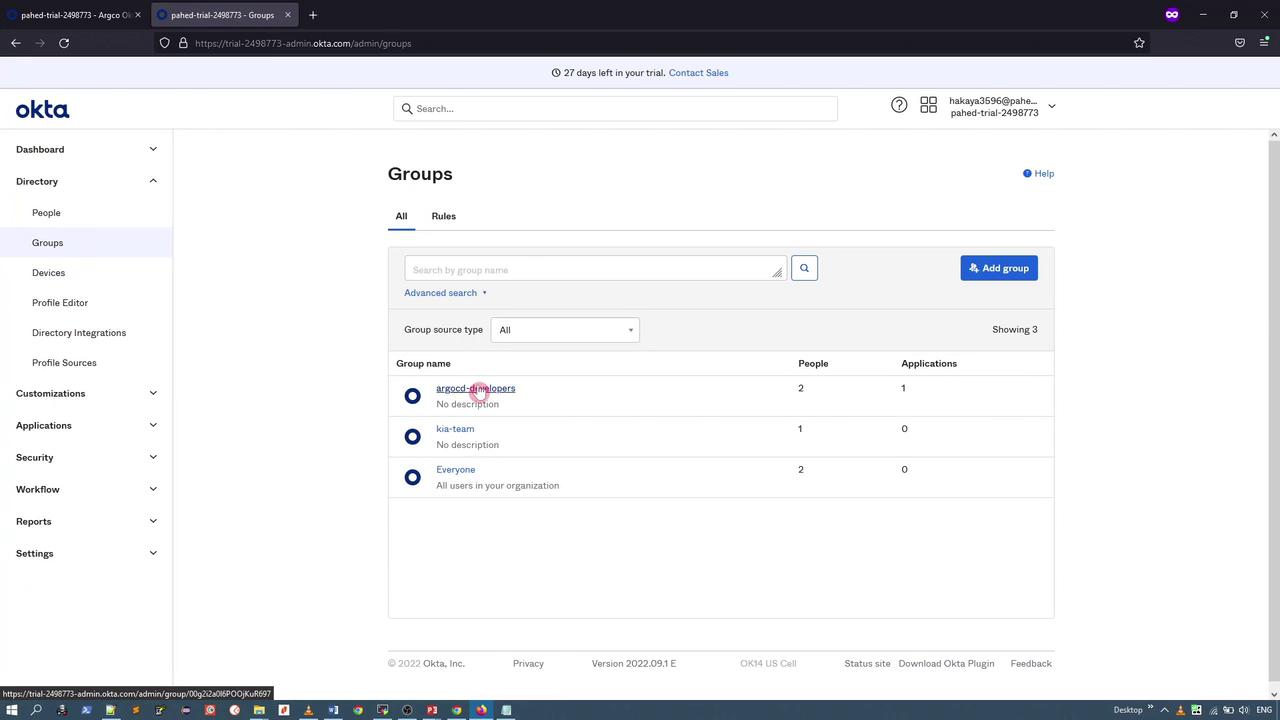
Assigning RBAC Policies in ArgoCD
To allow additional permissions based on roles, assign RBAC policies to groups. For example, you may want members of the ArgoCD-Developers group to have the ability to synchronize applications. Modify the RBAC ConfigMap with your desired policies.1. Edit the RBAC ConfigMap
Below is a sample configuration for your RBAC policies: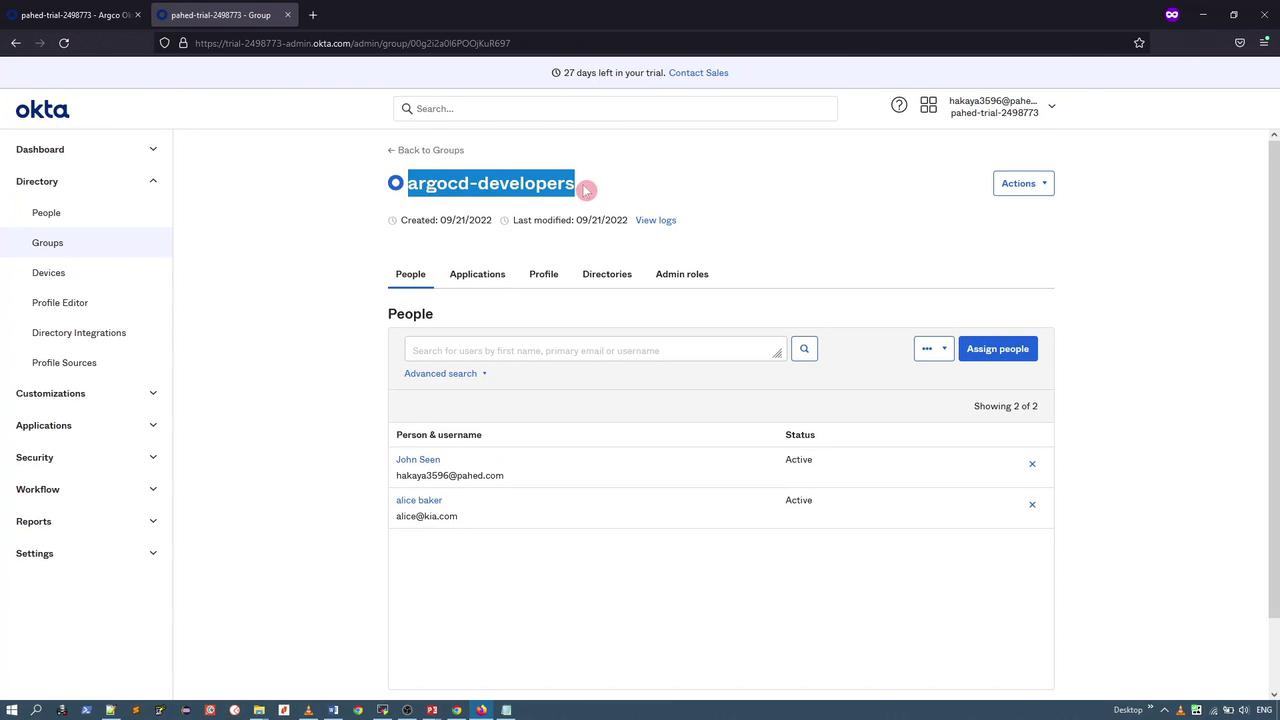
2. Apply the Changes
Save your changes and update the ConfigMaps using the following commands:3. Verify the New Permissions
Once the policies are updated, try synchronizing an application in the special project. If the RBAC policies are correctly configured, the synchronization should complete without permission errors.Conclusion
In this article, we demonstrated how to integrate ArgoCD with Okta using SAML, configure the DEX connector, and assign RBAC policies for managing access. With these settings applied, users can log in via SSO using Okta, and group memberships can effectively control permissions within ArgoCD.Ensure that your SSO URL and certificate details in the ConfigMap match the values provided in Okta’s SAML setup instructions.