

Reviewing the Default Project
Before implementing a custom project, it is important to understand how the default project is configured. The default project is highly permissive—it allows deployments to any destination and namespace without restrictions on source repositories or resources. Run the following command to list the projects:*) and destination (*,*), with no restrictions on cluster-level or namespace-level resources:
The default project does not limit which clusters or namespaces can be deployed to, nor does it restrict source repositories. This open configuration may not be suitable for every production environment.
Checking Applications and Projects
You may also want to verify the current applications and projects using the Kubernetes CLI within the ArgoCD namespace. To list all applications:Creating a Custom Project
Next, we will create a new custom project. This project will restrict allowed source repositories and control cluster-level resource deployment. You can create this project using either the UI or CLI. Below is the CLI output that shows the default state before introducing our custom project:Configuring the Custom Project via the UI
To start, open the ArgoCD user interface and navigate to the Projects configuration via the sidebar. You will see the default project configuration listed. Click on “Create a new project” to begin setting up your custom project, for instance named “special-project”. Provide a clear description outlining the restrictions that will be applied.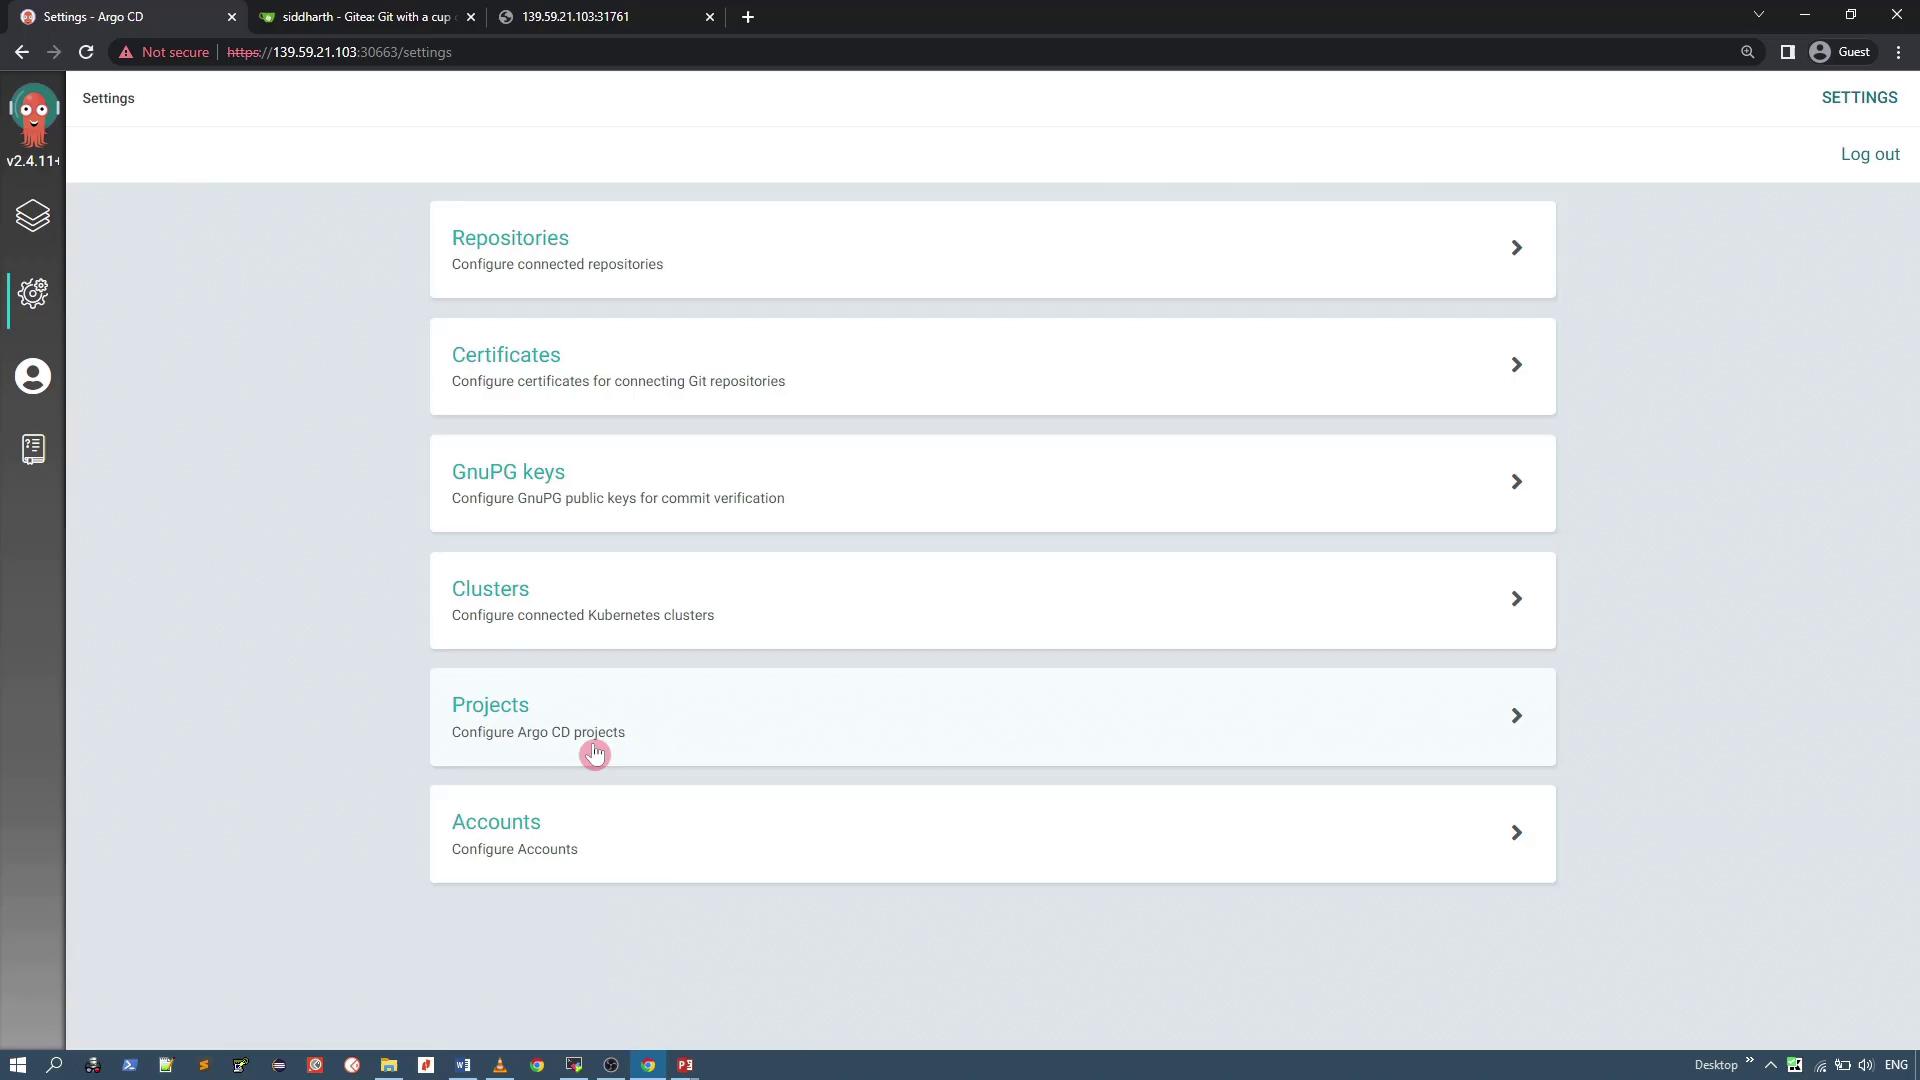
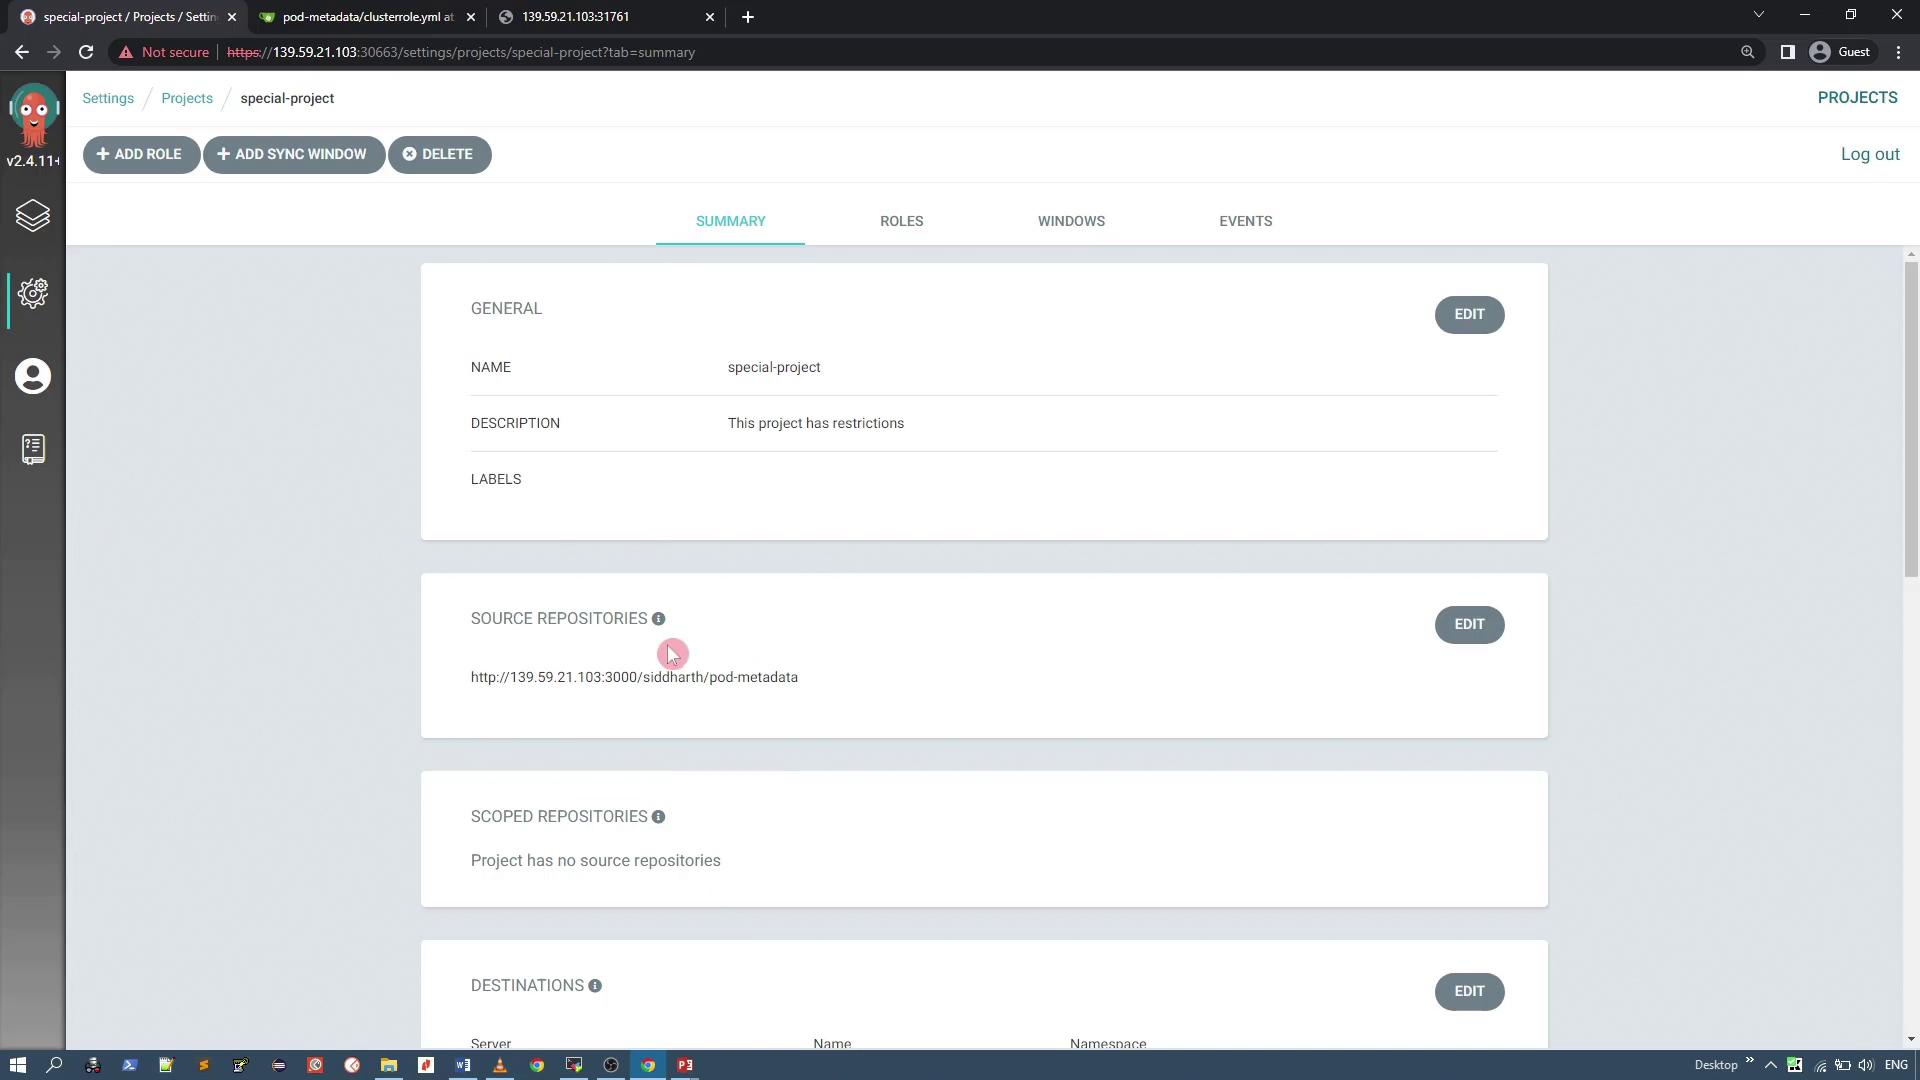
Setting Source Repository Restrictions
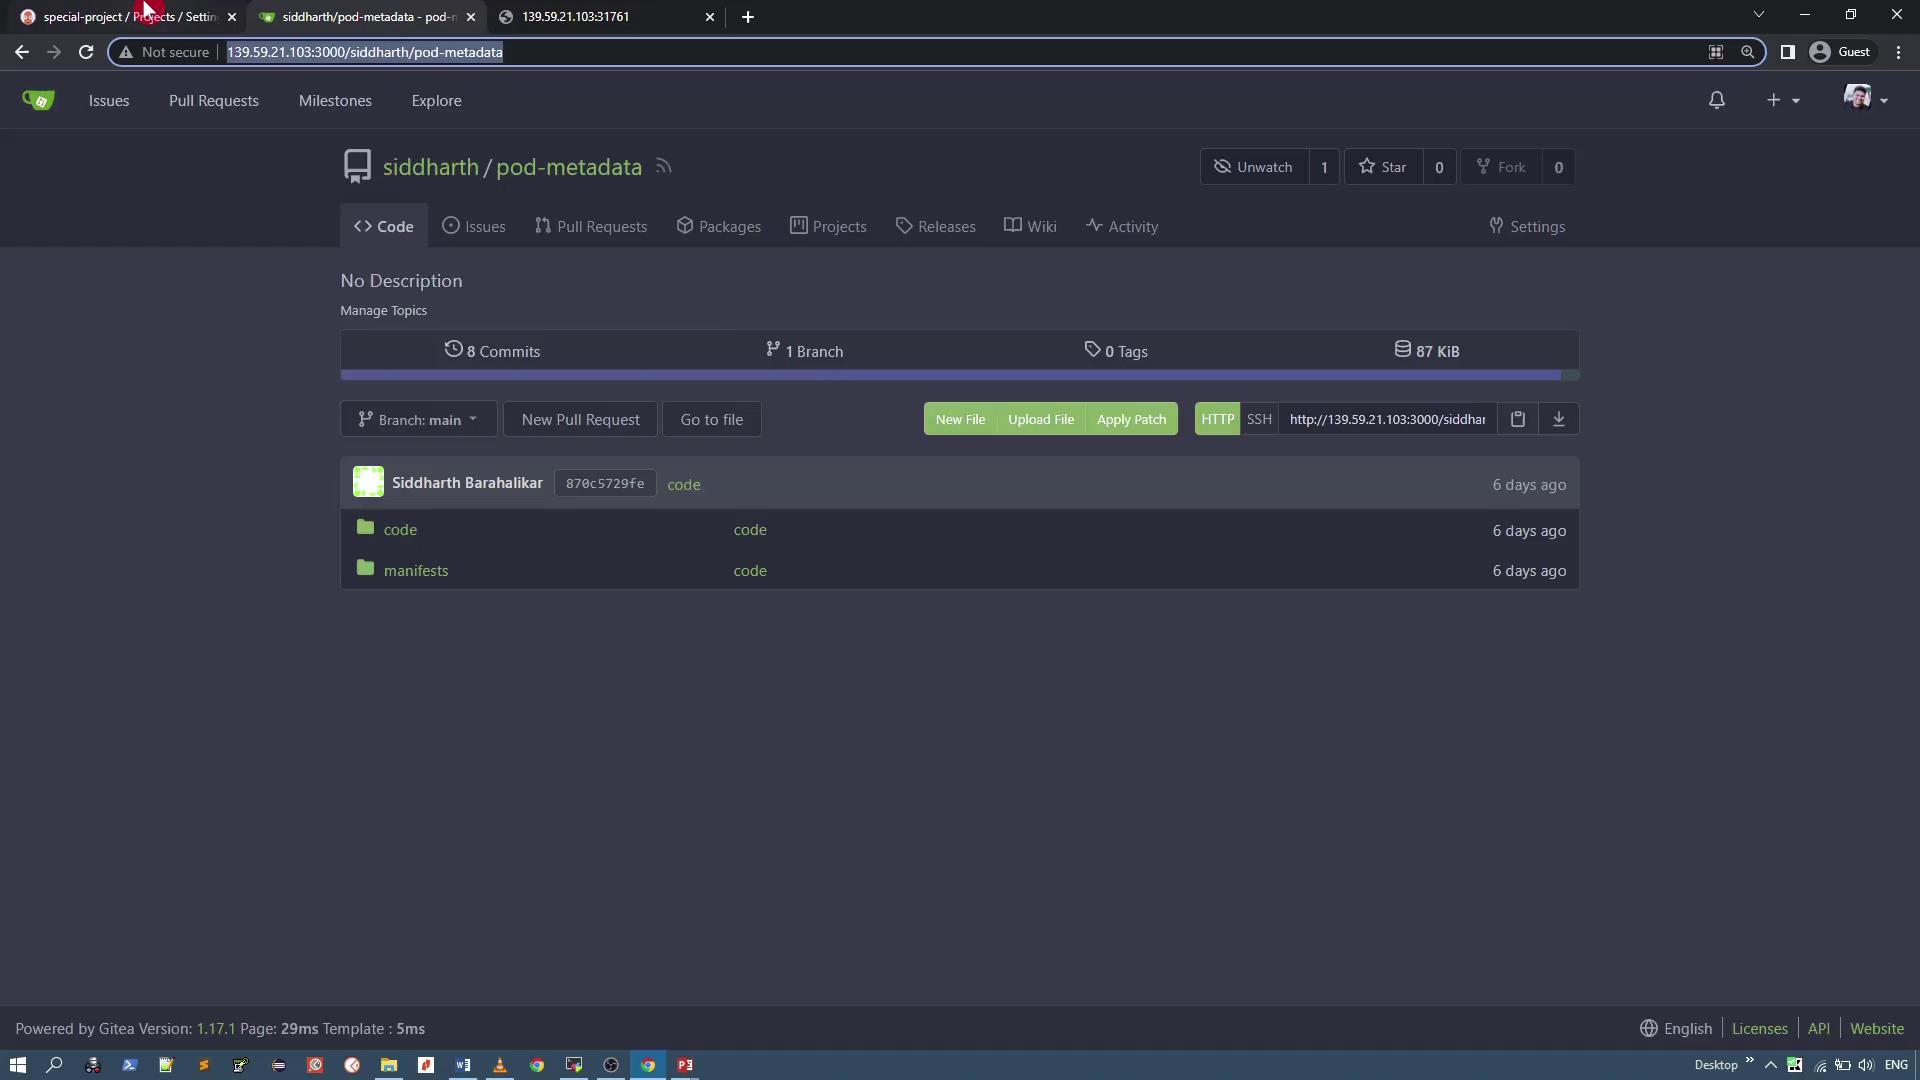
Within the project settings, limit the allowed source repositories by replacing the default wildcard (*) with the specific Git repository URL containing the pod metadata resources. For example, allow only the “pod metadata” repository:
Defining Deployment Destinations
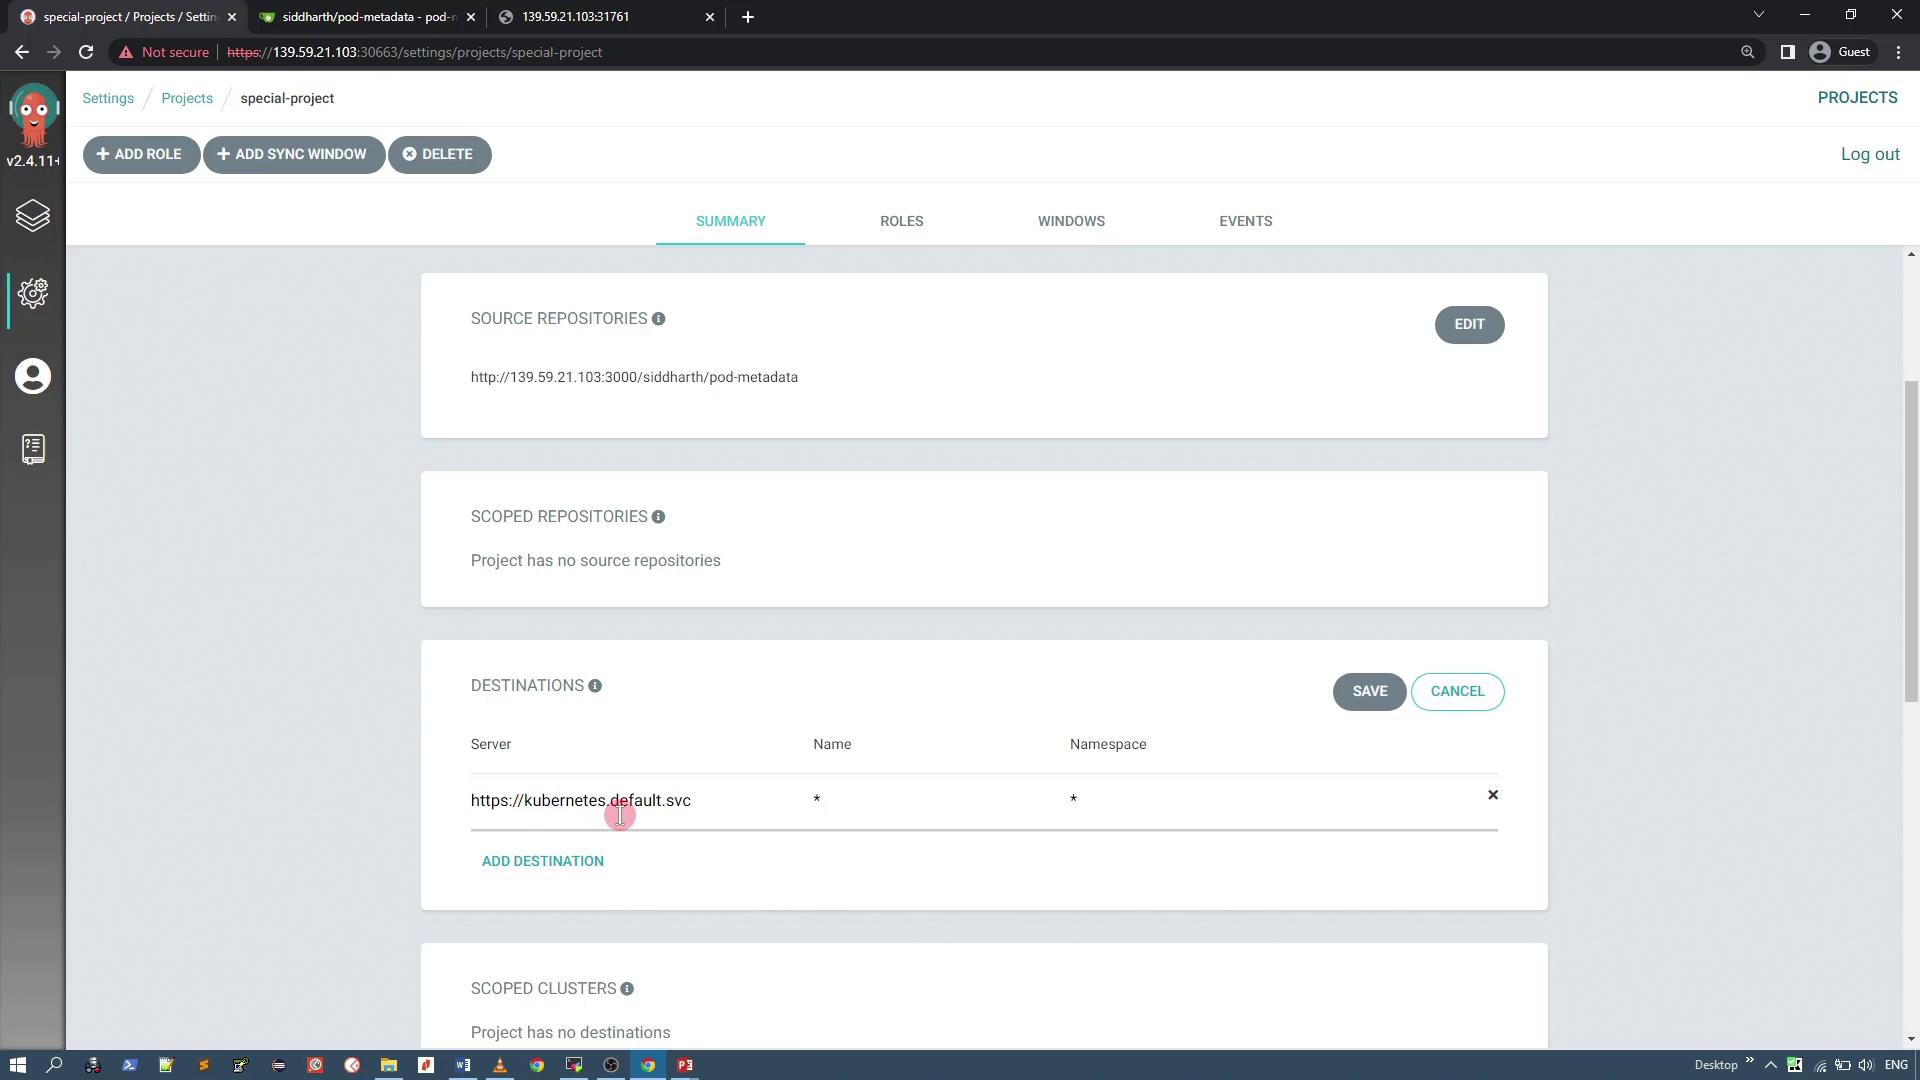
Under the Destinations section, restrict deployments to the current cluster by specifying its server URL (e.g.,https://kubernetes.default.svc). You may keep the namespace wildcard (*) to allow flexible namespace usage.
Configuring Resource Denial
To enhance security, configure the project to deny certain cluster-level resources. In this example, we restrict ClusterRole resources to prevent unauthorized full-access permissions. Suppose you have a manifest for a ClusterRole resource as shown below: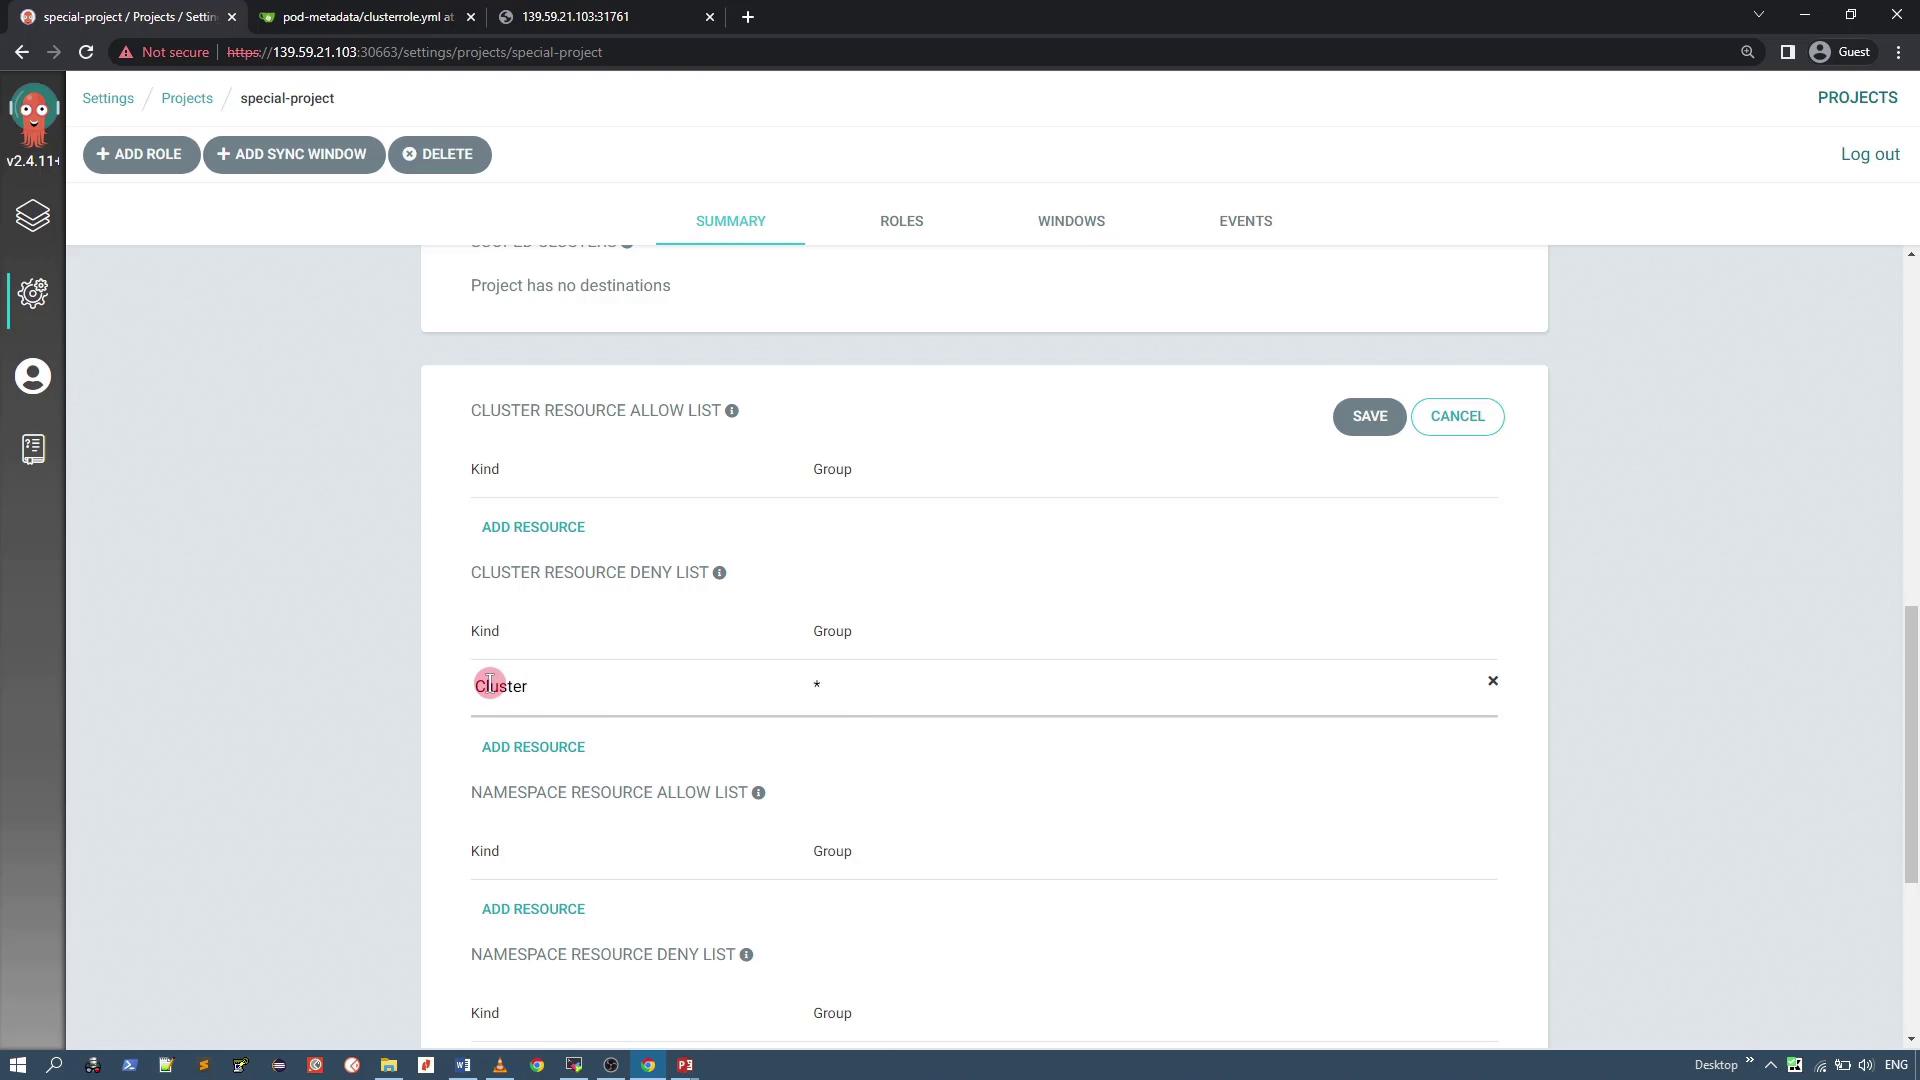
Verifying the Custom Project via CLI
After configuration, verify that the new “special-project” has been created alongside the default project using:Ensure that all fields are correctly populated. For instance, an empty
group field for a ClusterRole should be represented properly in YAML quotes.Creating and Testing an Application with the Custom Project
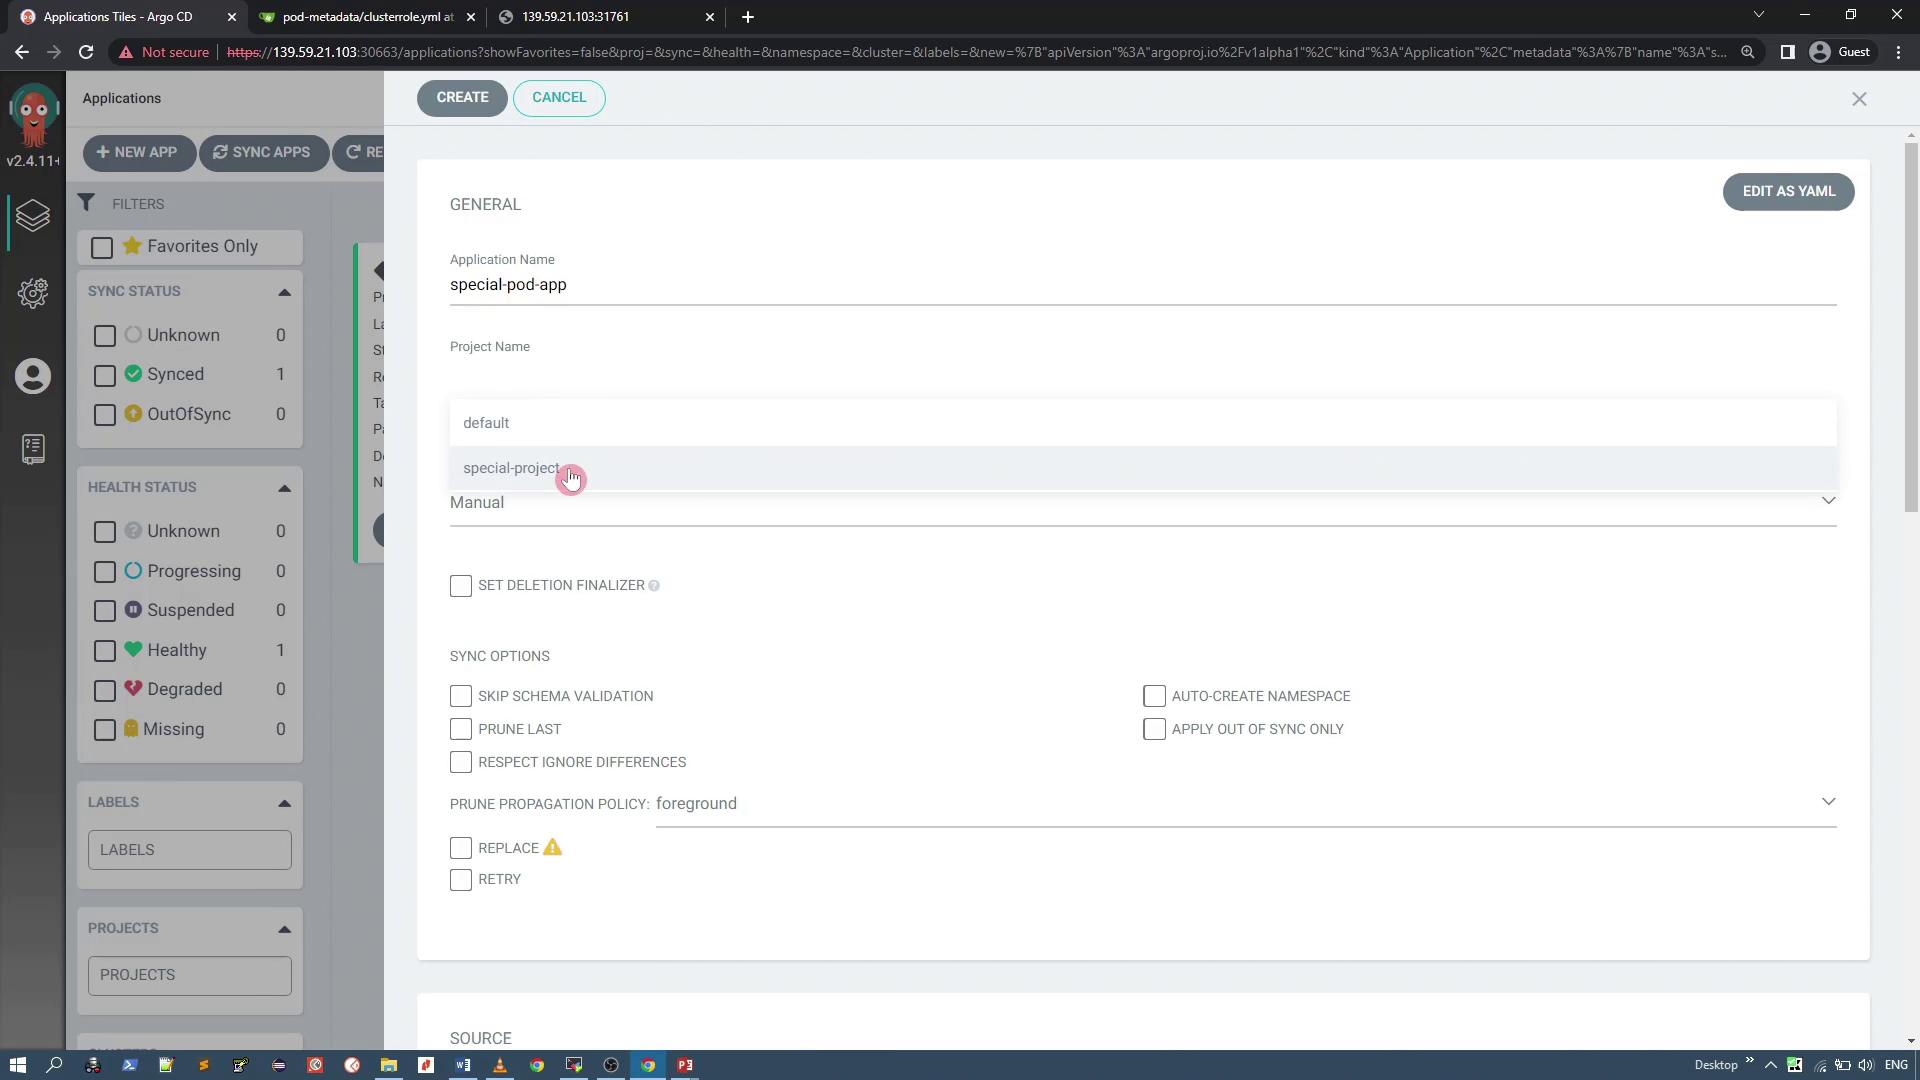
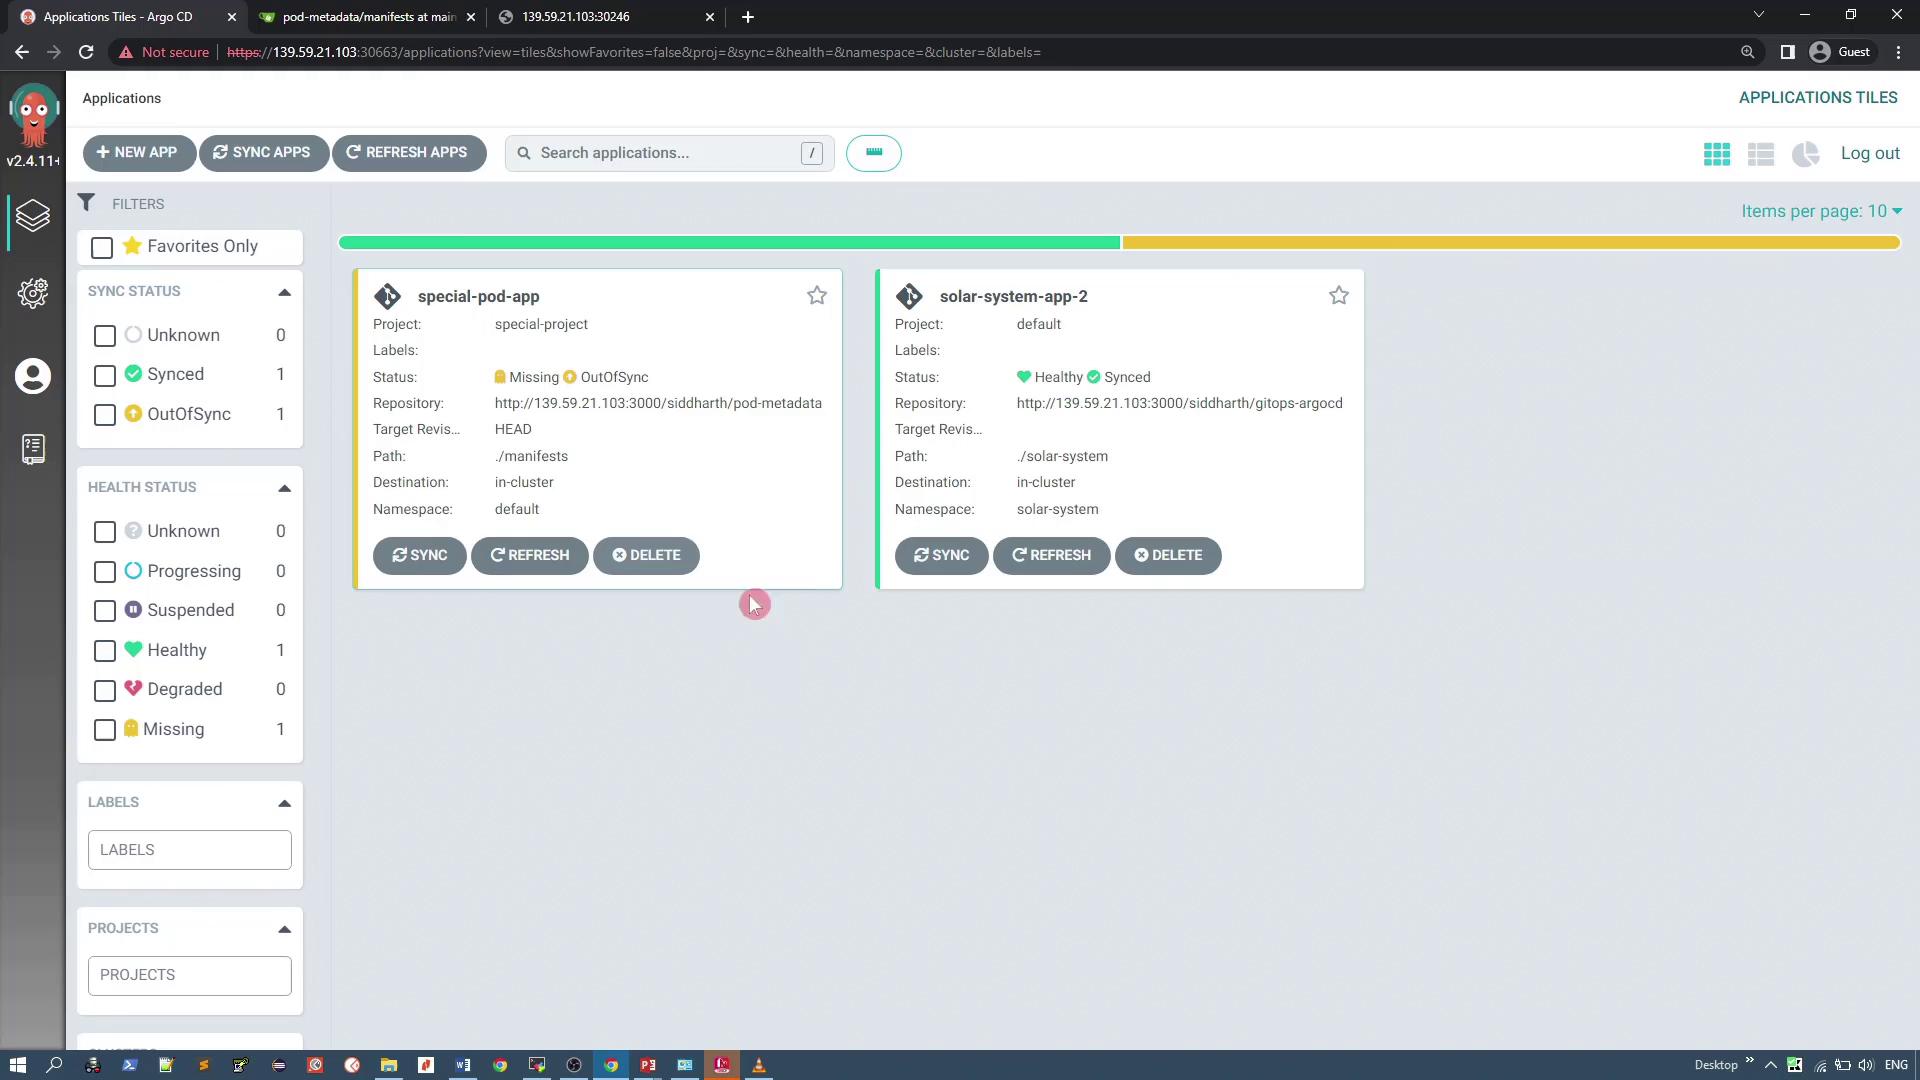
Now, create an application that is associated with the “special-project” custom project. When creating the application (e.g., “special-pod-app”), verify that the connected repository is correct. Note that the application sync policy should be set to manual and the namespace will be auto-created if necessary. If you try deploying an application from a disallowed repository, an error will appear similar to the following: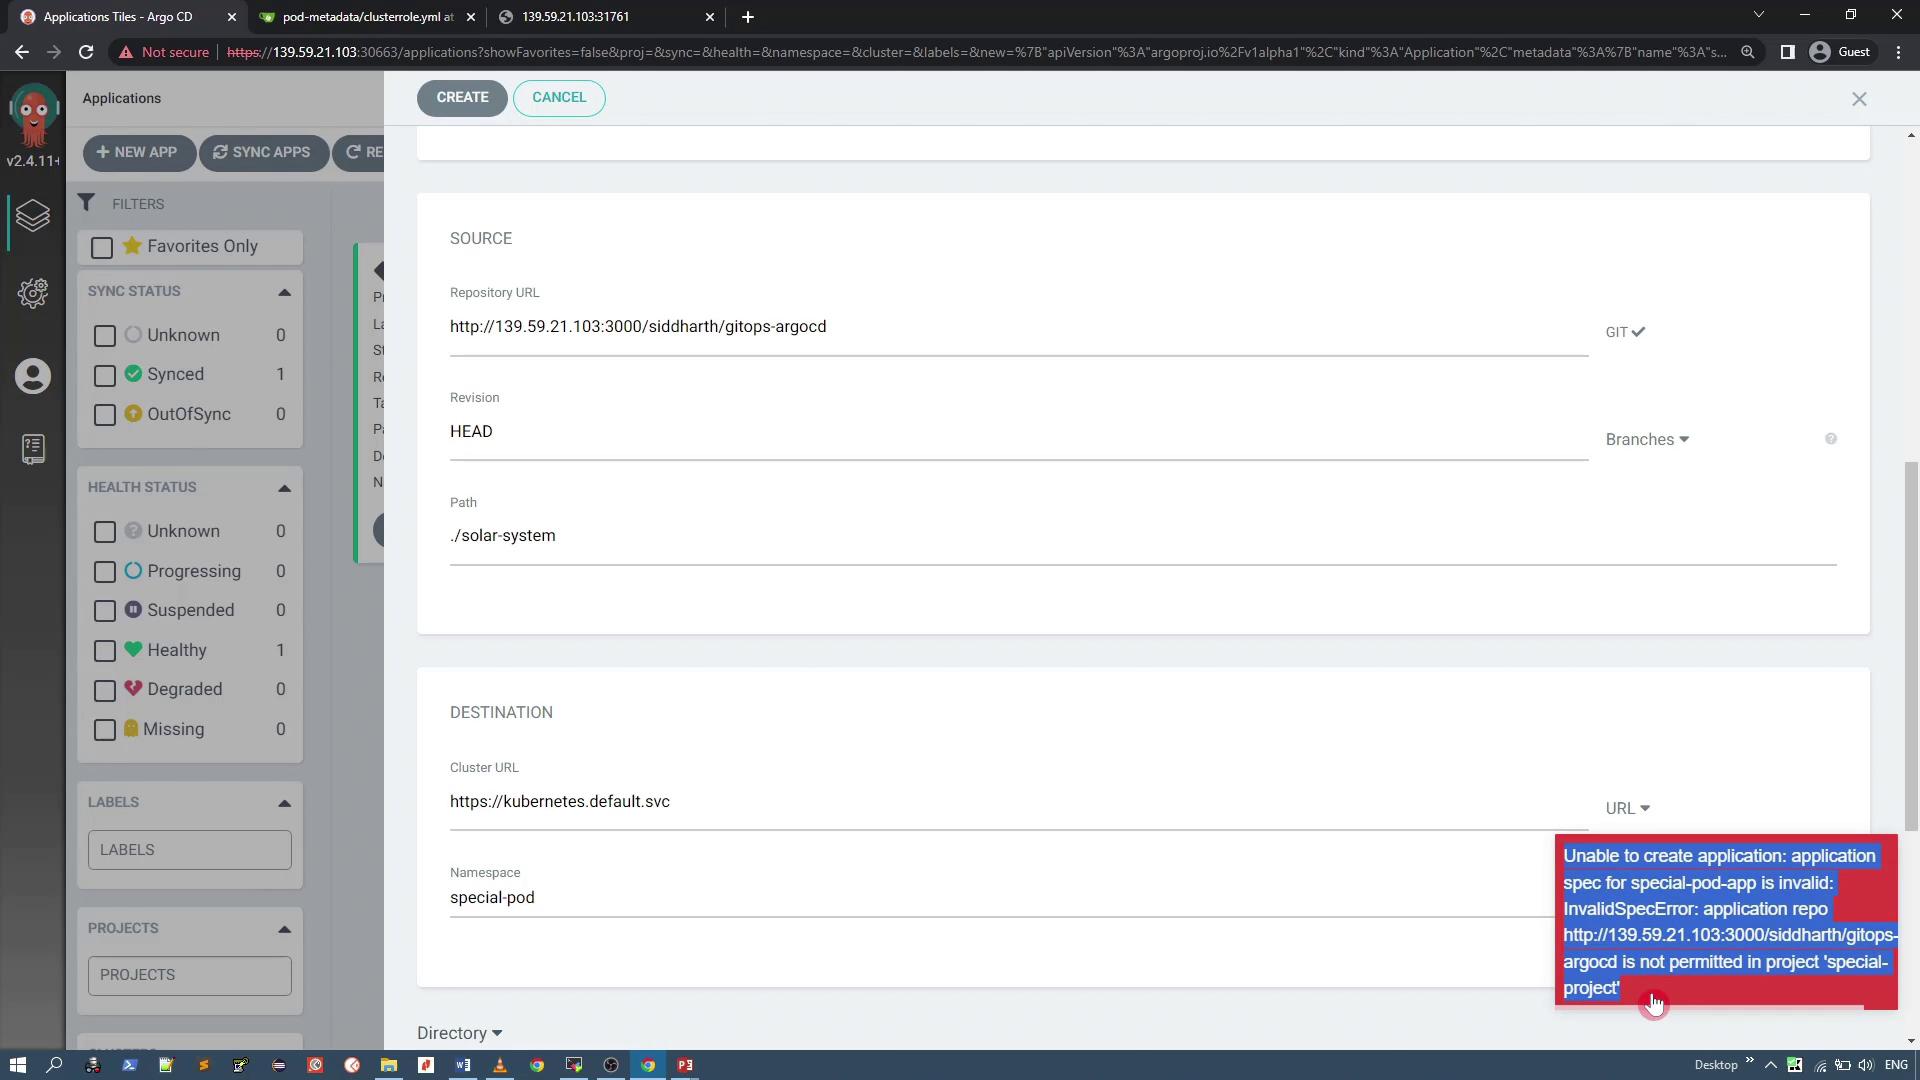
Synchronizing the Application and Handling Denied Resources
To deploy the application, click “Sync” for “special-pod-app.” During synchronization, ArgoCD will try to apply all resources defined in the repository—including a ClusterRole resource. Since the custom project denies ClusterRole resources, the sync will fail with an error indicating that the resource is not permitted.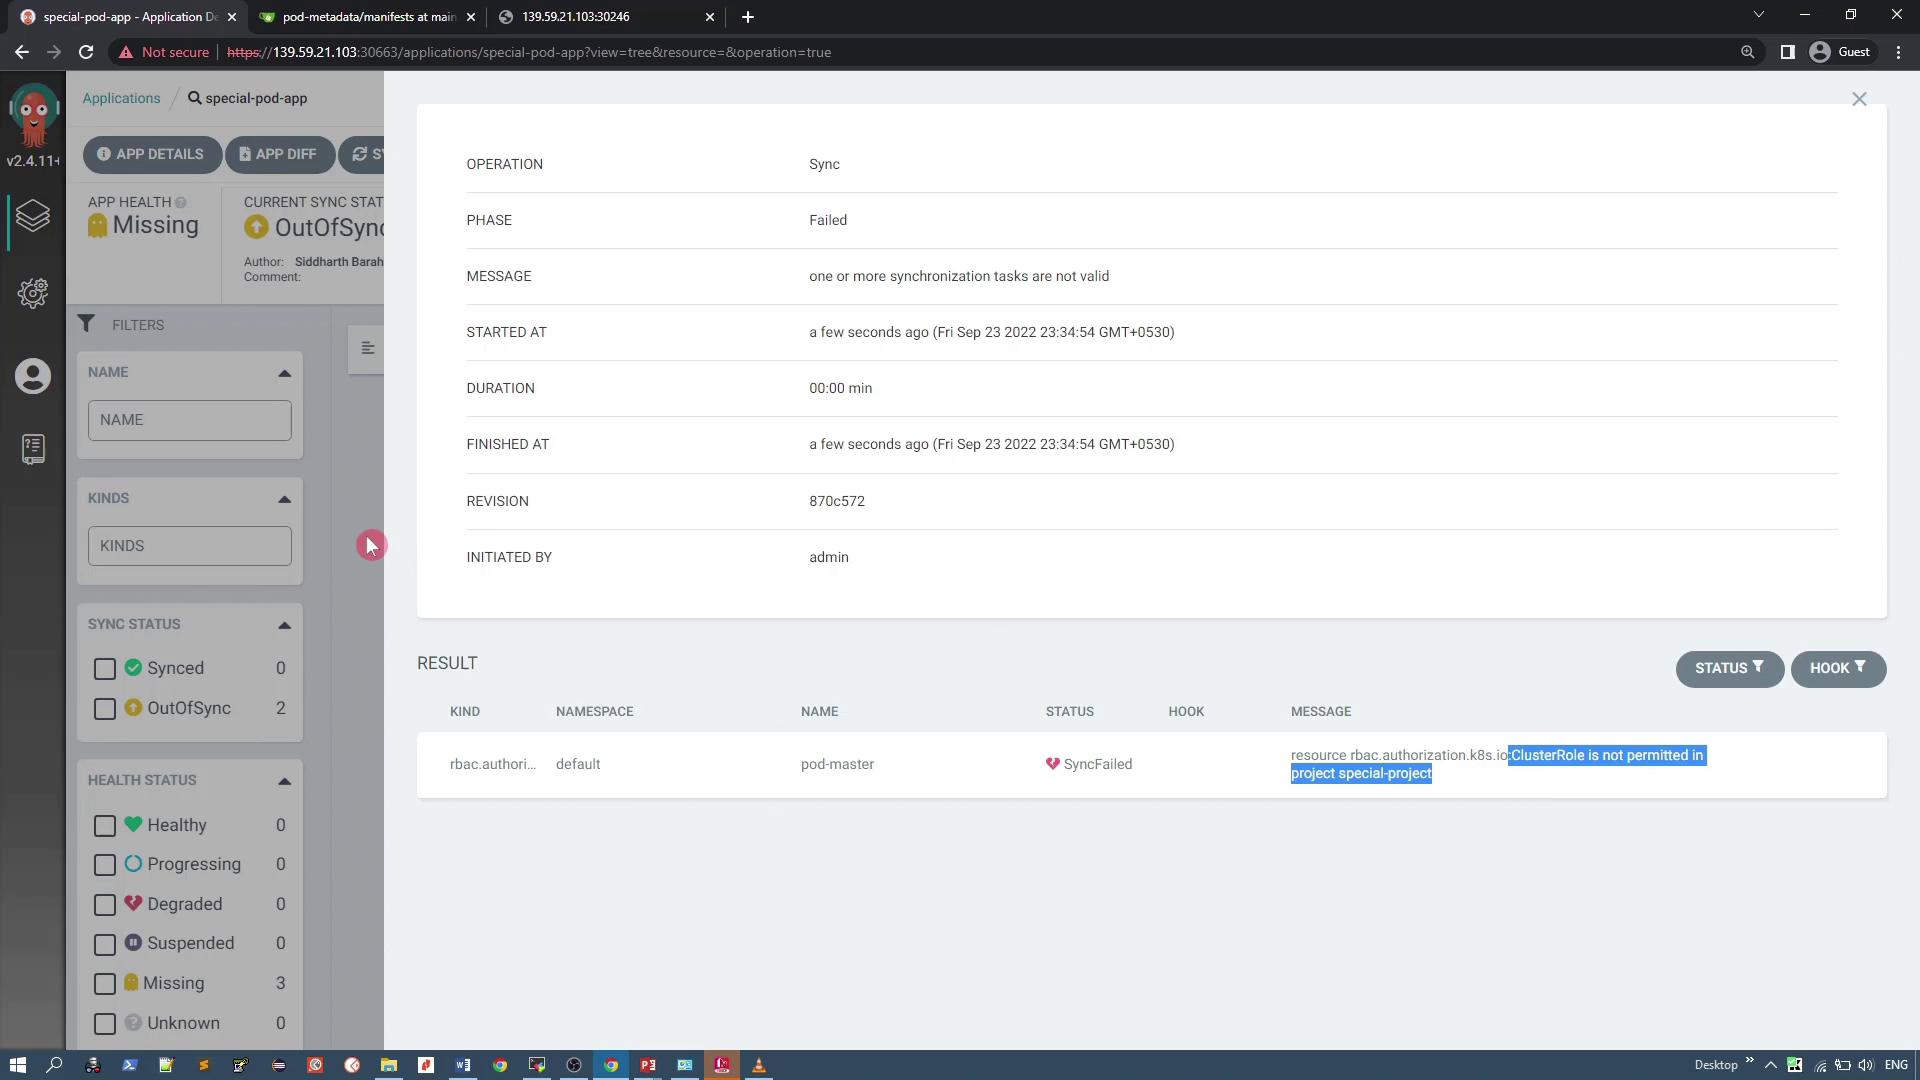
Application Details
Upon successful synchronization, the application deploys a simple PHP application that displays pod details (such as pod IP, pod name, UID, CPU requests, etc.) using the Kubernetes Downward API. For reference, here is part of the deployment manifest: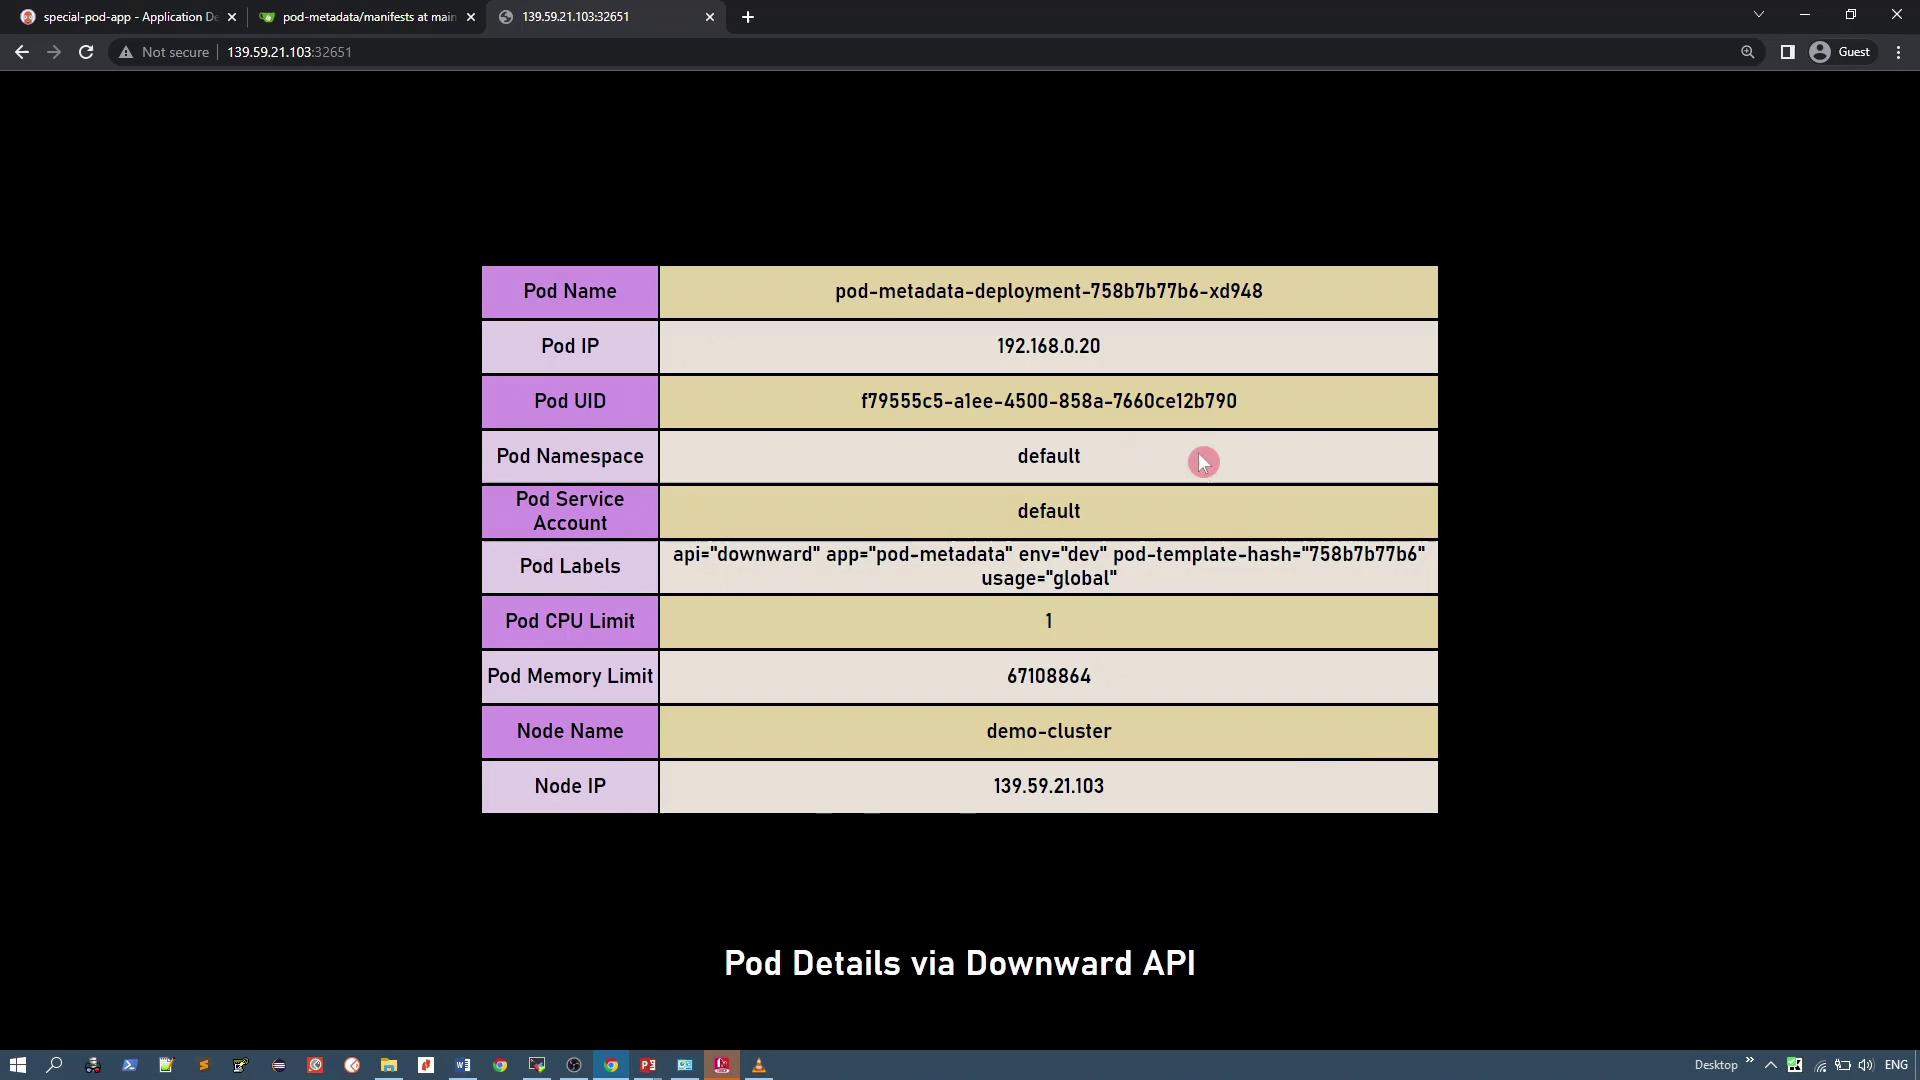
Summary
In this lesson, you have learned how to:- Review the default ArgoCD project configuration.
- Create a custom project with restrictions on source repositories and cluster-level resource deployment.
- Configure project settings via the UI by whitelisting an approved repository and denying ClusterRole resources.
- Deploy an application using the custom project, address synchronization errors due to denied resources, and verify a successful deployment of allowed resources.