This article guides users through the installation of ArgoCD and its CLI on a Kubernetes cluster.
In this lesson, we will guide you through installing ArgoCD and its CLI. We follow the official ArgoCD documentation from the Getting Started page to ensure you have the latest best practices. The installation process includes creating a dedicated Kubernetes namespace, applying the official manifest, and configuring the ArgoCD server for external access.
There are two installation options available: non-HA and HA. For simplicity, this lesson utilizes the non-HA version. Copy and execute the following commands:
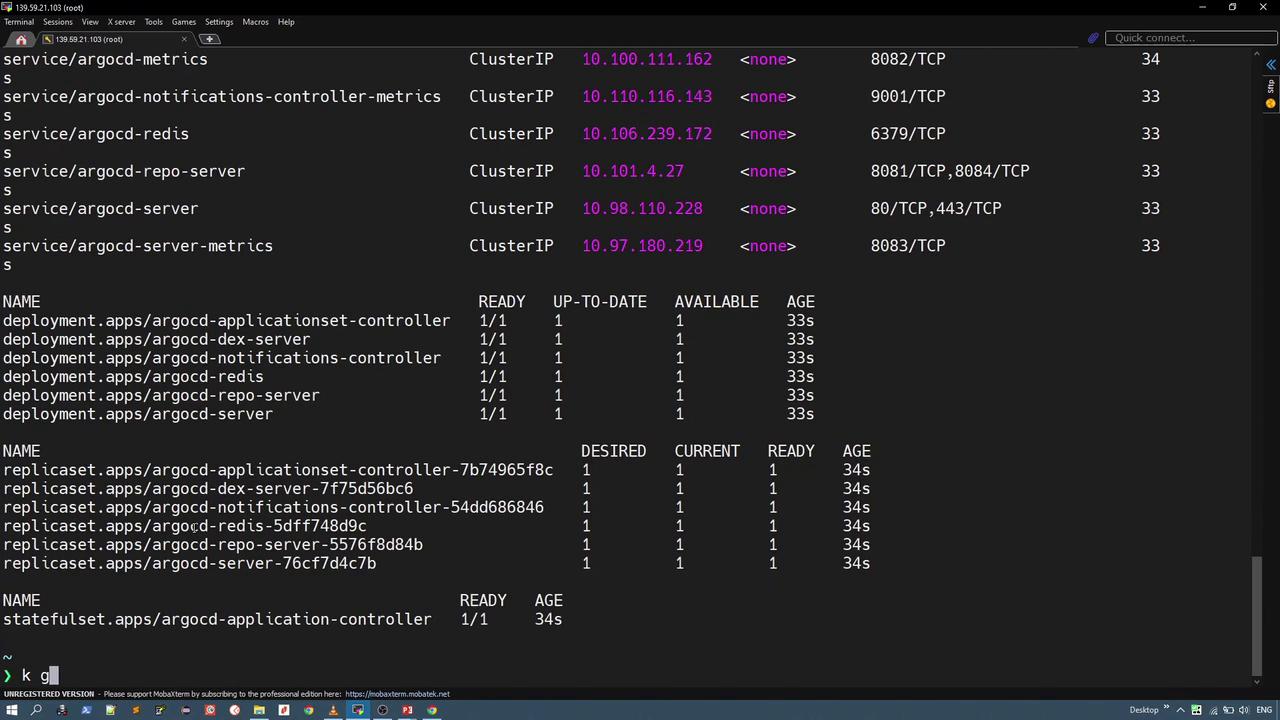
By default, ArgoCD services are configured with the ClusterIP type, which restricts external access. To access the ArgoCD UI, modify the ArgoCD server service to use the NodePort type. Edit the service and change the “type” field:
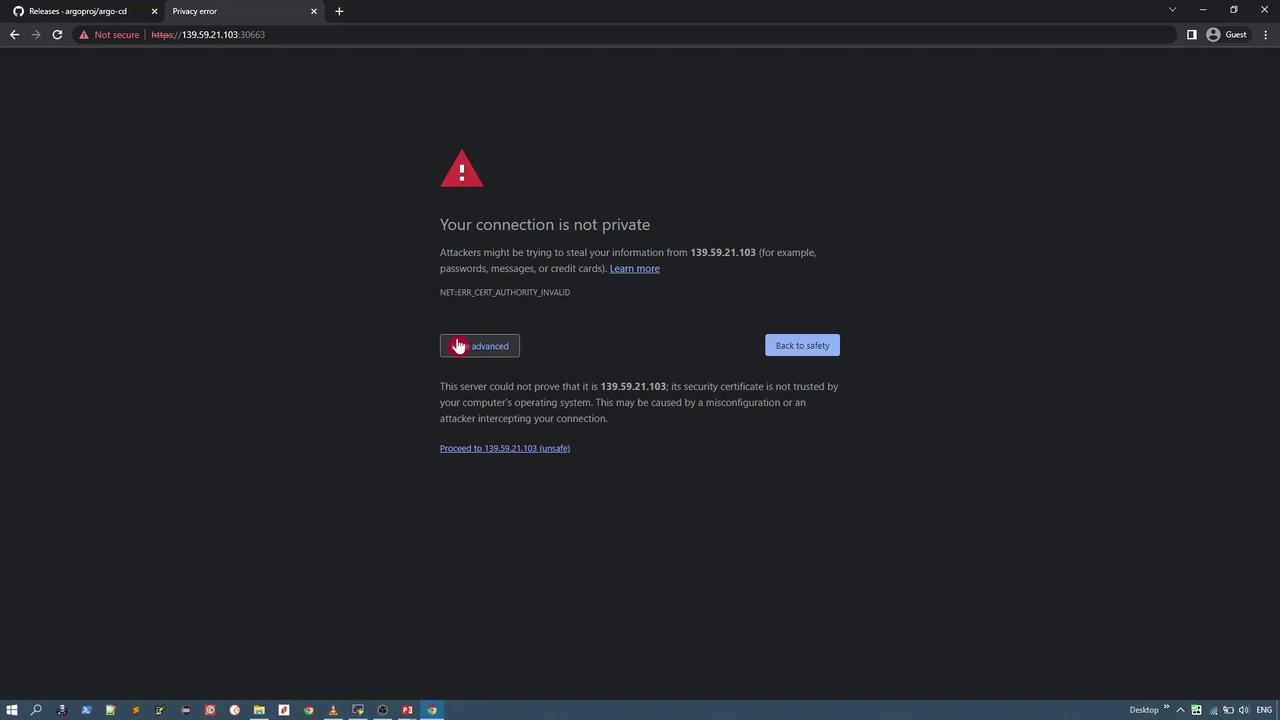
With the NodePort configuration, the ArgoCD server is now accessible externally via the server’s IP address and its designated NodePort (for example, 30663).Open your web browser and navigate to the server’s IP (such as 139.59.21.103) along with the NodePort. Note that because the server uses a self-signed certificate, your browser will display a warning regarding the connection’s privacy.
Since this installation uses a self-signed certificate, you might see a browser warning indicating that the connection is not private. Accept the certificate to continue.
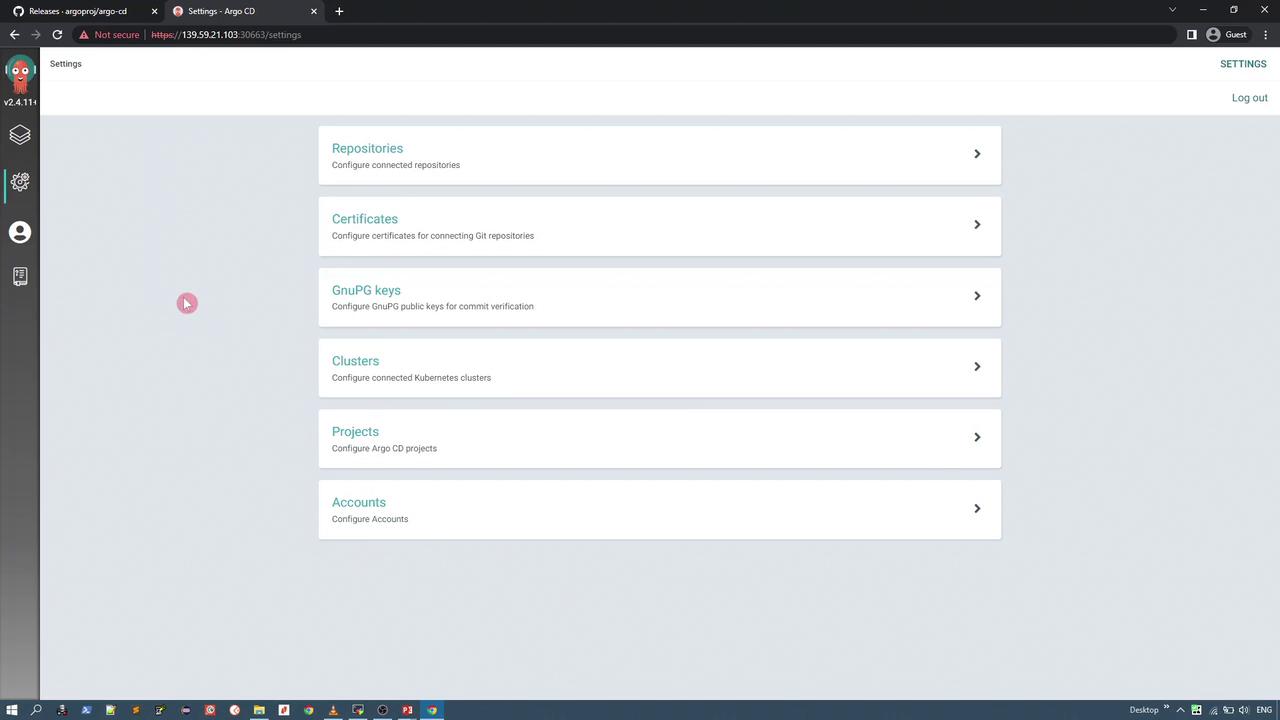
Copy the decoded password and use it with the username “admin” to log in. Once logged in, update your password via the UI by visiting the user settings page, where you can configure repositories, certificates, clusters, projects, and accounts.
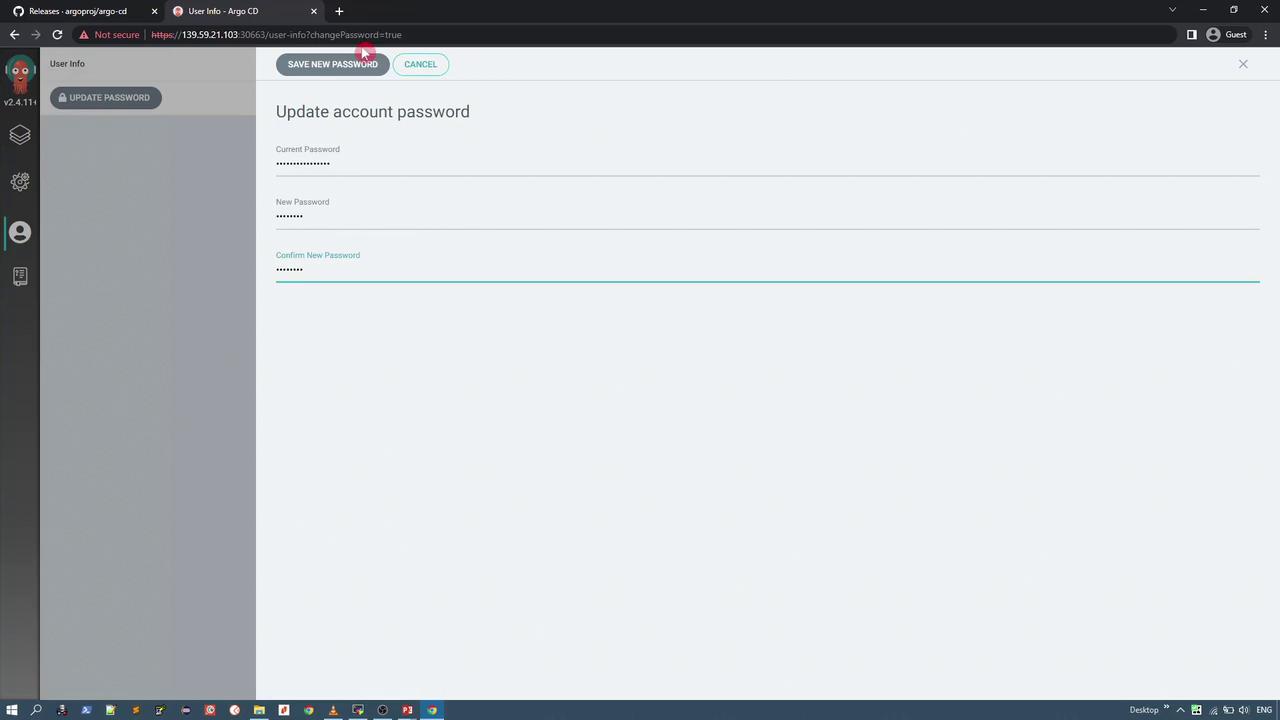
To update your password, enter the current password, specify your new password, and confirm the new password:
After updating, the UI will automatically log you out. Log back in using your new credentials.
Managing ArgoCD from the command line is facilitated by the ArgoCD CLI. Download the appropriate CLI binary for your system from the releases page. For version 2.4.11 on Linux AMD64, run:
Access the ArgoCD server using the CLI by executing the login command with the server’s IP address:
argocd login 10.98.110.228
Since the server uses a self-signed certificate, you will be prompted with a certificate warning:
WARNING: server certificate had error: x509: cannot validate certificate for 10.98.110.228 because it doesn't contain any IP SANs. Proceed insecurely (y/n)? yUsername: adminPassword:
Once logged in, you can list applications and clusters.To list applications:
argocd app list
Expected output (initially empty as no applications are deployed):
NAME CLUSTER NAMESPACE PROJECT STATUS HEALTH SYNC POLICY CONDITIONS REPO PATH TARGET
To display available clusters, run:
argocd cluster list
Example output:
SERVER NAME VERSION STATUS MESSAGEhttps://kubernetes.default.svc in-cluster Unknown Cluster has no applications and is not being monitored.
By default, the Kubernetes cluster on which ArgoCD is installed becomes the target cluster. In future lessons, we will explore how to deploy applications across multiple clusters.
WARNING: server certificate had error: x509: cannot validate certificate for 10.98.110.228 because it doesn't contain any IP SANs. Proceed insecurely (y/n)? yUsername: adminPassword:'admin:login' logged in successfullyContext '10.98.110.228' updated
argocd app list
NAME CLUSTER NAMESPACE PROJECT STATUS HEALTH SYNCPOLICY CONDITIONS REPO PATH TARGET
argocd cluster list
SERVER NAME VERSION STATUS MESSAGEhttps://kubernetes.default.svc in-cluster Unknown Cluster has no applications and is not being monitored.
This completes the installation and initial setup of ArgoCD and its CLI. In subsequent lessons, we will dive deeper into using the UI and managing applications across multiple clusters.Thank you for following along!