

Overview
Previously, we configured the Maven tool and printed the Maven version. In that example, the Pipeline featured only an “Echo Version” stage while the build stage was commented out. Refer to the following Jenkins dashboard snapshot: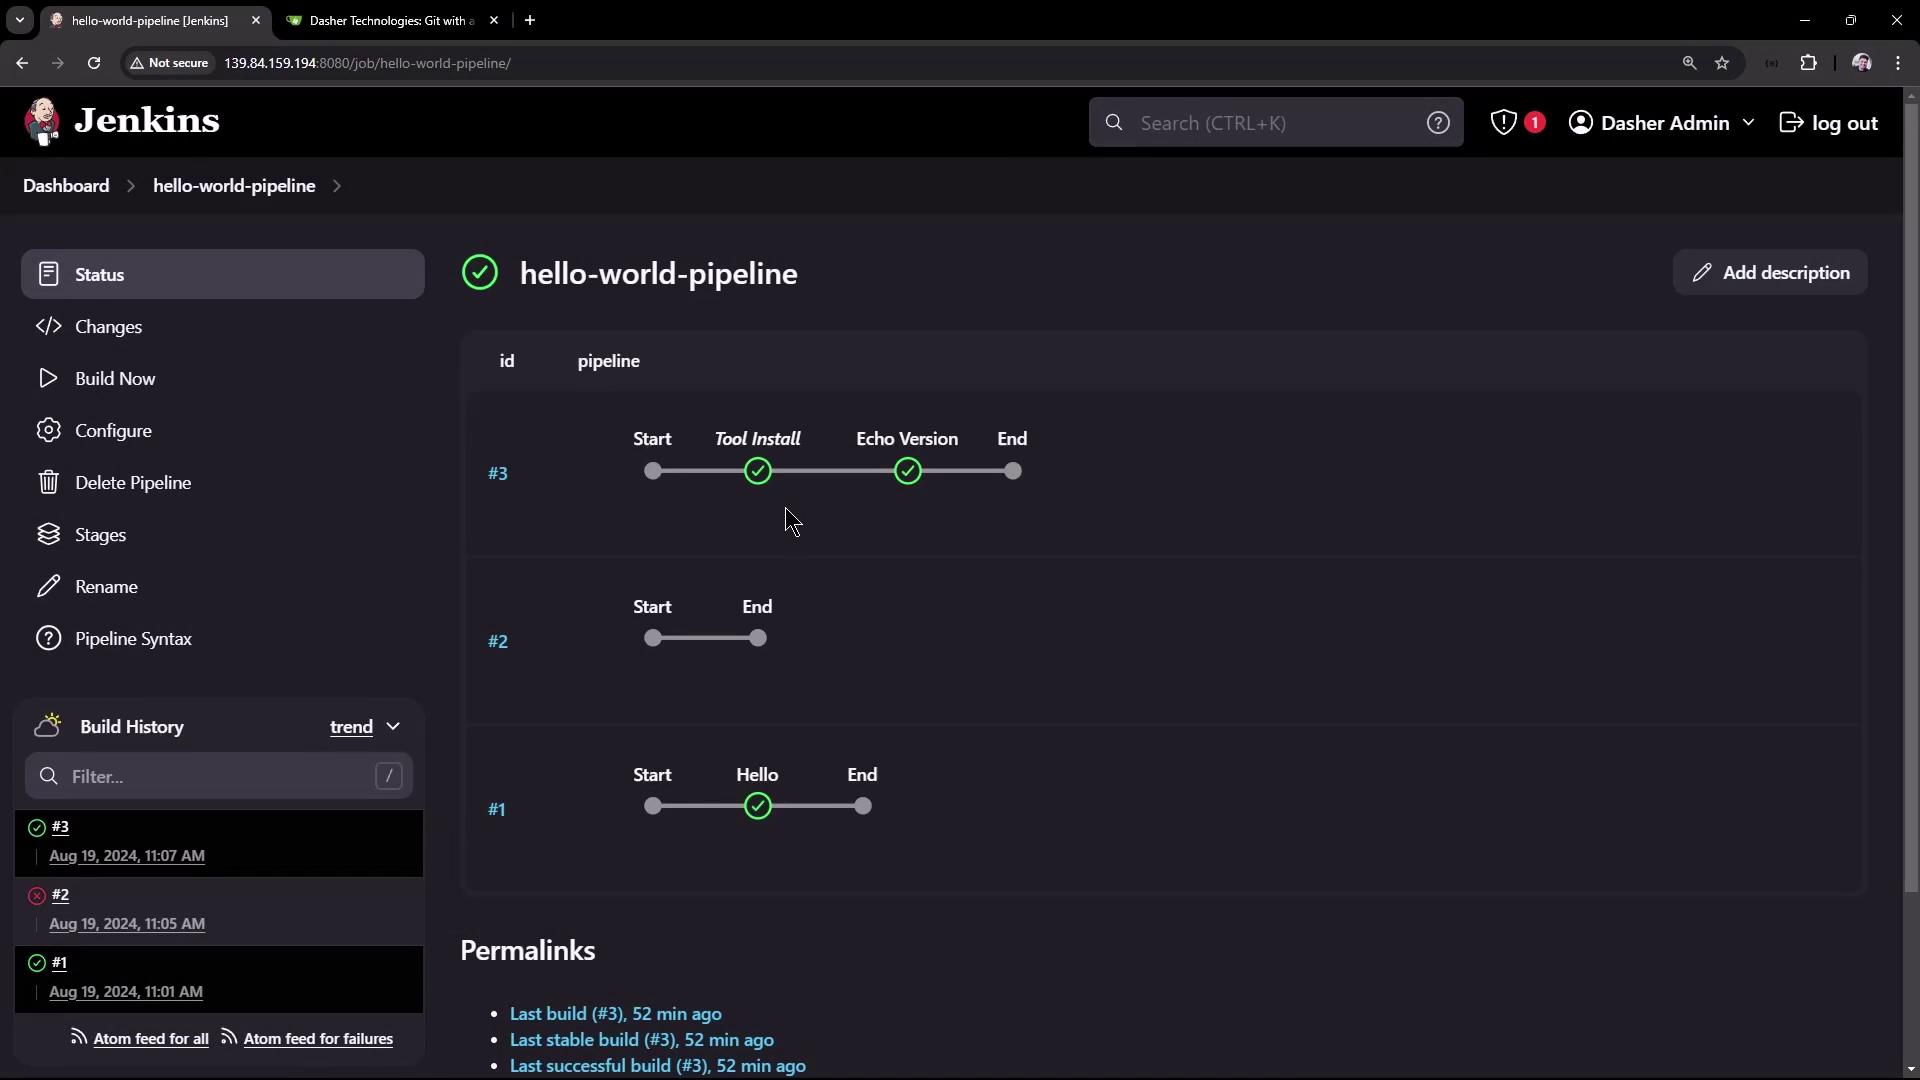
- Build: Retrieve the code from a Git repository and build the application using Maven.
- Unit Test: Execute unit tests for verification.
Build Stage Example
In the build stage, the code is first fetched from a Git repository, and then Maven is used to build the application. Commands differ based on the operating system: on a Unix agent, we usesh, while bat is utilized for Windows agents.
clean package command is used with the option to ignore test failures during packaging. Post-build actions then archive the test results and packaged JAR file.
Complete Pipeline Script with Multiple Stages
The complete Pipeline script now includes:- Echo Version: Prints Maven version details.
- Build: Fetches the source code from the Git repository and builds the application.
- Unit Test: Runs unit tests in a separate stage.
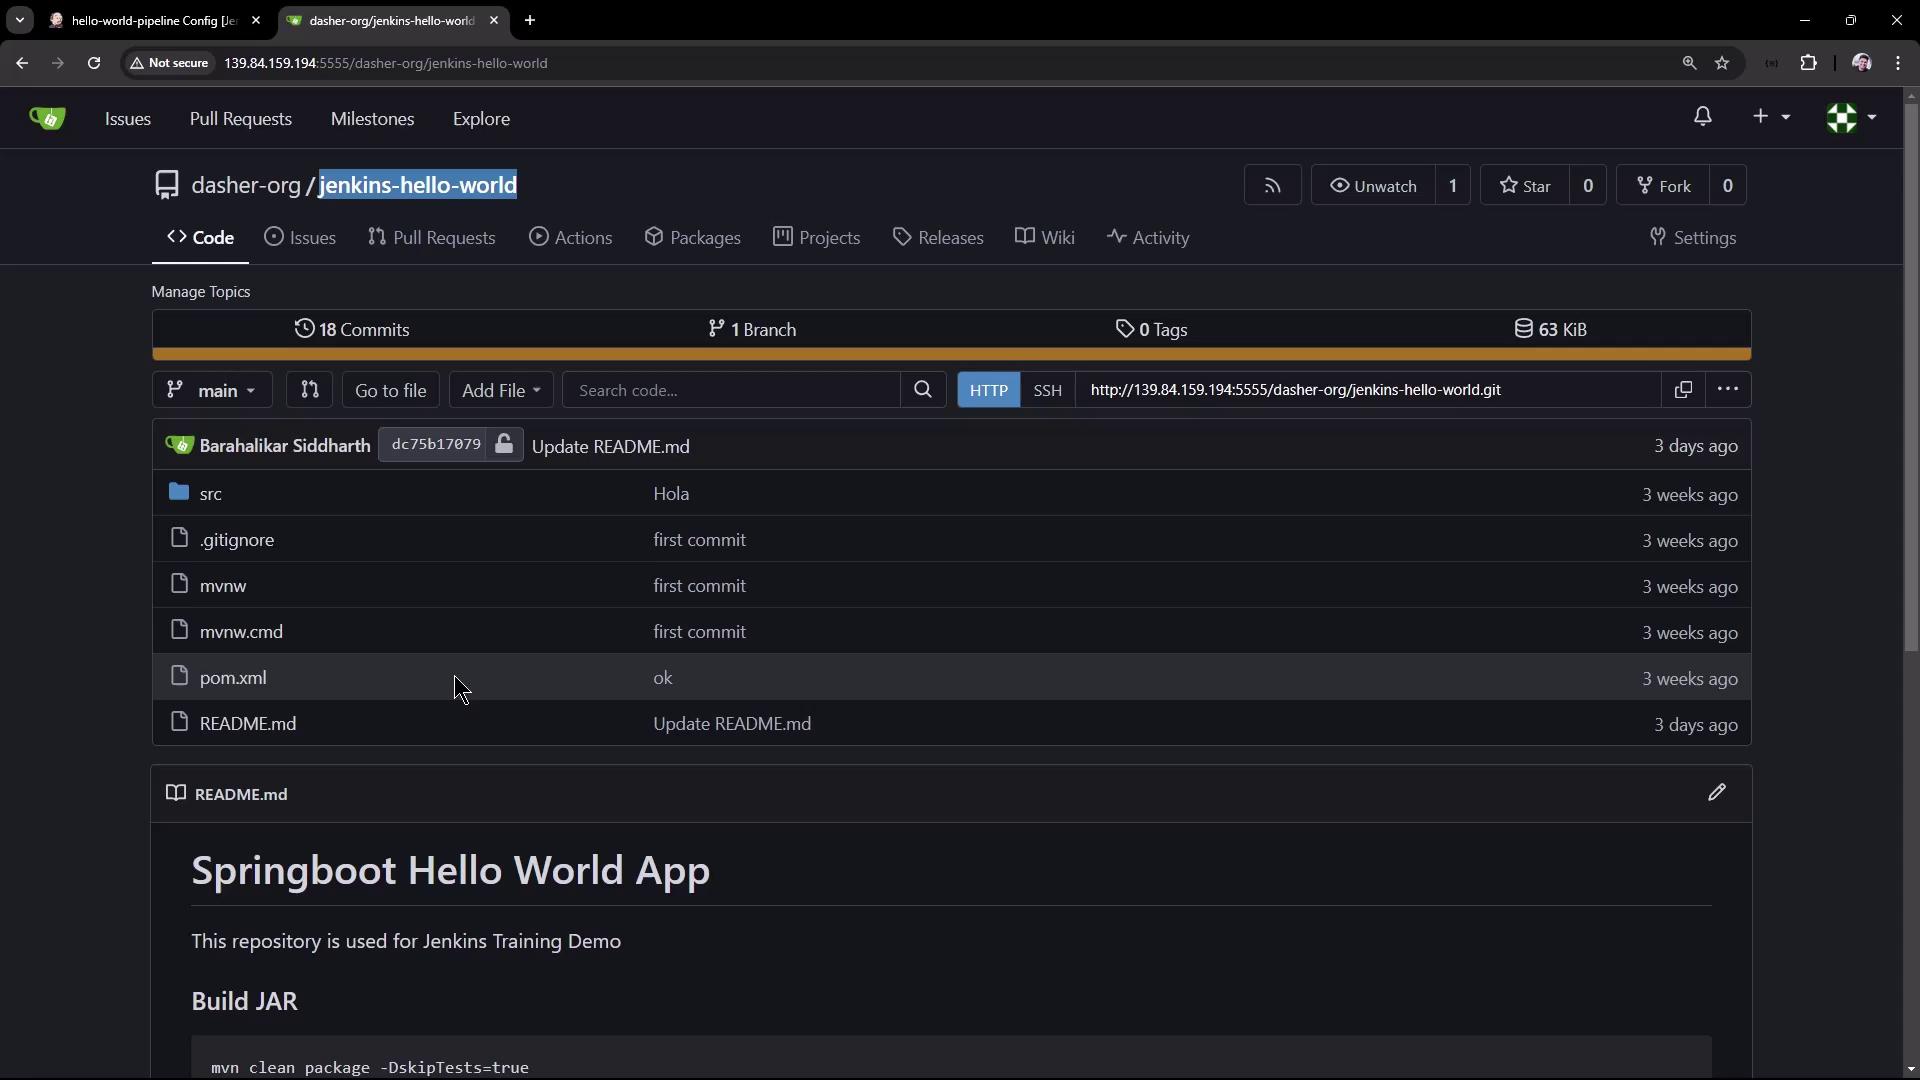
The Git plugin is used to fetch source code from a self-hosted Git service, which, despite a URL similar to GitHub, is actually served by Gitea.
Using a Self-Hosted Git Service
In this lesson, we use Gitea as our self-hosted Git service. Below is a screenshot showcasing the Dasher Technologies Git service interface: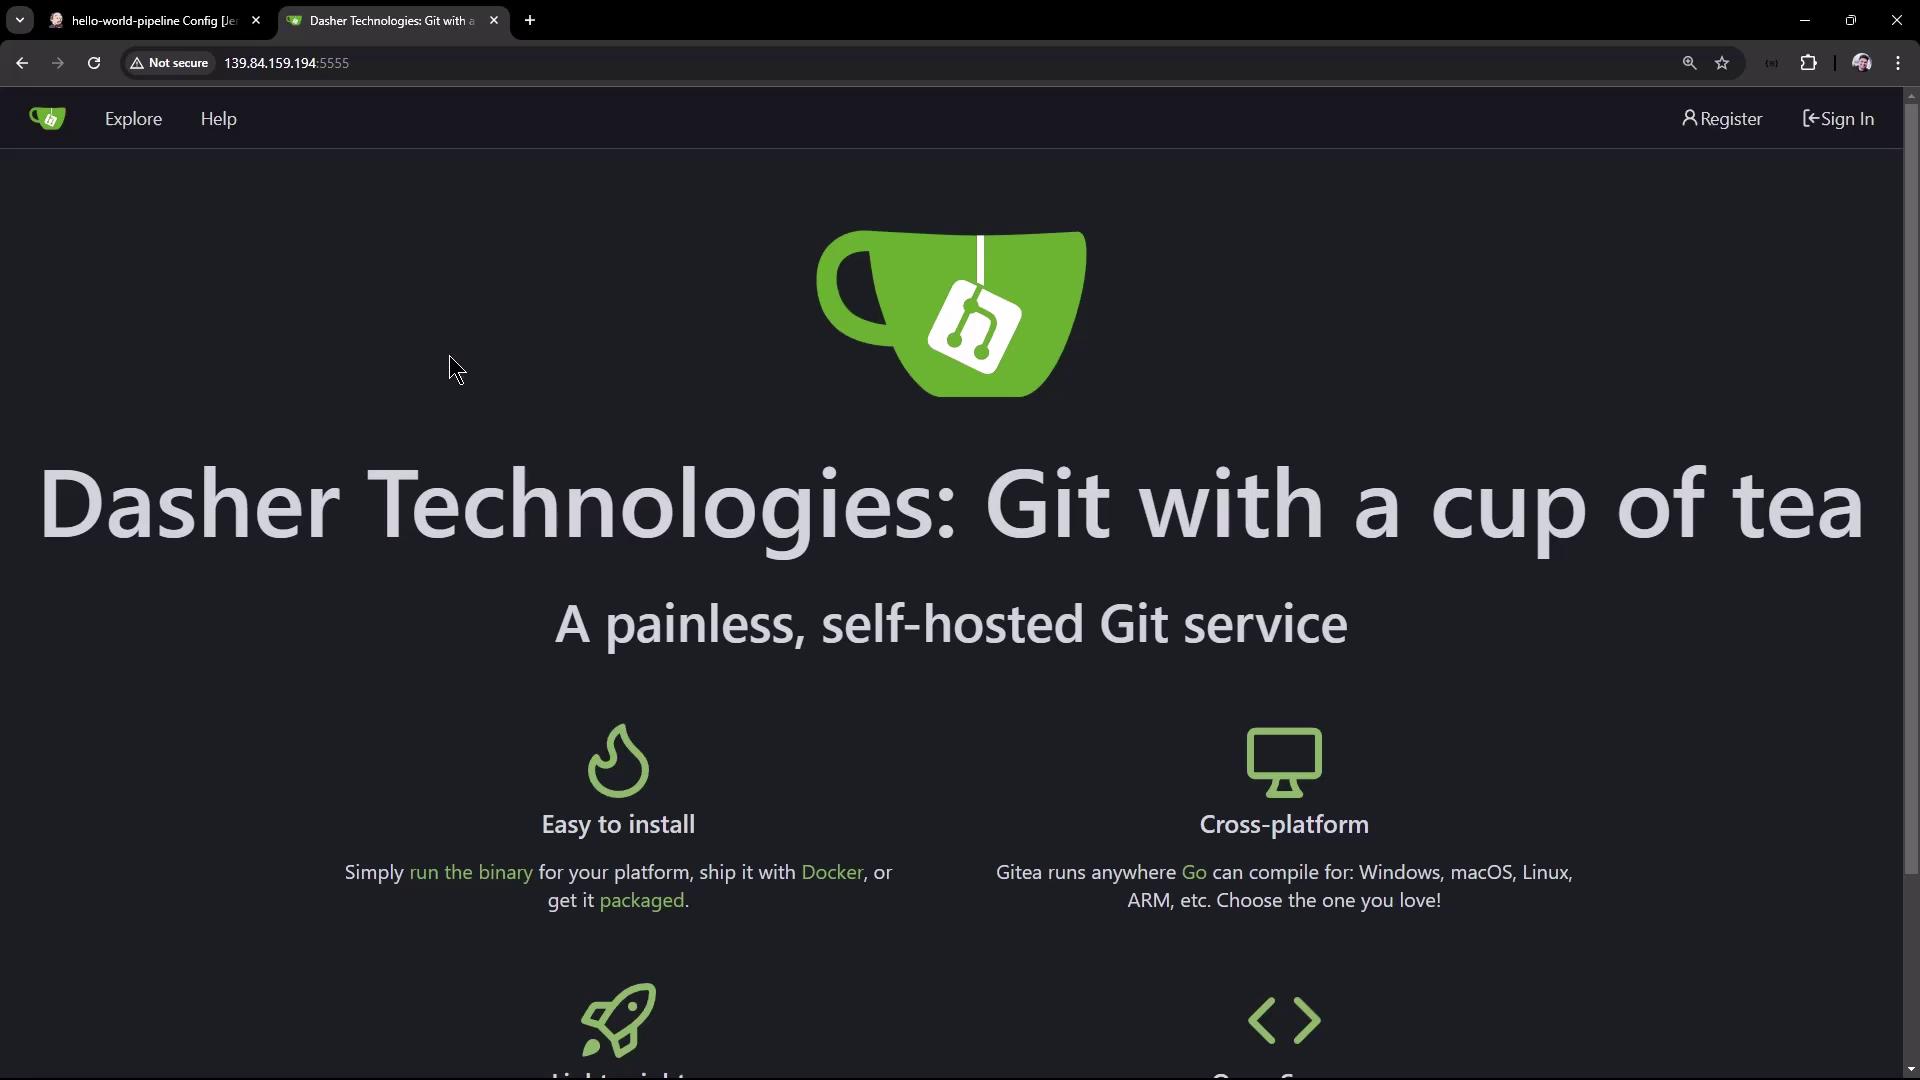
Maven Commands Used in the Pipeline
- The first command builds the application while skipping tests.
- The second command executes the unit tests.
- The third command deploys the application using the generated JAR file.
- Finally, the
curlcommand tests the running application by accessing the/helloendpoint on port 6767, which returns a 200 OK response.
Git Server Running as a Docker Container
Our Git server operates as a Docker container on a virtual machine. The container’s internal port 3000 is mapped to port 5555 on the host. You can verify the container status with:Application Source Code
Hello Controller
The main application includes a simple REST controller that responds to a GET request on/hello:
Unit Test Cases
The repository contains several JUnit test cases for the Hello Controller. One test was initially configured to expect an incorrect greeting, causing a failure:- The response is not null.
- The response string is not empty.
- The response has the expected length.
- The response ends with the expected text.
Pipeline Syntax and Git Branch Update
An error occurred during Pipeline execution because Jenkins attempted to clone the repository’s master branch, while our repository uses the main branch. The Git checkout has been updated to specify the main branch:Summary and Next Steps
Using this Pipeline, we built the application and executed unit tests in separate stages. In the next session, we will:- Transition the Pipeline script from the Jenkins UI to a Git repository for version control and collaboration.
- Explore further enhancements by implementing an end-to-end Pipeline with a Node.js application.
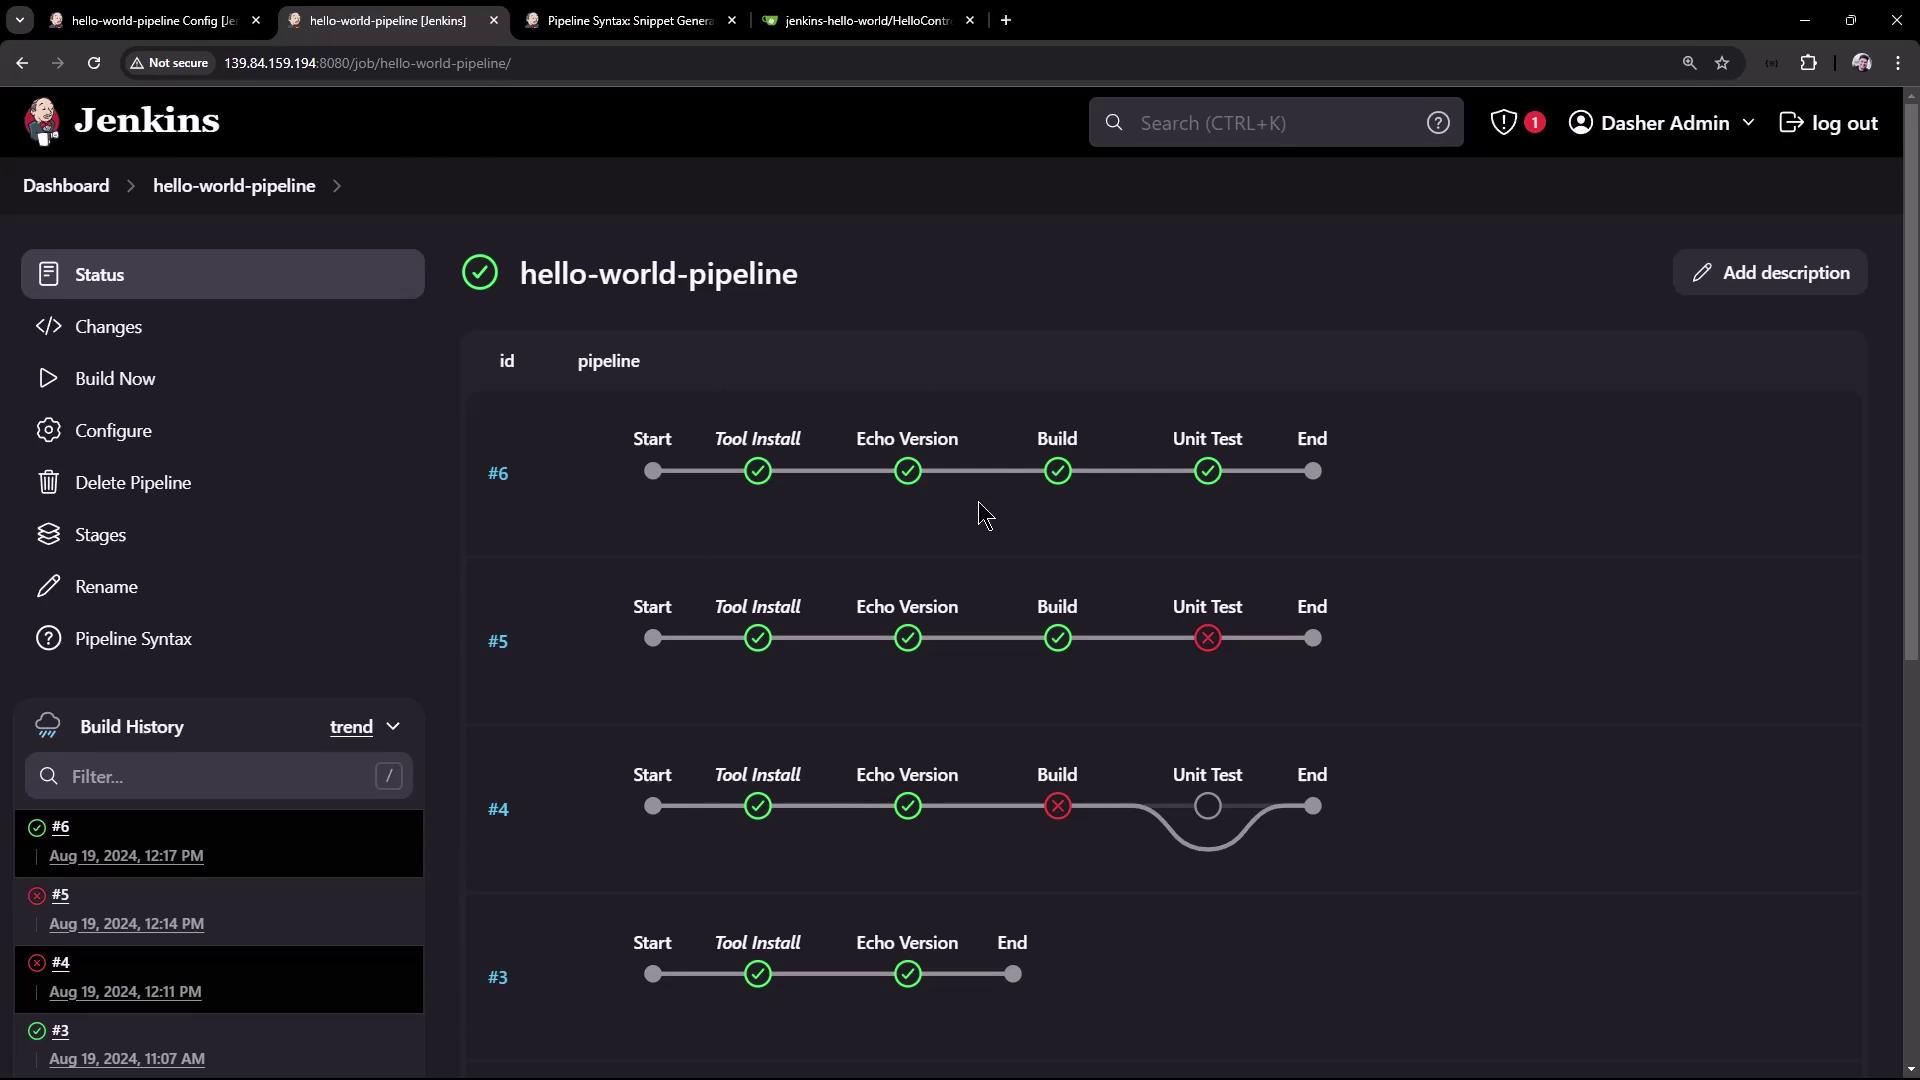
Stay tuned for our upcoming session, where we will integrate version control practices and demonstrate how to implement a Node.js application using a similarly structured Pipeline.