This guide details the installation of Jenkins on an Ubuntu virtual machine, covering downloading, prerequisites, configuration, and initial setup steps.
In this guide, we walk you through installing Jenkins on an Ubuntu virtual machine. This article details every step—from downloading Jenkins and installing its prerequisites to configuring Java and completing the initial setup. Follow along to get Jenkins up and running quickly.
In this section, we install the LTS version of Jenkins on an Ubuntu virtual machine. Before you begin, ensure that your machine meets the basic hardware requirements. For training and testing purposes, 4 GB of RAM with two CPU cores is sufficient.
Jenkins requires Java to operate correctly. Begin by checking your current Java version:
java -version
If Java isn’t installed, you may encounter a message like:
Command 'java' not found, but can be installed with:apt install default-jre # version 2:1.17-75, orapt install openjdk-17-jre-headless # version 17.0.12+7-1ubuntu2~24.04...
Since OpenJDK 17 is supported by Jenkins, install it using the following commands:
With Java installed, restart the Jenkins service using:
sudo systemctl restart jenkins
Verify its status again with:
systemctl status jenkins
If the Jenkins service continues to fail or repeatedly restart, review the logs with:
journalctl -u jenkins
Once Jenkins starts successfully, you should see a log entry prompting the initial setup:
Jenkins initial setup is required. An admin user has been created and a password has been generated.Please use the following password to proceed to installation:<initialAdminPassword>This may also be found at: /var/lib/jenkins/secrets/initialAdminPassword
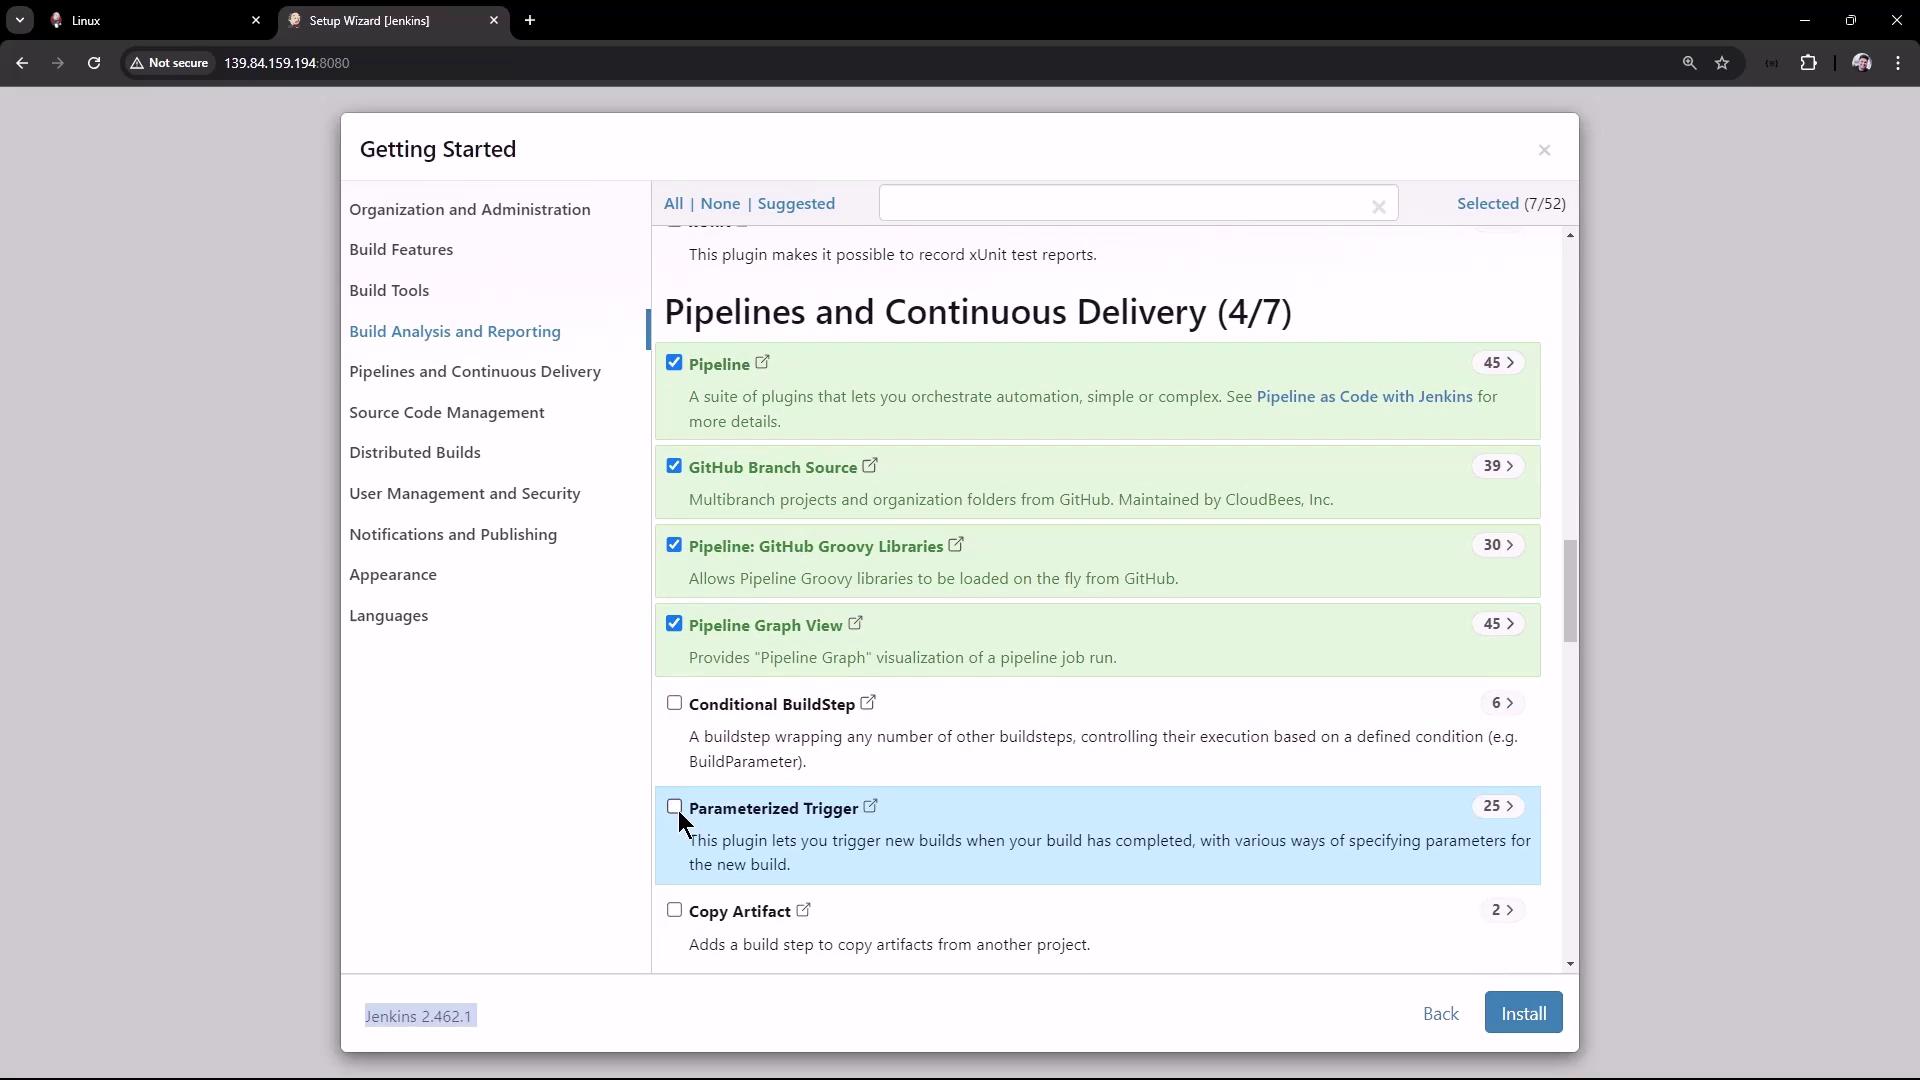
After unlocking Jenkins with the initial admin password, the setup wizard appears. You can choose to install the suggested plugins or select the ones you need. For this demonstration, consider installing these key plugins:
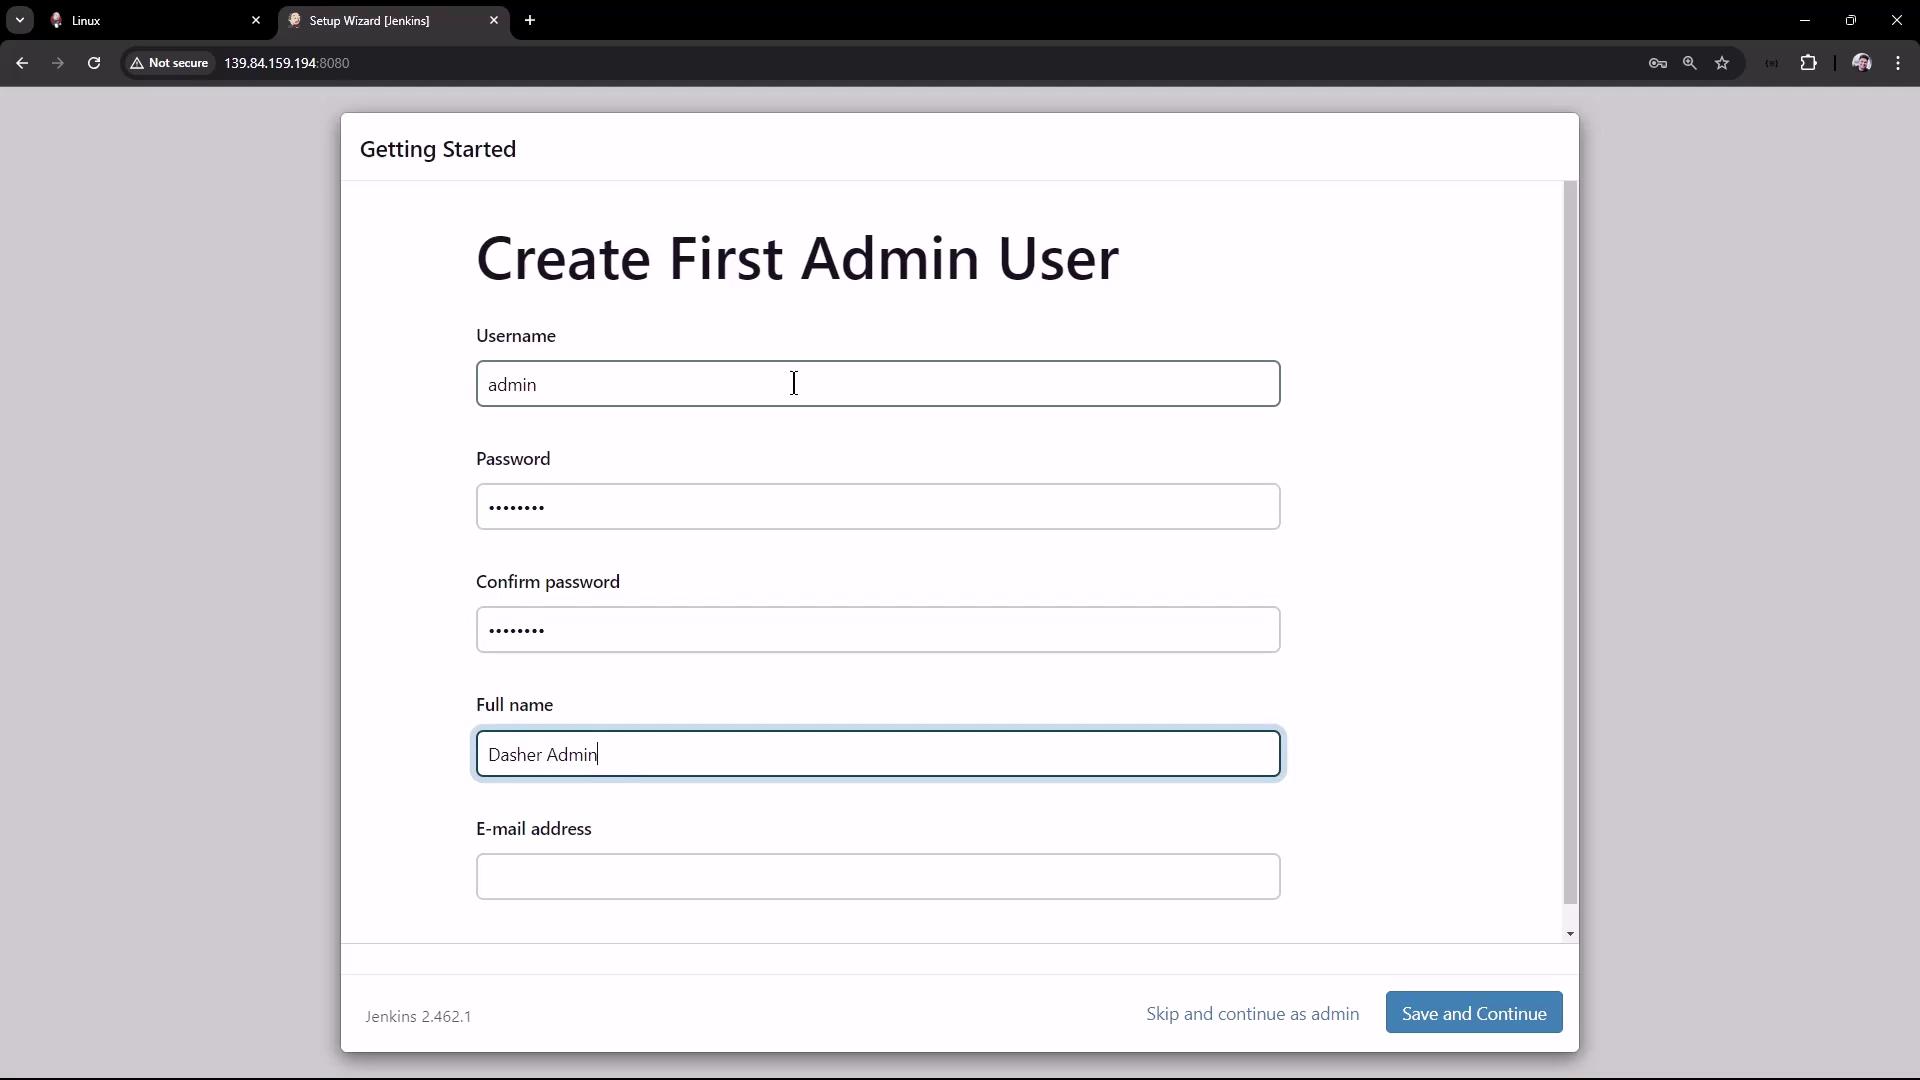
Follow the on-screen prompts to install the selected plugins. Once installation concludes, the wizard will prompt you to create the first admin user. For example, you might use:
Next, configure the Jenkins URL. Set it to your virtual machine’s public IP and port (e.g., http://139.84.159.194:8080) to ensure all generated links work properly.
In future guides, we will explore the Jenkins user interface in more detail, configure jobs and pipelines, and learn how to manage builds and continuous integration processes.Thank you for following this guide. Enjoy building your CI/CD pipeline with Jenkins!
For more information on Jenkins, visit the Jenkins Documentation and explore related topics such as CI/CD best practices.