In this tutorial, you will learn how to install several Jenkins plugins and configure jobs to incorporate their functionalities. In our previous lesson, the ASCII build job executed successfully while the ASCII test job failed because it could not access a file generated during the build. To fix this issue, we will install the Copy Artifact plugin using the Jenkins plugin system.Documentation Index
Fetch the complete documentation index at: https://notes.kodekloud.com/llms.txt
Use this file to discover all available pages before exploring further.
Navigating the Jenkins Plugin Manager
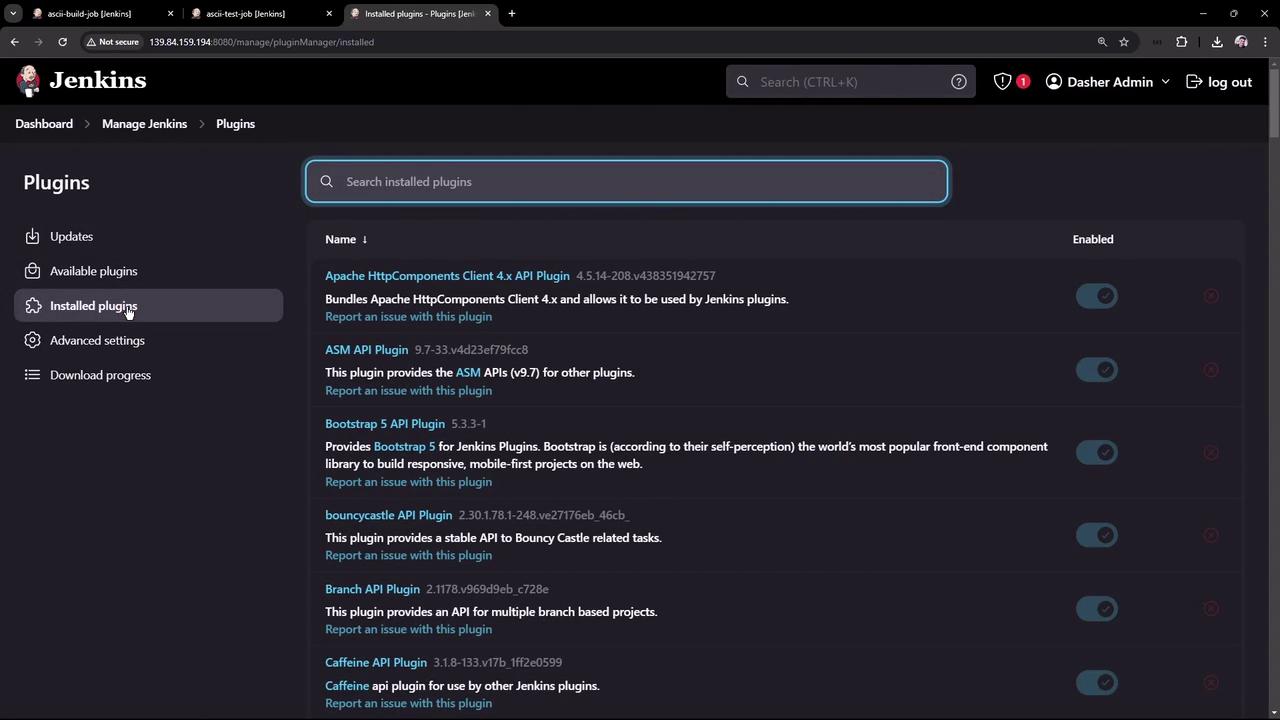
Start by clicking on “Manage Jenkins” and then “Plugins.” In this section, you can add, remove, disable, or enable plugins. If updates are available for your installed plugins, they will be listed in the updates section. To view all installed plugins, click on the “Installed” tab. This interface makes it very simple to manage plugins using toggles or by clicking the corresponding icons.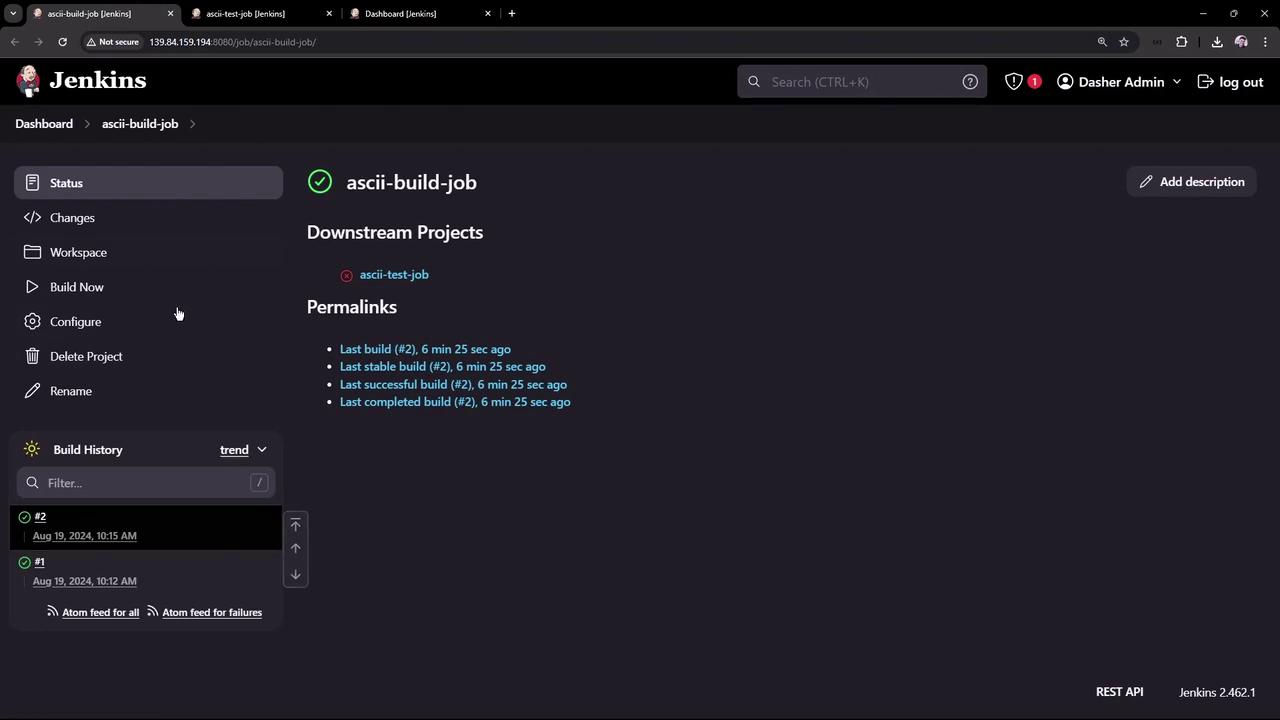
Installing the Copy Artifact Plugin
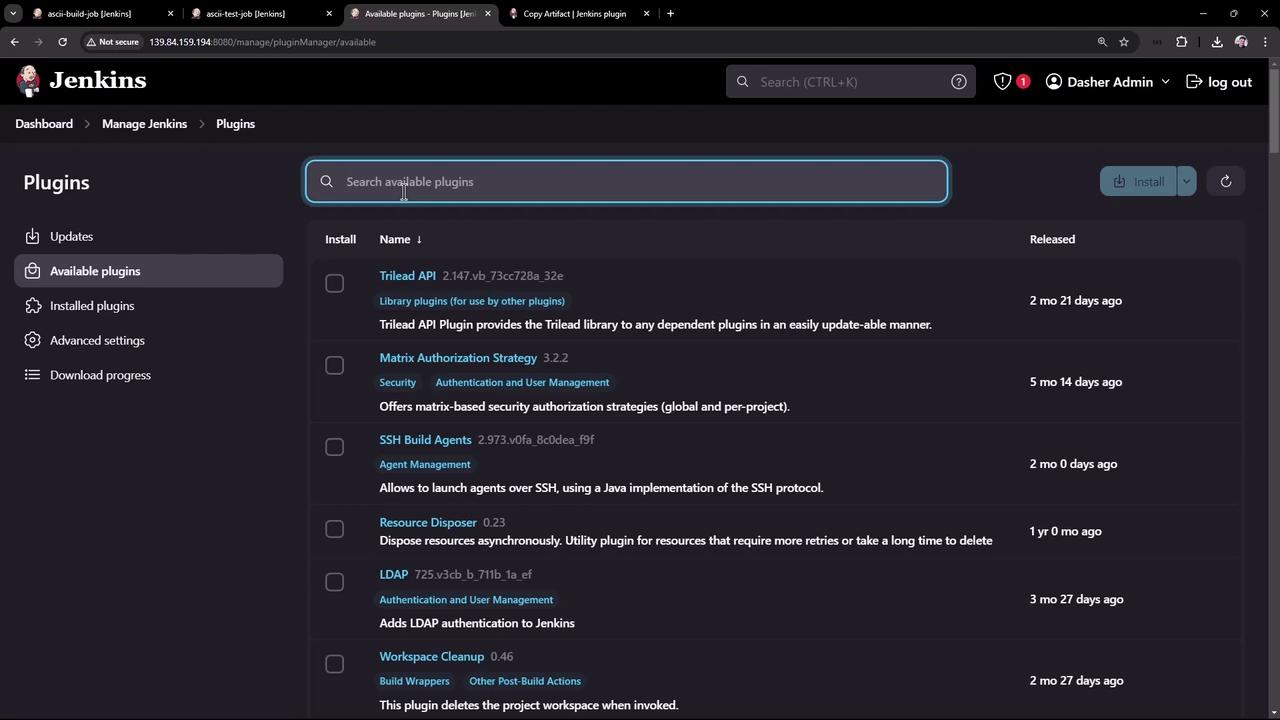
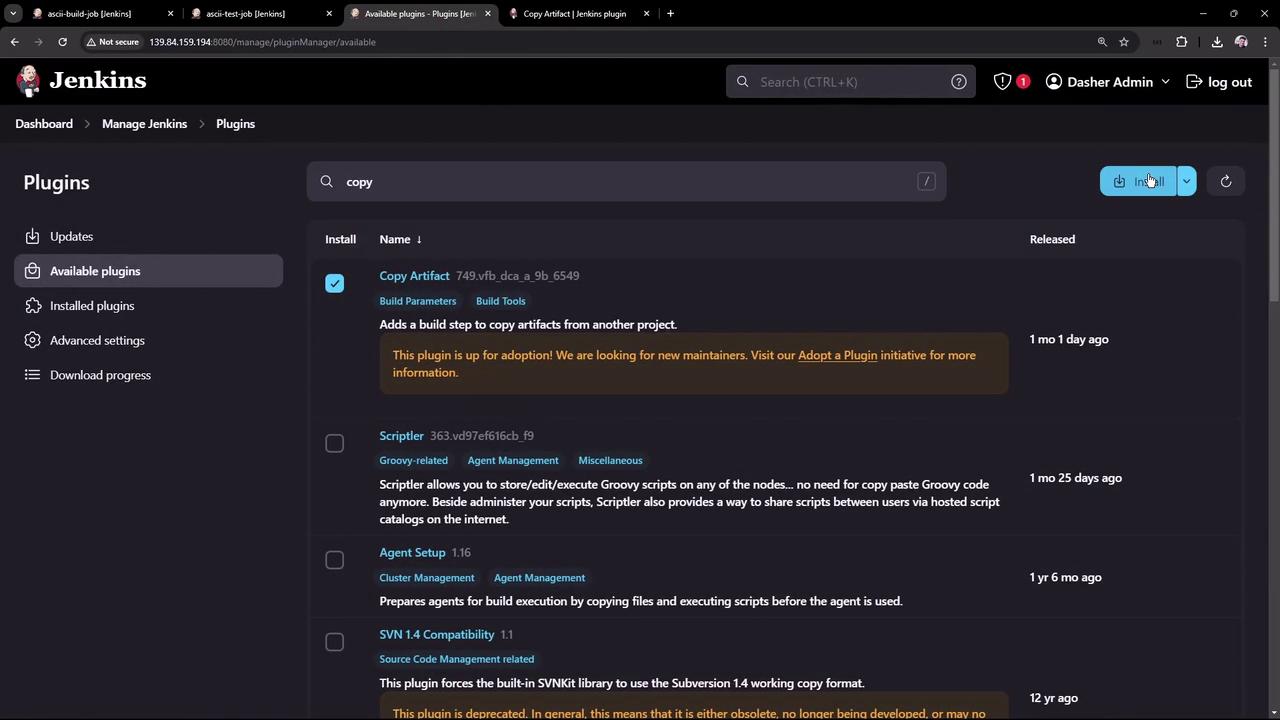
To install a new plugin, switch to the “Available” plugins tab and search for “Copy Artifact.”- Find the plugin and check its box.
- Click on “Install.”
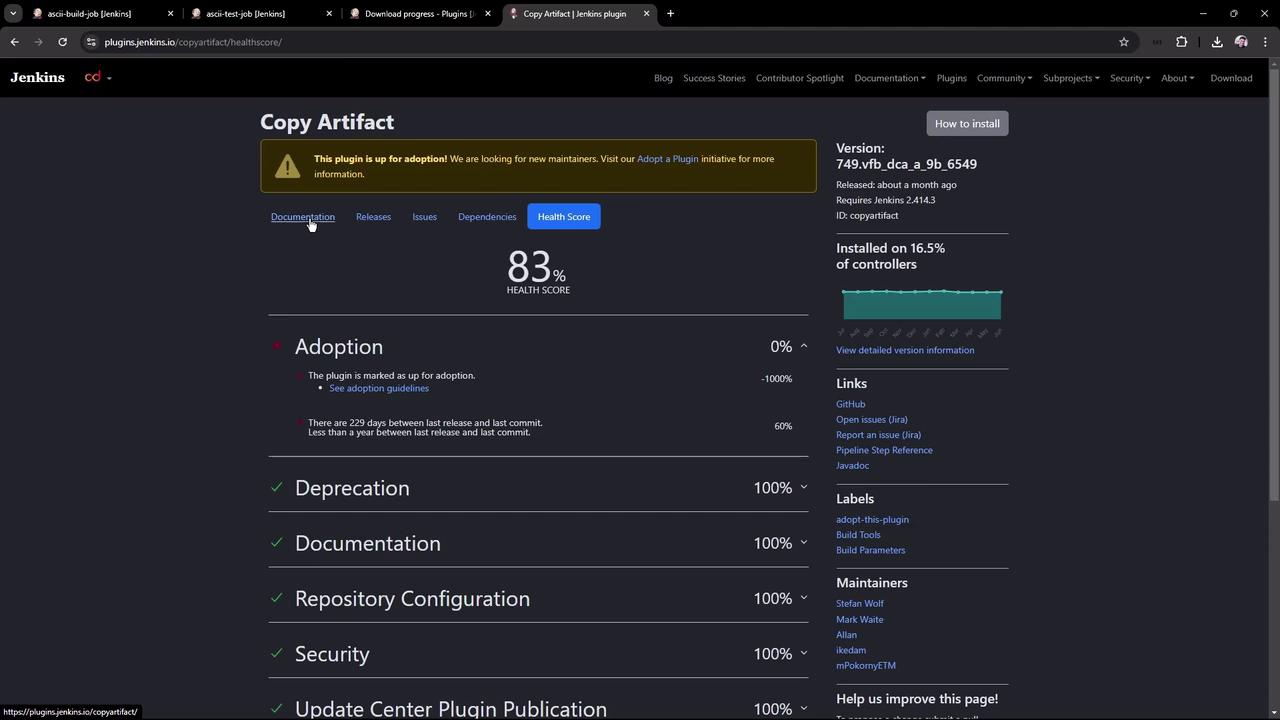
- Optionally, review the plugin’s documentation to learn more about its functionality.
- Install immediately.
- Install after Jenkins restarts.
Configuring the Build Job
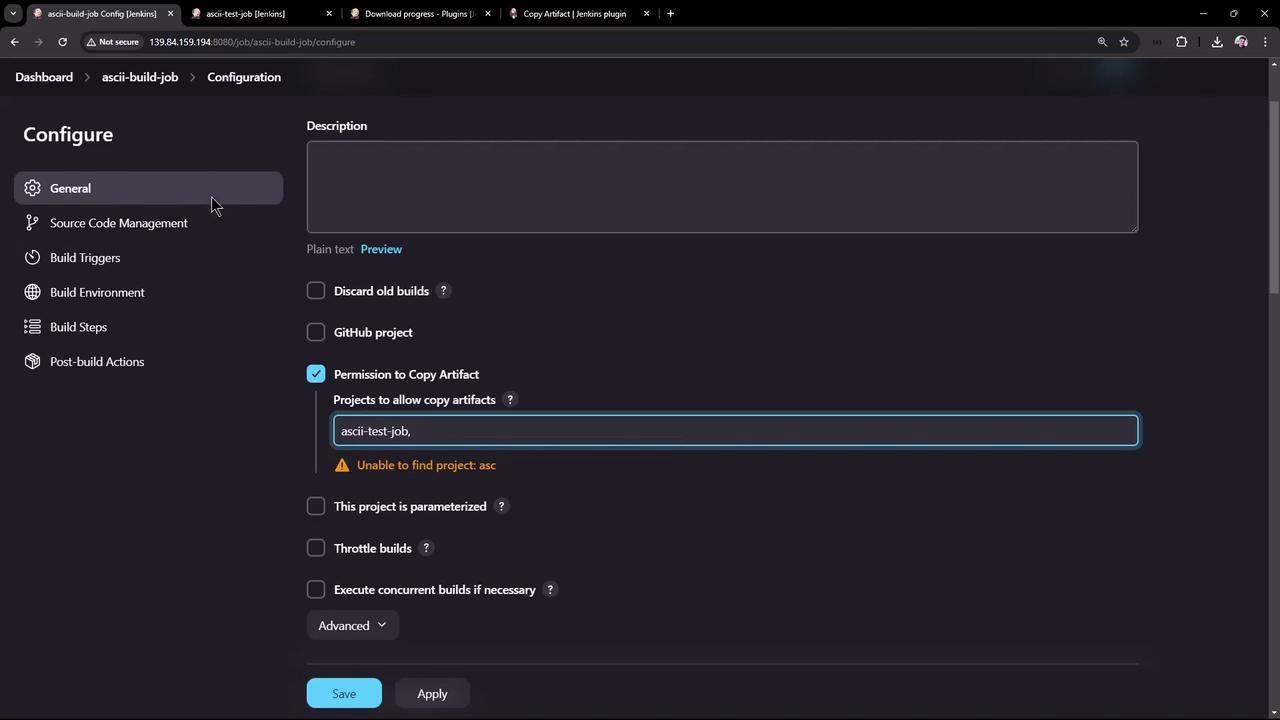
Now that the Copy Artifact plugin is installed, update the build job configuration:- Open the ASCII build job and click “Configure.”
- Scroll down to locate the new option “Permission to Copy Artifact.”
Set the permission to restrict artifact copying only for specific projects. For this example, enter “ASCII test job” so that only this job is allowed to copy artifacts from the build job.
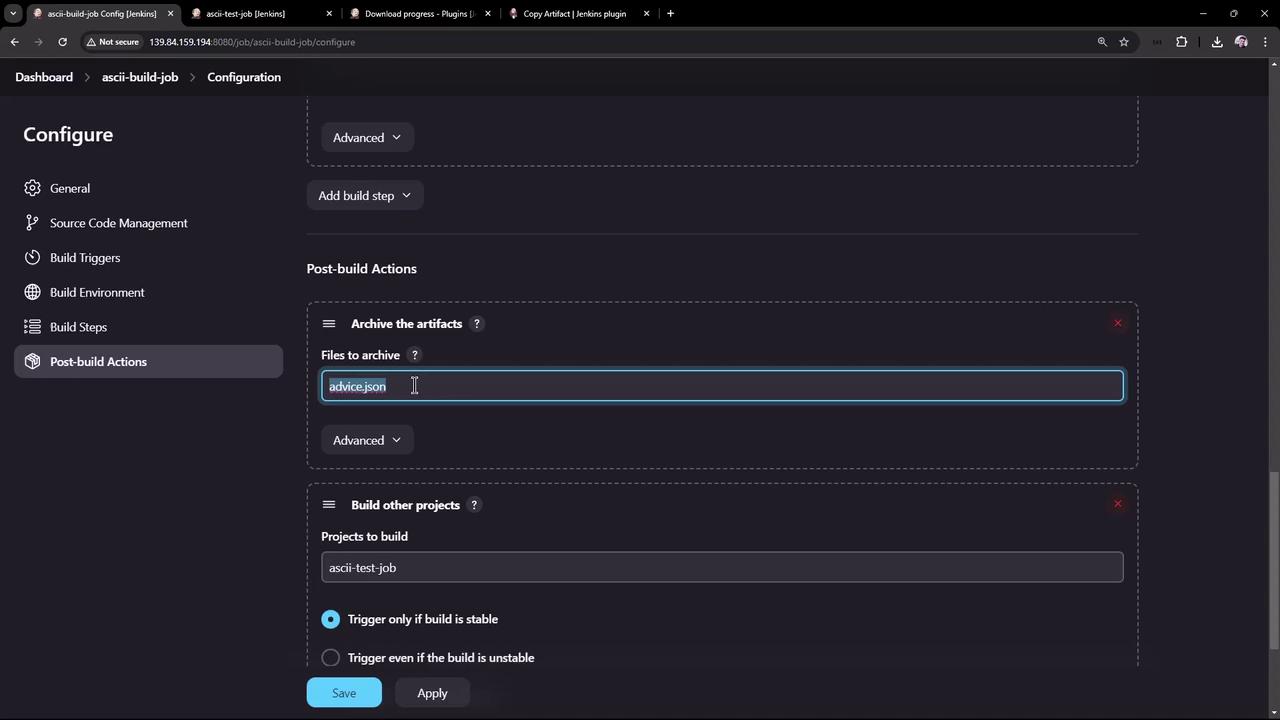
- Next, configure the post-build action to archive artifacts (such as the generated advice.json file). To share the file with other jobs, use a simple script like:
- Then, configure the post-build action to archive the advice.json file. You also have options to include or exclude specific files and set the post-build action to run only on successful builds. Click “Save” to update the configuration.
Updating the Test Job Configuration
To ensure the test job functions correctly:- Update the test job configuration.
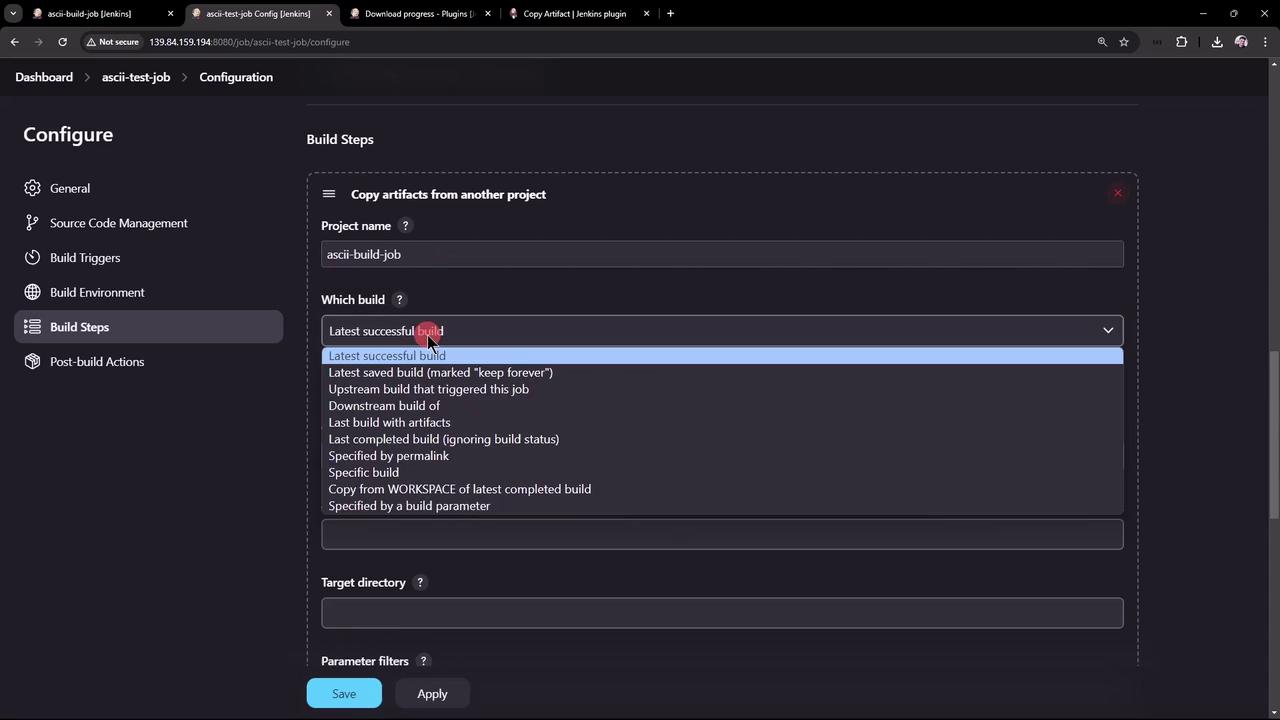
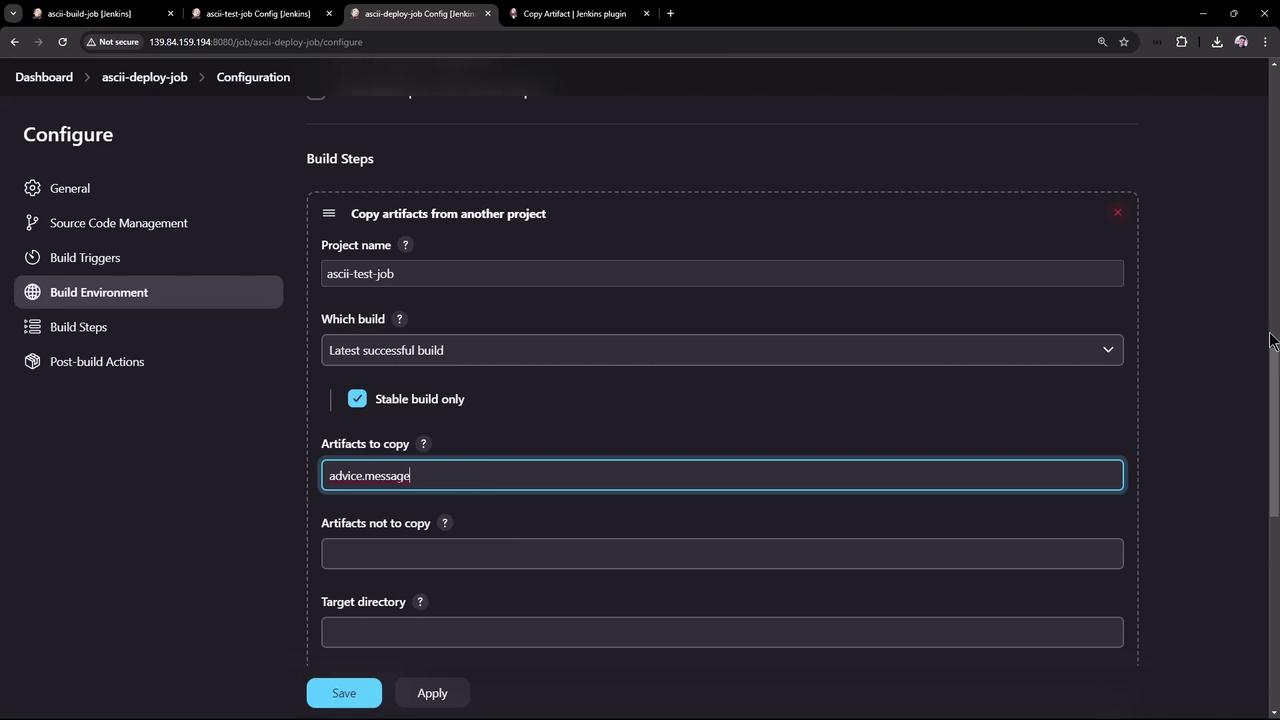
- Before executing any shell commands, add a build step that uses the Copy Artifact plugin to copy the artifact from the build job. Configure it to fetch the latest successful build artifact from the build job and specify “advice.json” as the artifact.
- Add the following shell script as a new build step to process the copied file:
Configuring the Deploy Job
Next, configure the deploy job to utilize the advice message:- Create a new Freestyle Project called “ASCII deploy job.”
- Add an “Execute Shell” build step with the following commands to install the cowsay command and generate ASCII artwork:
Ensure that the advice.message file is archived as a post-build artifact in the test job, so the deploy job can access it.
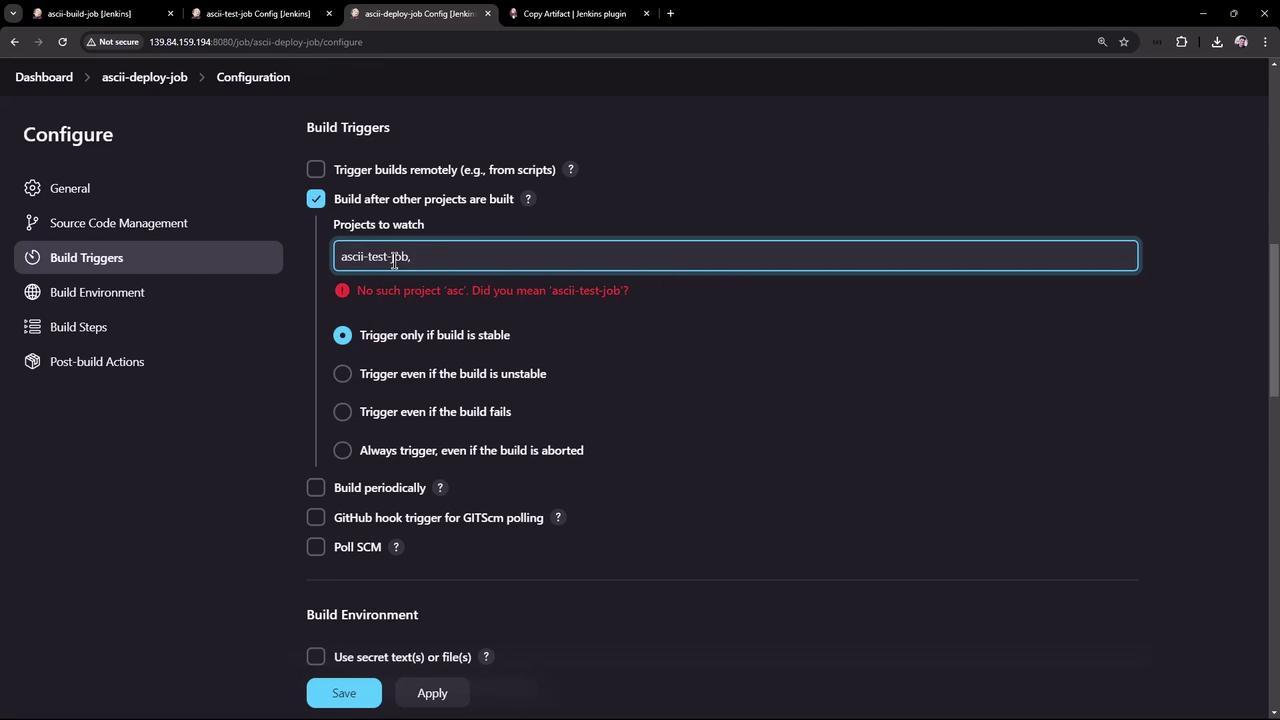
- Optionally, configure the deploy job to be triggered automatically after the test job completes by using the “Build after other projects are built” option, specifying “ASCII test job” as the upstream project and triggering only on stable upstream builds.
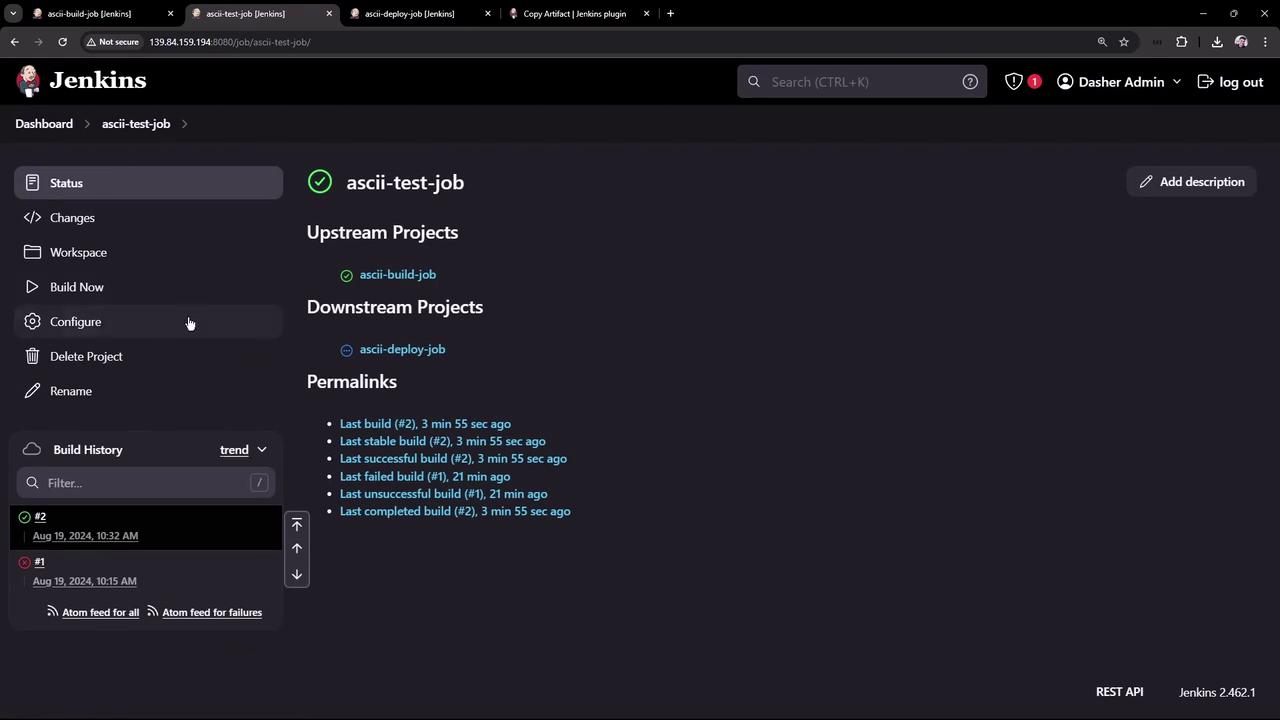
- The deploy job was started by the test job.
- The artifact (advice.json) was copied successfully.
- The deploy job installed cowsay, read the advice message, and generated ASCII art using a randomly selected cow file.
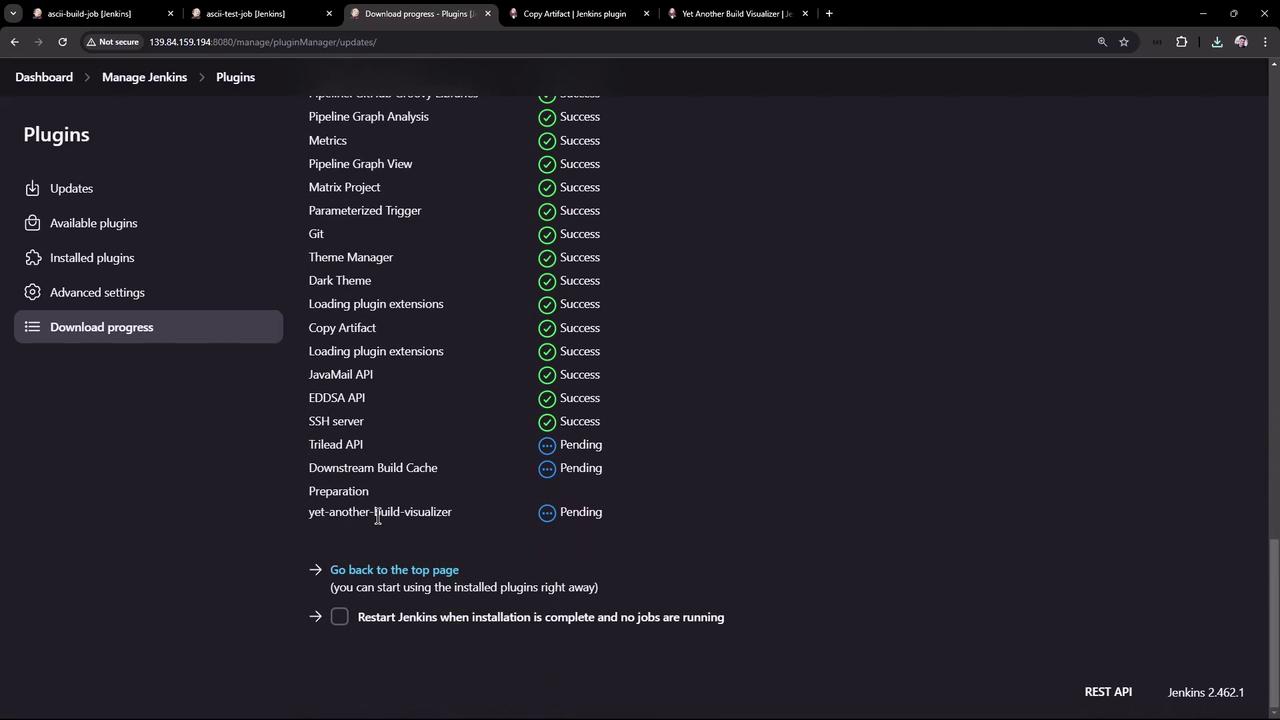
Installing Plugins via HPI Files
Another method for installing Jenkins plugins is by using an HPI file. This may be particularly useful when installing plugins such as “Yet Another Build Visualizer,” which provides clear visual representations of chained projects. To install a plugin using an HPI file:- Navigate to the plugin’s documentation page.
- Click the “Download direct link” to save the HPI file (for example, yet-another-build-visualizer.hpi).
- In the “Advanced” tab of the plugin manager, upload the HPI file and click “Deploy.”